Owning one of the biggest music libraries on earth, iTunes is the most commonly seen music streaming app for many people. Despite the popularity, some users reported the iTunes error 3004 recently. What caused the error and how to troubleshoot it with the most professional tool? Here're 10 solutions to help you fix the issue. Just keep reading!
Part 1: What is iTunes error 3004?
What is iTunes error 3004? The error often happens when you try to update your iTunes. You'll see the notification pop up saying that your iPhone can not be restored because of the error. It mostly occurred when iTunes attempts to download firmware onto your device. This is one of the common iTunes errors that suggest the connectivity or protocol issue when updating/upgrading the apple device.
Part 2: Causes and Solutions to iTunes error 3004
What caused the iTunes error 3004? Given the error code pops up when you try to update or store your Apple device with iTunes, it's most likely due to communication-related reasons. While restoring, iTunes will need to check the server that used to activate your iOS for verification and see if you are eligible for an update. There might be something wrong with your iOS software when it's not able to connect to the servers.
Whatever the reason may be, you can try the solutions below to troubleshoot iTunes error 3004.
1.Check internet connection
Check your network and make sure your connection is stable and reliable. You may restart your router and modem. Plug them back in after one minute and restart the computer to see if the connection is working perfectly. If not you may contact the internet service provider for help.
2.Try another computer
You may try another computer to restore or upgrade your device, just to check if the iTunes error 3004 is particular to one computer when communicating to the update server. If the error still pops up, you can go for the next solution.
3.Restart computer & iOS device
Just like any digital device, when it's not working, turn it off and start over again. Sometimes it may be the glitches of your computer or iOS devices that caused the issue. So restarting the stuck process within the operating system and hardware components might be able to help.
4.Update iTunes
The iTunes error 3004 could be largely relevant to the version of iTunes. It could be that the old version of iTunes is blocking the communication. So update your iTunes to the latest version to see if it still occurs. You may follow the steps below to update your iTunes.
Step 1. Open Apple Store.
Step 2. Click "Updates" on top of the Apple Store.
Step 3. Click "Install" to update to the latest version if applicable.
5.Update antivirus software
The antivirus software might consider the connection to the update server a threat, so your computer is blocked when you restore the device, resulting in the iTunes error 3004. It could also be the old version of antivirus software that caused the connectivity issue. Either way, check your antivirus software and update it if possible.
6.Check security software
Software like a firewall might block the communication when you restore iOS, hence you see the iTunes error 3004. You may uninstall or disable this security software during the process of update. Just remember to put them back when you are done. You may follow the steps below to disable the Windows firewall.
Step 1. Go to the Start menu, search "Windows Firewall."
Step 2. Click on the Windows Firewall > Turn Windows Firewall on or off.
Step 3. Click on the "Turn off Windows Firewall (not recommended)."
7.Check USB cable
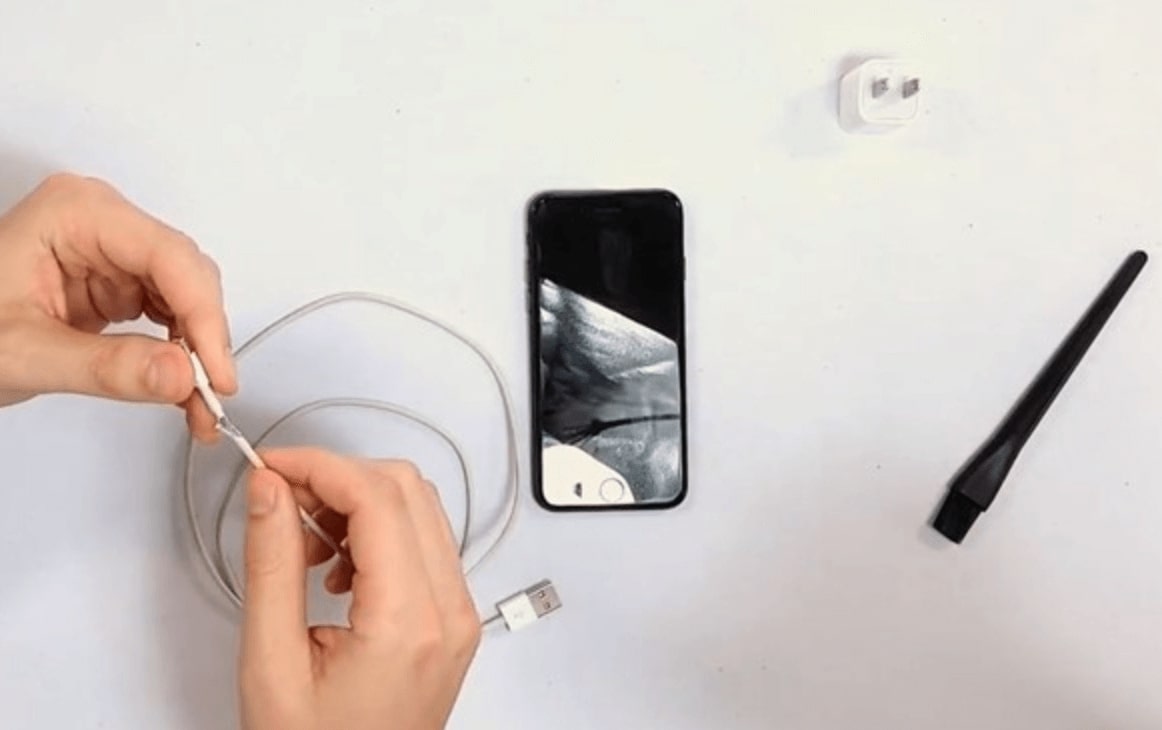
The lightning cable that connects your computer and iOS device could be the reason for the iTunes error 3004. When the small plates at the end are not touching those plates on your computer or iOS device, the connection could fail. Just check the USB cable connection and restore the device.
8.Get a new USB cable
You may also consider replacing the USB cable to see if it helps. Just make sure to get a new and unused lighting cable, which is authentic from Apple. The fake lightning cable could have caused the connectivity issue.
9.Restart iTunes
Your iTunes could have fallen asleep when you are doing other tasks at the same time. Restarting your iTunes will restart all the possible stuck processes in the background. Restart your iTunes, reconnect your iOS device to it and restore it, see if that helps.
10.Contact Apple support
If none of the solutions above can't seem to help, you might as well need to contact the expert for help. Just go to Apple and describe your issue in detail.
Part 3: Professional Tools to Fix iTunes error 3004
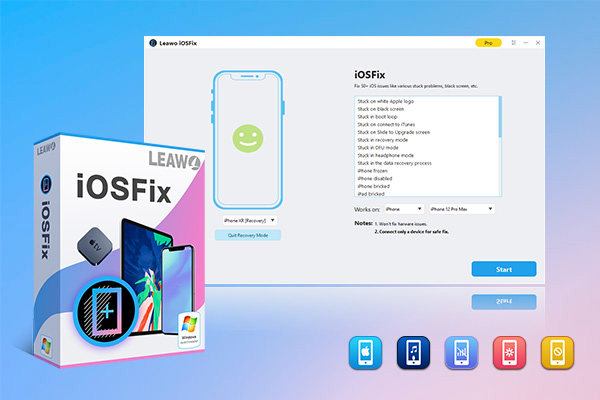
Like most music streaming apps, there will be different error codes pop up that could be related to connectivity issues. It's tiresome to troubleshoot these issues step by step. Sometimes all you need is a professional tool to help you solve it quickly and easily. Here comes the Leawo iOSFix, a professional iOS system repair software that can help you fix more than 50 types of iOS system errors. For instance, Apple logo, black screen, stuck in DFU mode, iPhone keeps restarting, iPhone no service, etc.
-
Leawo iOSFix
- Fix 50+ iOS/tvOS issues on iPhone, iPad, iPod or Apple TV
- 2 repair modes for data lossless fixing
- Fix all iOS and tvOS versions in clicks
- Multiple iOS/tvOS system fixing pathse
- One-click to upgrade to the latest iOS/tvOS version
- One-click to enter/exit Recovery Mode
- Troubleshoot iOS/tvOS not recognized issues in detail
Leawo iOSFix is the best iOS system recovery software that can help you fix nearly all the glitches on Ios devices, such as iPhone, iPad, iPod, and Apple TV sets. With Leawo iOSFix, you can fix the different errors with two repairing modes: Standard and Advanced. Both can help you fix iOS system issues without data loss.
Here's how to fix iTunes error 3004 with iOSFix.
◎Step 1. Connect iOS device to the computer
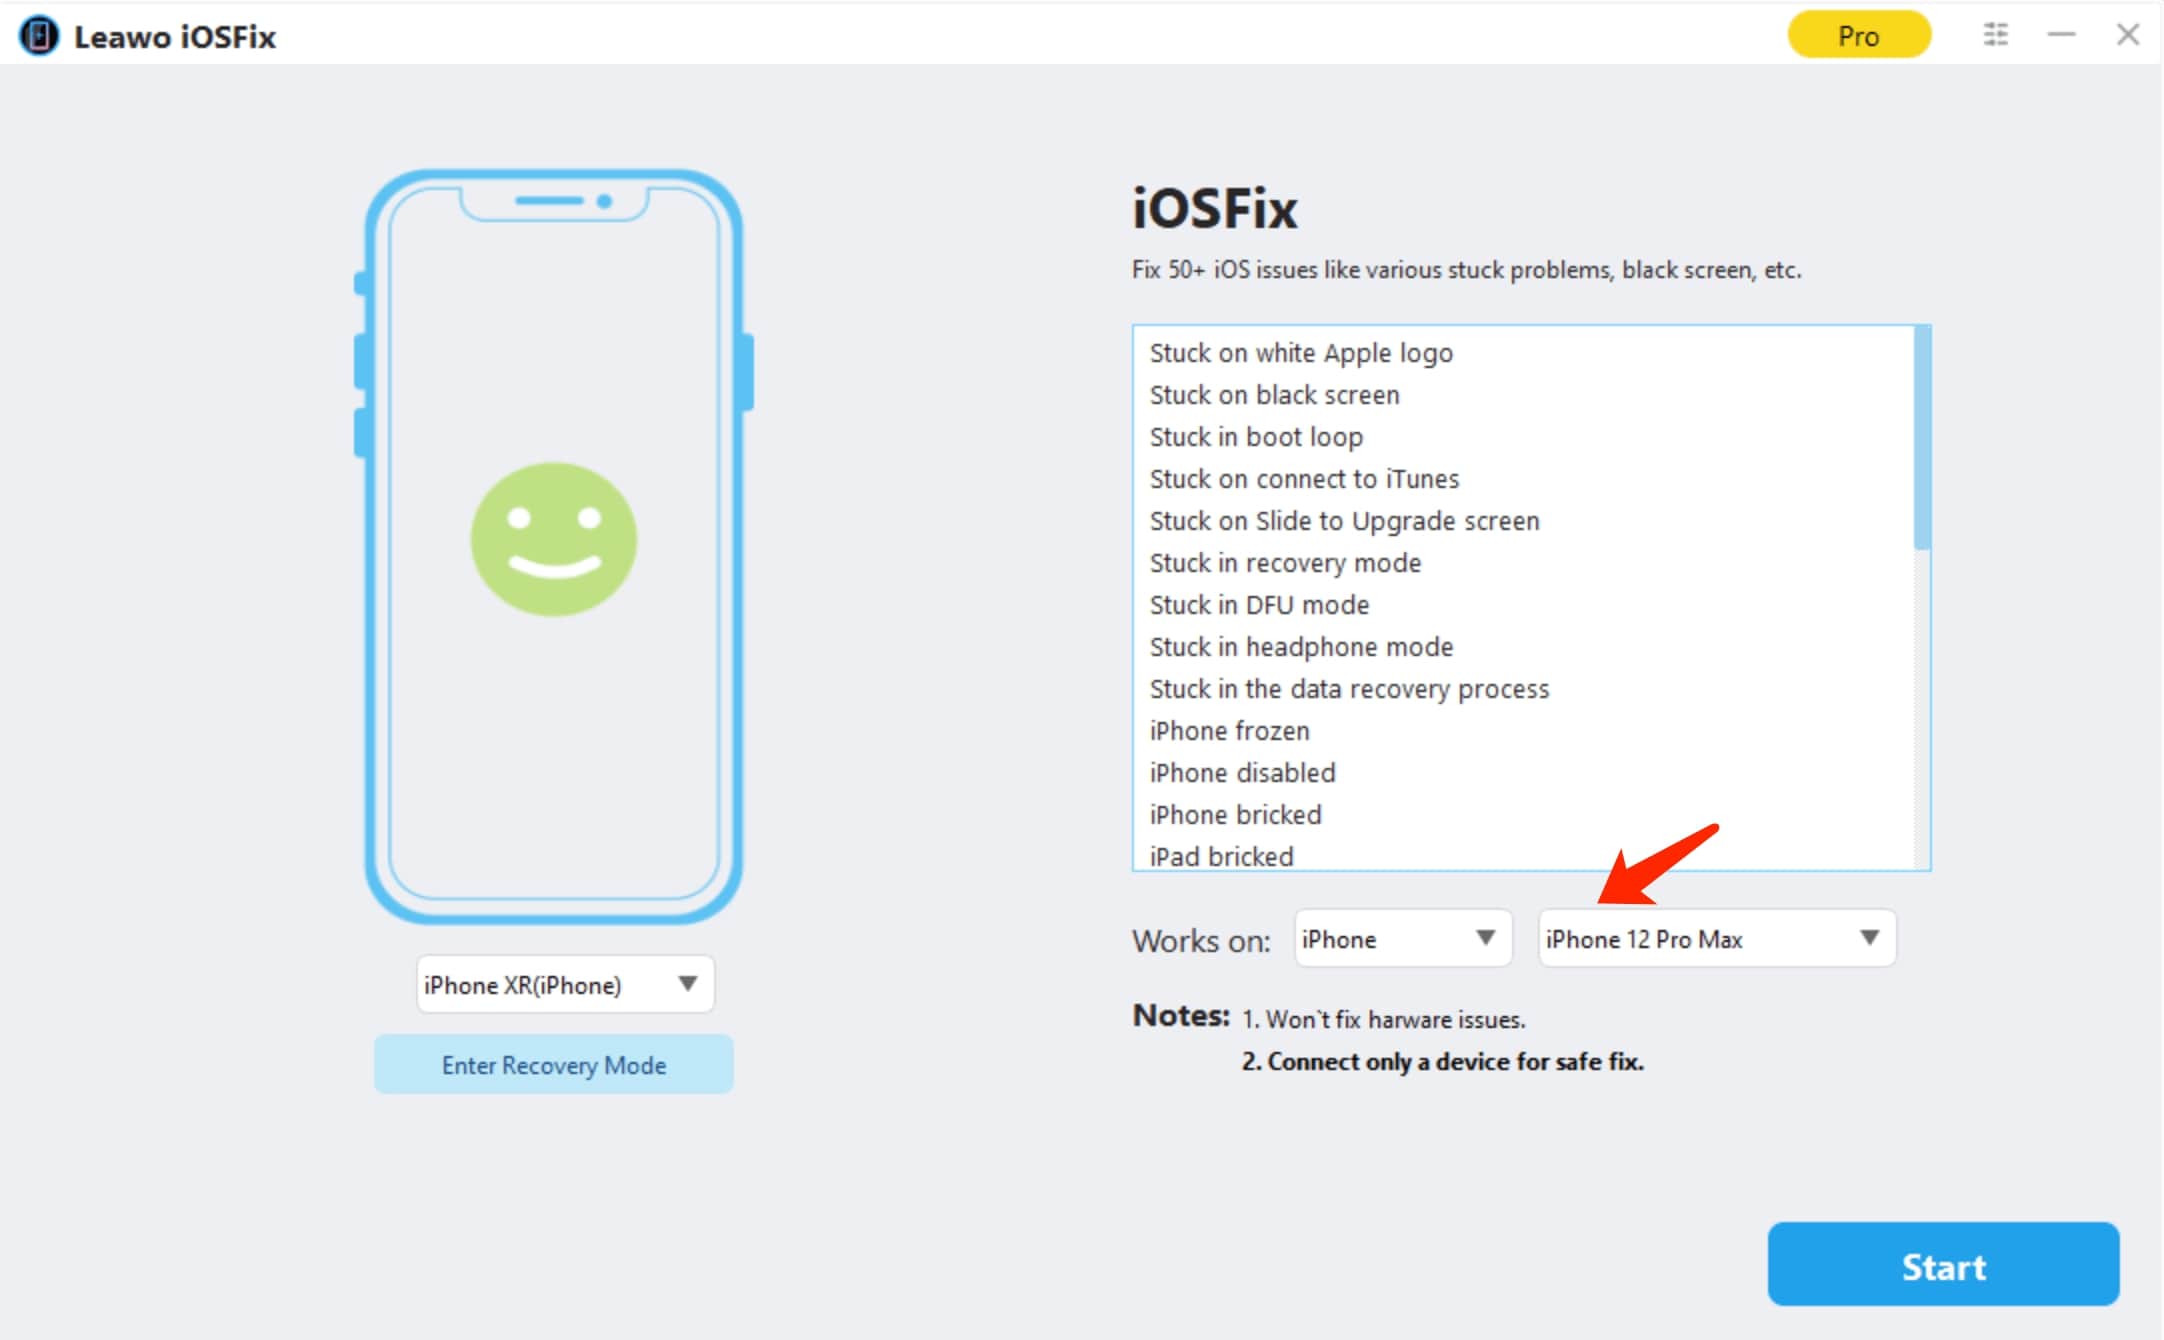
Connect your iOS device to the computer with a USB cable. Launch Leawo iOSFix, and your device will be detected. On the main screen, click on the "Works on" to find the models that are supported by iOSFix.
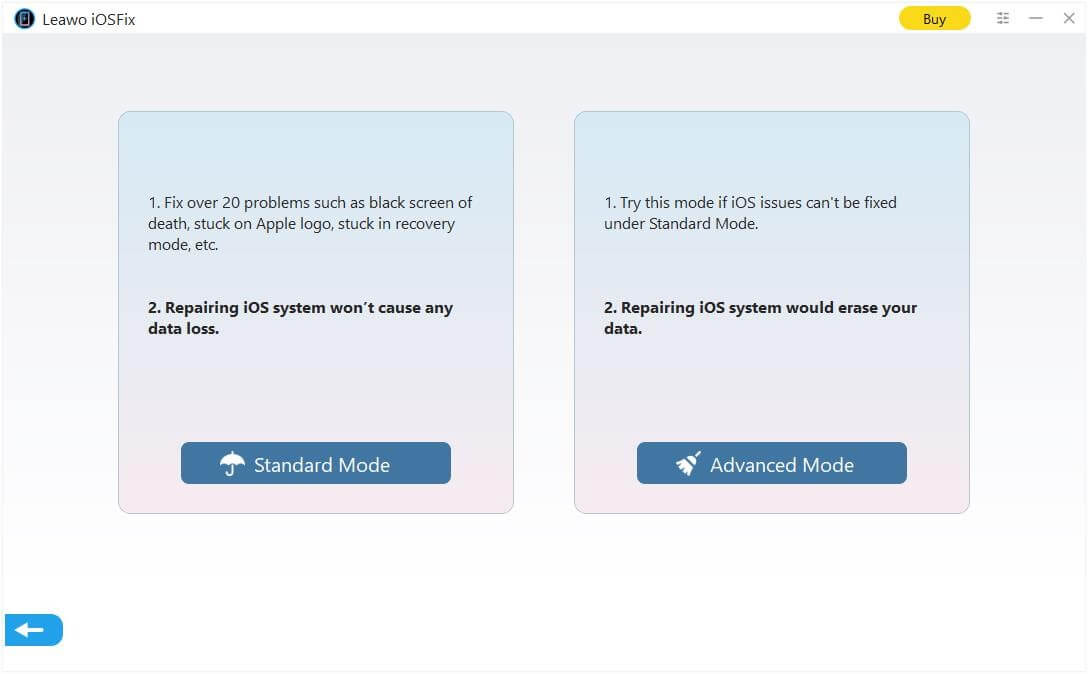
◎Step 2. Choose a repair mode
You can choose Standard or Advanced repair mode depending on your needs. You can go with the Standard mode first, and try Advanced mode when Standard repair fails.
Note:
- Make sure you have backed up your device before using "Advanced Mode."
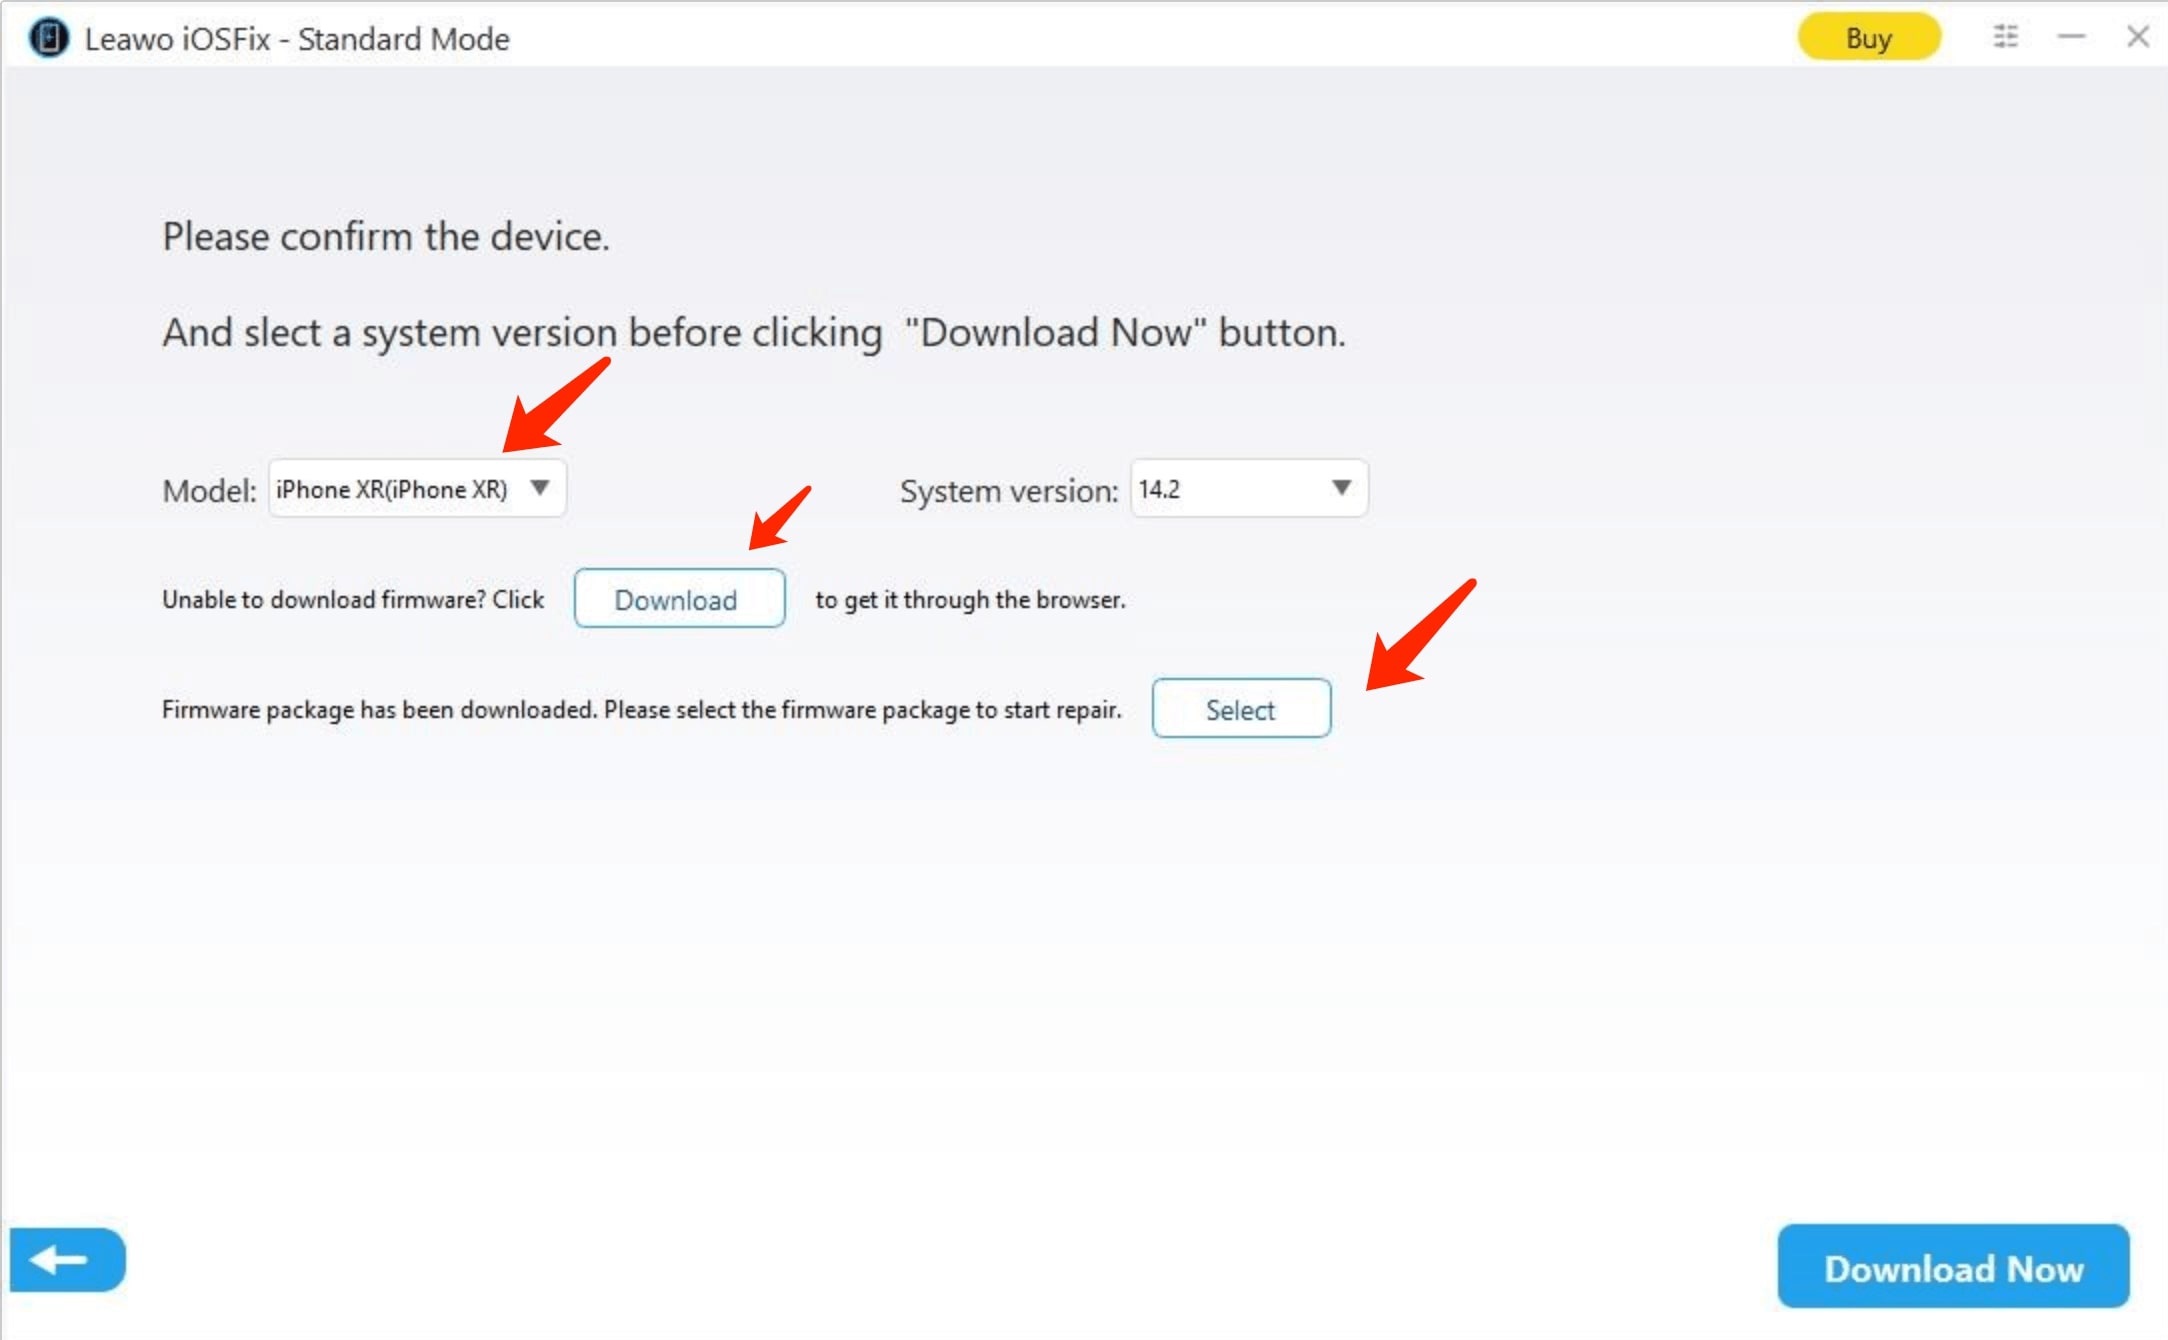
◎Step 3. Download firmware
Click on the "Download Now" to download the proper firmware before fixing system errors. If it fails, click the "Download" button to download it manually. Click "Select" to choose the downloaded firmware on your computer.
◎Step 4. Fix errors
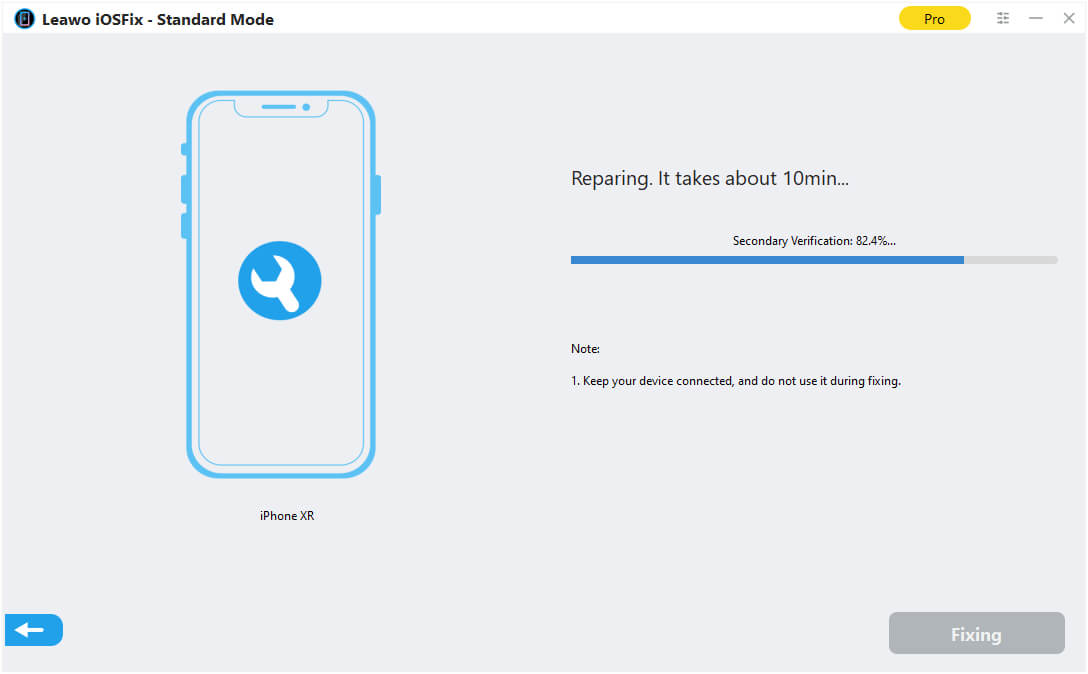
After verification of your downloaded firmware, click on the "Fix Now" to fix the system errors.
That's it. With iOSFix, you can successfully fix iTunes error 3004 with just a few clicks. If you have encountered iTunes error 3194, you can also use iOSFix to help you fix it!
Part 4: Back up iPhone in case of data loss due to iTunes error 3004
Before you fix iTunes error 3004, it's necessary to back up your iPhone, for instance, your iTunes music playlist, photos, and files to avoid data loss in repair. Better safe than sorry! Most users will back up the iTunes music in the iCloud library, but please keep in mind that you will not be able to access the storage space once your iTunes subscription is canceled.
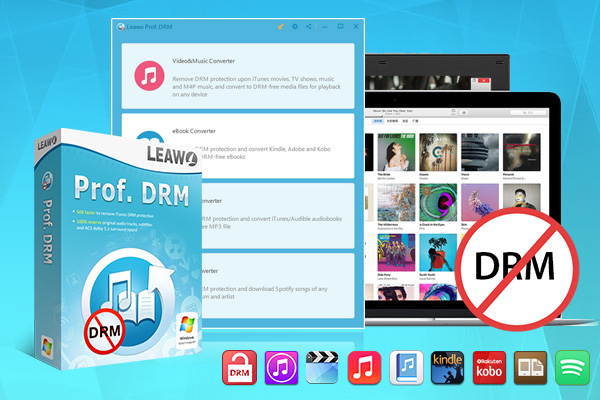
If you want to keep your iTunes music forever offline, you can try Leawo Prof. DRM, a professional DRM(Digital Rights Management) removal that can help remove DRM from iTunes M4P music. That is to say, with Leawo Prof. DRM, you can remove the copyright authorization on iTunes music and save them as local MP3 files.
-
Leawo Prof. DRM
- Convert iTunes DRM-protected M4V movie and TV show to DRM-Free MP4
- Remove DRM from M4B, AA, AAX files and convert any Audible AA, AAX file to MP3, even without iTunes authorization
- Convert iTunes DRM-Protected M4P and non-DRM iTunes M4A Music to MP3
- Remove DRM-protection on Spotify music and convert to Universal audio format for enjoying music offline on any devices
- Convert DRM-protected eBook from Kindle, Kobo, Adobe to DRM-free epub, mobi, azw3, txt, etc., format
Leawo Prof.DRM is the ultimate DRM removal program for almost all the digital content online, such as music, video, ebook, and audiobook. You may use Leawo Prof. DRM to convert Spotify music for work. The converter can also help you read Kindle books without Kindle by removing the DRM.
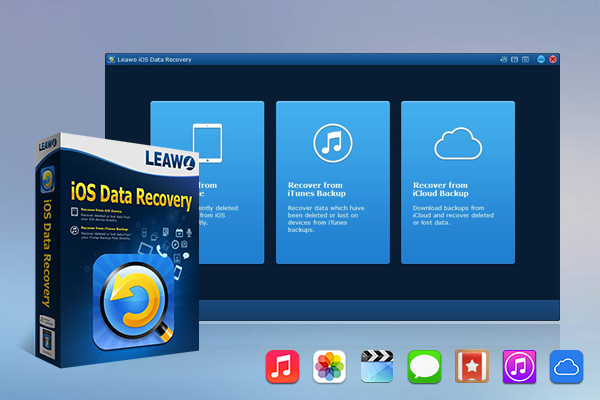
Before you fix iTunes error 3004 with iOSFix, you may also back up all your photos and files with Leawo iOS Data Recovery, which is a useful program for data recovery and backup. Leawo iOS Data Recovery can effectively help you recover data easily, regardless the data is lost, damaged, or deleted for causes like system update, jailbroken, factory settings restored, device formatted, etc.
-
Leawo iOS Data Recovery
- Recover lost or deleted data from iOS devices, iTunes backup and iCloud backup
- Retrieve files from iTunes and iCloud backup even for lost or broken iOS devices
- Restore 12 types of data, including photos, videos, SMS & MMS messages, contacts, call history, notes, calendar, etc.
- Fully support all iPhone, iPad and iPod touch models
- 100% safe, accurate and speedy recovery
- User-friendly interface and simple operations
There are three recovery modes to help you recover up to 12 types of data such as messages, contacts, WhatsApp, etc. It supports all the iOS devices like iPhone, iPad, and iPod. Leawo iOS Data Recovery is the perfect tool to handle any data loss of all sorts. When you encounter data loss/damage caused by any third-party tool, you can always turn to Leawo iOS Data Recovery for help.
Leawo iOS Data Recovery is 100% safe and clean. No malware and no risk. The program works 20X faster than the average, which can guarantee a speedy recovery. When you experience iTunes error 3004, just try the 10 solutions above to see if they help. If not, backup your music and files with Leawo Prof. DRM and Leawo iOS Data Recovery, and use iOSFix to fix the issue quickly and easily!

