


2026-03-06
Wondershare DVD Creator Review: Features, Test & Price
What This Guide Covers Choosing the right DVD authoring software...


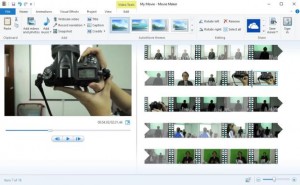
Video Editor
This DVD Creator also includes several video editing features of great use.

Trim Video
You can use the built-in video trimmer to get rid of the unwanted part of the video. All you need to do is set the time point for the program to remove the redundant part for you.
Crop Video
The cropping feature allows you to customize the ratio and size of the video. You can use it to remove the letter box at the top and bottom or magnify one part of the screen to make it full screen.
Adjust Effect
Video parameters can be adjusted according to personal preference. You can freely adjust the brightness, saturation, contrast and volume of the video.
Add Watermark
Add watermark to the surface of the video to make it more unique. Both images and text can be added to the video as watermark.
Add 3D Effect
The built-in 3D Creator is able to add 3D effect to ordinary 2D videos. There are 6 types of 3D effects provided: Red/Cyan, Red/Green, Red/Blue, Blue/Yellow, Interleaved and Side by Side.
Remove Noise
You can also remove the noise in the source videos by just one click on the Remove Noise Button for better audio enjoyment.

Other Features
This DVD burner software allows you to choose subtitles and audio tracks to be added and imported to the video.
This DVD burning software includes the support for PAL and NTSC TV standards to adapt to DVD from different regions.
When editing the video, all changes in the video can be seen and previewed on the video preview window.
There’s a built-in video player in this DVD burning software that allows you to play the video within the program.
While playing the video with this DVD creator, you can take screenshots of the video and save them in JPG, BMP and PNG file.

20+ Years Experience

10,000,000+ Happy Clients

100% Safe & Clean

100+ Countries
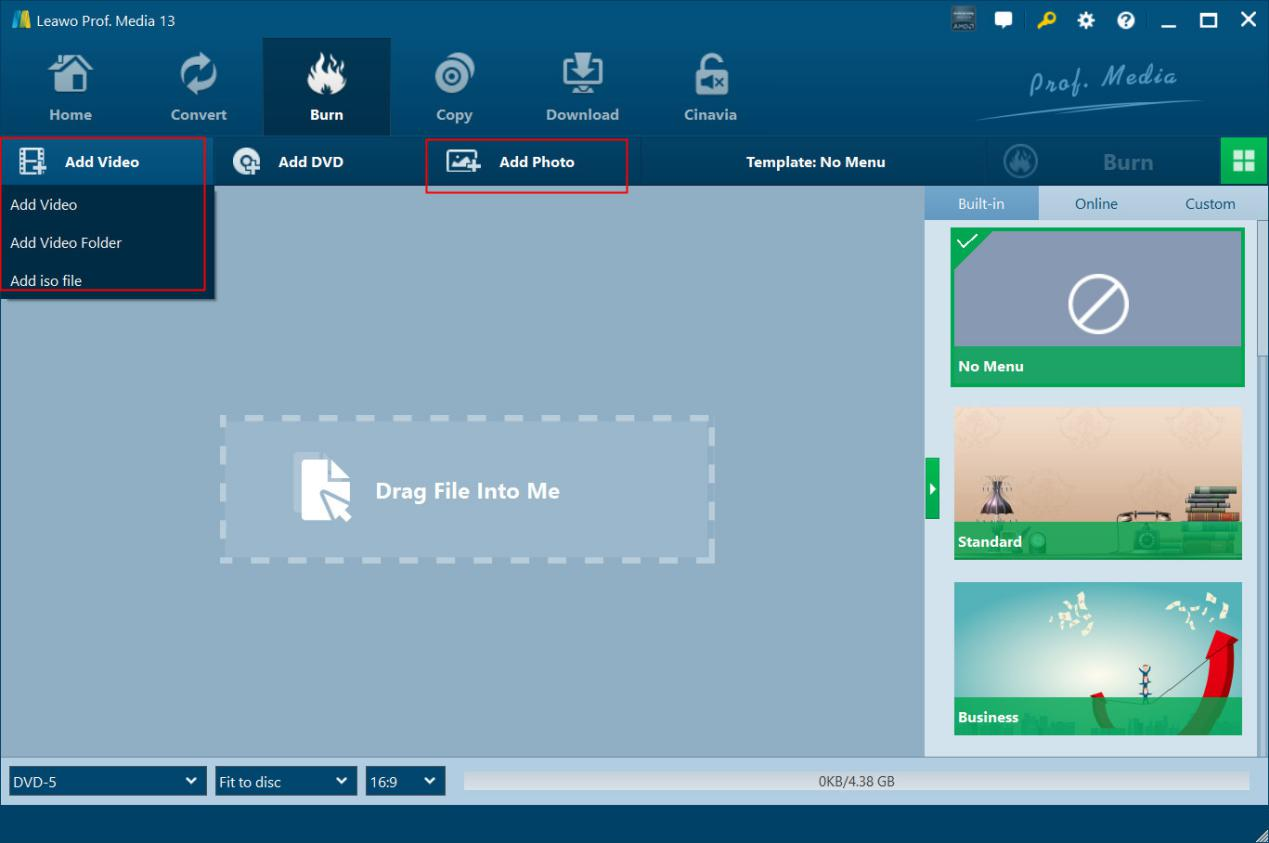
Step 1: Add source video/photo files
Open the “Burn” tab and then click the “Add Video” drop-down button or “Add Photo” button to load and add source video or photo files respectively.
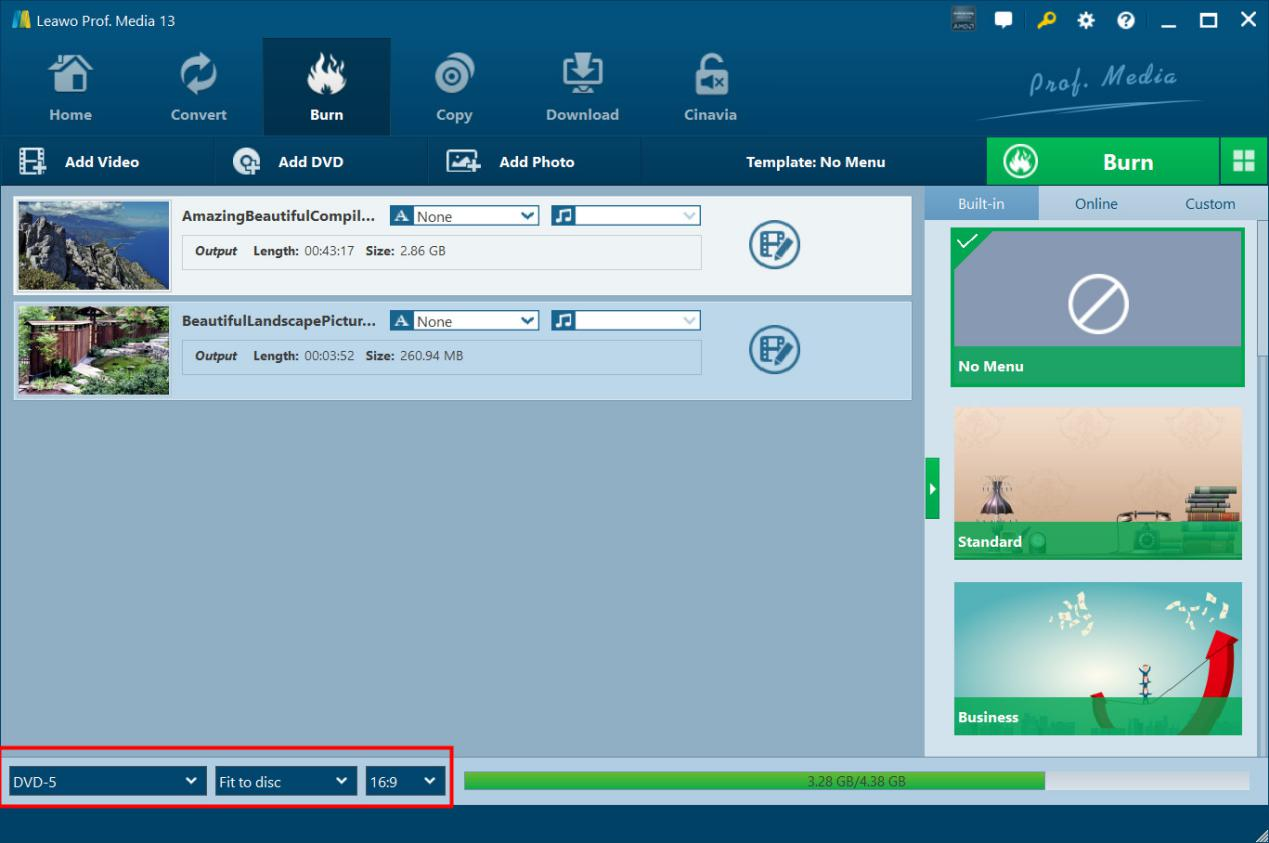
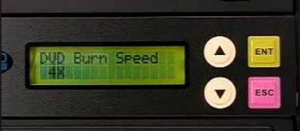
Step 2: Set output DVD types
After loading source video or photo files, at the bottom left corner, choose output DVD type, quality and aspect ratio.
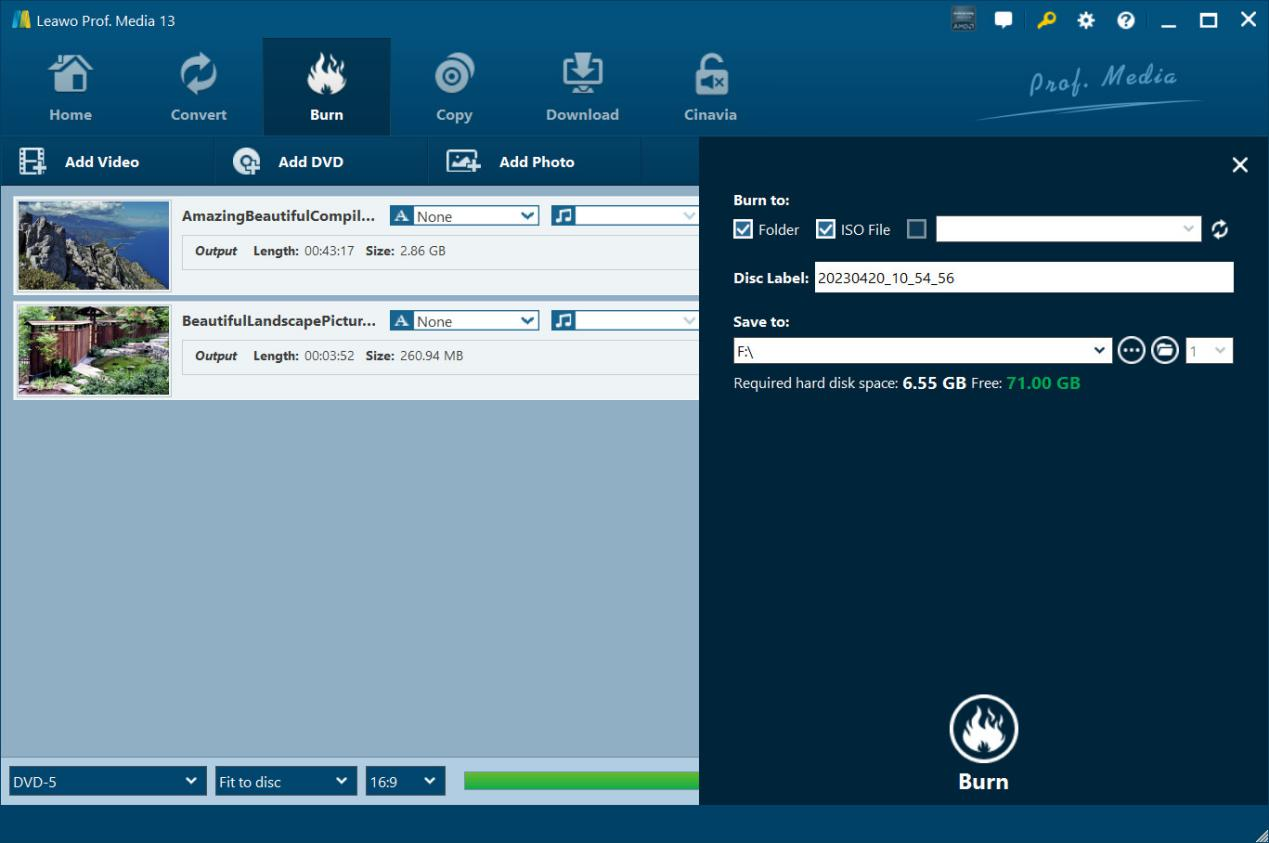
Step 3: Burning settings
Click the green “Burn” button to call out sidebar, and then complete burning settings including “Burn to”, “Disc Label” and “Save to” options.
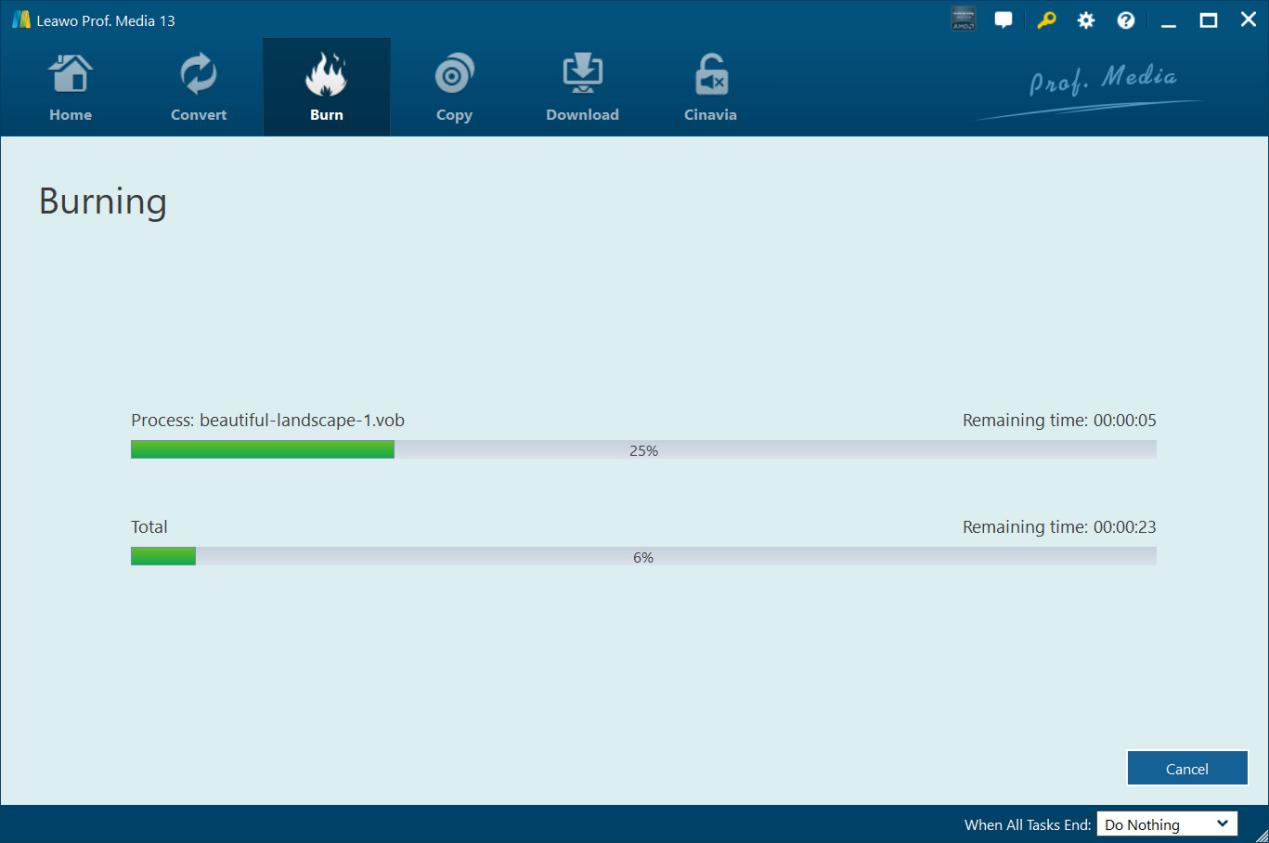
Step 4: Start burning DVD
Finally, click the bottom “Burn” button to start burning video or photo files to DVD.
System Requirments
Size 186 MB
Version
Update
Testimonials
"
What a wonderful Blu-ray copy software tool. I was able to transfer my recorded Blu-ray discs to an old and scratched disc to a new blank Blu-ray disc. No quality loss. That's awesome.

Miky Miller
"
This tool is easy to use. Only a few clicks could complete the BDAV file backup issue. No loss in image and audio quality. The whole backup procedure is quite fast. An effecient but simple tool.
Jon Tone
"
Had to say this Blu-ray Recorder Copy worked exactly as expected. Made quite a few backups of my recorded Blu-ray discs. Save my happy moments even better.
Layla Kelly

Purchase Leawo DVD Creator
$ 29.95

$ 39.95
$ 59.95

Includes: DVD Ripper, DVD Copy, DVD Creator, Video Converter, CleverGet Video Downloader


Burn DVD from any Video and Photos