Mastering iPhone photography will surely bring you a lot of fun. As a matter of fact, there are so many iPhone users who are indulged in taking pictures with iPhone rear camera due to its high performance and convenience. However, most of iPhone users cannot take impressive pictures of great artistic merit with their iPhone, while some of iPhone users have already been professionals in iPhone photography. Why does it happen? One of the most crucial reasons is that the professionals are always trying to master more photography skills and be able to skillfully use them in practice, but others not. If you want to be a great iPhone photographer, here are 8 practical tips on how to take pictures with iPhone.
Outline
Part 1: History of iPhone Rear Camera
Since the first generation iPhone was released in 2007, the tech giant has released a total of twenty iPhone over the 13 years. It is supposed that it makes the most sense to go back and look at the history of iPhone so that you can see just how much camera capabilities have changed over the years. Here comes a review at iPhone evolution, starting when Steve Jobs unveiled the original iPhone.
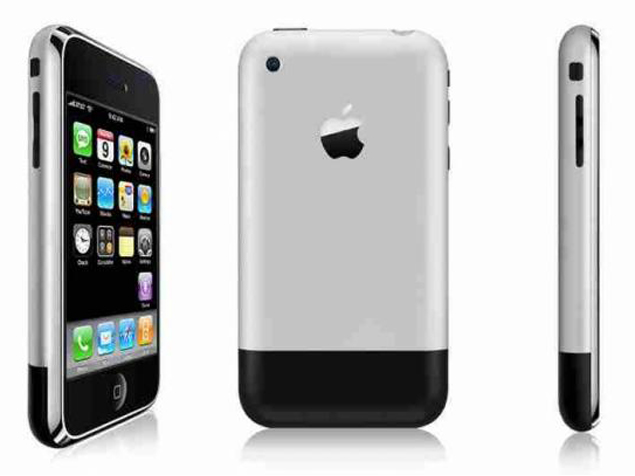
The First Generation—iPhone: June 29, 2007
iPhone 1 was the original iPhone that based on the P2 device of the Project Experience Purple (PEP) team. It had a 3.5-inch LCD screen at 320x480 and 163ppi, featured a full QWERTY keyboard on a soft touchscreen. Besides, it had a quad-band 2G EDGE data radio, 802.11b.g Wi-Fi, Bluetooth 2.0 EDR, and a 2-megapixel camera. The front-facing camera was not included in the original model.
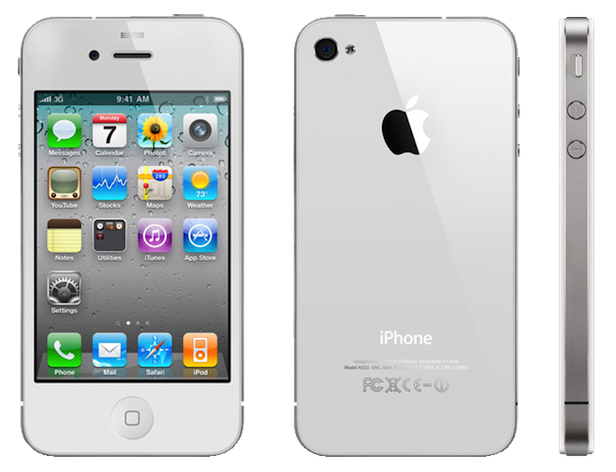
iPhone 4: June 24, 2010
After the iPhone 3G/3GS which used 3.0-megapixel camera that allowed for video recording, the 4th generation iPhone 4 was released on June 24, 2010. This iPhone had a 5-megapixel rear camera with LED flash capable of recording videos in 720pa and a VGA-quality front-facing camera for Face Time.
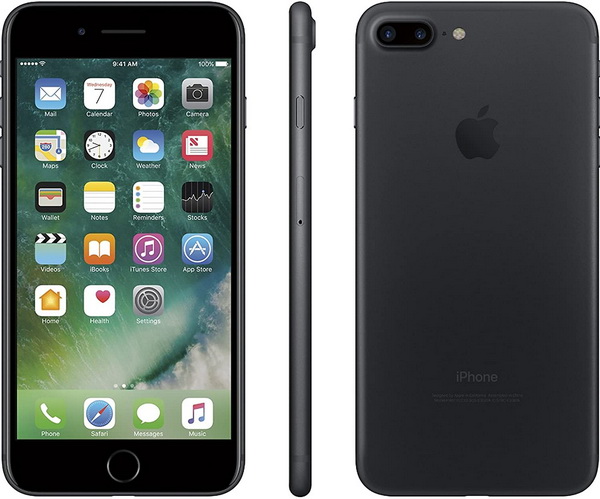
iPhone 7 & 7 Plus: September 16, 2016
After iPhone 4 and its following generations iPhone 4S/5/5S/ and iPhone 6 series, the camera had made a huge leap forward going from 3MP, 5MP , 8 MP to 12 MP. Moreover, iPhone 7 and iPhone 7 Plus were released and made a great progress in camera. The iPhone 7 has a 12 MP (ƒ/1.8) camera that improves picture processing while the iPhone 7 Plus gained more popularity than previous models’ due to its new dual camera. With a significantly improved zoom feature and Portrait mode, the camera update let iPhone 7 Plus users take impressive photos using Depth of Field.
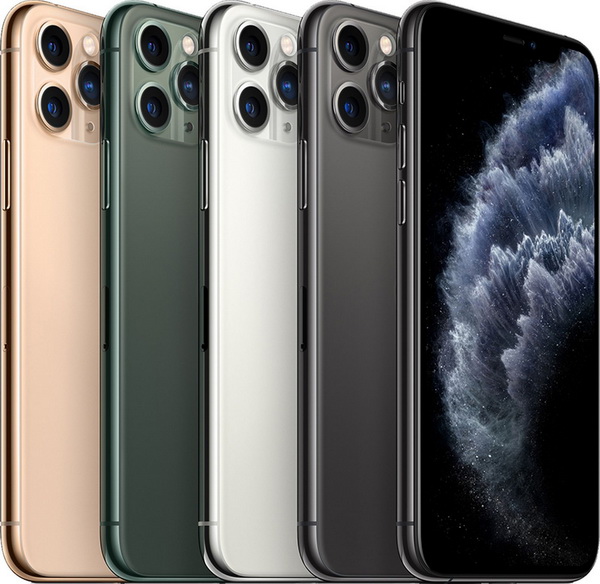
iPhone 11 & 11 Pro Series: September 10, 2019
The iPhone 11is the least expensive of Apple’s annual line, but still has enough new features. It has two rear cameras, both 12 MP, offering wide and ultra-wide lenses. And iPhone 11 pro specially features three12 MP HDR camera lenses, offering wide, ultra-wide, and telephoto lenses. With iPhone 11 Series, you could even use the brand new ultra-wide-angle lens camera to shoot more immersive landscape photos and use the new night mode to improve low-light photography and 4K video capability.
iPhone 12 & 12 Pro Series: October 23, 2020
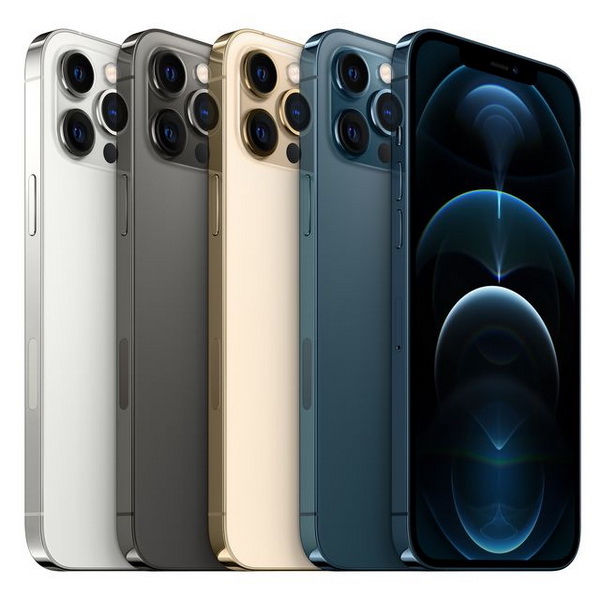
iPhone 12 series are regarded as one of the highest-rated phones of all time. The iPhone 12 includes the dual-lens camera, which is good enough for daily use. The higher-end iPhone 12 Pro and Pro Max phones make some impressive upgrades for their camera capabilities, including a triple-lens with LiDAR scanning, improved Night Mode, and enhanced zoom range and lens functions. LiDAR (or “Light Detection and Ranging”) does work in a similar way to radar, only it uses lasers to judge distances and depth, improving augmented reality experiences as well.
Part 2: 8 Tips on How to Take Pictures with iPhone
Before iPhone was introduced, hardly have you predicted that you could easily take pictures with such a fantastic small device. There is no doubt that iPhone photography is getting more and more popular due to the continuous release of updated generations and the improvement in iPhone camera. The iPhone works virtually well for snapping pictures with its excellent hardware and smart software. However, to take pictures with iPhone also has limitations. Here are 8 favorable tips to help you along the way.
△1. Use the iPhone camera shortcut
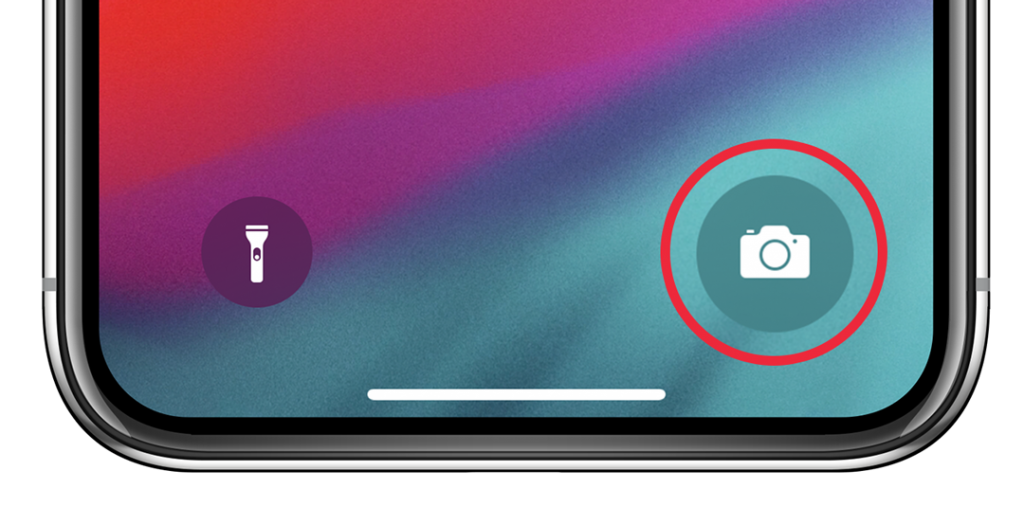
If you want to capture a wonderful moment with your iPhone, you may swipe left to unlock screen and open Camera, or swipe up on the iPhone camera shortcut from the Lock screen to quickly take pictures. The iPhone camera will automatically focus and adjust the exposure. Moreover, if you want to zoom in on the body, spread two fingers on the screen. Or you can zoom in and out, and then drag the slider to the left
△2. Turn on the grid for better composition
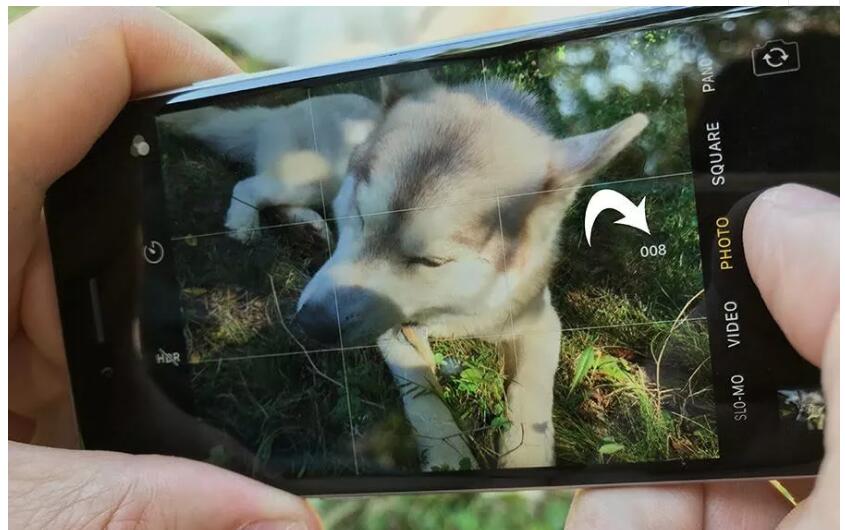
A grid option is available on your iPhone, which gives you an aid in lining up pictures so that they follow the rule of thirds. You can visit Settings > Photos & Camera and enable the Grid switch to turn this option on.
△3. Take portraits like a professional
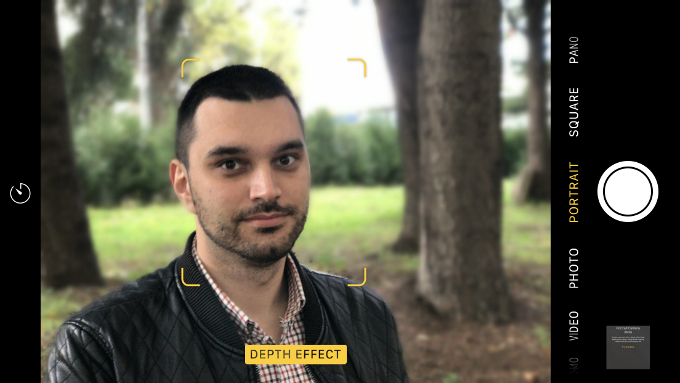
If you’ve got newly updated iPhone models, you can take advantage of “Portrait” Mode to create a depth-of-field effect, which lets you compose studio-quality photos that keep the subject of your photo sharp while blurring the background.
△4. Shoot in HDR mode for more impact
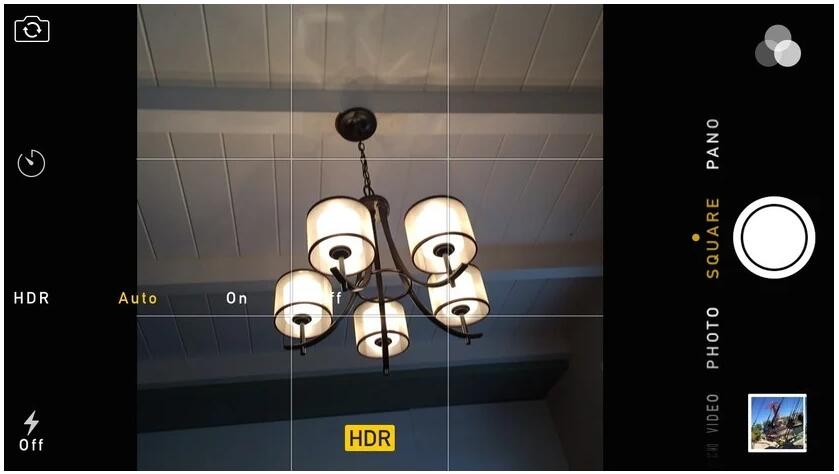
The iPhone comes with a software feature called High Dynamic Range, or HDR, which makes it possible for the camera to capture details both in the dark and the light areas, balancing the shadows and highlights of the picture. Usually, HDR mode was used for snapping high-contrast scenes such as landscapes, objects in direct sunlight and scenes with backlighting.
△5. See beyond the frame
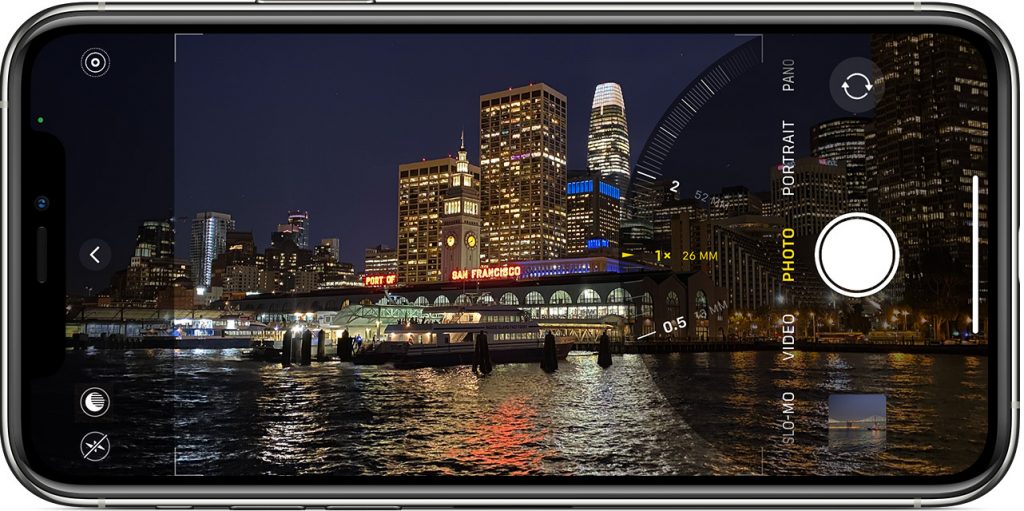
On iPhone models with the Ultra Wide Angle (0.5x) lens, the Camera interface shows you what’s happening outside of the shot that you’re framing, which helps you decide if you need to reframe your shot or shot a more immersive landscape photo with this ultra-wide-angle lens camera.
△6. Use Burst mode for action shots
“Burst mode” is one of the greatest non-communication features of iPhone, which is originally used for taking clear pictures for moving subjects, but working well when your camera is moving, too. You can tap and hold down the shutter button (or volume up button) or slide the shutter button to the left and hold it on your iPhone camera (on iPhone 11, 11 Pro, and 2nd generation iPhone SE) to take a burst of photos, then release it to stop.
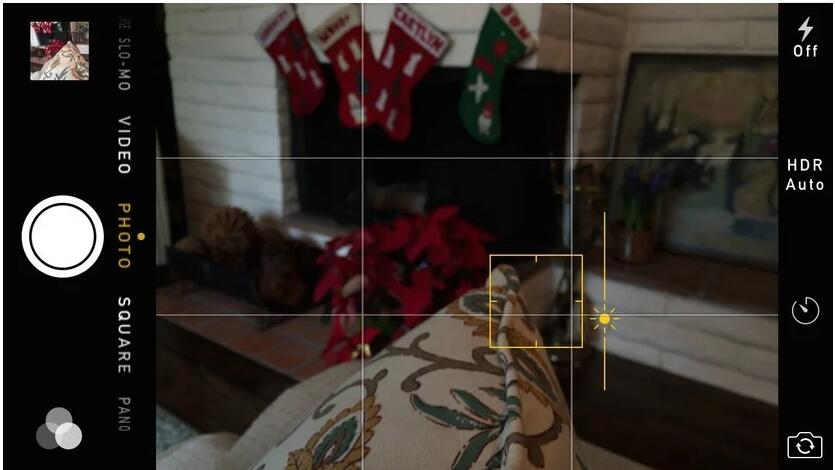
△7. Slide the exposure meter to brighten (or darken) images
When you find a picture is too blown out or underexposed before snapping, you can adjust the yellow exposure slider next to the focus square. By sliding upward using the sun icon, you can increase your exposure, or by sliding downward, decrease exposure instead.
△8. Post-process your photos
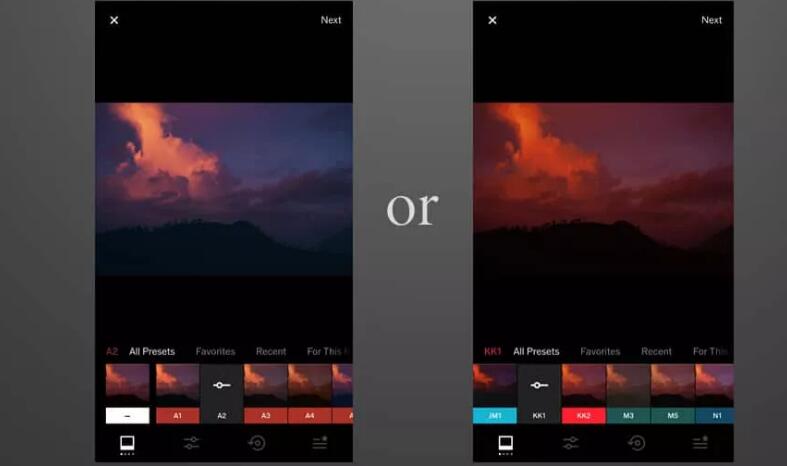
After you’ve taken photos, you can post-process your photos with third-party editing apps or photo enhancing software to improve iPhone photo quality. Editing apps make it possible to additionally customize filters as well as adjust contrast, saturation, white balance and a few other handy things. The following section will focus on how to optimize your iPhone photos on computer.
Part 3: How to Improve iPhone Photo Quality with Leawo PhotoIns?
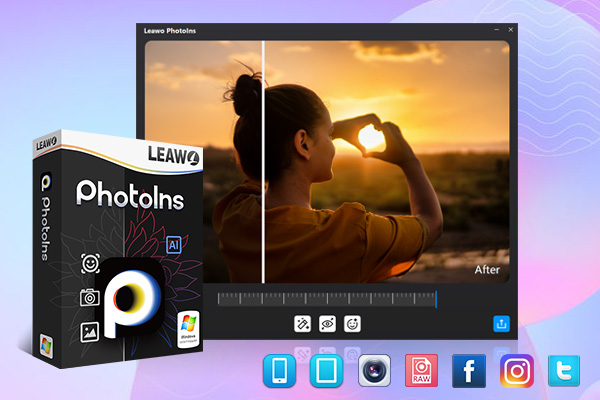
Leawo PhotoIns is a powerful AI photo enhancer that optimizes photos instantly. It automatically enhances photos, intelligently retouching skin, removing freckles, enhancing eyes, adjusting lighting and more. Besides, it can also improve iPhone photo quality by fixing photo exposure issues automatically, boosting photo lighting and color quality, improving photo contrast for better visual effect, and so on. With this photo enhancer, you can reduce noise and sharpen details of the photo, and produce JPG images of much better quality. With intuitive and user-friendly interface, each of you can easily make full of use it to improve iPhone photo quality effectively. To make it, just follow the guide below:
Step 1. Download Leawo PhotoIns
Go to Leawo official site, take a few minutes to download an install Leawo PhotoIns on your PC. And then launch the program to improve iPhone photo quality.
-
Leawo PhotoIns
- Enhance portrait photos easily with advanced AI technology
- Fix photo exposure and white balance issues automatically
- Optimize photo colors and perfect photo tints
- Make photos perfectly clear with smart dehaze
- Boost photo lighting and color quality
- Process RAW and JPG files
Step 2. Transfer iPhone pictures to your PC
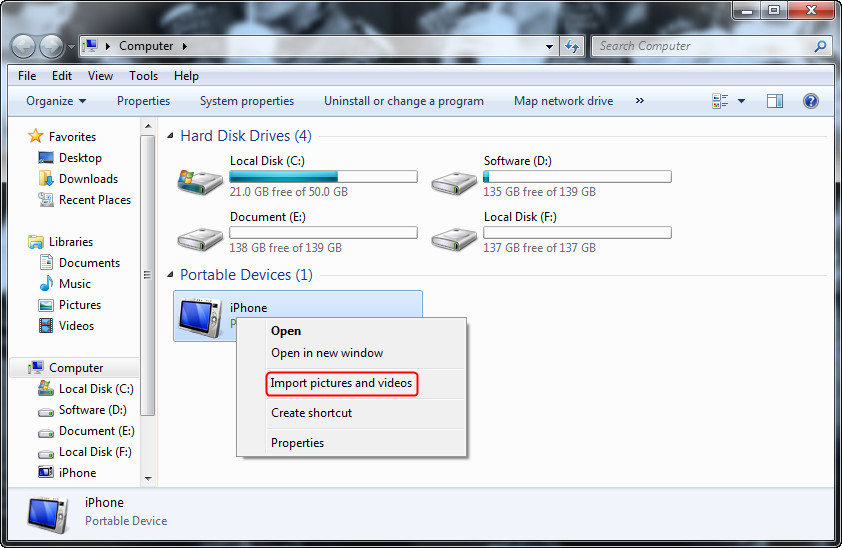
To transfer photos from iPhone to computer, there are several ways available. You can connect your iPhone to your PC via USB cable without iTunes running. Then select “Import Photos and Videos” to find your photos through the folders and copy them to your computer as usual.
Step 3. Add photos to the program
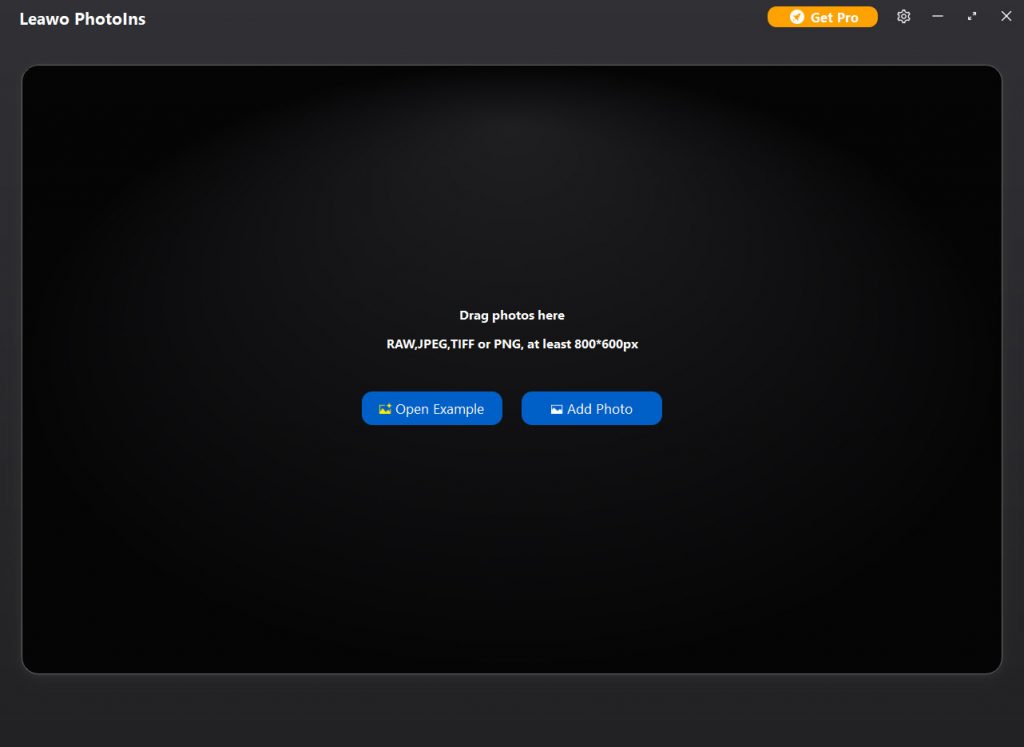
Click “Add Photo” button to browse and load source photos taken by your iPhone to Leawo PhotoIns. Alternatively, you can also directly drag and drop your photos to the program. Note that Leawo PhotoIns supports RAW, JPEG, TIFF, and PNG files that are at least 800×600px.
Step 4. Enhance photos
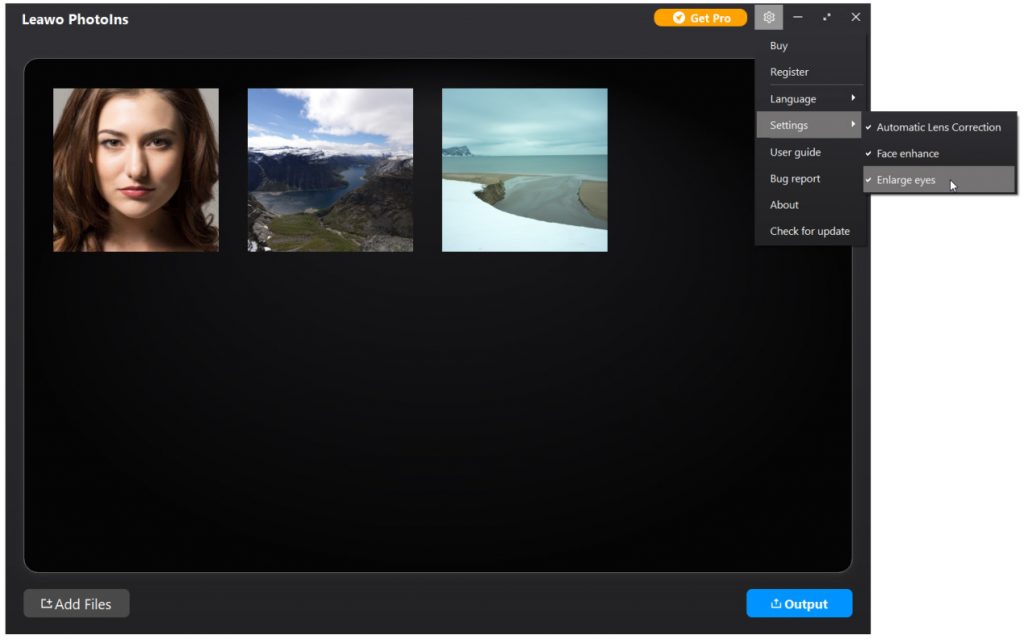
You can enhance multiple photos in batch or enhance photos one by one with the internal AI enhancer. To AI enhance photos in batch, just click the “Settings” button on the top-right corner, and then enable “Automatic Lens Correction”, “Face enhance” and/or “Enlarge eyes” features. Leawo PhotoIns will then automatically enhance photos in batch according to the features you have enabled.
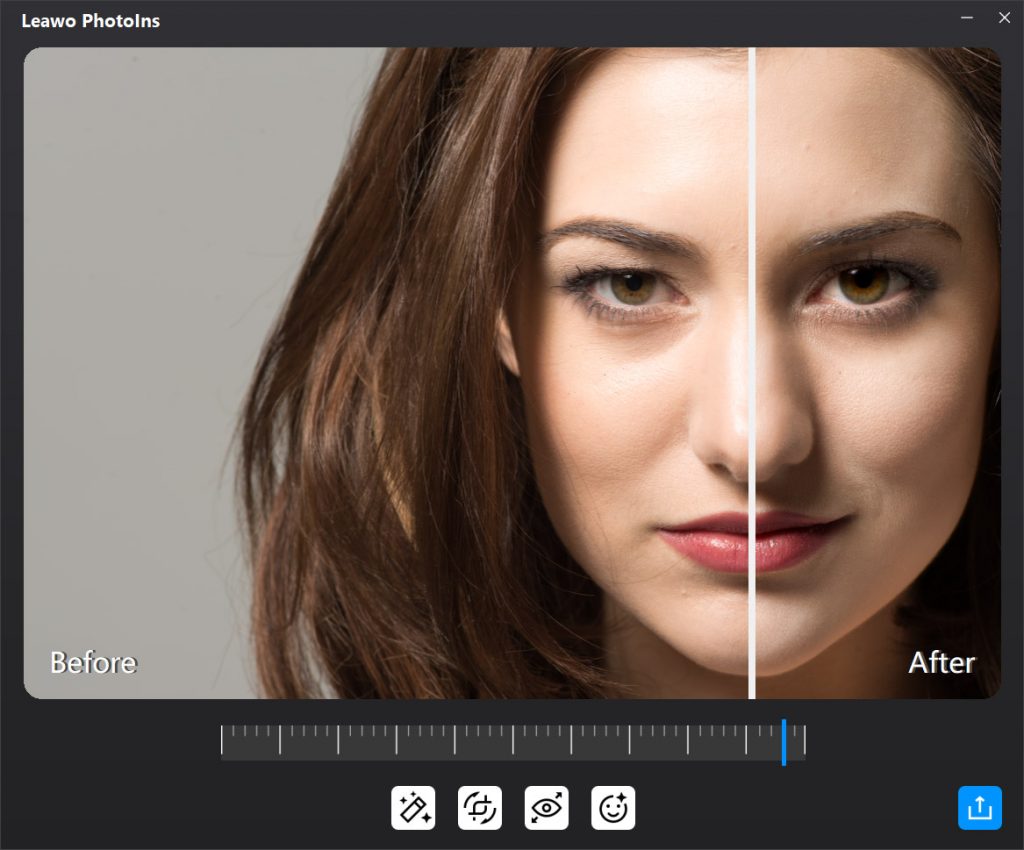
To make sure you can get the best enhancement, you could enhance a single photo every time. After loading photos, you can select one photo and double click it to enter the photo enhancer editing preview window. And then you can directly drag the effect adjuster bar to adjust the photo AI enhancing degrees, or apply /remove enhancing features including “Automatic Lens Correction”, “Face Enhance”, “Enlarge Eyes” and “Face Enhance”.
Step 5. Output settings
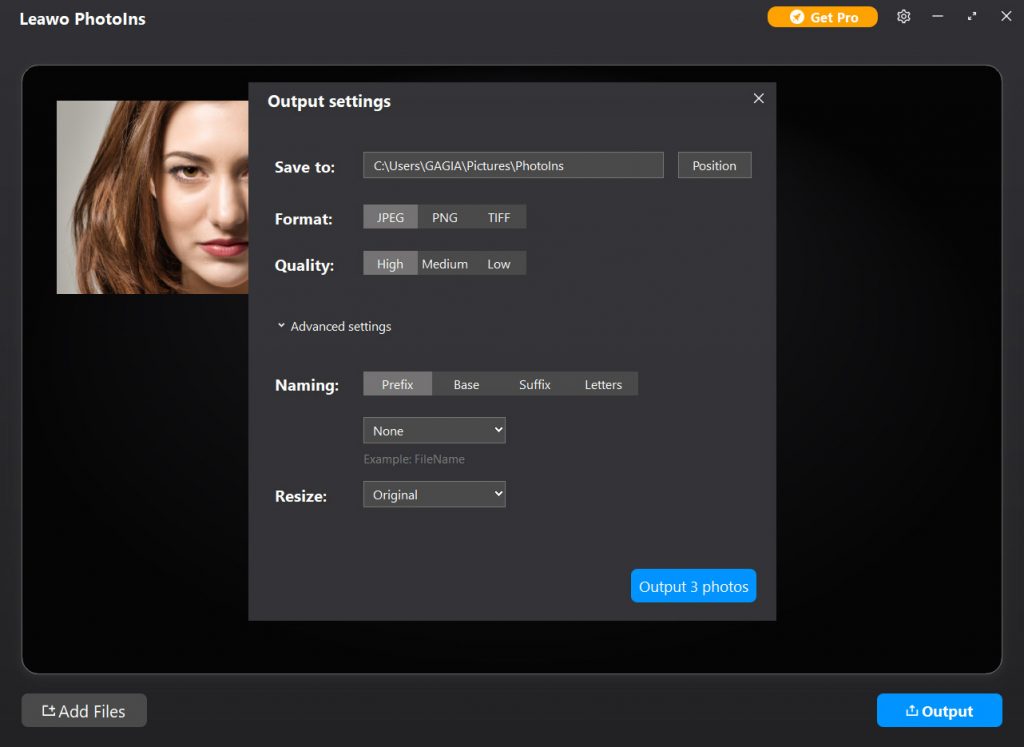
After completing photo AI enhancing, click “Output” button to pop up an “Output settings” window, where you can set the output path, format, quality and resize the photo, etc.
Step 6. Get high-quality photos
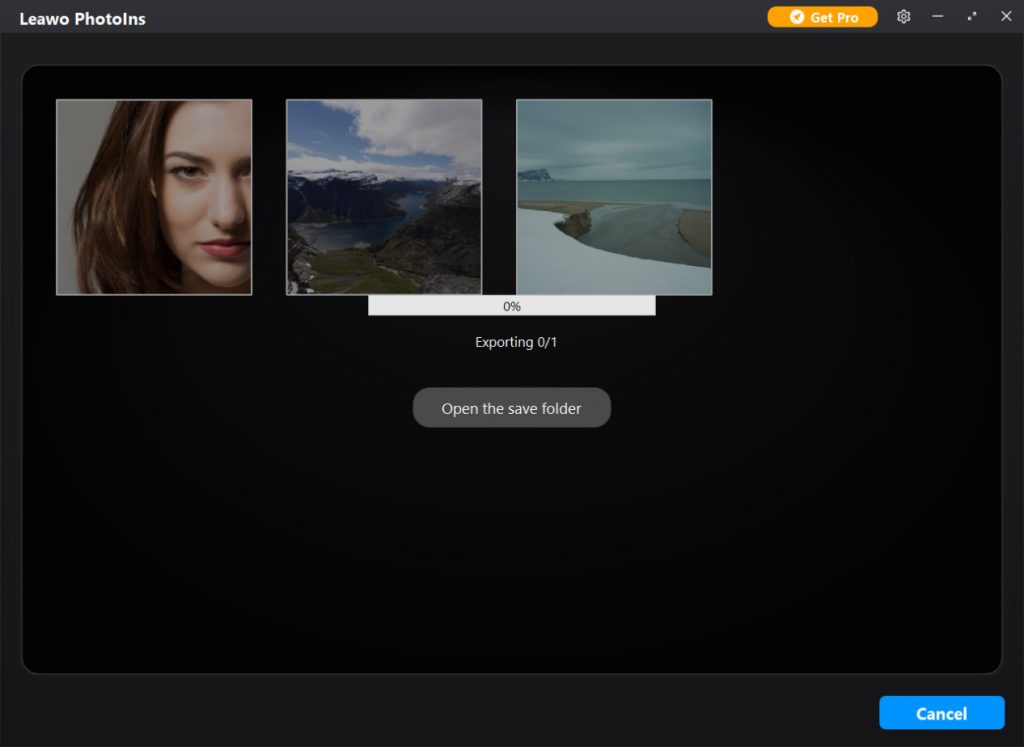
Finally, click the blue “Output

