It is one of basic photography knowledge that Prime lens are especially used for shooting photos with a blurry background. If you’re searching for a new lens and learning how to improve your photography skills, a prime lens can be taken into consideration. A prime lens is great for both beginners and professionals to capture high-quality and sharp images. To properly use a prime lens can also help you become a better photographer or filmmaker, because prime lenses rely on way less mechanics than other lenses. To become an excellent photographer, you have to figure out what a prime lens is and what a prime lens is used for. Read on to find out the answer and learn some useful tips.
Menu
Part 1: What is a Prime Lens?
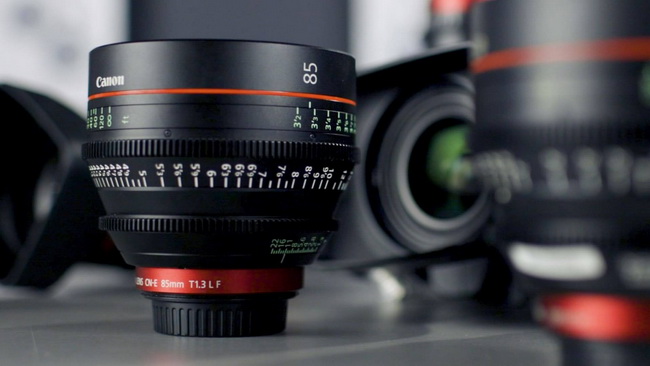
A prime lens is a fixed focal length lens that doesn’t let you zoom in or out, which has very wide or large apertures. It is common sense that focal length is one of the significant characteristics of a lens, which is the distance between the point of convergence in the lens to the sensor in your camera. The other important characteristic of a lens is aperture. Apertures is an opening through which light travels, and determines the depth of field and low light performance. Prime lenses have maximum apertures typically ranging from f/2.8 to f/1.2. As prime lenses don’t need any moving parts, it is easy to avoid many problems arising. Besides, there is only one focal length for prime lenses, so it would be a challenge for you to be a more creative photographer.
Part 2: What is a Prime Lens Used for?
Definitely, a prime lens means little if you don’t know how or when you’d use it. It’s necessary to make it clear what a prime lens is mostly used for to make a creative and professional prime lens photography. Check the tips below to figure out what a prime lens is used for, which highlights the benefits of using a prime lens as well.
2.1 Used for Letting Enough Light in
First and foremost, prime lenses often have a wider, or “faster,” maximum aperture. The aperture controls how much light enters the camera, and more light means better low light performance, faster shutter speeds, and more. Simply put, a prime lens is ideal when you are shooting in low light situation.
2.2 Used for Isolating Subject
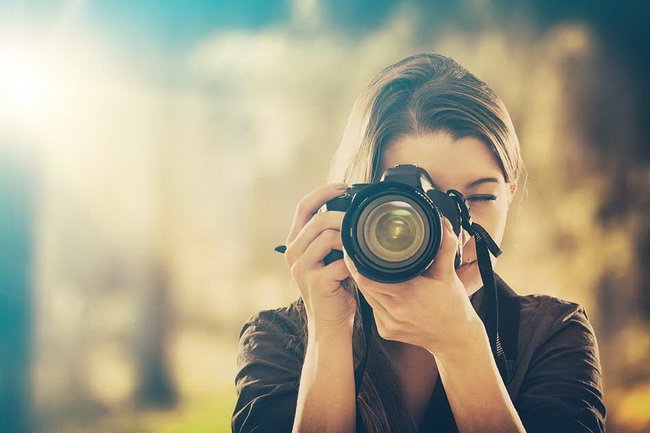
Moreover, prime lenses have wider apertures that allow you to get shallower depth of field in your images. When you are going to isolate your subject with the background super blurred out, a prime lens will do a great help. For example, a prime lens is mostly used for portraits photography.
2.3 Used for Getting Better Image Quality
To get better image quality, you can opt to choose a prime lens, particularly a pro-level prime lens. Due to its simple design, a prime lens is generally less likely to have any issues with chromatic aberrations, distortions, or edge sharpness, leading to the best quality with images.
2.4 Used for Making Travel Photography
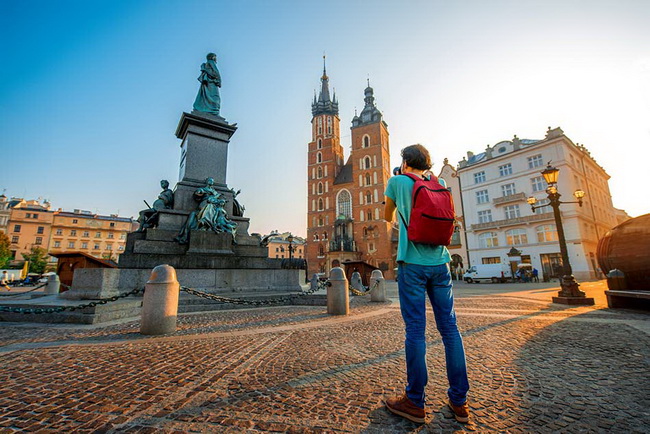
A lot of prime lenses are generally compact and light, which is incredibly beneficial for travel photography. A prime lens can be easily attached on your camera or carried in your camera bag. A standard prime like a 50mm allows you to tackle all sorts of subject, from close-up portraits to architecture to landscapes and everything in between when traveling.
2.5 Used for Stimulating Your Creativity
A prime lens has only one focal length, which forces you to move around and explore different perspectives to try different camera placements. In this way, you are essentially encouraged more creativity in different angles. For example, if you use a 50mm prime a lot, you’ll know just how things will look when you shoot with that 50mm, and finally you’ll be an excellent professional at this certain focal length.
To figure out what lens to use for your camera, you should learn more about prime lenses with different focal length. Basically, for landscapes photography, a 24mm prime lens is an excellent choice that gives you a wide-angle view of the landscape. Besides, a 24mm lens is advantageous for other photography pursuits as well, including architecture, wedding and event photography, street photography, and even group portraits. Moreover, you can get creative with a 35mm lens which allows you to photograph virtually any subject. A 50mm prime lens is regarded as the best and one of the most versatile lenses, which has excellent sharpness and low-light performance, ideal for everything from architecture to portraiture to landscapes. The telephoto 135mm prime lens is a stunning lens for portrait photography, and more.
Part 3: Prime Lens vs. Zoom Lens
If you’re looking to upgrade your current lens or add a new one to your camera, there are a lot of choices. Except for prime lenses, you can choose zoom lenses that are perfect for beginners because of their variable focal lengths. There are some differences between two types of lenses.
- Focal Length
- Aperture
- Price
The main difference between prime and zoom lenses is in their focal length. A prime lens has a single, fixed focal length, while a zoom lens has multiple focal lengths that can be varied. And you can also get your subject to appear closer or further away with changing the focal length, and without changing the physical distance. Prime lenses tend to be smaller, lighter and offer better low light performance than zoom lenses. Zoom lenses are generally heavier but far more versatile thanks to their wider focal range.
Unsurprisingly, prime lenses don’t need additional parts to allow for zooming, they can have wider apertures than zoom lenses. Prime lenses often have maximum apertures of f/2.8 to f/1.2, letting more light into the camera sensor. Moreover, it’s possible to create a shallow depth of field with a wider aperture, which makes prime lenses particularly popular with portrait photographers wanting to create creamy bokeh backgrounds.
It is obvious that there’s a wide variety of prices in both prime and zoom lenses. Literally, quality zoom lenses can cost a lot of money, while many modern prime lenses are significantly cheaper than the zoom counterparts. For example, a 24mm f/2.8 lens will set you back around $400, while a 24-70mm f/2.8 lens will cost $1900-2300. Prime lenses are obviously the more affordable option.
Part 4: How to Enhance Photos Shot with Prime Lens in Leawo PhotoIns?
After you have taken some photos with prime lens, you need to do some post-processing and enhance these photos with photo enhancer software. Powered by Artificial Intelligence technology, Leawo PhotoIns is a professional and one-stop AI photo enhancement tool to improve your photo quality in a simple click. It can be used to do portrait photo enhancement like retouching skin, removing freckles, enhancing eyes, adjusting lighting and more. It automatically and intelligently analyzes and perfects your pictures, like fixing photo exposure issues, enhancing colors, boosting photo lighting and color quality, etc. To automatically and intelligently perfect photos, you can follow the simple steps below.
Step 1. Download and Install Leawo PhotoIns
Go to the official site and download Leawo PhotoIns. Install the program on your PC in minutes.
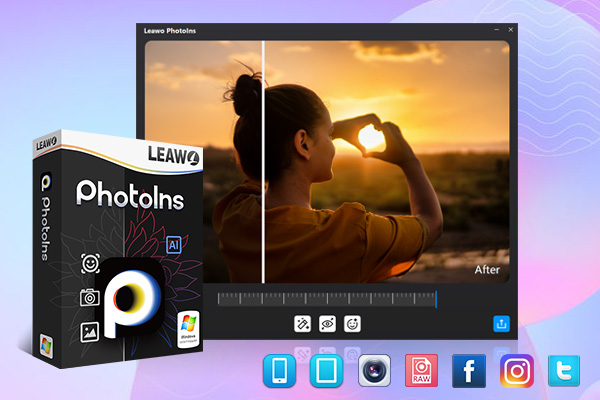
-
Leawo PhotoIns
- Enhance portrait photos easily with advanced AI technology
- Fix photo exposure and white balance issues automatically
- Optimize photo colors and perfect photo tints
- Make photos perfectly clear with smart dehaze
- Boost photo lighting and color quality
- Process RAW and JPG files
Step 2. Run Leawo PhotoIns and Add Photos
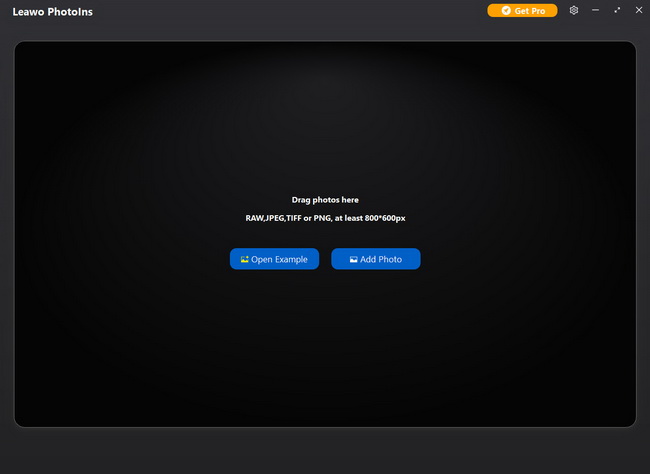
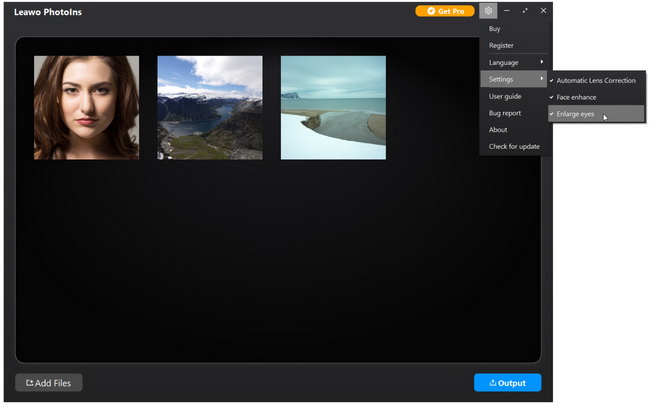
Run Leawo PhotoIns on your computer first to enter the main interface, and then click “Add Photo” button to browse and load source photos shot by prime lenses from your computer into Leawo PhotoIns. Or you can directly load your photos into Leawo PhotoIns by direct drag-n-drops.
Step 3. Enhance Photos Automatically
Leawo PhotoIns enables you to enhance photos in batch or one by one by using the internal photo AI enhancer.
- Enhance photos in batch
- Enhance Photos One by One
To AI enhance photos in batch, you can click the “Settings” button on the top-right corner, navigate to the “Settings” option and enable “Automatic Lens Correction”, “Face enhance” and/or “Enlarge eyes” features. After all settings are done, Leawo PhotoIns will automatically enhance photos in batch. Finally, just click the blue “Output” button for output settings.
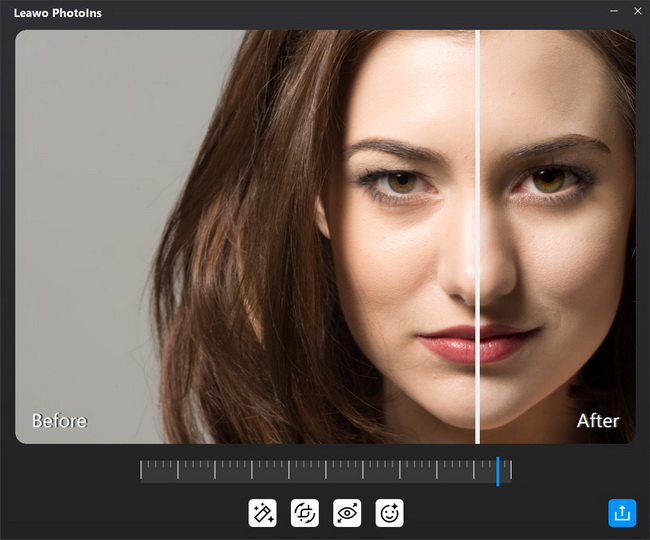
If you prefer enhancing photos one by one, you select one loaded photo and double click it to open the photo enhancer editing interface, the photo AI enhancer will then automatically AI enhance the photo for you. There is an effect adjuster bar right below the previewer, which enables you to drive the slider to adjust the AI photo enhancing effect.
Step 4. Output Settings
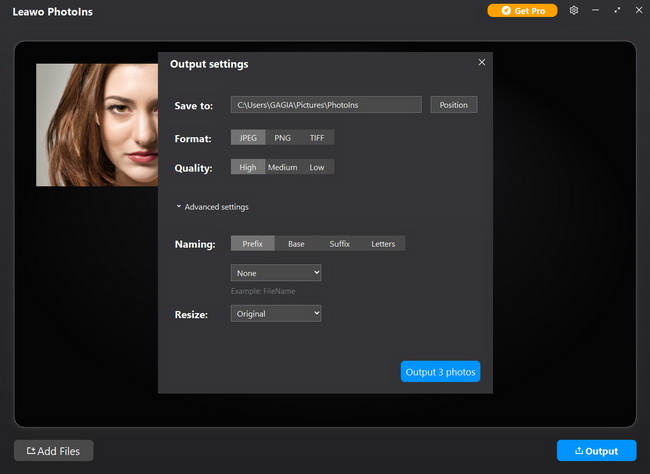
When all photos are AI enhanced, click the blue “Output” button to proceed. When an “Output settings” window pops up, you need to set an output directory to save output AI enhanced photos, select the output photo format, determine the output photo quality, and so on.
Step 5. Output AI Enhanced Photos
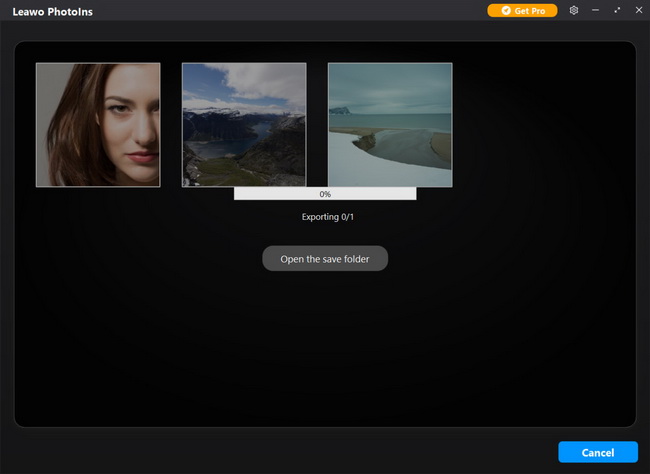
Finally, click the blue “Output

