For those who are active on different social media platforms, you must have well known the feature of “story” - a post that is only visible briefly for 24 hours. Story, the format, made popular by Snapchat and Instagram, has been adopted by some mainstream social media and communication APP, such as Facebook and WhatsApp. We are seeing “story” everywhere as if it has taken over our smartphones.
Outline
Introduction to Snapchat Story
Snapchat is believed to be the first APP that created the “story”. The feature that it only exists briefly indeed fits in with Snapchat’s brand tone. On Snapchat, “Story” is a collection of images and short videos that can be overlaid optionally with added effects, but which disappears after 24 hours. You can view a “Story” in sequence either waiting out for a default play in order or advancing to the next manually. Snapchat presents the “Story” for the purpose of unfolding the user’s day, and you can add as many to stories as you can. “Story” has several types, you can not only do your own story but also stories with a group friend which is called “Group stories” which contains up to 1,000 snaps. You can also play with “Our Story”, which is a collection of Snaps from various users that appear in channels of Discover, search, or through the Snap Map. By adding your snaps to “Our Story”, you get a chance to be visible to the people who are not connected with Snapchat.
How to Add iTunes Music to Snapchat Story?
Story is not all about snapshots, it could be anything that counts as a “moment” in our daily life. A song that triggers emotion or feelings, a clip of the fallen leaves in autumn, a sound effect of stepping on snow. All these trivial moments make up the narrative of our life. So what if you want to share a moment of music that presents your inner world on Snapchat or send it to your friends? We are here to help. To share music to the Snapchat story doesn’t really follow the way of normal social sharing, which means you have to record the background music of a video and then post it. See the steps below for further instructions.
Step 1. Setting Up the Music
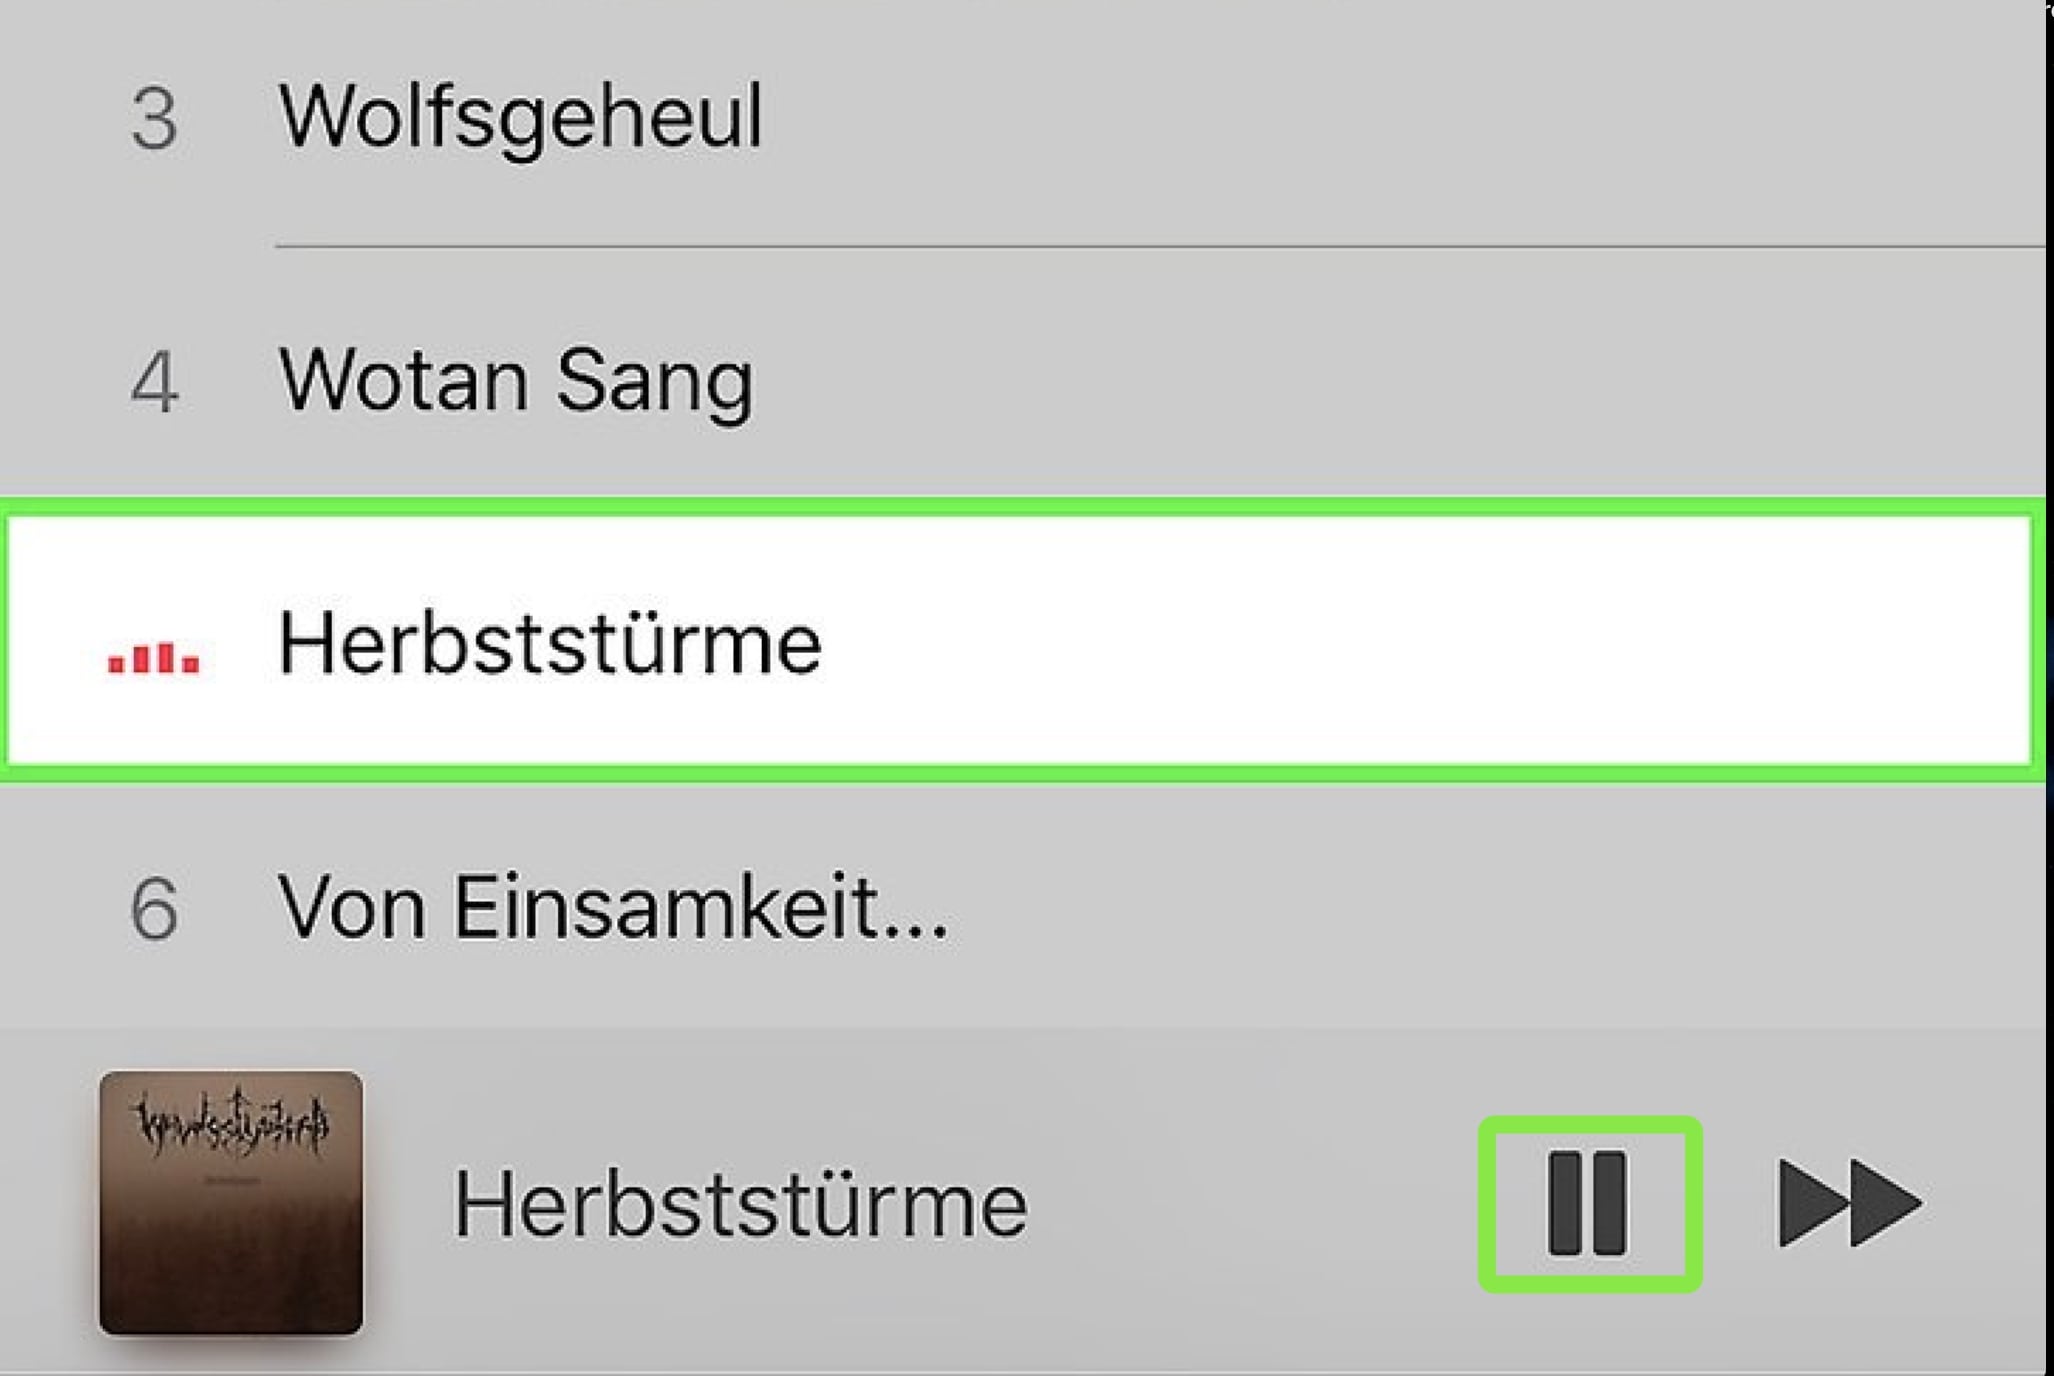
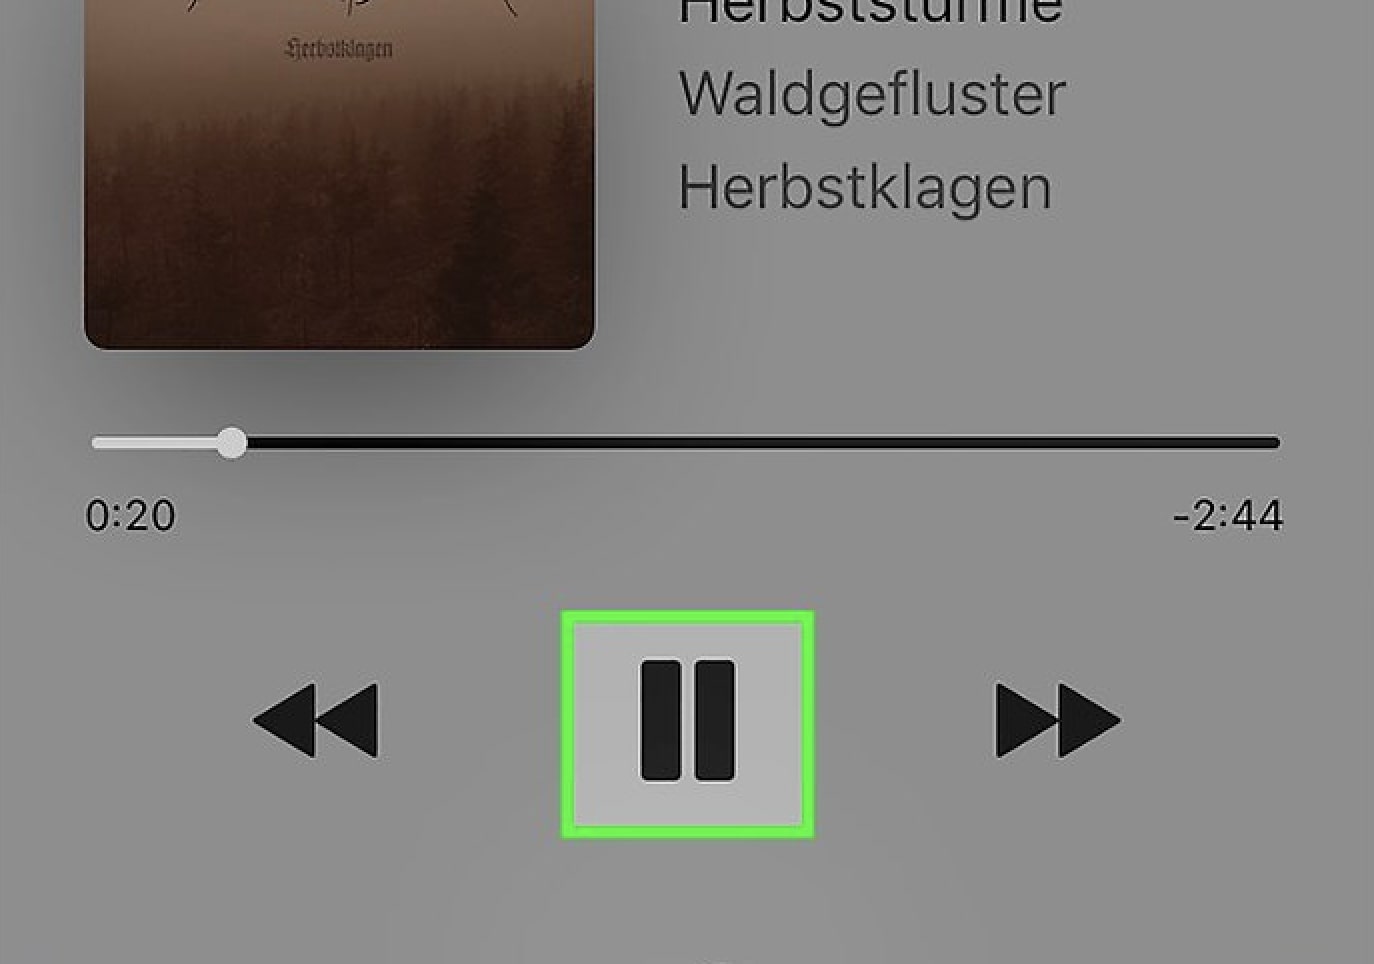
1.Open Apple music on your phone and find the song you want to feature in your snap story and tap the “pause” button. If the song automatically plays when you tap it, you have to pause it before recording so you don’t miss a part of the song.
Also, if you just want to share a specific part of the song just tap on the start of that part while the song is paused.
Step 2. Recording the Music
1.Open Snapchat APP, and play the music to be ready for recording. In order to switch between two APPs smoothly, you can take the shortcut of “Control/Notification center”.
On iPhone, swipe down from the top to call out the Control Center to see the song you just paused. Press “►” to play the song and then quickly go back to Snapchat.
On Android, swipe down from the top to reveal the Notification Center. You will see your song listed and press “►” to play the song before switching back to Snapchat.
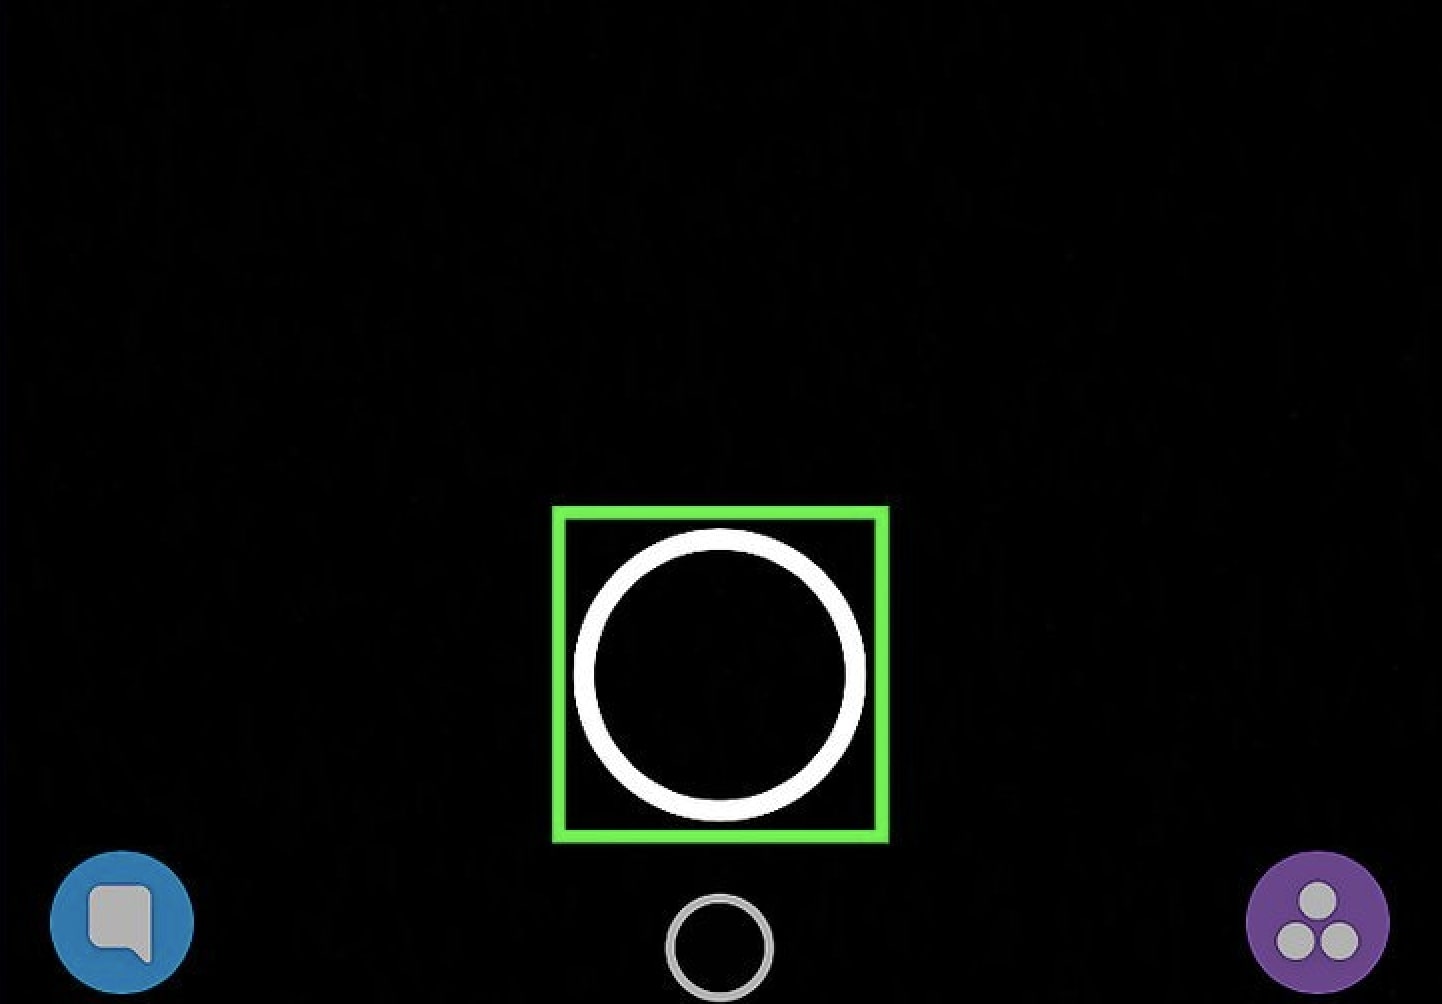
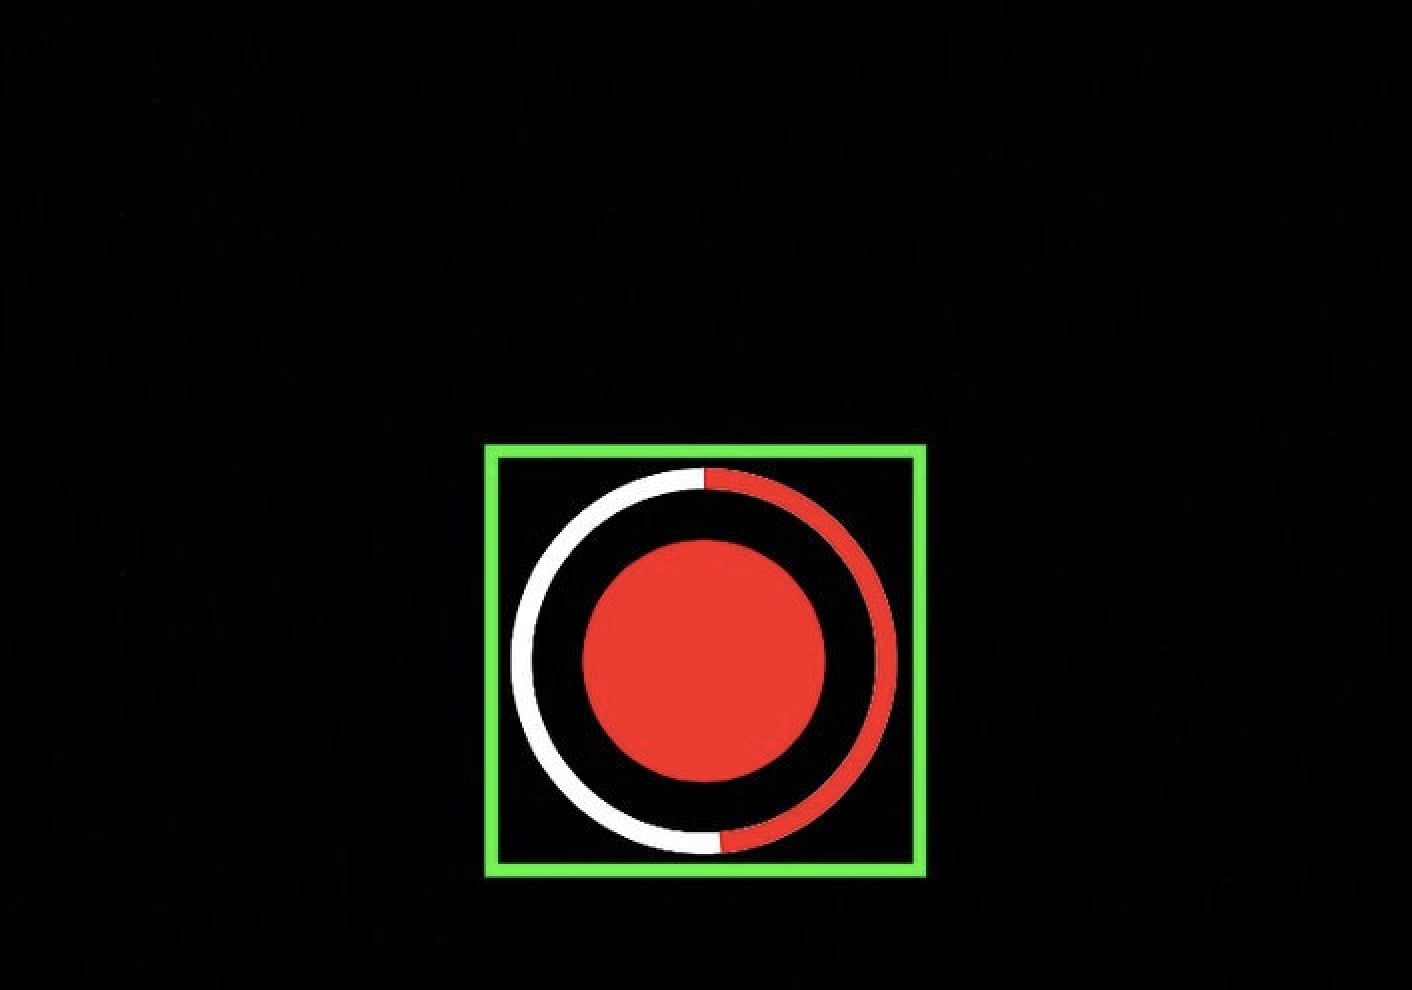
2.Tap and hold the big circle icon to record a video. Snapchat will record the video with background music. The image in the video is up to you. Please note that part of the song could be missing as there is a gap between you switching the APPs.
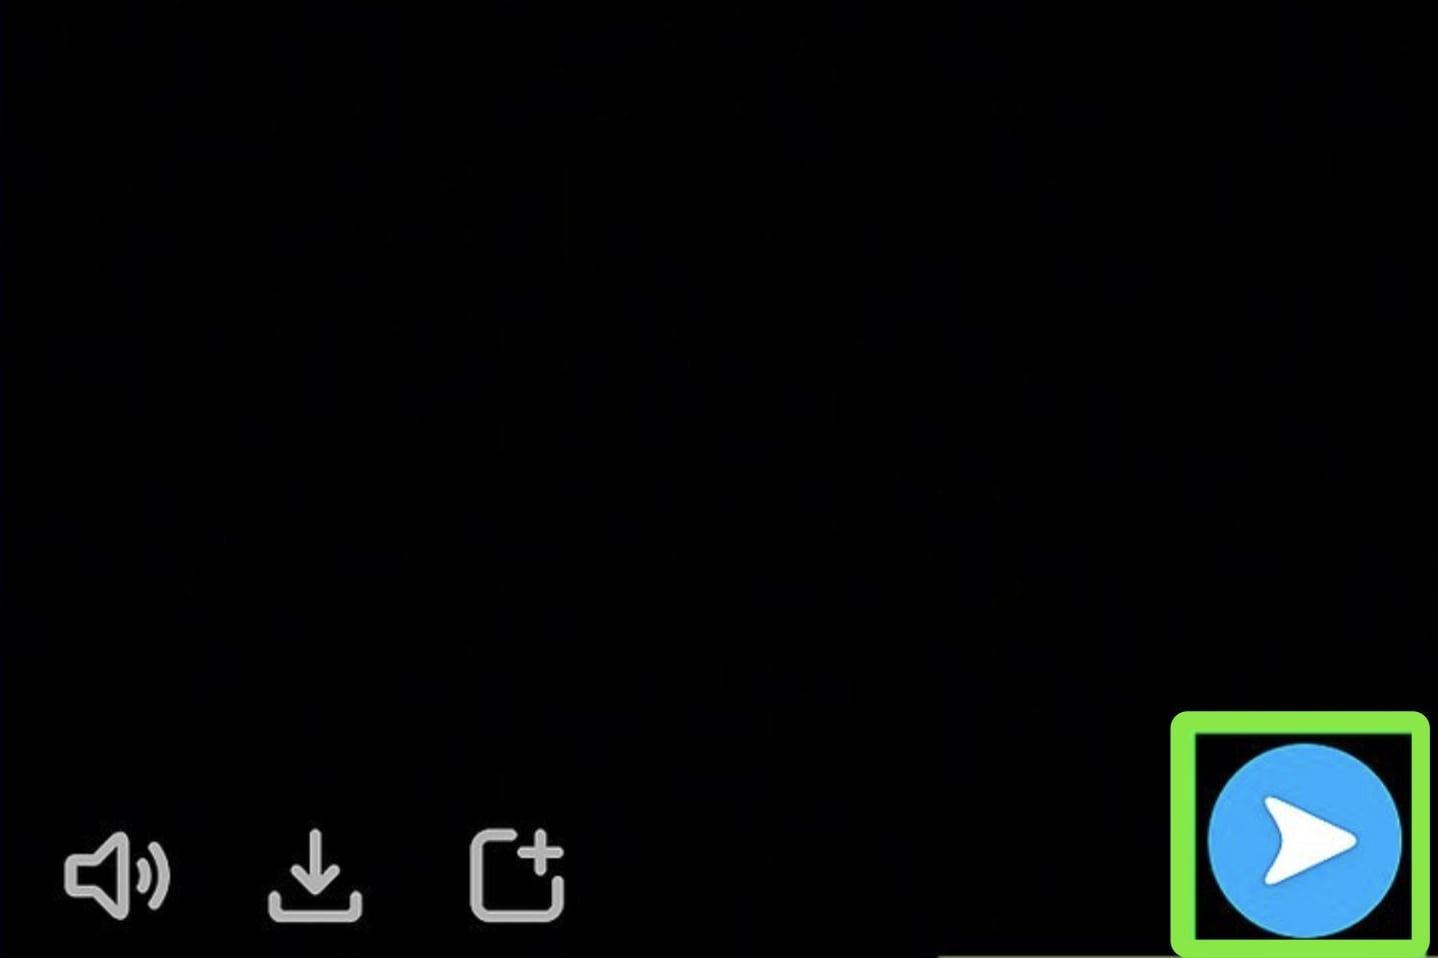
3.To stop recording you just need to lift your finger from the big red circle button. Then the screen will start playing your video with the background music you just recorded. If you can’t hear any sound or music, try to tap on your volume control to unmute Snapchat to fix it.
Step 3. Sending the Snap
1.When you are satisfied with the music and video just recorded, tap the blue send arrow on the bottom right
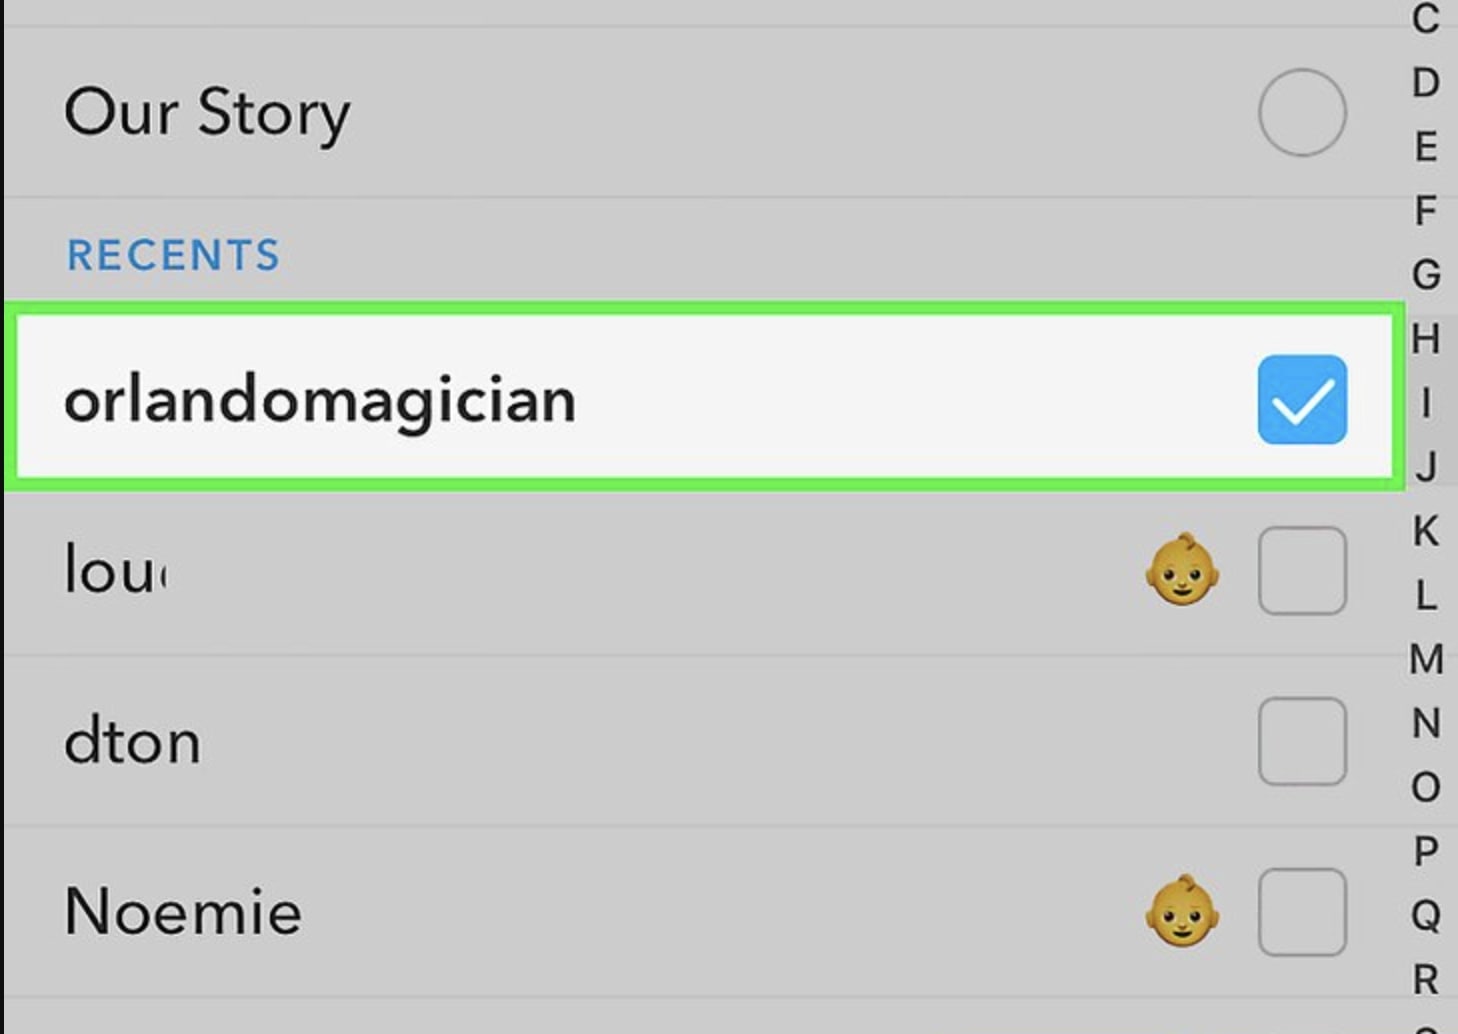
2. You can tap on your friend’s name to send a Snap select multiple friends. Friends with a blue check will receive your snap.
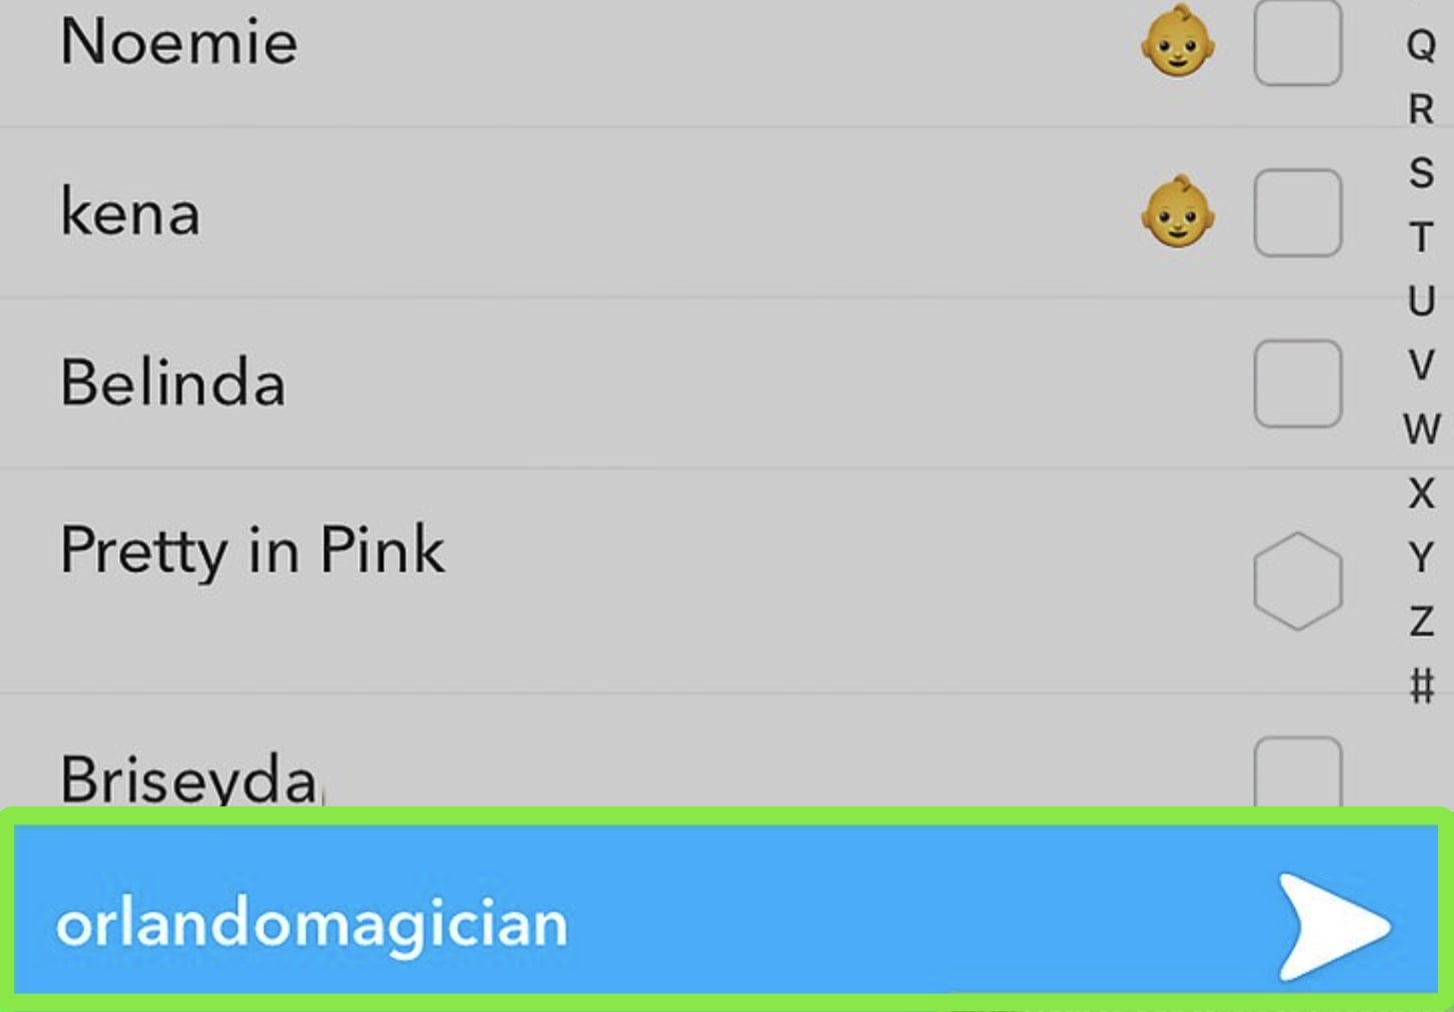
3. Tap the white send arrow to send.
Tips for Adding iTunes Music to Snapchat
Seemingly, adding iTunes Music through recording via Snapchat is not that difficult, but just a bit complicated. This is because you have to switch between two APPs smoothly to make sure that they both work. Meanwhile, the shift of two Apps would create a gap in the music recording, which means there could be a part of the music missing. How long of the soundtracks would be missing? It really depends on how well and smoothly your mobile devices run. Therefore, we have a few tips here to help you to improve the job.
- 1. Do not close Apple Music in the whole process otherwise the music won’t be recorded as the background music in Snapchat.
- 2. It would be better and easier if you can work with two phones: One phone for Snapchat recording, the other one for playing Apple Music.
- 3. Please remember to keep the volume of the music as loud as possible for a better recording effect.
- 4. Please try to record the music in a quiet place so you can reduce the noise.
- 5. If the noise is inevitably recorded, Leawo Video Converter is here to help. You can remove the noise with it before sending it to Snapchat.
- 6. Mute the other APPs so you don’t get disturbed during recording.
External Tip: How to Share iTunes Music on Snapchat with Leawo Prof. DRM?
Is it just me or does anyone find adding iTunes Music on Snapchat stories through video recording a bit clumsy? Yes, that’s true, because basically, you have to add music to Snapchat videos. In order to do so you have to switch between Snapchat and Apple Music, and then control the music playing just about right to make sure the part of the music is not missing. What if you are recording the full song? Then you have to hold the record button for at least three minutes with an awkward blank screen (or you can come up with something to match the music). It’s tiring and boring. Not to mention the noise of the environment that could completely ruin your music.
-
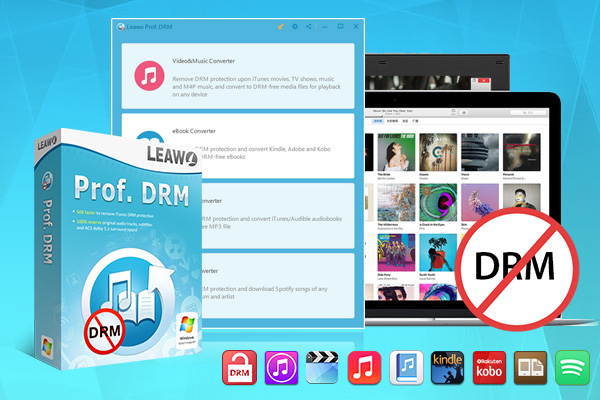
Leawo Prof. DRM
- Convert iTunes DRM-protected M4V movie and TV show to DRM-Free MP4
- Remove DRM from M4B, AA, AAX files and convert any Audible AA, AAX file to MP3, even without iTunes authorization
- Convert iTunes DRM-Protected M4P and non-DRM iTunes M4A Music to MP3
- Remove DRM-protection on Spotify music and convert to Universal audio format for enjoying music offline on any devices
- Convert DRM-protected eBook from Kindle, Kobo, Adobe to DRM-free epub, mobi, azw3, txt, etc., format
So this is when you need Leawo Prof. DRM to make your music sharing on Snapchat hassle-free! Leawo’s Prof. DRM is a professional DRM removal converter and iTunes music downloader. With Leawo Prof. DRM, you can successfully convert the M4P iTunes music to local audio files in different forms by removing DRM protection. That means you can freely download iTunes music and save them in various music players and mobile devices. It’s not only helpful when you want to save your iTunes music forever before the subscription ends, but also useful when you want to share your music with your friends on Snapchat. Simply just download the iTunes music on your device and send them to your friends! Leawo Prof. DRM can remove iTunes DRM and convert M4P to MP3 at 50X higher speed, way faster than any other music downloaders on the market. It’s the best DRM Removal software and DRM Media Converter that can be applied to converting Spotify music to MP3 as well. It’s worth noting that Leawo Prof. DRM is multifunctional as it can help you to remove DRM protection from various kinds of media, such as remove DRM from eBook, etc.
Now let’s see how to download and add iTunes music to Snapchat with Leawo.
IMPORTANT: You will need to sign in with your Apple ID in order to play the iTunes M4P music. Doing so, the Leawo Prof. DRM will ask you for authorization first. And please do not open iTunes during the entire DRM removal process.
△ Step 1. Import iTunes M4P (M4A) Music files
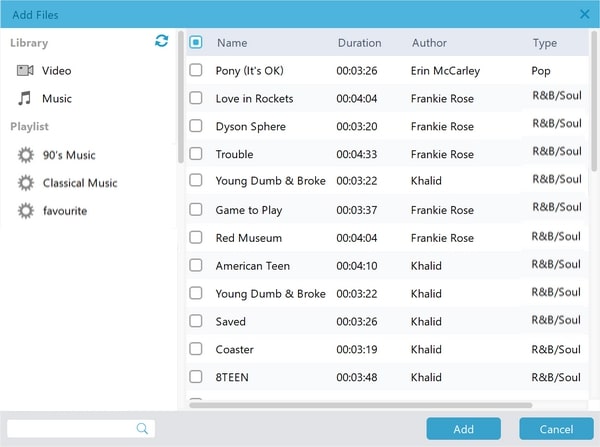
Launch Leawo Prof. DRM, click “Add File” and import one or multiple iTunes M4P music. Or you can simply just drag and drop the target iTunes Music files here.
△ Step 2. Select Channel, Sampling Rate, and Bit Rate
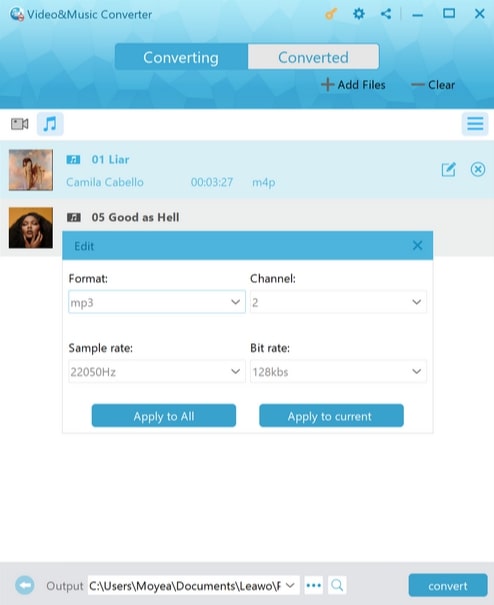
When the music file importing is finished. You can find the files under the category “Music” with the music icon. Choose an M4P (or M4A) file, and click the “edit” button on the right to choose Channels, Sampling Rates, and Bit Rates for keeping in the output MP3 audio file.
△ Step 3: Set Output Directory
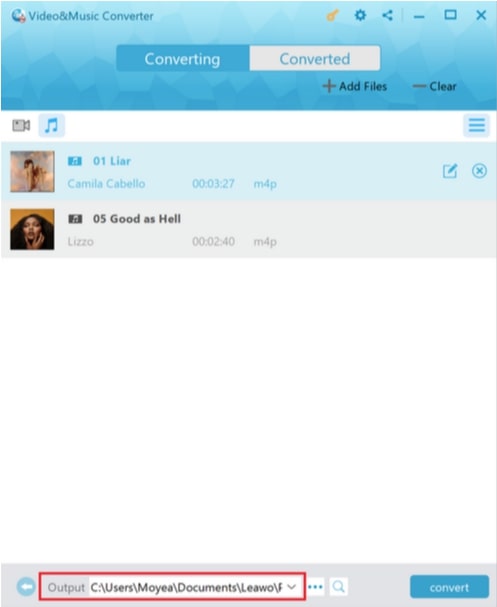
Return to the main screen and look for the “…” button at the bottom. Click it to set the output directory for your converted MP3 music.
△Step 4: Start Removing DRM from M4B Music File and Convert M4P/M4A to MP3
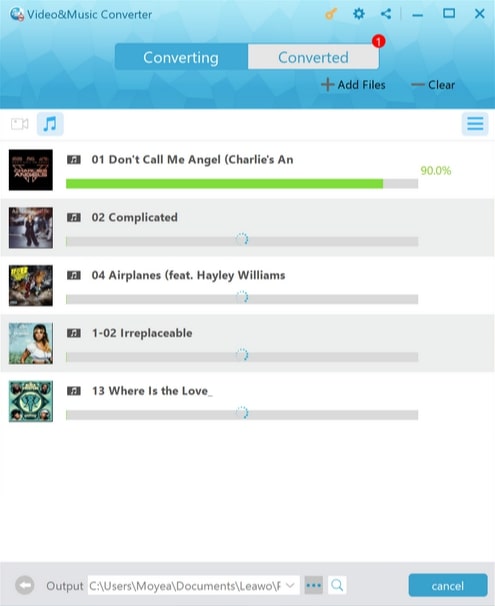
Click the blue “Convert” button at the bottom to start removing DRM from M4P and converting M4P (or M4A) to MP3. The removal and conversion can usually be done very soon but also depends on the number of files you’d like to process.
IMPORTANT: You will be asked to authorize the computer for playing iTunes Music before conversion if you have not yet done so.
△ Step 5: Check Status of Conversion
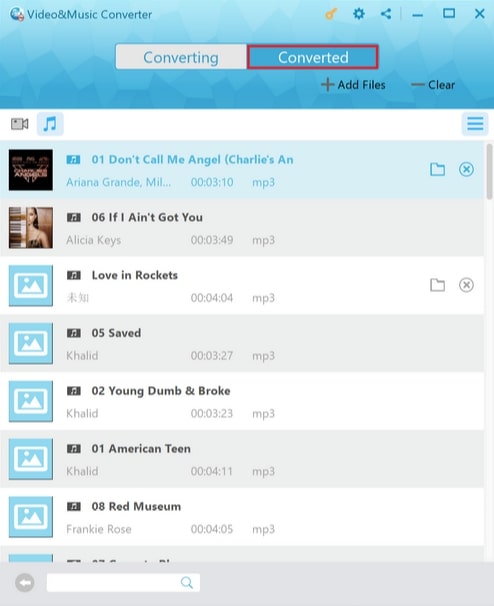
Once the conversion is done, you can click the “Converted” tab to see all the converted MP3 files. And then you can click the “Open file” to play the output MP3 file.
That’s all for the music DRM removal and conversion from iTunes. Easy as breathing! No more APPs switching, waiting out for recording, or background noise. Just convert the music to local audio files and send them to your friends. Enjoy a hassle-free music-sharing experience on Snapchat with Leawo Prof. DRM now!

