The popular iTunes music library sometimes can be difficult, especially when you update your Apple devices. As Apple releases iOS every year, you might run into different iTunes errors when you try to update the iOS, and iTunes error 14 is one of the most commonly seen issues. How to fix it with the simplest solutions? Just check out this article to learn more!
Part 1: What is iTunes Error 14?
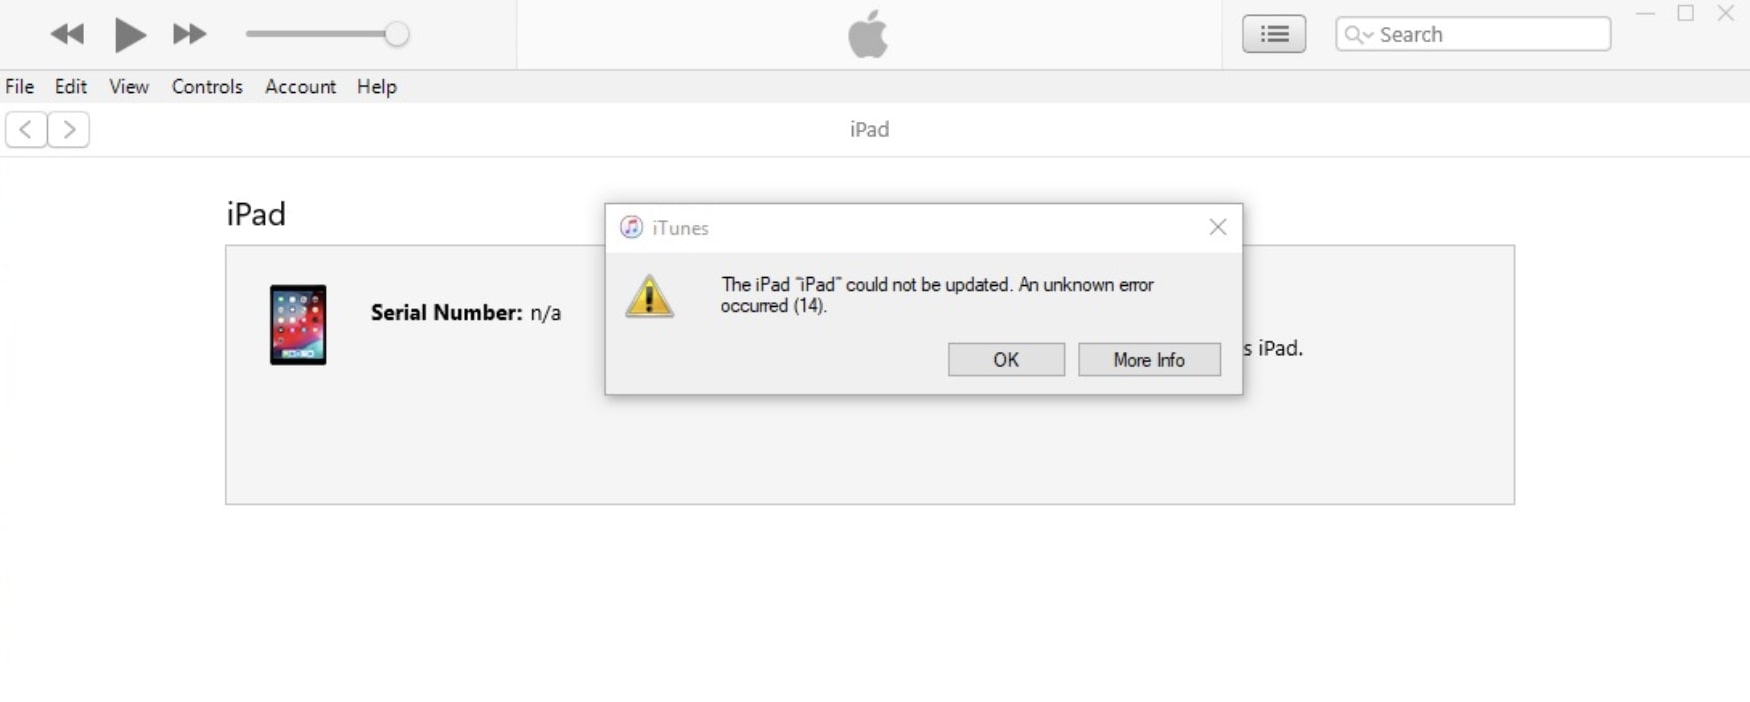
Before moving on to the solution, let's take a look at the issue. What is iTunes error 14 exactly? The issue often happens when you try to update to a newer iOS version or restore from the backup, and you will receive a notification like "The iPhone/iPad could not be restored. An unknown error occurred (14)." It also occurred when you had to download firmware onto your phone.
Just like many other iTunes errors, iTunes error 14 is a communication-related issue. When you update your device to a newer iOS version, iTunes will need to check the server that used to activate your iOS for verification. If you are going to update to the latest iOS 14 and encounter the issue recently, just keep reading to find out the proven solutions!
Part 2: What Causes iTunes Error 14?
To troubleshoot the iTunes error 14, one might need to figure out the possible causes for the issue. It's hard to tell the exact reasons without context, but the error generally suggests a connectivity issue when updating your iOS devices. Here are the common causes that might be responsible for iTunes error 14:
Unstable network
You will need a stable and reliable network when updating your iOS device, otherwise, the poor connectivity might affect the update and cause communication issues like iTunes error 14.
Low storage or memory
When you have low storage or your device memory is full, there is no space for updates, which might ultimately cause the iTunes error 14.
Firmware error
The firmware, IPSW file that is used to restore or update iOS devices might be corrupted, hence iTunes can't recognize the IPSW file when attempting to restore or update your devices.
USB cable problem
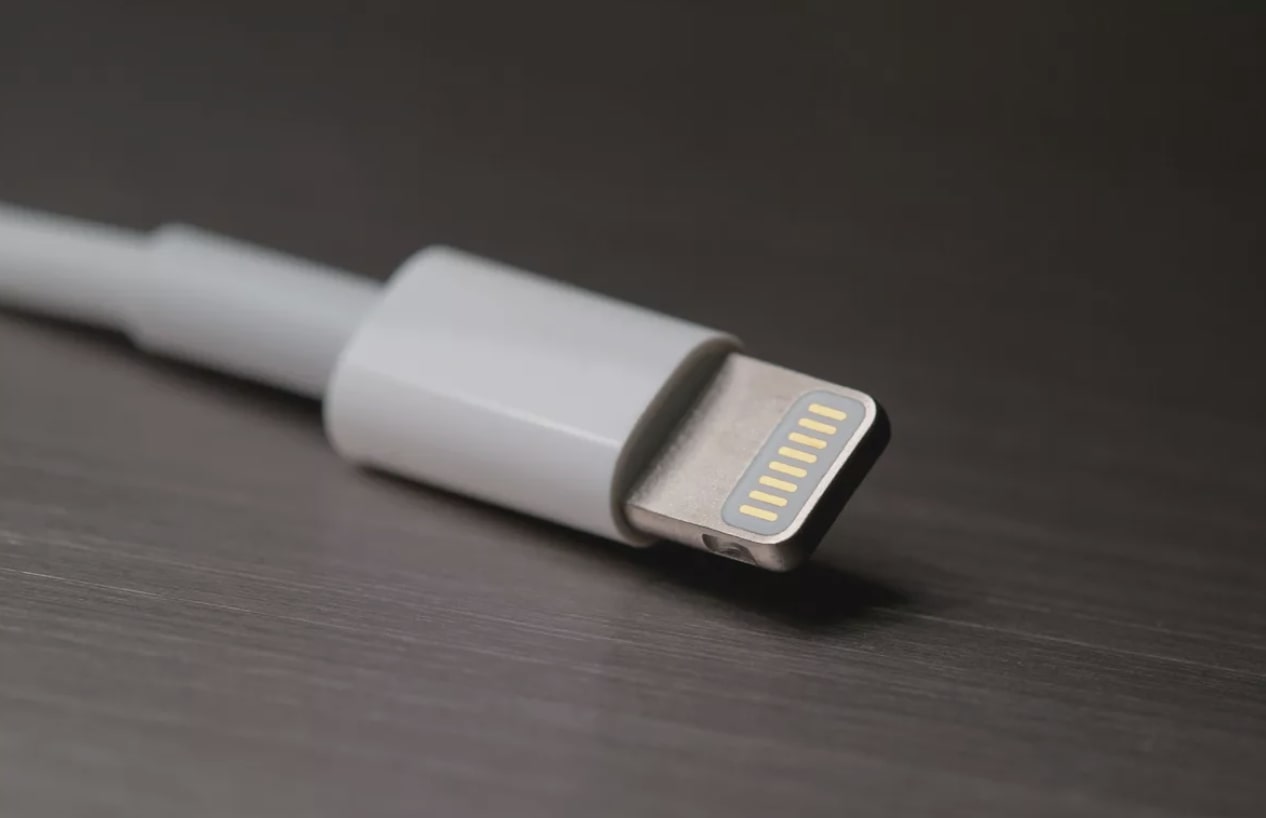
The lightning cable that connects your computer and iOS device could be the reason for the iTunes error 3004. When the small plates at the end are not touching those plates on your computer or iOS device, the connection could fail.
iTunes is not updated
Is your iTunes version up to date? The old version of iTunes might cause the iTunes connectivity issue when connecting to the update server.
Security software problem
Your firewall and antivirus software might be causing the iTunes error 14 as they might consider the update communication a threat, hence they prevent your computer from connecting to the update server.
Part 3: Solutions to Fix iTunes Error 14
Now you know the possible causes for the iTunes error 14, here are the possible solutions that might help you fix the issue.
1.Check your network connection
Please make sure your connection is stable and fast enough to establish a connection to the update server. If not, try to restart the router and modem to refresh the internet connection. Doing so, you can restart your router and modem, plug them back in after one minute and restart the computer.
2.Check your USB lightning cable
Are you using the authentic Apple USB lightning cable? Because the fake one might also cause connectivity issues like iTunes error 14. Check if your cable is working well by testing it on another computer. You may also consider getting a new and authentic USB lightning cable to see if that helps.
3.Update your iTunes
Try to update your iTunes to the latest version to see if the iTunes error 14 still occurs. You may follow the steps below to update iTunes and update your device again.
Step 1. Open Apple Store.
Step 2. Click "Updates" on top of the Apple Store.
Step 3. Click "Install" to update to the latest version if applicable.
4.Restart iTunes
If your iTunes has fallen asleep in the background, restart iTunes to clear any possible stuck process. Reconnect your iOS device, restore it, and see if that helps.
5.Turn off security software
If you are using a firewall when you restore iOS, disable the software during the process of updating. Put them back when you finish the update. You may follow the steps below to disable the firewall on Windows.
Step 1. Go to the Start menu, search "Windows Firewall."
Step 2. Click on the Windows Firewall > Turn Windows Firewall on or off.
Step 2. Click on the "Turn off Windows Firewall (not recommended)."
6.Fix IPSW file
You might need to delete the unusable IPSW file and replace it with a new one to fix the iTunes error 14. You can locate the IPSW file with the steps below.
On Mac
Step 1. Tap Finder and hold the Option key.
Step 2. Go to the "Go" menu on top and hold down the Option key, choose "Library."
Step 3. Select the iTunes folder and look for the folder named iPhone/iPad/iPod Software Updates.
You can also manually locate the IPSW file on Mac with the steps below:
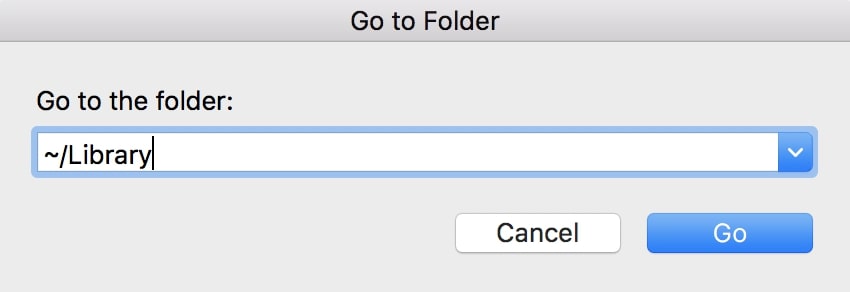
Step 1. Click on the "Go" menu on top and choose "Go to Folder."
Step 2. Enter ~/Library and look for the folder named iPhone/iPad/iPod Software Updates.
On Windows
The location of the IPSW file on Windows varies across different versions and depends on the username and the iOS hardware you use. To make it quick, you can enter ".ipsw" in the Windows File Explorer and search the whole PC.
Here are the locations of the IPSW file on different Windows versions.
- Windows 8-10: \Users\USERNAME\AppData\Roaming\Apple Computer\iTunes\
- Windows Vista and 7: \Users\username\AppData\Roaming\Apple Computer\iTunes\iPhone (iPad or iPod) Software Updates
- Windows XP: \Users\username\AppData\Roaming\Apple Computer\iTunes\iPhone (iPad or iPod) Software Updates
Once you locate the file, you can delete it in iTunes in .ipsw format, just follow the steps below.
Step 1. Launch iTunes on your computer.
Step 2. Delete the IPSW file you just located.
Step 3. Restore and update your iOS device by following iTunes prompts.
7.Ask Apple for help
If none of the solutions can help, you might have to contact Apple's official customer support for further assistance.
Part 4: How to back up iOS device to prevent data loss due to iTunes error 14?
Before you update to the latest iOS, it's always good to back up your device first, for instance, your favorite iTunes music playlist, photos, and files. So you can avoid data loss during the process of update, especially when you run into iTunes error 14. Today most users will prefer to back up the iTunes music with the iCloud library, please be aware that you will not be able to keep the music once you unsubscribe to iTunes because you are not allowed to access that part of backup in the iCloud library after the subscription is canceled.
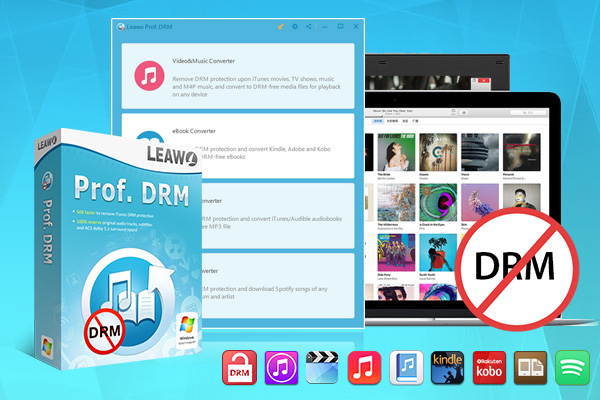
Want to keep your favorite iTunes music forever for offline access? Try Leawo Prof. DRM, a professional DRM(Digital Rights Management) removal that can help remove DRM from iTunes M4P music. With Leawo Prof. DRM, you can remove the copyright protection on iTunes music and save them as local MP3 files.
-
Leawo Prof. DRM
- Convert iTunes DRM-protected M4V movie and TV show to DRM-Free MP4
- Remove DRM from M4B, AA, AAX files and convert any Audible AA, AAX file to MP3, even without iTunes authorization
- Convert iTunes DRM-Protected M4P and non-DRM iTunes M4A Music to MP3
- Remove DRM-protection on Spotify music and convert to Universal audio format for enjoying music offline on any devices
- Convert DRM-protected eBook from Kindle, Kobo, Adobe to DRM-free epub, mobi, azw3, txt, etc., format
Leawo Prof.DRM is the ultimate DRM removal program for almost all the digital content online, such as music, video, ebook, and audiobook. You may use Leawo Prof. DRM to convert Spotify music to MP3. The converter can also help you read Kindle books without Kindle by removing the DRM.
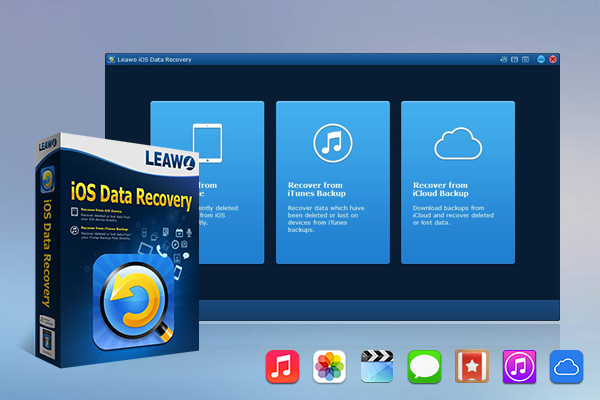
It's also necessary to back up the specific photos and files, too. A viable solution is using iCloud Library but just need to make sure you have enough space. So you might consider getting Leawo iOS Data Recovery, a useful program for data recovery and backup. Leawo iOS Data Recovery can effectively help you recover data easily, regardless the data is lost, damaged, or deleted for causes like system update, jailbroken, factory settings restored, device formatted, etc.
There are three recovery modes to help you recover up to 12 types of data such as messages, contacts, WhatsApp, etc. It supports all the iOS devices like iPhone, iPad, and iPod. Leawo iOS Data Recovery is the perfect tool to handle any data loss of all sorts. When you encounter data loss/damage caused by iTunes error 14, you can always use Leawo iOS Data Recovery to help you recover data.
-
Leawo iOS Data Recovery
- Recover lost or deleted data from iOS devices, iTunes backup and iCloud backup
- Retrieve files from iTunes and iCloud backup even for lost or broken iOS devices
- Restore 12 types of data, including photos, videos, SMS & MMS messages, contacts, call history, notes, calendar, etc.
- Fully support all iPhone, iPad and iPod touch models
- 100% safe, accurate and speedy recovery
- User-friendly interface and simple operations
◎Step 1. Launch Leawo iOS Data Recovery
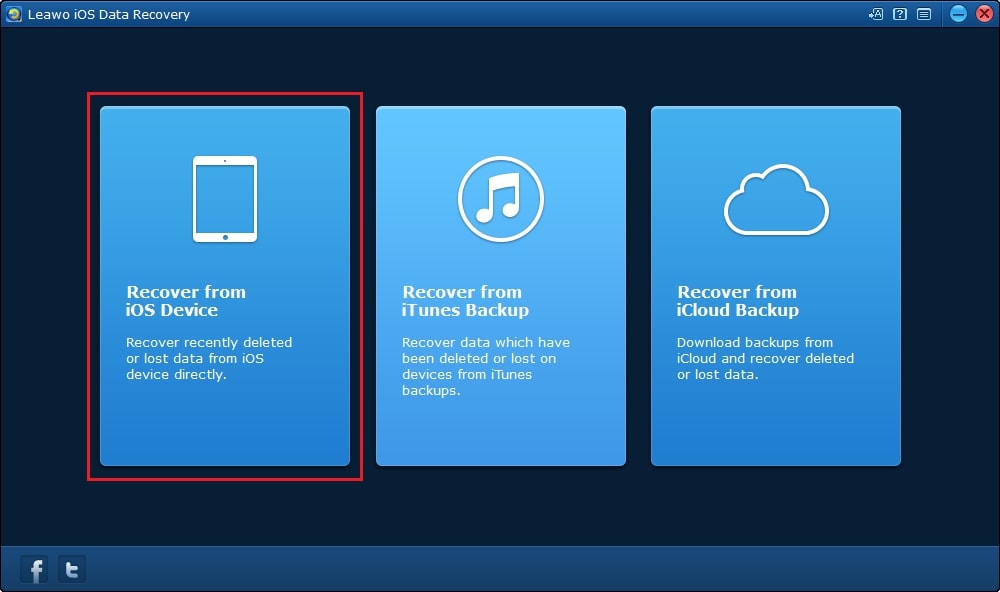
Open Leawo iOS Data Recovery. Select "Recover from iOS Device" on the main interface.
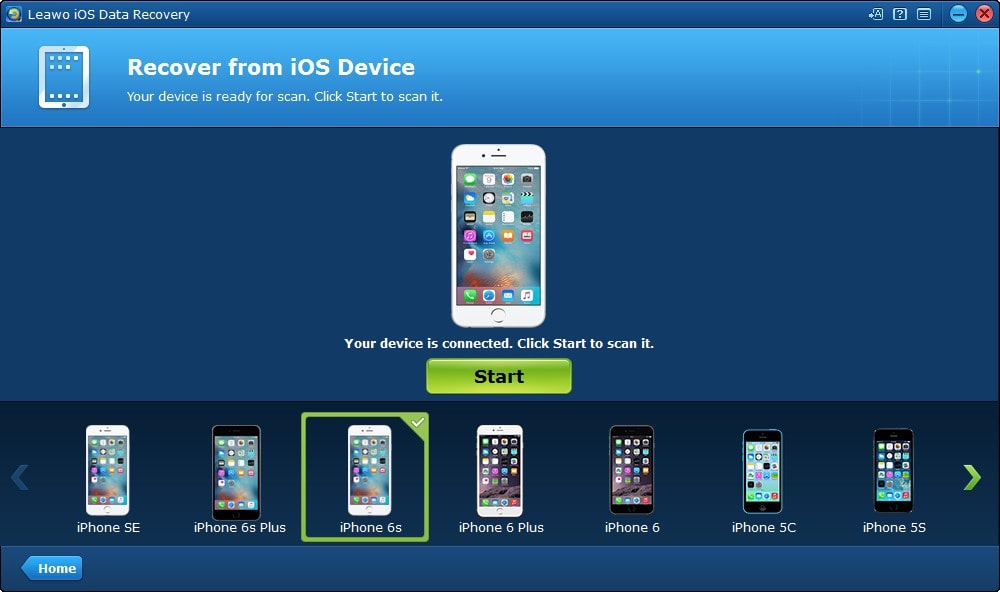
◎Step 2. Connect your iPhone
Connect iPhone with a USB cable. Your phone will be detected immediately once it's recognized. Click the green "Start" button to scan your iPhone.
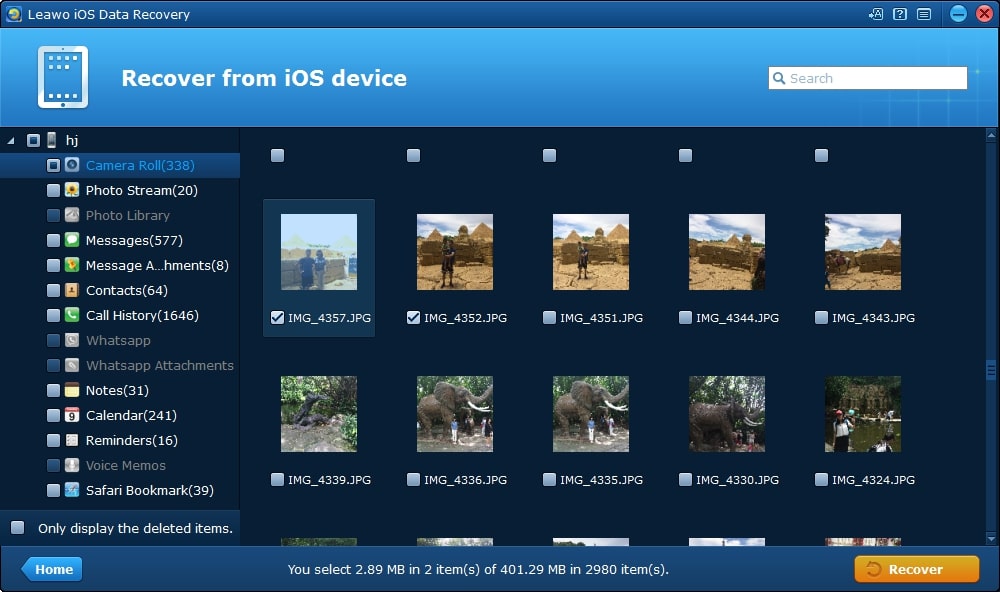
◎Step 3. Recover your files
You can see all the files on your iPhone listed on the left-hand side menu once the scanning is done. Click on the menu to view the files, and select those you want to backup. Then click the "Recover" button to continue.
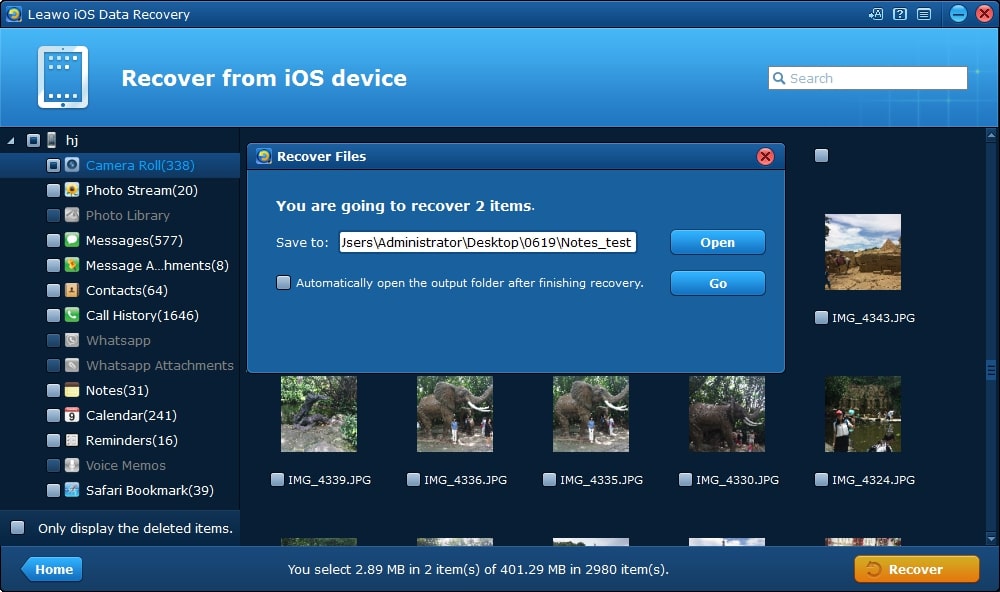
◎Step 4. Set output directory
Set output directory in the pop-up window. Change it if necessary. Click the "Go" button to start your backup.
That's it for the backup. When you try to fix iTunes error 14, it's necessary to backup all your files that might be gone if you try to fix the issue with some third-party tools because they might wipe out your device to solve the issue. This is when Leawo iOS Data Recovery comes in! Backup all your important files with it so you can handle the system restoring without worries!

