When Apple released a new iPhone software update, you may desire to install and update to the latest version quickly, for the features of the new iOS system are quite attractive for you to enjoy. However, you may find that you are unable to update your iPhone iOS system due to various reasons, like lacking of iPhone storage, low battery, software issue and so forth. Don’t be upset. In this guidance, we will show you several great ways to deal with iPhone won't update error effectively.
Menu
- Check System Compatibility if iPhone Won't Update
- Make Sure There is Enough Storage if iPhone Won't Update
- Keep Your iPhone Connected to Power Source and Good Wi-Fi Network
- Re-Download the Update Firmware if the Update Doesn't Complete
- Soft Restart if iPhone Won't Update
- Try iTunes if iPhone Won't Update via Air
- Use iOSFix to Troubleshoot iPhone Won't Update Issue
Method 1: Check System Compatibility if iPhone Won't Update
The new released iOS system has requirements on iPhone models. You are recommended to check system compatibility when you find your iPhone won’t update. You can go to the official website to see the compatible models. For instance, the iOS 14 is compatible with iPhone SE, iPhone 11, iPhone11 Pro, iPhone 11 Pro Max, iPhone XS, etc. If you find that your iPhone model is not in the list that the version supports, you need to give up. If your iPhone model is supported by the new version, you can continue to read the guidance to fix it properly.
| iPhone 12 Pro Max | iPhone 12 Pro | iPhone 12 | iPhone 12 mini |
| iPhone 11 Pro Max | iPhone 11 Pro | iPhone 11 | iPhone SE (2nd gen) |
| iPhone XS Max | iPhone XS | iPhone XR | iPhone X |
| iPhone 8 Plus | iPhone 8 | iPhone 7 Plus | iPhone 7 |
| iPhone SE (1st gen) | iPhone 6s Plus | iPhone 6s | iPod Touch (7th gen) |
Method 2: Make Sure There is Enough Storage if iPhone Won't Update
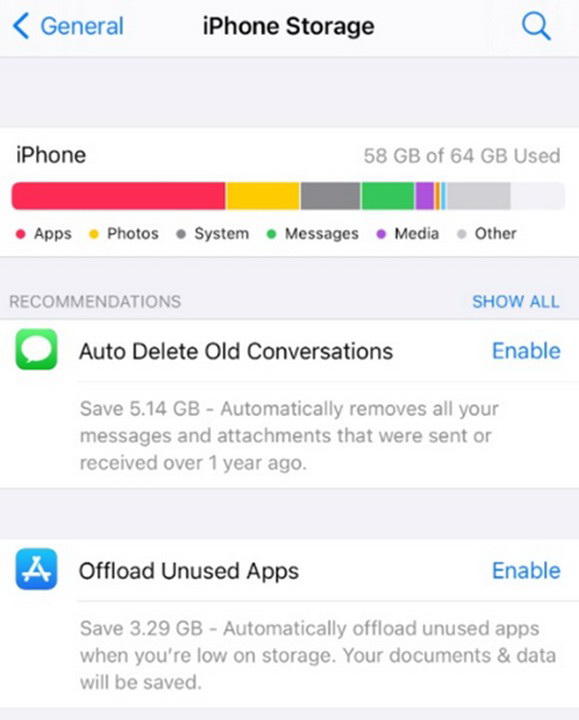
When you meet the issue of iPhone won’t update, you’d better check if there is enough storage for updating the iOS system. You need to know that iOS update generally asks for 750–800 megabytes of free space. In order to check the available space on your iPhone, you can follow the steps shown below for reference.
Step 1: On your iPhone, navigate to the “Settings” app and then hit on the tab of “General”.
Step 2: Drag down the screen to find the button of “iPhone Storage” to click on.
Step 3: At the top of the interface, the space distribution on your iPhone will be shown. You can see the available space on your iPhone clearly. If your iPhone has more than 1GB empty space, there is no need for you to worry about the storage space for updating any longer.
Step 4: If the space is not enough when you update your iPhone, you will see a message asks you to remove apps temporarily to enable the updating to continue. You can click on the “Cancel” button to make room for updating by deleting large files like apps, photos, and videos, or hit on the “Allow App Deletion” to continue.
Method 3: Keep Your iPhone Connected to Power Source and Good Wi-Fi Network
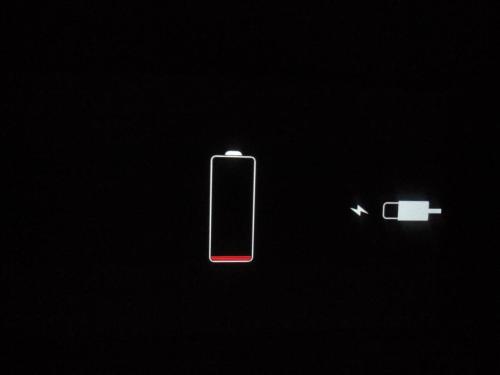
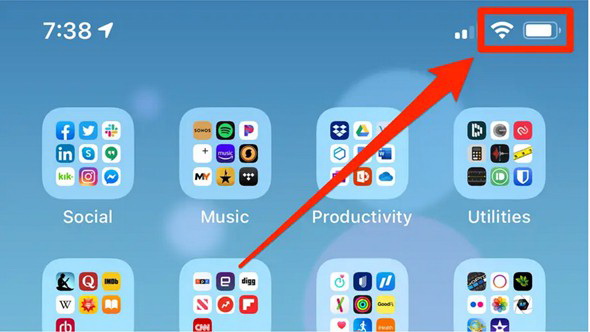
When you determine to update your iPhone, you need to make sure your iPhone is connected with power source and sound Wi-Fi network.
- Before you begin to update your iPhone, connect your phone to a dock or a charger, for the downloaded updated system files will be quite large and the process will take you much time. Once your iPhone powers off during the updating procedure, you will fail to update your iPhone perfectly, which can cause some system errors to your iPhone as well.
- You are recommended to conduct iPhone updating process at home or in the office, where the Wi-Fi network is reliable, to avoid unsuccessful updating. You should not switch off your Wi-Fi or leave the range of the Wi-Fi network when the updating process is going on.
Method 4: Re-Download the Update Firmware if the Update Doesn't Complete
If the update on your iPhone does not finish, you can try to re-download the update firmware to finish the task. The steps shown below will tell you how to make it.
Steps:
- On your iPhone, you need to navigate to “Settings> General” tab and then click on the “[Device name] Storage” button to find the update in the app list.
- Hit on the update and then click on the button of “Delete Update” to remove it from your iPhone.
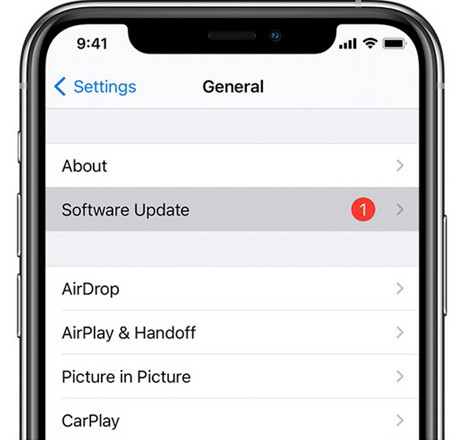
- Afterwards, you need to hit on “Settings > General > Software Update” tab to download the newest update.
Method 5: Soft Restart if iPhone Won't Update
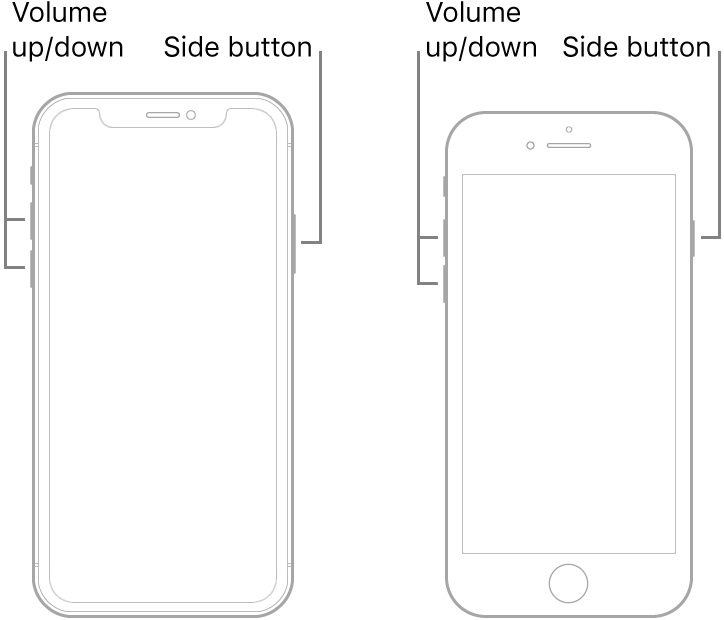
It is sensible for you to make a soft restart if your iPhone won’t update, which can help you to handle various iPhone system errors. Since the design of iPhone varies, you need to identify your iPhone model and then make use of the following tips to force or soft restart your iPhone to help you out of the updating trouble.
- For iPhones models before the iPhone X, you need to press and hold the power button for a moment, and drag the slider to turn off your iPhone. Then press and hold the power button again to restart your iPhone.
- For iPhone types newer than the iPhone X, you need to press and hold the Side button till a slider appears on the interface. Drag the slider to turn off your iPhone and then press and hold the Side button again to restart your iPhone immediately.
Method 6: Try iTunes if iPhone Won't Update via Air
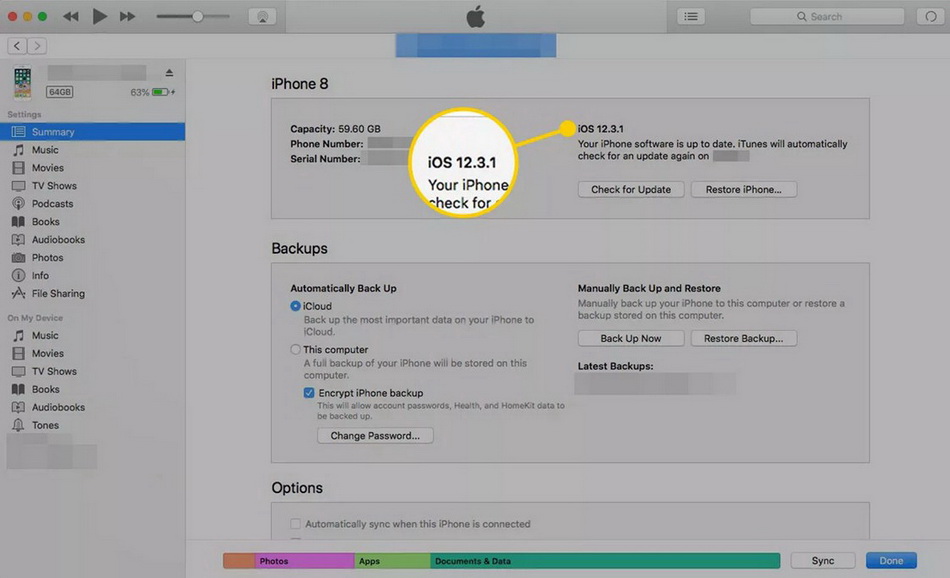
If you fail to update iPhone via Air, you can then resort to iTunes to assist you to tackle this issue properly. To do this, you need to check out the step-by-step instructions below to get the work done perfectly.
Steps:
- Use a proper USB cable to connect your iPhone with computer and then run the latest iTunes version on your computer.
- Hit on your phone icon at the top left corner of the interface and then click on the “Summary” tab on the left column.
- Find the button of “Check for Update” to click on and then hit on the option of “Download and Update”.
- Wait patiently till the update is over. This will take you some time. Finally, your iPhone will restart after the updating process comes to an end.
However, you need to know that the updating process via iTunes will cause data losing on your iPhone. If you do not mind this disadvantage, you can try iTunes to fix the error of iPhone won’t update. You’d better back up your iPhone data to computer before the process is initiated with iTunes.
Method 7: Use iOSFix to Troubleshoot iPhone Won't Update Issue
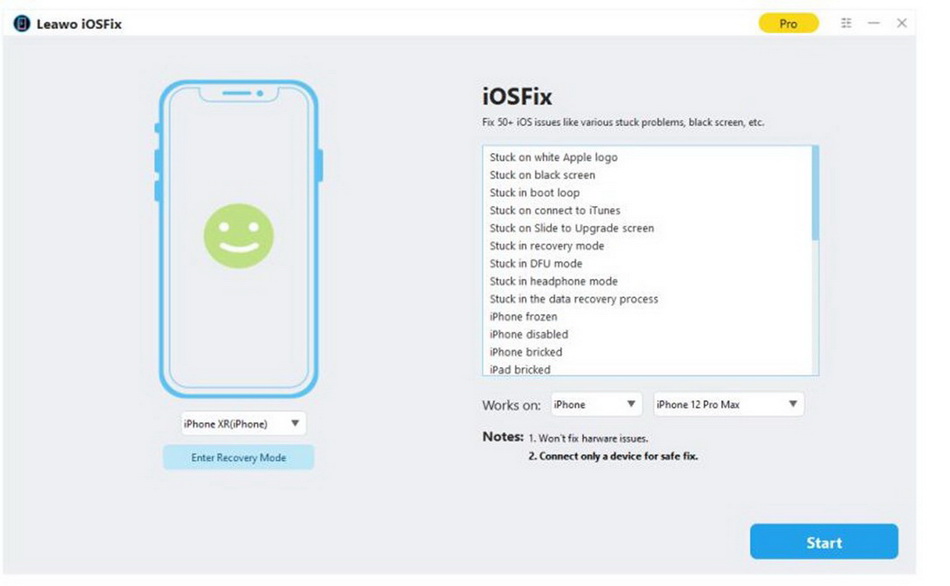
If you do not risk losing your iPhone data while fix the issue of iPhone won’t update, you can try to take advantage of a great third-party tool to support you. Leawo iOSFix is just the program I would like to recommend to you, for its functions are powerful and its features are fantastic when it comes to repairing iOS system errors, such as iPhone won’t update, iPhone not ringing, stuck in headphone mode, white screen, etc. This excellent tool will surely satisfy you to the most. It can detect your iPhone info intelligently and automatically. Now it’s high time for you to learn how to apply this software to fix iPhone won’t update error via the following content.
Step 1: Download and install Leawo iOSFix
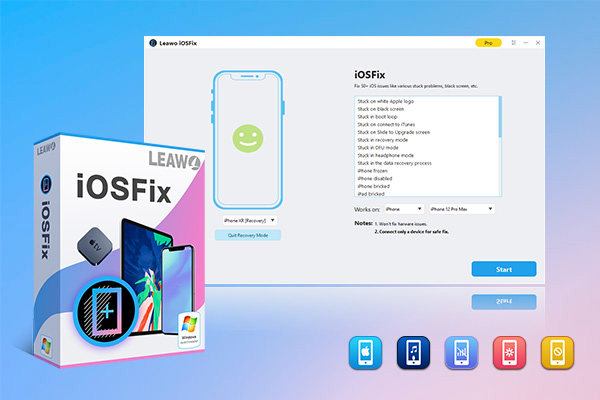
Navigate to the official website of Leawo iOSFix to download it for free. Install it on your computer to prepare for fixing iPhone won’t update issue.
-
Leawo iOSFix
- Fix 50+ iOS/tvOS issues on iPhone, iPad, iPod or Apple TV
- 2 repair modes for data lossless fixing
- Fix all iOS and tvOS versions in clicks
- Multiple iOS/tvOS system fixing pathse
- One-click to upgrade to the latest iOS/tvOS version
- One-click to enter/exit Recovery Mode
- Troubleshoot iOS/tvOS not recognized issues in detail
Step 2: Connect your iPhone to computer
Find a matched lightning cable and then plug your iPhone into your computer. Open Leawo iOSFix software and then wait for the software to detect your iPhone info.
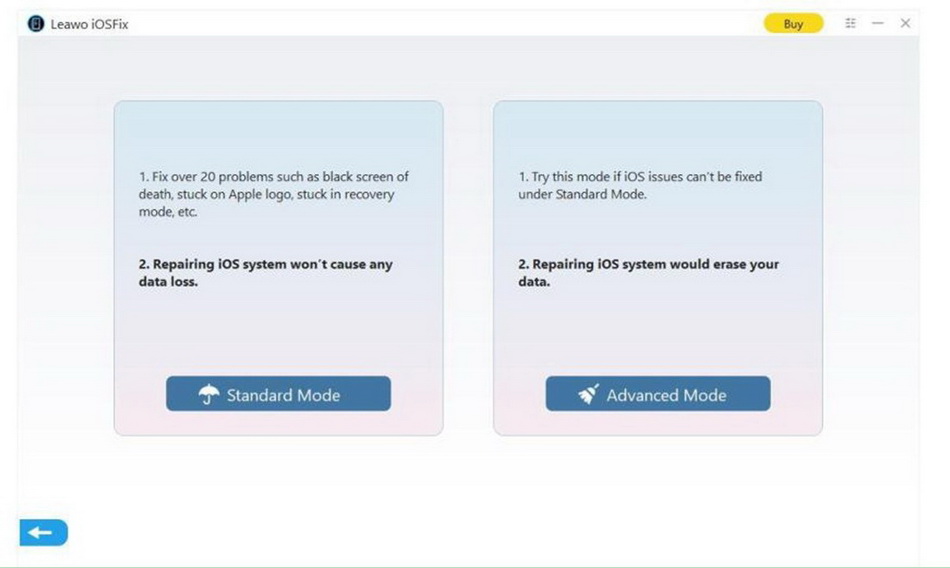
Step 3: Determine a repair mode to fix iPhone won't update issue
Select the Standard Mode or Advanced Mode according to your demands. You need to know that the former mode allows you to fix iPhone issue without losing any data. However, the second mode will erasing all your iPhone data when the fixing process begins. Therefore, you are recommended to first choose the Standard Mode to fix your iPhone error. If it fails, you can continue to apply the Advanced Mode to get rid of the issue properly. Remember to back up your iPhone data before the Advanced Mode starts.
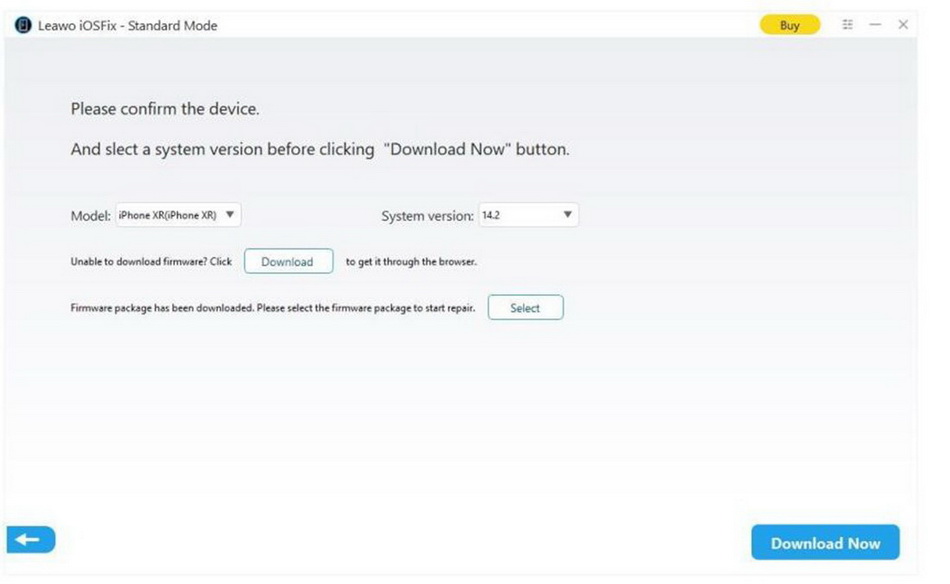
Step 4: Download firmware
Download the firmware for your iPhone. Confirm your iPhone model and click Download Now button to download the suitable firmware for your iPhone. You can also choose to hit on the option of “Select” to choose the existing iPhone firmware on your computer.
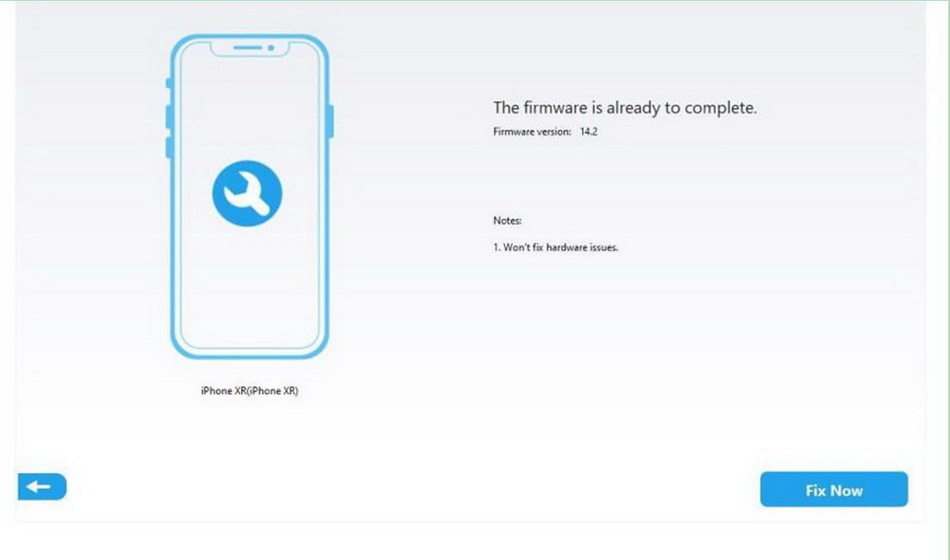
Step 5: Begin to handle iPhone won’t update issue
Click Fix Now button to begin to fix your iOS system error. Wait for several minutes and the process would end soon.
If both the Standard Mode and the Advanced Mode of the software fail to assist you to address the issue of iPhone won’t update successfully, it is likely that your iPhone has some hardware problems. In this case, you have to go to the Apple Store for fixing or contact Apple service for assistance.

