There are many factors that may cause your photos blurry, among which haze is one important aspect. It always blurs and hazes photo when you have taken a picture with the sun directly behind your object. If it is naturally blurry on your backlit image, the photo effect will be beautiful. However, if it hazes your photo too much, your subject will become blur and can be hidden, which will be not so pleasant for you. After all, most photographers strive for a sharp and crisp photo. The haze and blur, in some cases, can ruin your pictures. This guidance will share you with some tips and tricks to help you on how to make pictures clearer.
Related Readings:
10 Best AI Photo Enhancers for AI Photo Enhancement
6 Best Alternatives to Remini Photo Enhancer
10 Best Free HDR Software Without Watermark
Menu
Part 1: Automatically Make Pictures Clearer with Leawo Photo Enhancer
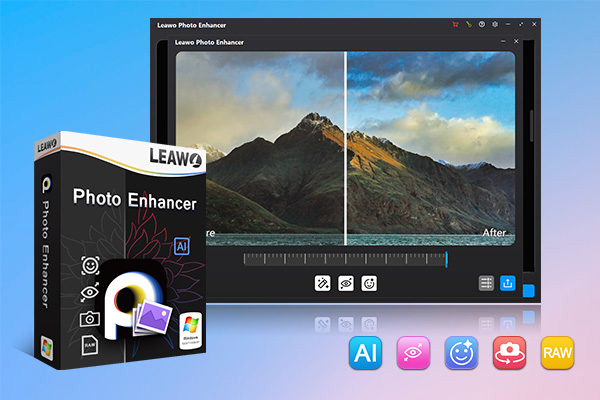
If you want to make pictures clearer without any manual operation, then Leawo Photo Enhancer is highly recommended to you. This software is quite proper for beginners to apply, for its automatic AI adjusting technology is simple to handle. You do not need to have any professional knowledge on photography. It can process image formats of RAW, JPEG, TIFF, and PNG with at least 800x600px. The following step-by-step instruction will guide you how to make photos clearer with this program.
Step 1: Download Leawo Photo Enhancer
Click the button below according to your computer system to download and install this software on your computer.

-
Leawo Photo Enhancer
- Enhance portrait photos easily with advanced AI technology
- Fix photo exposure and white balance issues automatically
- Optimize photo colors and perfect photo tints
- Make photos perfectly clear with smart dehaze
- Boost photo lighting and color quality
- Process RAW and JPG files
Step 2: Import blurry photos to the software
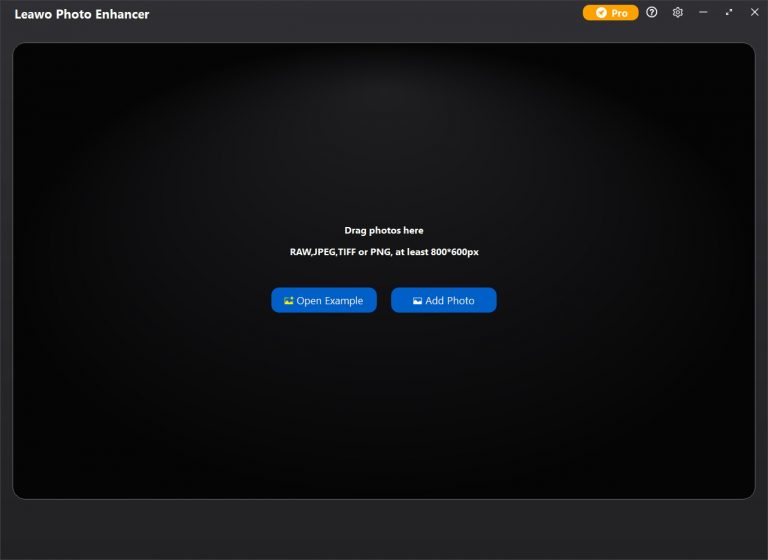
Run Leawo PhotoIns on your computer and then find the button of “Add Photo” to click on to import your hazy photos to the tool. It is also feasible for you to irectly drag and drop your hazy pictures into the middle part of the software interface.
Step 3: Make pictures clearer automatically
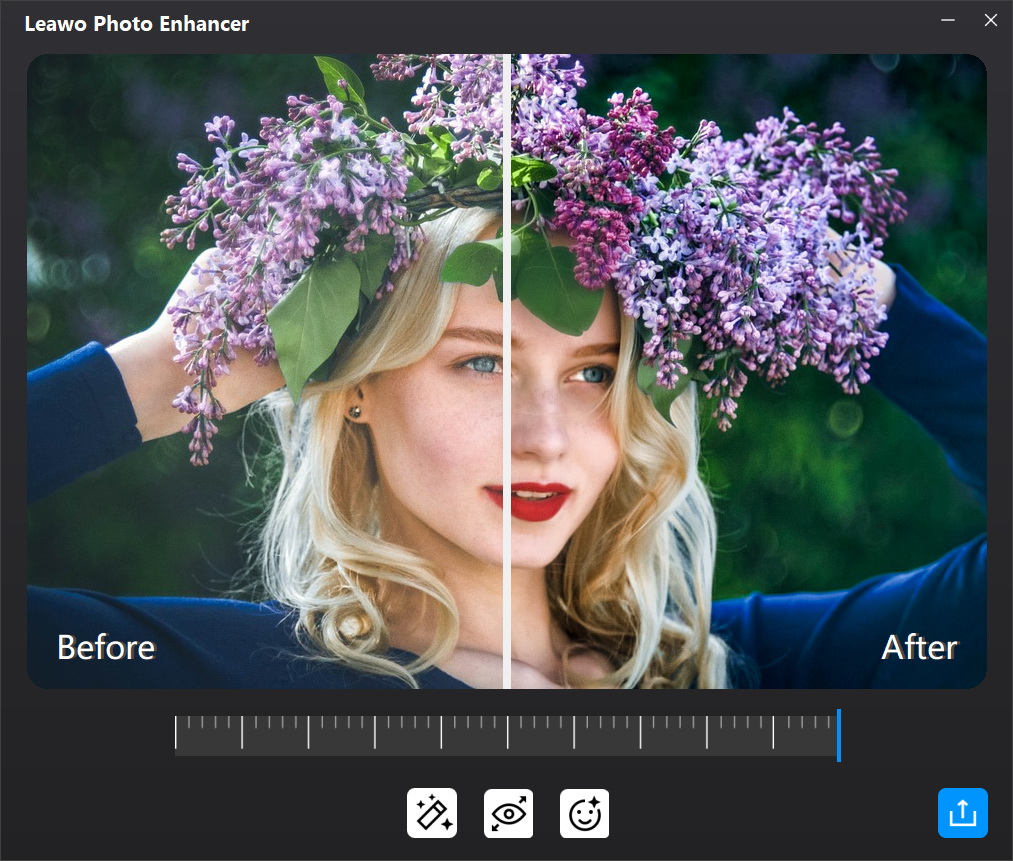
After your blurry photos are loaded into the software, you need to click on the settings gear button at the top right corner of the screen to turn on the features of "Automatic Lens Correction", "Face enhance" and/or "Enlarge eyes". This will allow you to use the software to dehaze pictures intelligently. The effect adjuster bar can be dragged to the left or to the right to dehaze your photos to a proper degree.
Step 4: Set output parameters
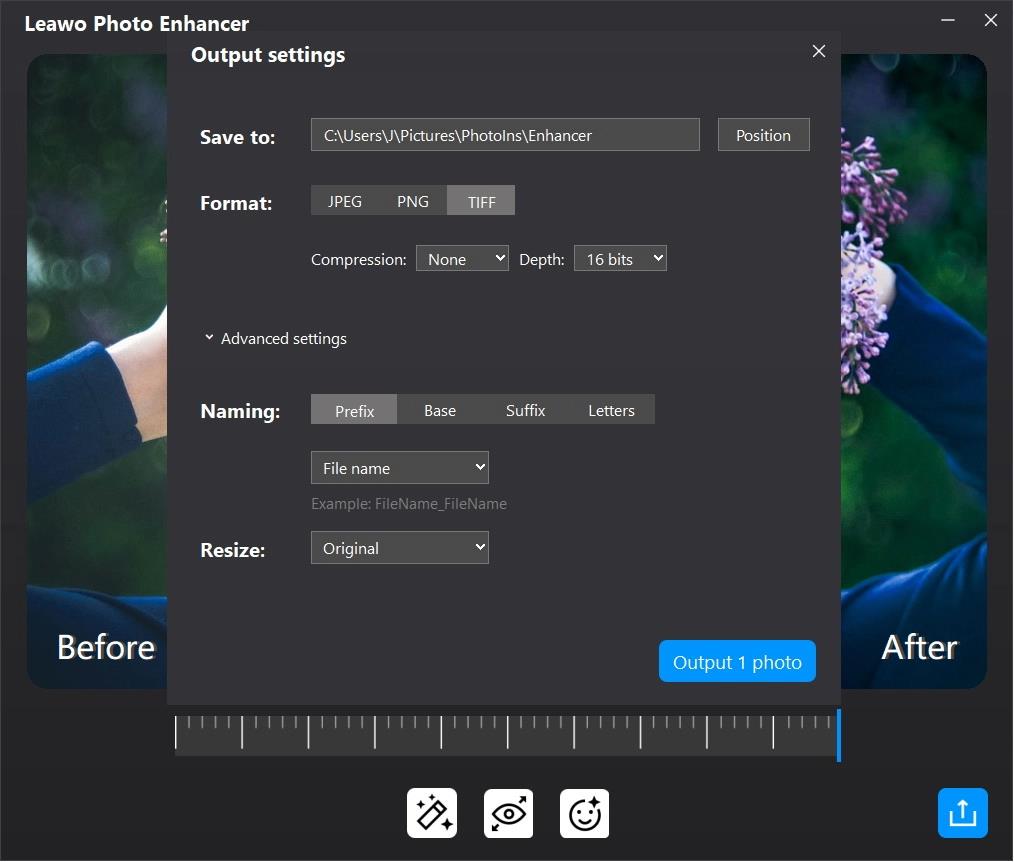
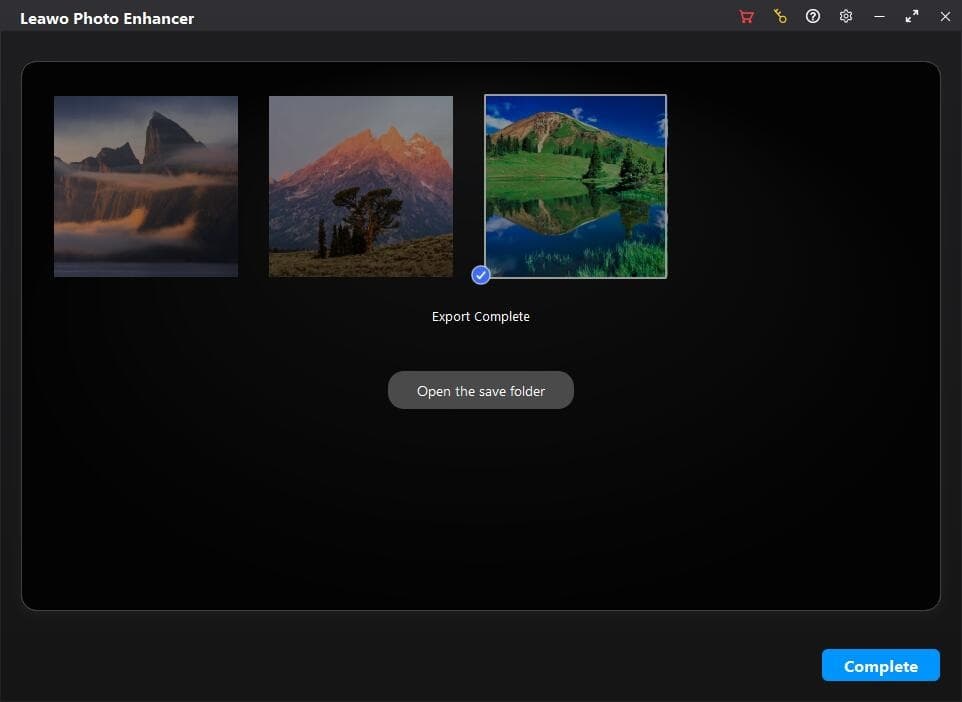
After you make your photos clearer, you can hit on the "Output" button to set a folder on your computer to save your images. The format and size of your pictures can also be set in this panel. You can also set the name and the quality of your images according to your demands via this panel at ease.
Step 5: Export dehazed pictures
Finally, you can hit on the “Output” button to export your dehazed images to your folder that you have just determined in the settings panel. Wait for a moment and you will be able to enjoy your photos.
Part 2: How to Make Pictures Clearer in Lightroom?
When you notice that your photos have too much haze and your images are not clear, it is not convenient for you to shoot the photos again, especially you shot your photos while travelling. The Lightroom dehaze feature can help you get rid of this issue properly. What does dehaze do in Lightroom? Where is dehaze in Lightroom? If you desire to learn these information, the following steps will tell you how to make pictures clearer. Let’s have a look at them carefully.
Step 1: Launch Lightroom and import blurry photo
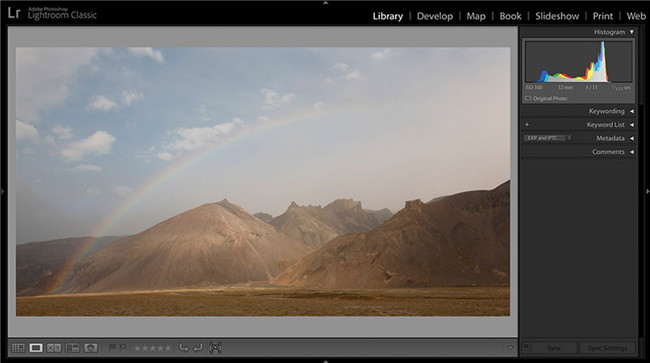
Run Lightroom on your computer and then drag & drop a hazy image that you want to dehaze Lightroom to the software. Generally, distant landscapes or coastal scenes are always not clear when the weather conditions are not good.
Step 2: Make photos clearer in Lightroom
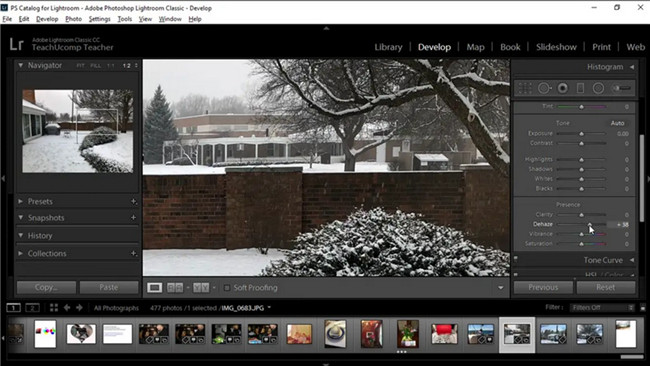
Navigate to the module of “Develop” and then hit on the “Basic” panel to find the Dehaze slider. Move the slider to the right to reduce haze in your image. You can also drag the Dehaze slider to the left to increase the haze to create the foggy scene as well. The Saturation or Vibrance slider can assist you to create intense colors in your picture if you drag them to the right.
Step 3: Output settings
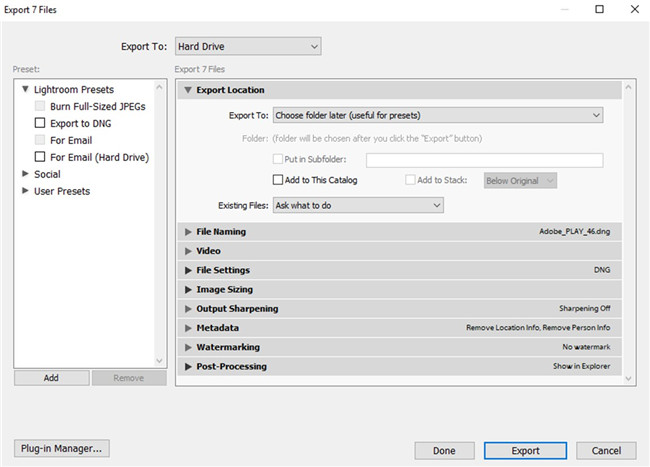
After you dehaze photos in Lightroom, you can hit on the button of “File> Export” or click on the “Export” button in the Library module. For instance, you can hit on “Export To” and then choose “Hard Drive” from the pop-up panel to choose a proper place on your computer to save your adjusted photos. You can also use this panel to set the file name, size, format and other parameters of your pictures.
In the end, you need to hit on the “Export” button to save your dehazed photos in your computer local folder for enjoyment.
This method is very convenient for you on the issue of how to make pictures clearer. It is not hard to handle at all. After the dehazing process, you will gain clear photos to meet your demands.
Part 3: Other 7 Tips to Make Pictures Clearer
If you desire to know other tips on how to make pictures clearer, there are several tips for you to learn this part. Now please follow these tricks below to achieve your goal.
◎ Tip 1. Choose good photographic apparatus
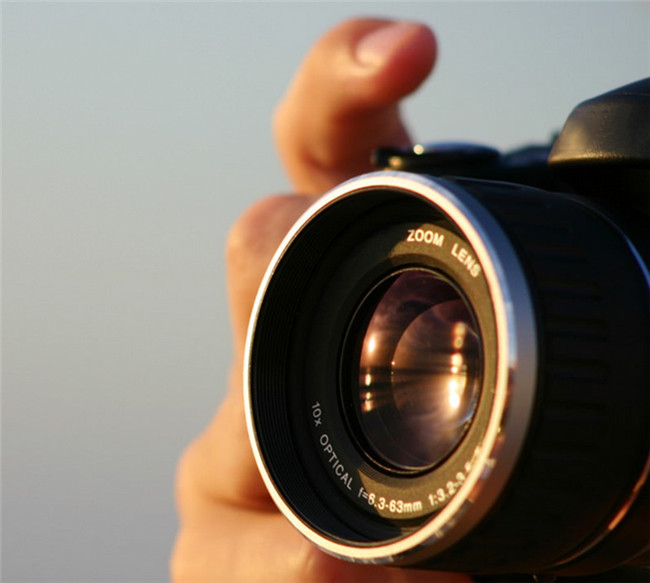
It’s worth investing in good photographic apparatus if you desire to take clear pictures. Although they may come with high prices, lenses with high quality can help you to gain sharper pictures, which are fairly clear. It is sensible for you to do some research before buying the lens with high resolution and large aperture. You should know that several lenses can produce pictures that are sharp at the center but a little distorted at the edges. Some great camera phones can also be chosen to assist you to take clear photos. Here I would like to list some high-quality cameras overall with sophisticated tech and phone cameras for your reference.
| No | Best camera | Best camera phone |
|---|---|---|
| 1 | Nikon D850 | Samsung Galaxy S23 Ultra |
| 2 | Olympus OM-D E-M5 Mark III | Apple iPhone 14 Pro Max |
| 3 | Canon EOS Rebel SL3 / EOS 250D | Google Pixel 7 Pro |
| 4 | Sony A6600 | Xiaomi 12s Ultra |
| 5 | Nikon D3500 | Vivo X90 Pro+ |
◎ Tip 2. Make use of a tripod
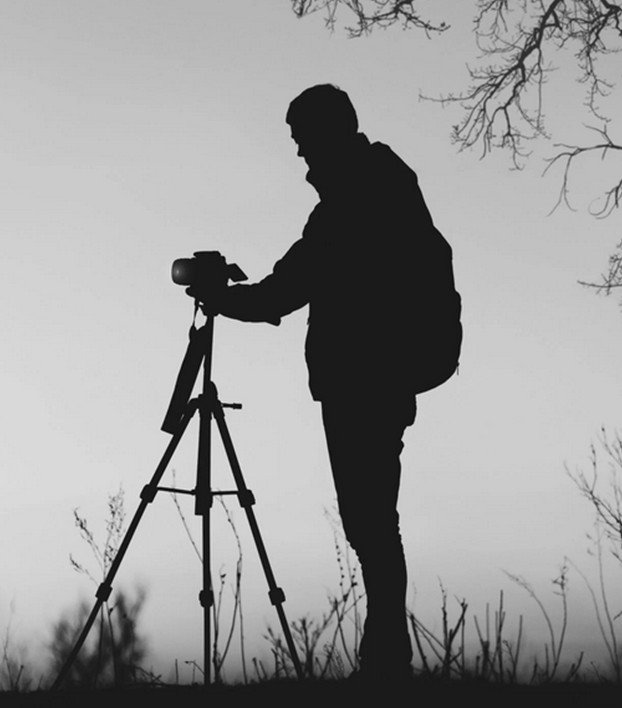
For the aim of making your pictures clearer, you can also try to mount your camera on a tripod to free your hands. Thus, you don’t need to hold your camera, which can minimize the blur. The tripod can offer you a stable base to help you to gain clear results. You need to ensure the tripod stands firmly on the around to avoid sudden movements.
◎ Tip 3. Select present weather or fine lighting to shoot
It is a good idea to choose proper weather when you shoot pictures, such as a sunny day or the places with abundant lighting. Lighting conditions play an important role in deciding the clear degree of your shots. If you take photos in low light, the photos will be not so clear.
◎ Tip 4. Set cameras properly
As for the camera settings, you can lower your ISO value. When you shoot photos in dark environments at a high ISO, your photos will have too much visible noise, especially in the shadows. When you crank up your ISO value to take clear photos in low light, your pictures will end up with more noise. Therefore, you’d better set your ISO value low without compromising your exposure.
The shutter speed can also affect the clear degree of your photo. When you shoot with a faster shutter speed, you will freeze movement in a picture. When you take a photo with a slower shutter speed, you will be able to capture motion blur. Therefore, to control the shutter speed properly can make your photos clear and avoid blur. You are recommended to keep your shutter speed at 1/the focal length of the lens to gain the best effects.
Using lenses with image stabilization or Vibration Reduction can also help you make your pictures clearer, which can reduce camera blur to a great degree.
◎ Tip 5. Focus precisely
Improper focusing technique can also affect the clear degree of your photo. You’d better not move your camera around too much if your camera does not have a focus point. If your camera has enough autofocus points, you can move the focus point around to focus precisely to match your composition to get the best results.
◎ Tip 6. Apply self timer or remote control
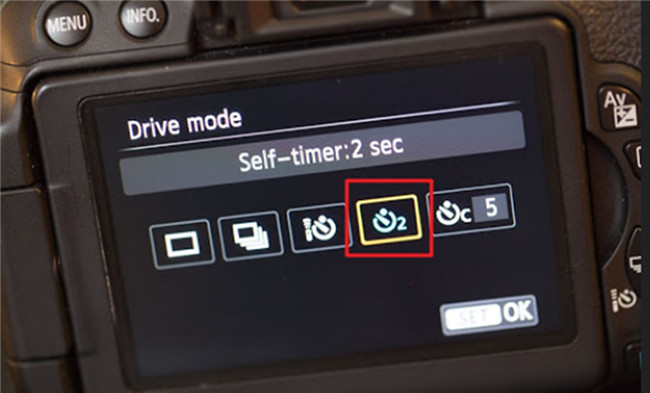
When it comes to making your photos clearer, you can resort to the self timer or a remote control to get the work done. You should know that even the smallest movements can make your photo blurry. The self timer or remote control can help you to eliminate the risk of shaking your camera while mounting it on a tripod as well.
◎ Tip 7. Choose good photographic apparatus
If you would like to make pictures clearer after you shot them, you can use Photoshop to sharpen your pictures. If you shot pictures when the weather condition was not good, you can also resort to another professional tool or a program for beginners to dehaze your images at ease to gain satisfying results. Also, you can use two methods introduced in the previous parts to make photos clearer.


 Try for Free
 Try for Free

