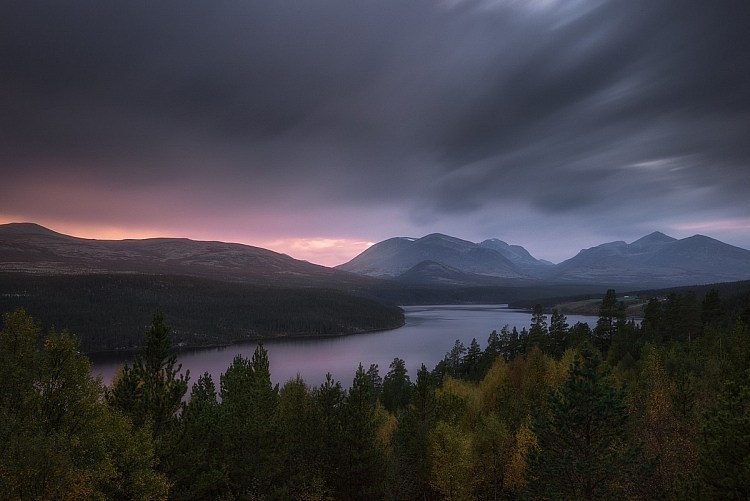
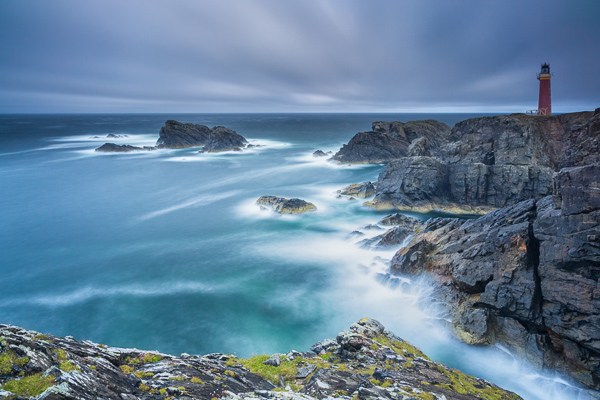
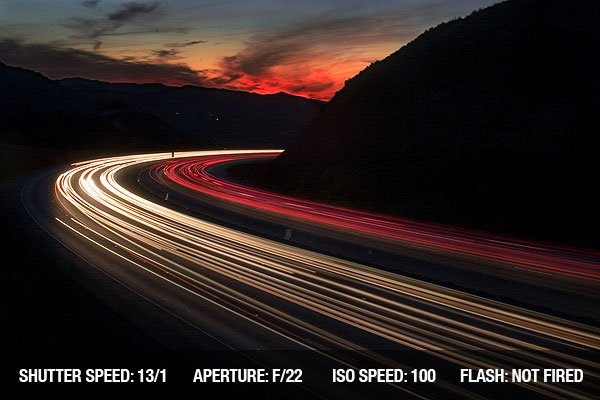
Long exposure photography, more often than not, creates some stunning results. Making use of long exposure, you are likely to get landscape photos where the water looks soft, silky and smooth, or perhaps a photo showing colorful light trails through a city scene at night. There is no doubt that the long exposure is useful and increasingly popular technique to capture spectacular landscape photos and night photos and other types of photos in special scenes. However, it often happens that the long exposure you get is far from your expectations because long exposures can be a little bit complicated and difficult. To help you out and get amazing photos to meet your expectation, there are 5 steps for long exposure introduced in this post.
Part 1: What is Long Exposure Photography?
Long exposure photography, also called time exposure photography or slow shutter photography, involving using a long-duration shutter speed to sharply capture the stationary elements of images while blurring, smearing, or obscuring the moving elements. Long exposure photography tends to create photos in an extended period of time, from couples of seconds to hours, and makes you obtain dreamlike and incredible effects. Moreover, long exposure works well for any genre of photography, including landscape photography, night photography, steel wool photography, light painting, star trails, cityscapes, sports, and abstract photography, etc.
Part 2: 5 Steps on How to Take Long Exposure Photography
Some of you may be familiar with long exposure photography but not skilled. There are 5 steps on how to take long exposure photography recommended to you to take you to the next level.
◎ Step 1: Choose a Location and the Weather
There are a lot of popular scenic spots and historical sites in the world for you to take amazing photos, which are significantly fascinating and attractive for photography enthusiasts. If you are intended to take fantastic photos using long exposure photography, you’d better make sure where to go and study the weather condition there in advance. After all, the location and weather play a crucial role in long exposure photography. A spectacular landscape in a good weather will be so impressive. You need to visit and observe the location ahead of time, imaging the coming long exposure photos in your mind and looking for a harmonious composition. For instance, a day with a cloudless sky is not a good day for long exposures, while the afternoon after a pouring rain may be perfect chance for capturing the unique moment.
◎ Step 2: Use the Tripod and Lock Focus
To help you capture the ideal shot in all different circumstances, a tripod will be a must, supporting your camera in the perfect position. Before you take long exposure photos, you’re required to mount your camera on a tripod and make some adjustment. And then you can focus on the subject and lock the focus when you have refined the composition. Locking the focus means that you deliberately make your camera focus on some object in the scene—a person or something attractive in the foreground—and keep the focus locked until you take long exposure photos. To make it, you can directly turn the lens’s focus ring when using manual focus, or you can half-press the shutter button and push the lever under camera’s autofocus mode to focus.
◎ Step 3: Set the Long Exposure
To take long exposure photos, you need to set your camera to Manual (M) mode or Aperture Priority (A/Av) mode. And then you’re required to set the aperture to an appropriate value for the scene (for landscapes the value between f/8 and f/11 is recommended) and take a “test shot” to get a correct exposure. Don’t forget to write down the shutter speed you used for that shot when the test shot is a success. Besides, you can set the camera to B “Bulb” shooting mode and set your aperture between f/2.8 – f/4 for optimal results and make a long exposure stars on a starry night to produce beautiful light trails created by the stars and the rotation of the earth. And you can also change the value to make waterfall long exposure to get dreamy effect, or lights long exposure to get a sunning effect by traffic head light and tail light trails, or to take fancy night photos using long exposure night photography.
◎ Step 4: Select the Equipment
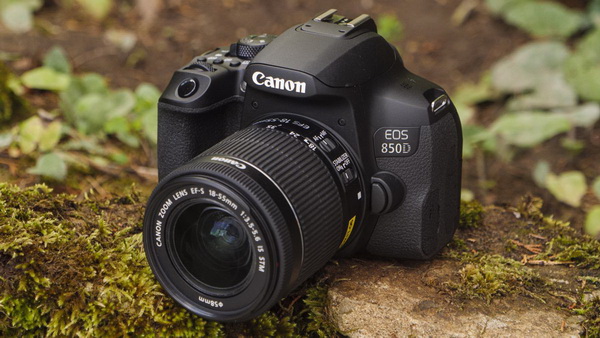
To achieve long exposure photography techniques or effects, having the right equipment is essential. In order to use a slow shutter speed for long exposure photography, you need a camera that allows you to manually adjust the ISO, aperture and shutter speed. And a DSLR camera is suggested. Besides, it’s beneficial for your camera to have a Bulb Mode which allows you to take exposures longer than 30 seconds. Neutral Density (ND) filters are strongly recommended to get higher quality of your long exposure photos. And a remote shutter is also necessary to achieve a long exposure. However, if you are a beginner, you can just take long exposure photos with a newly released iPhone. Long exposure iPhone is pretty easy for a beginner to get what you want. Guide on how to take long exposure photography on iPhone will be introduced below. You can learn more about how to take photos with iPhone.
◎ Step 5: Choose a Location and the Weather
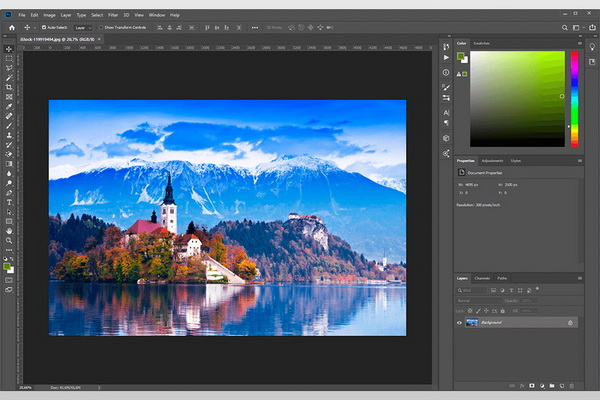
It is necessary to make some editing for long exposure photos you’ve taken since not every photo you take is perfect. Granted, photography is subjective, and each of you have your own unique aesthetic preferences on what makes a long exposure photo most impressive. Nonetheless, you are the one who defines your own work, so just optimize the photos as you like. There are so many photo enhancer apps like Leawo PhotoIns, Let’s Enhance, Photoshop and Lightroom alternatives etc., that can be used to retouch long exposure photos. You can choose one app to improve the quality of your photos, reduce noise in photos, fix exposure issues, adjust the color and other effects and so on. In this way, you can fix the problems in the photo you’ve taken and get an amazing photo with the quality and effects you like most.
Part 3: How to Take Long Exposure Photography on iPhone?
Professional photographers often use long exposure photography technique to produce stunning landscape shots and light trails. Usually, you need some professional equipment like a DSLR camera, a slow shutter, ND filters and others to take long exposure photos. It would be quite a little complicated for a beginner to make it. Fortunately, an iPhone can help you create stunning long exposure photos. Here comes the way on how to take long exposure using Live Photos.
△ Using Live Photos to Take A Long Exposure Photo
Since the iPhone 6S was released, Apple has introduced Live Photos for you to get long exposure photos. When taking a Live Photo, the iPhone camera app captures a short video clip and records 1.5-seconds scene before and after you hit the shutter release. To take a live photo, you can follow the simple steps below:
Steps:
- Simply open the built-in iPhone Camera app.
- Turn Live Photos on. After that, the Live Photo button at the top of your Camera will turn yellow.
- Take the Live Photo. Make sure you hold your iPhone still or use a tripod for iPhone to avoid too much movement.
- Once you took the Live Photo, switch to the Photos app, open the Live Photo, and swipe up to see Effects, and then choose the effect labeled Long Exposure.
- Tap it and see your Live Photo turned into a long exposure.
Part 4: How to Enhance Long Exposure Photography with Leawo PhotoIns?
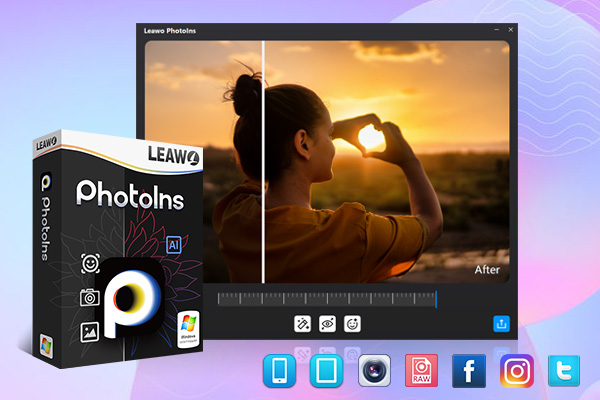
There is no doubt that long exposure photography is an amazing technique which creates fantastic and surreal photos. Once you try to take star trails, dreamlike waterfalls, light trails and more, long exposures will be helpful. If you have taken long exposure photos for water falls, star trails, a river, creek, ocean waves, etc., you can also make full use of powerful photo enhancer to enhance the long exposure photography—Leawo PhotoIns. As a powerful AI photo enhancer, Leawo PhotoIns optimizes your photos automatically and instantly. Besides, it detects areas that were exposed excessively and then adjusts the brightness, making the highlights and shadows of your photos look more comfortable. It creates beautifully enhanced sky for your landscape photos and does more. With easy-to-use interface, you can simply enhance long exposure photos with a few clicks.
Step 1: Download Leawo PhotoIns
Go to its official site and download Leawo PhotoIns for free. And then install it on your computer in seconds.
-
Leawo PhotoIns
- Enhance portrait photos easily with advanced AI technology
- Fix photo exposure and white balance issues automatically
- Optimize photo colors and perfect photo tints
- Make photos perfectly clear with smart dehaze
- Boost photo lighting and color quality
- Process RAW and JPG files
Step 2: Add long exposure photos
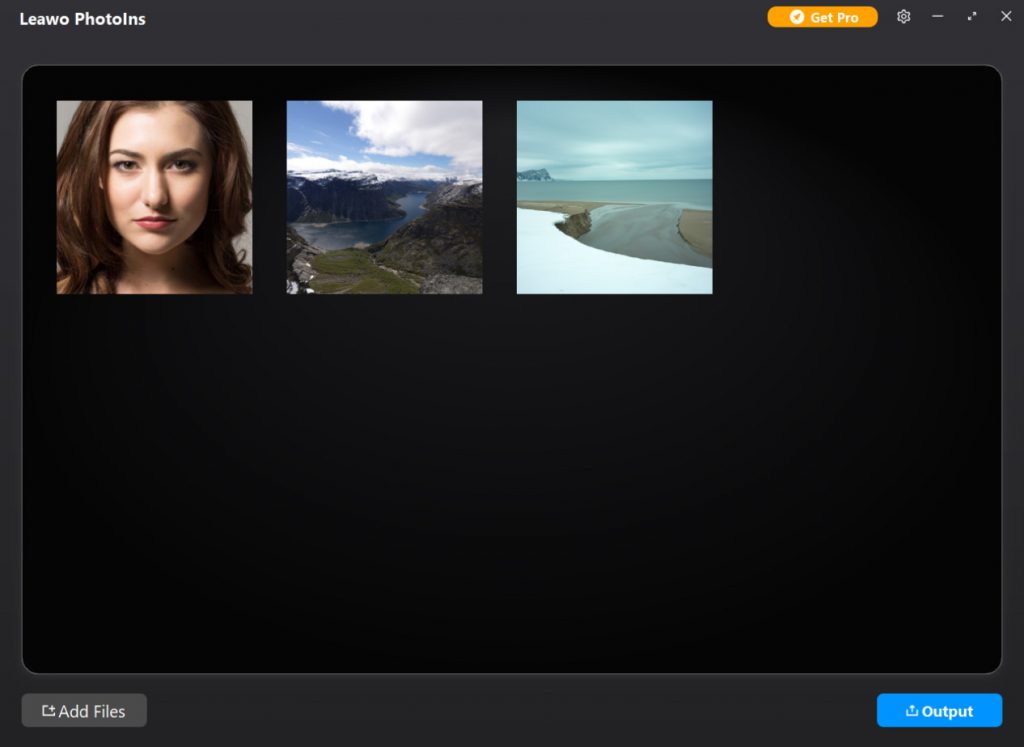
Click on “Add Photo” button to import the source long exposure photos you want to enhance into the program. If you’re intended to add photos taken by your iPhone, you can use Leawo iTransfer to transfer your iPhone photos to the computer in advance.
Step 3: Enhance Photos
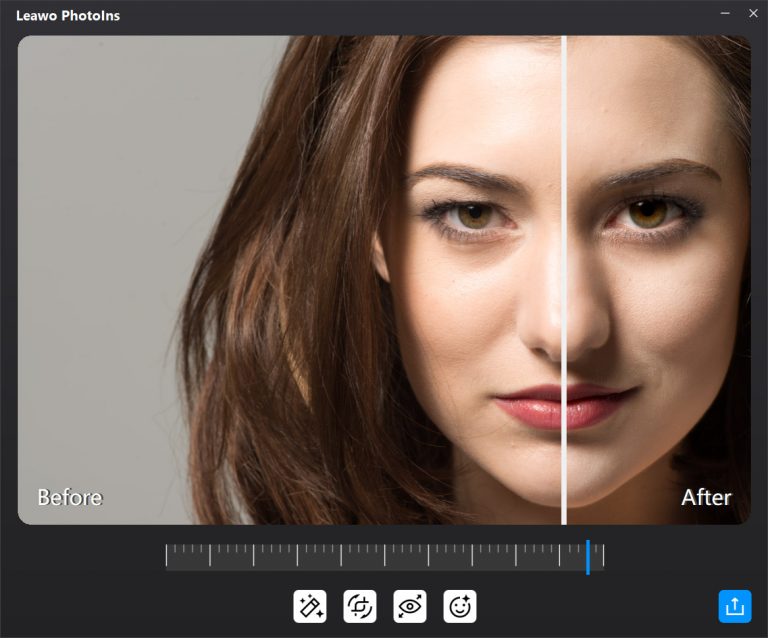
It allows you to enhance the imported photos in batch or one by one through its internal photo AI enhancer. For making a specific enhancement, select one loaded photo and double click it to enter the photo enhancer editing interface where an effect adjuster bar locates. You can adjust the photo AI enhancing degrees by driving the slider to the right gradually to get the effect you want.
Step 4: Output photos
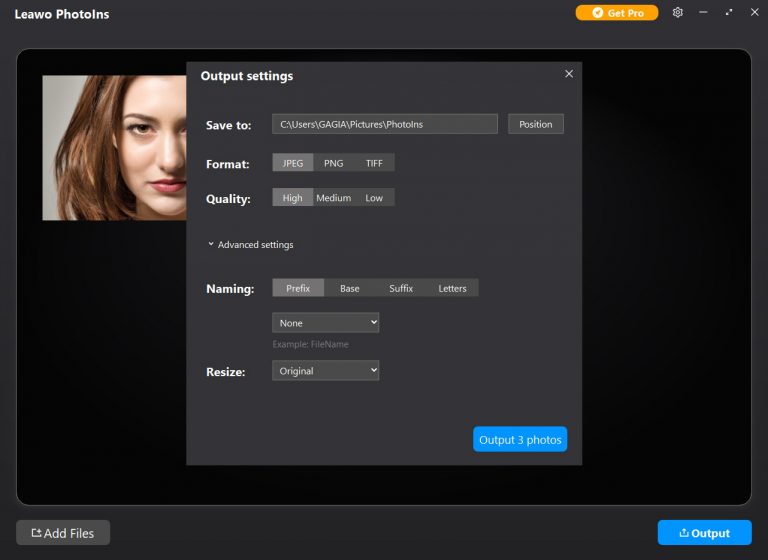
Once the photo AI enhancing is completed, click the bottom right “Output” button to pop up an “Output settings” window, where you need to complete some output settings. And then click the blue “Output

