You may encounter the problem that iPhone notifications not working. This problem is quite common after you upgrade your iPhone. In order to solve this problem, you can refer to this guidance in case you need. This issue is not hard to deal with. Now let’s take a look on the solutions to solve notifications not working on iOS 10 and two methods to back up iOS 10 to computer.
You may also be interested in:
How to Fix “iPhone Home Button Not Working” Issue
How to Fix iPhone Touch Screen Not Working Issue
How to Fix iPhone Sound Not Working?
Part 1: Solutions to "iOS 10 Notifications Not Working"
The methods to solve notifications not working on iPhone are not difficult at all. Now let’s begin to check out several solutions to deal with iOS 10 notifications not working.
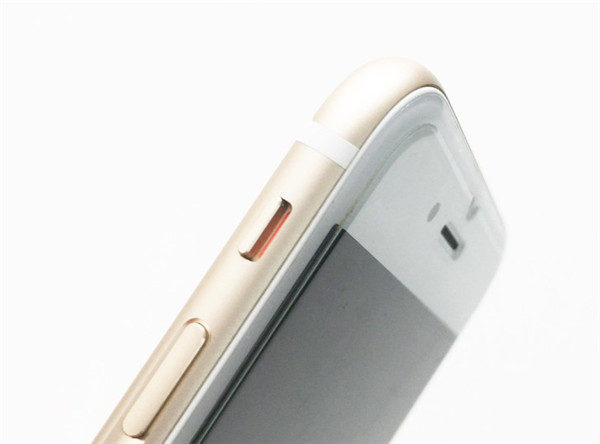
Solution 1: In order to handle notifications not working on iOS 10, you need to check if you have switched the mute button into the silence state. If you have done this, when a notification is created on your iPhone, there would be no sound. Therefore, you need to switch the mute button into the sound state.
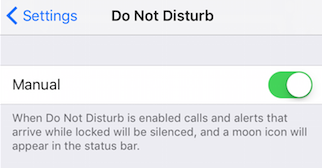
Solution 2: To deal with notifications not working on iOS 10, you can check if you have activated the "Do Not Disturb" on the “Settings” application. If so, you need to go to “Settings” and turn off this function.
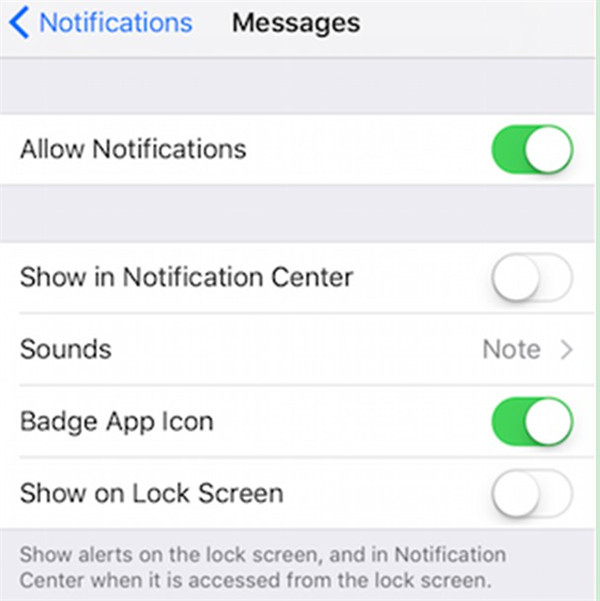
Solution 3: You can also check if you have enabled the notifications for the apps by heading to “Settings > Notifications”. If you have not turned on this function, you can enable the notification of the app to solve notifications not working on iPhone.
Solution 4: If the network is not performing properly, the apps will fail to update the news and send notifications. Thus, in order to solve iOS 10 notifications not working, you need to re-connect your iPhone to Wi-Fi. Or you can reset the settings of network in case you need.
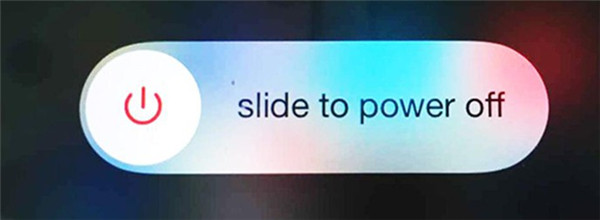
Solution 5: You can also try to solve notifications not working on iOS 10 by restarting your iOS 10.
As you can see, the solutions to solve notifications not working on iPhone are various. You can choose one method or try several of them to fix this issue.
Part 2: How to Backup iOS 10 to Computer via iTunes
If you have used the above methods to solve notifications not working on iOS 10, you can continue to read this part to know how to backup iOS 10 to computer with iTunes. This process is not hard at all. The detailed steps are as follows.
1. Find a proper USB cable to connect your iPhone with your computer. Afterwards, you need to launch the latest version of iTunes on your computer.
2. In the interface of iTunes, you need to click on the icon of your iPhone and then you need to go to “Settings > Summary”.
3. After that, in the right part of the window, you need to go to the section of “Backups” to check “This computer” and then choose “Back Up Now” to click on. Afterwards, your iPhone data will be backed up to your computer with iTunes.
Note: Before you begin to back up data from iPhone to computer, you need to go to “Edit > Devices” to make sure “Prevent iPods, iPhones, and iPads from syncing automatically” is checked.
To use iTunes to back up iPhone to computer is easy to handle. If you want to use a more professional tool to help you to backup iOS 10 to computer, you can use iTransfer.
Part 3: How to Backup iOS 10 to Computer via Leawo iTransfer
Leawo iTransfer is a good tool to use to back up data from iOS 10 to computer after you have solved iPhone notifications not working. This program can assist you to solve various transfer problems. It is easy for you to use it to manage 12 kinds of files among computers, iTunes and iDevices. Now let’s start to see how to use iTransfer to transfer data from iOS 10 to computer in detail. Here I would like to take movies for instance.
Leawo iTransfer
☉ Transfer files among iOS devices, iTunes and PCs with ease.
☉ Transfer up to 14 kinds of data and files without iTunes.
☉ Support the latest iOS devices like iPhone 7, iPhone 7 Plus, etc.
☉ Play back, view, and delete data and files on iOS devices.
Step 1. Launch iTransfer, and Connect iPhone to Computer
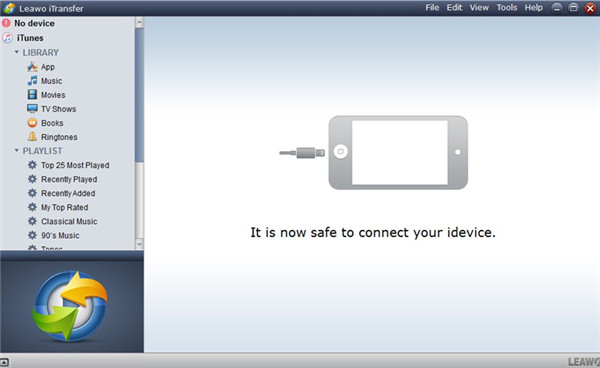
On computer, you need to run iTransfer. Afterwards, connect iPhone with PC with proper USB cable. The software will detect your iPhone information automatically.
Step 2. Choose Files and Click on “Transfer”
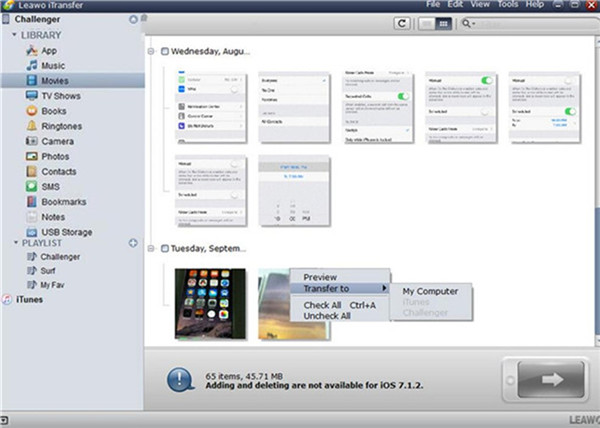
Move to “iPhone icon > LIBRARY > Movies” to check all videos on your iPhone. Afterwards, you need to choose the movies on your iPhone in the right side of the interface. Right click on one of the video and then select “Transfer to > My Computer”.
Step 3. Set Output Folder and Transfer
In the pop-up dialog, you need to check “Save to Folder” and then you need to tap the “Change” button to set the output folder to store the iPhone movies. Afterwards, you need to tap “Transfer Now”.
When the transfer procedure comes to an end, the iPhone movies will be accessible on your computer. If you want to back up other files from iPhone to computer, you need to select the corresponding category under the menu of “LIBRARY” to realize your goal.

