Impressive portrait photos can last for decades, memorializing a person’s entire life or various wonderful moments. It is an unspoken secret that flattering portrait photos of people is much favored since everyone wants to show himself in a better way. It is definitely true that taking striking portrait photos has become one of the most indispensable skills for you, especially in flourishing social media. Though so many of you may be familiar with portrait photography due to the development of science and technology as well as the extension of knowledge, it is still not that easy for you to take portrait photos in a proficient manner. To be more skilled, you are likely to know the 9 tips on how to take portrait photos here.
Outline
Part 1: What is Portrait Photo?
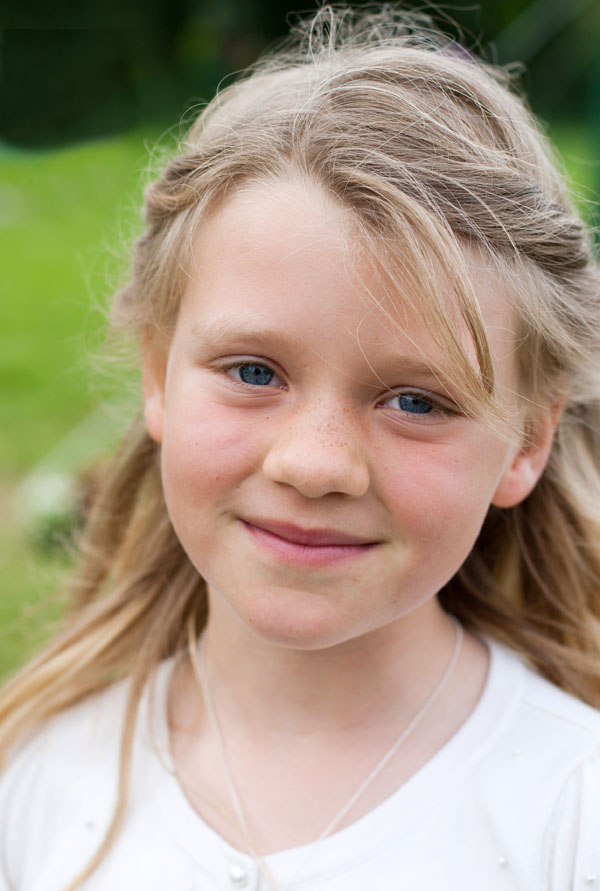
A portrait photo is a photo of a particular person. Portrait photography is about capturing the essence, personality, identity and attitude of a person utilizing backgrounds, lighting and posing. Thus, what makes an impressive and favored portrait is about one subject: the person in them. On one hand, a good portrait draws attention to the subject, which is normally achieved through the combination of a shallow depth of field, composition, color, and lighting. Your eyes instantly catch the subject in a good portrait rather than any distracting background element. On the other hand, a good portrait would be stunning and emotive, telling you something about the subject and evokes your feelings.
Part 2: 9 Tips on How to Take Portrait Photos
As you know, it relies on stunning techniques and aesthetic taste in art to take good portrait photos. When it comes to aesthetic taste in art, you hold your own opinions undoubtedly. But there are eight highly praised tips that will help you break out of the mold and take portrait photos to a better level.
△ Tip 1. Choose a Proper Background
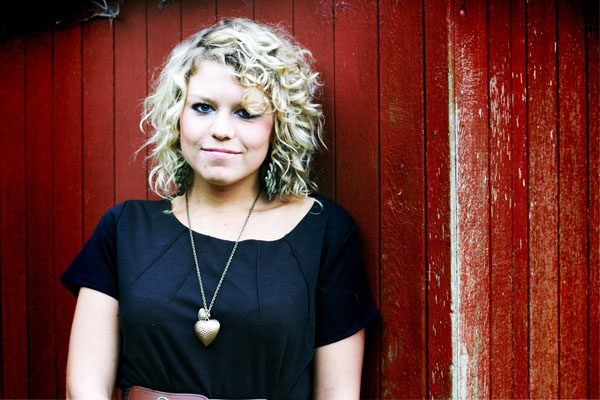
The most important thing for a stunning portrait photo is that the focus in portraiture is unsurprisingly on the subject model. A disordered or distracting background will easily divert attention from the subject in your photo, and a completely plain background may be a little dull and unremarkable. You can choose an interesting background that has some highlights to help your subject stand out. For example, using an interesting wall or fence as the background to give a wonderful pop of color or texture. Or you can provide added interest or context to rich the subject, such as a student next to her books, a football player stepping on his ball, a surfer holding his surfboard.
△ Tip 2. Help Your Subject Relax
For most people, being photographed is self-conscious and uncomfortable. Your job as a photographer is to put your subject at ease, feel fun and natural. Try making a conversion, play music or just walk around to find something interesting to take the edge off. Make sure that you stay confident and relaxed while taking portrait photos so you don’t make your subject nervous.
△ Tip 3. Figure out the Right Pose
It is imperative to portray your subject in the most flattering way by figuring out the right portrait photography poses. You can encourage your subject to pose in a way that complements them most while keeping in mind the lighting, camera angle, and surroundings. Try different poses and angles to find the best options for your portrait.
△ Tip 4. Flatter Your Subject in Good Lighting
Direct lighting is notoriously unflattering, which not only will your subject be prone to squinting, but the harsh light will cast deep shadows. You can take good advantage of the available lighting for outdoor portraits. If it is not a sunny day, you can also use reflector and flash to lighten the shadows on your subject.
△ Tip 5. Use a Flattering Focal Length
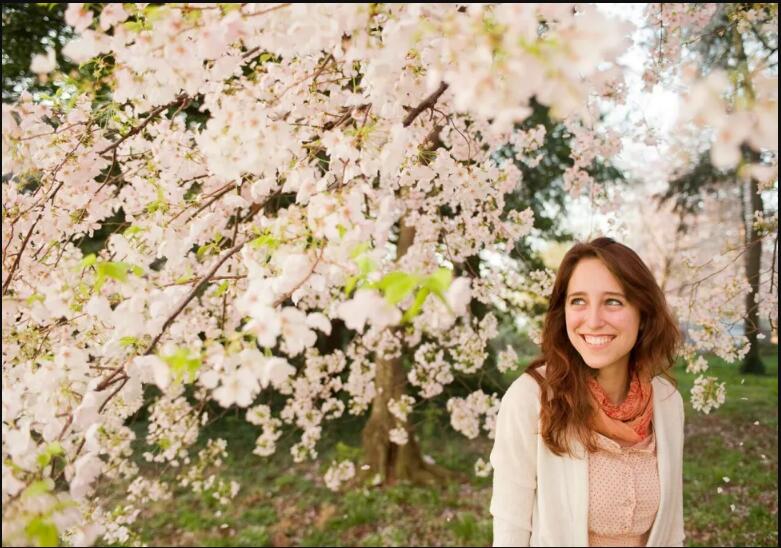
The focal lengths are displayed in millimeters, e.g. 18mm, 55mm, etc. The longer your focal length, the fuzzier your background will be. A wide-angle lens would be used for a shot where the subject’s environment or the scenery will be the most important. A medium telephoto lens like 85mm or 105mm will help you strike a balance between your subject and the background. A 70-200mm f/2.8 telephoto lens is an excellent choice for focusing on the subject only.
△ Tip 6. Blur the Background Using Aperture Priority Mode
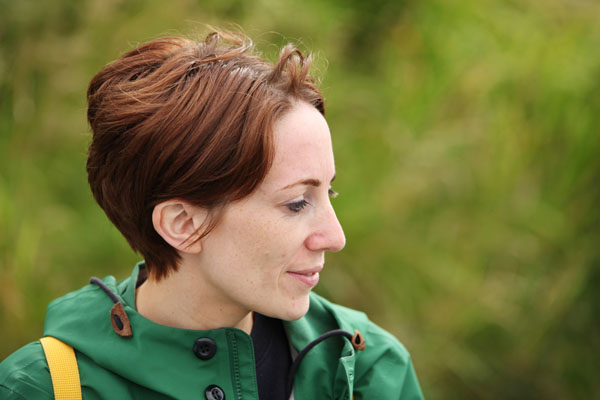
In most cases, though, the fuzzy background can add more emphasis to the subject. And it is also necessary to see how the background will turn out while adjusting the shutter speed and aperture accordingly. Usually, your background looks relatively sharp if you shoot with a shallow depth of field. But using Aperture Priority Mode allows you to have your subject in sharp focus while the background becomes blurred and fuzzy, helping your portrait subject stand out.
△ Tip 7. Expose for the Subject’s Face
In photography, exposure refers to the amount of light per unit area which displays how bright or dark your photo is. Since the most crucial part of a portrait is the subject’s face in portrait photography, make the face correctly exposed—neither too dark (under-exposed) nor too bright (overexposed).
△ Tip 8. Capture Emotions and Expressions
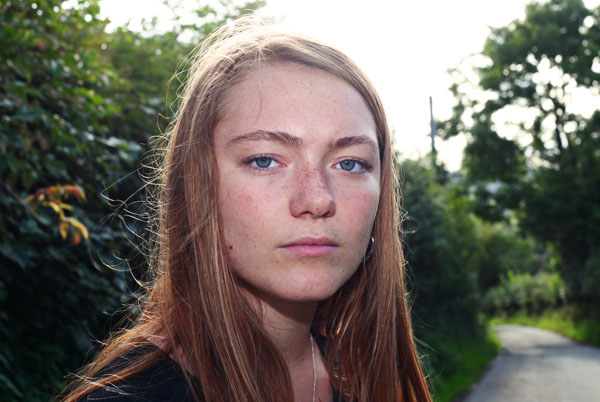
To take artistic portrait photo is all about finding emotions and expressions. It is not easy to get your subject to emote. To make it, you should avoid fake smiles and blank looks. Improving the sense of eye contact between the subject and viewer will be more engaging. Besides, a genuine sparkle in the eye, a faint smile, a confident expression—these are excellent recipes for creating flattering portrait shots that will shine. Before you take portrait photos, working with your subject and giving them time to get into the zone will be helpful.
△ Tip 9. Retouch After Taking Portraits
There are several powerful techniques of portrait photography introduced, which will help you take stunning portrait photos with your camera. It will be obviously much easier for you to shoot stunning portrait photos with the help of these techniques. To be a good portrait photographer, you also need to achieve mastery through a lot of practice. Despite the powerful shooting techniques, it is a necessity to improve portrait photos with proper editing and retouching in professional portrait photography. Professionals may use Photoshop and Lightroom, but they are too expensive and complicated for beginners. Fortunately, you can use the powerful and user-friendly Leawo PhotoIns, which is an AI photo enhancer that optimize portrait photos automatically and intelligently without any tedious operations.
Part 3: How to Improve Portrait Photos with PhotoIns?
Powered by Artificial Intelligence technology, Leawo PhotoIns is a powerful and one-stop AI photo enhancer, the best Lightroom alternative, to perfect your portrait photo automatically. Leawo PhotoIns is quite powerful since it supports various types of photos like RAW, JPEG, TIFF, and PNG files and so many editing and retouching features—It enhances portrait photos with advanced AI photo enhancer, fixes photo exposure issues automatically, optimizes photo colors and perfects photo tints, boosts photo lighting and color quality, etc. Follow the guide below on how to use Lwao Photoins to improve your portrait photos in batch with one click.
Step 1. Download Leawo PhotoIns

-
Leawo PhotoIns
- Enhance portrait photos easily with advanced AI technology
- Fix photo exposure and white balance issues automatically
- Optimize photo colors and perfect photo tints
- Make photos perfectly clear with smart dehaze
- Boost photo lighting and color quality
- Process RAW and JPG files
Step 2. Add Portrait Photos
Run Leawo PhotoIns on your computer first. Then, click “Add Photo” button to browse and load source portrait photos from your computer hard drive into this AI photo enhancer. Or you can also add target photos by direct drag-and-drops for photo AI enhancing.
Step 3. Improve Portrait Photos
PhotoIns can enhance portrait photos in batch or one by one through the internal photo AI enhancer. To AI enhance photos in batch, you can open “Settings” the drop-down panel to enable “Automatic Lens Correction”, “Face enhance” and/or “Enlarge eyes” features. And then it will automatically enhance photos in batch according to the features you have enabled for output. Surely, for better improvement of your photos, you’d better optimize one portrait photo at a time. As soon as you double click one loaded portrait photo to enter the photo enhancer editing interface, the photo AI enhancer will automatically adopt “AI enhance” tech to perfect the photo for you.
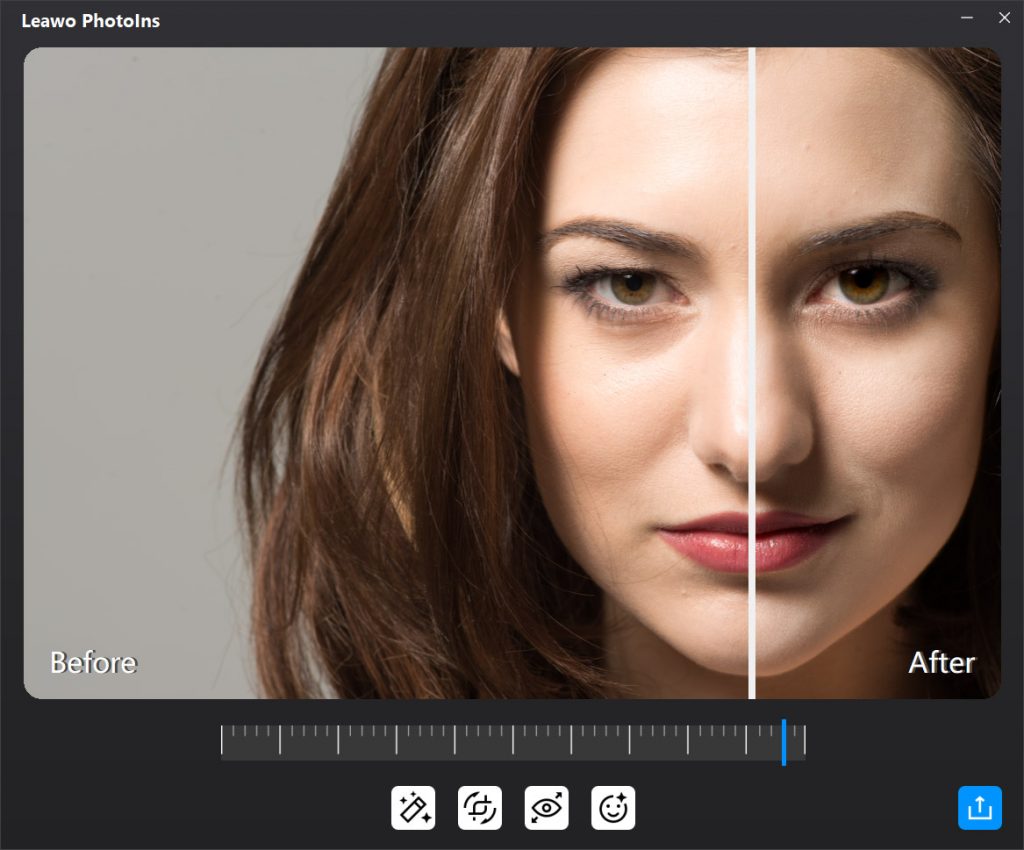
Once the AI photo enhancing completes, you can preview the photo effects of the “Before” and “After” at once. It enables you to drag the slider on the preview window freely to get an instant comparison as well.
Step 4. Output settings
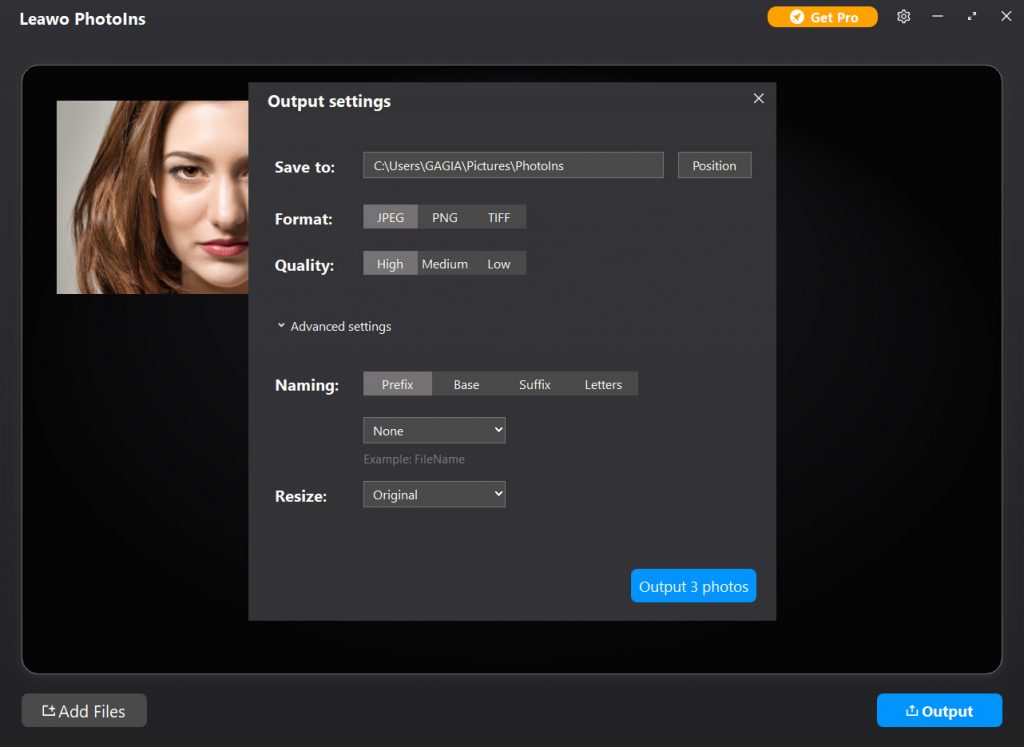
After editing photos, you can click the bottom right output icon for output settings. Click “Output” button to pop up an “Output settings” window, where you can set output path, photo format, quality etc. naming and resizing the output photos.
Step 5. Output AI Enhanced Photos
Finally, when all settings are done, just click the blue “Output

