Equipped with one of the largest music catalogs on earth, iTunes is admittedly the most popular streaming service for music lovers. However, just like regular apps, iTunes runs into errors from time to time, especially when you try to update your iOS device, as many users reported the iTunes error 4013 these days. How to fix iTunes error 4013 quickly? Here are the proven solutions to the issue, just read on.
Part 1: What is iTunes Error 4013?
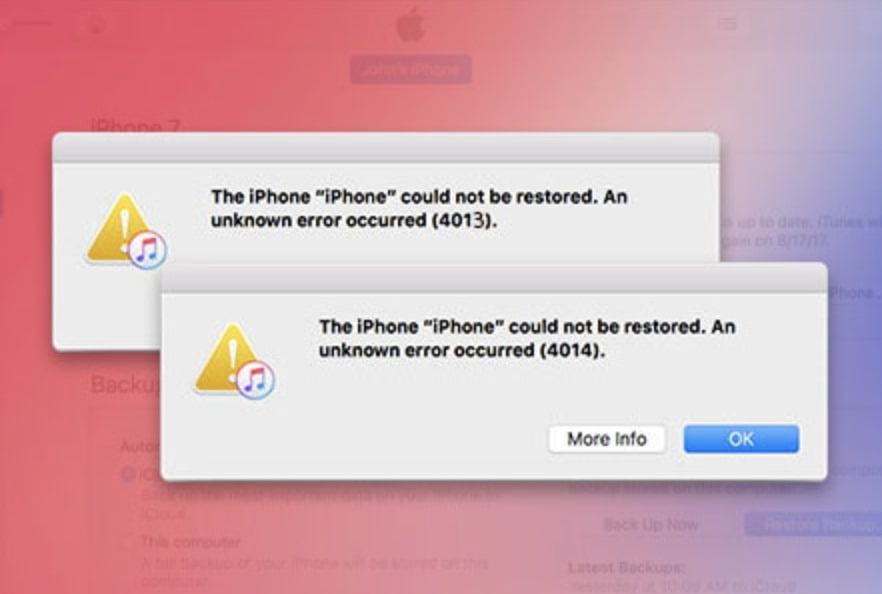
iTunes error 4013 is one of the most commonly seen errors when you update or restore your iOS device. It is often a prompt popup that notifies you with information like: "The iPhone [device name] could not be restored. An unknown error occurred (4013)." The issue can happen on any device that runs iOS, including iPads and iPods. iTunes error 4013 mostly suggests a connectivity issue during the updating or restoring process.
If you see the iTunes error 4013, either you have accidentally disconnected your device or there is something wrong with your software that prevents the updates from being executed. Such connectivity issue errors can also be found with different error codes, for instance, error 9, error 4005, error 4014. If you have encountered any of these errors, just keep reading to see how to fix them.
Related Articles
Part 2: Possible Causes of iTunes Error 4013
It's hard to identify the exact reasons that cause the iTunes error 4013 without a specific context. Before you solve the issue, it's better to figure out the possible causes. Based on research, here are the most commonly seen causes for iTunes error 4013.
Poor network
A reliable network is always required when you try to update or restore your iOS devices. It doesn't have to be a super network but just needs to make sure it's stable enough to connect to the iTunes update server.
iTunes version
Your iTunes version matters, especially when you use iTunes to update or restore your iOS device. The old version of iTunes might cause the iTunes error 4013 when connecting to the update server.
Broken USB connection
When your USB lightning cable is not properly connected to the computer and your iOS device, it might cause the iTunes error 4013. This is because the small plates at both ends of the cable are not touching those on your devices, hence the connection fails.
Low storage
Is your iOS device running low in space? If yes, it might affect the connectivity and cause the iTunes error 4013. An iOS update often needs to download firmware, which might require your device to have enough storage to proceed.
Part 3: How to Fix iTunes Error 4013?
When iTunes error 4013 occurs, don't fret. Just check out the guide below to see how to fix the issue step by step.
Fix 1. Check your network
You may check your network and see if it's stable enough to establish the connection to the update server. If the connection doesn't seem to be good, restart the router and modem to see if that helps. Simply plug them back in after one minute and restart your computer to check again.
Fix 2. Restart your iOS device
The stuck process of your iOS device could cause the iTunes error 4013, you may force your iOS device to restart to see if it helps. This proved to be a quick fix and it can solve most temporary software glitches. You may also check out how to fix iPhone stuck with multiple solutions.
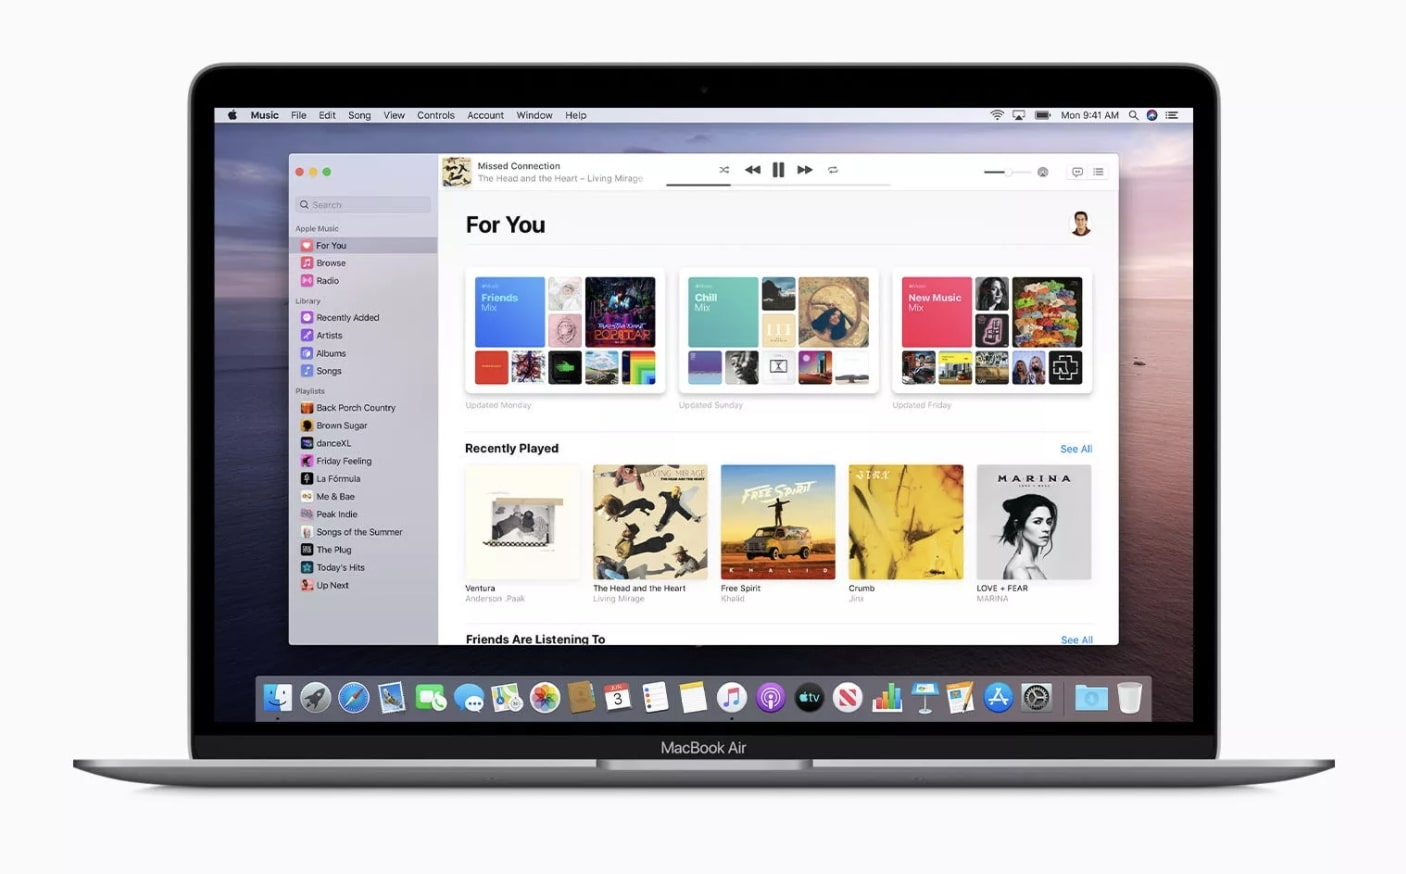
Fix 3. Update iTunes
If your iTunes is not up to date, it's time to update it to the latest version to fix iTunes error 4013. Just follow the steps below:
Step 1. Open Apple Store.
Step 2. Click "Updates" on top of the Apple Store.
Step 3. Click "Install" to update to the latest version if applicable.
Fix 4. Update operating system
Check if there is any update of the operating system available. If yes, install the updates and see if the iTunes error 4013 still occurs.
Fix 5. Use a new USB cable
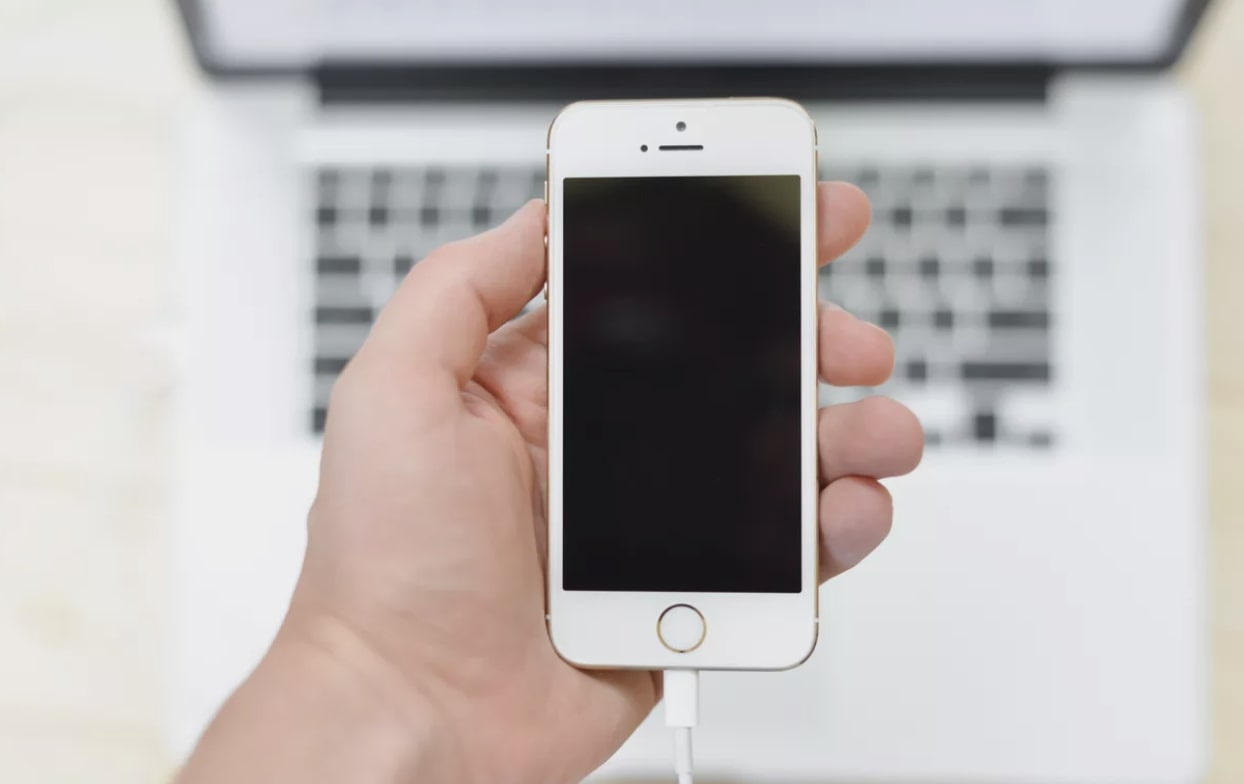
Given iTunes error 4013 is a connectivity issue, you might as well check your USB lightning cable and see if it's properly connected. If not, you can always get a new and authentic USB lightning cable from Apple and try again because a fake cable might also cause problems.
Part 4: What If You Can't Fix iTunes Error 4013?
If you can't fix iTunes error 4013 with the solutions above can't seem to do the trick, you might consider restoring your iOS devices to fix the issue. Unlike updates that can reinstall the software and keep your personal data, restore means your information and settings will be completely erased.
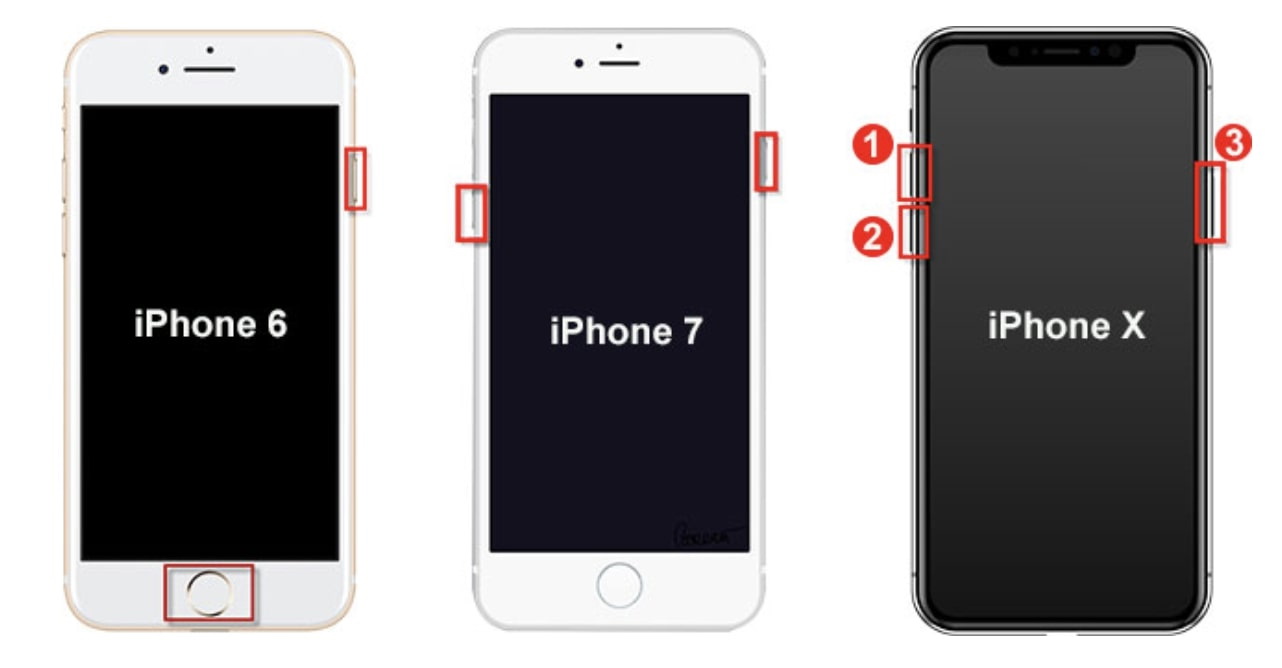
When you want to fix iTunes error 4013 by restoring your iOS devices, you will need to connect your device to the computer with a lightning cable and enter recovery mode. Here's how to enter recovery mode with different iPhone models.
- iPhone 8 or above: Press and quickly release the Volume Up button, then the same with the Volume Down button. Press and hold the Side button until recovery mode appears on the screen.
- iPhone 7/ iPhone 7 Plus: Press and hold the Volume Down and the Side button simultaneously until the recovery mode screen appears.
- iPhone 6s or earlier, iPod touch or iPad: Press and hold the Top/Side button, and Home button simultaneously until you see the recovery mode screen.
iTunes will detect the recovery mode and you will see a prompt popup with the "Restore" option. Proceed with the "Restore" and wait for it to be completed. After that, you will need to set up your iOS device from a backup. So make sure you have backed up everything on your phone or iTunes before you do so. And if the iTunes error 4013 still appears later, you might need to contact Apple for further information.
Part 5: Backup Data to Avoid Data Loss Due to iTunes Error 4013
You may try the solutions above to fix the iTunes error 4013, but if it still occurs, a restore might help to fix the issue. In fact, restoring your device can help to fix almost all iTunes errors. Whether you want to update or restore your iOS device, it's always good to back up your data, for instance, iTunes music, playlists, photos, video, etc. before everything else, just to avoid data loss.
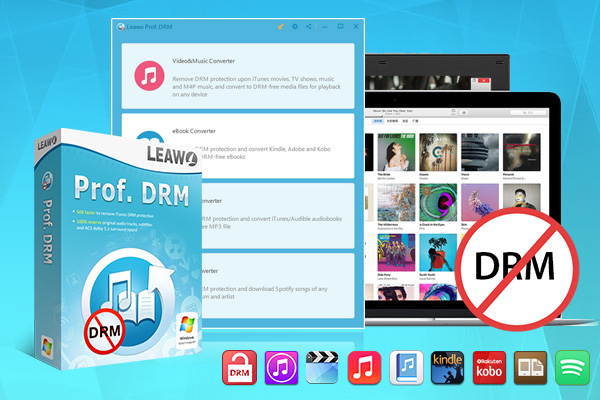
Normally your iTunes music will be backed up automatically in the iCloud library, but you can't access the backup in iCloud once you unsubscribe to iTunes. If you want to keep your iTunes music forever, especially after unsubscribing, you might consider getting Leawo Prof. DRM, a professional DRM(Digital Rights Management) removal that can help you remove DRM from iTunes M4P music and save them as local MP3 files.
-
Leawo Prof. DRM
- Convert iTunes DRM-protected M4V movie and TV show to DRM-Free MP4
- Remove DRM from M4B, AA, AAX files and convert any Audible AA, AAX file to MP3, even without iTunes authorization
- Convert iTunes DRM-Protected M4P and non-DRM iTunes M4A Music to MP3
- Remove DRM-protection on Spotify music and convert to Universal audio format for enjoying music offline on any devices
- Convert DRM-protected eBook from Kindle, Kobo, Adobe to DRM-free epub, mobi, azw3, txt, etc., format
With Leawo Prof. DRM, you can also remove copyright protection and convert Spotify music to DRM-free files. You can save the top 10 Spotify playlists for work with it. Besides, Leawo Prof. DRM can remove the DRM protection on almost all the digital content online, such as video, ebook, and audiobooks. The converter can also help you read Kindle books without Kindle by removing the DRM.
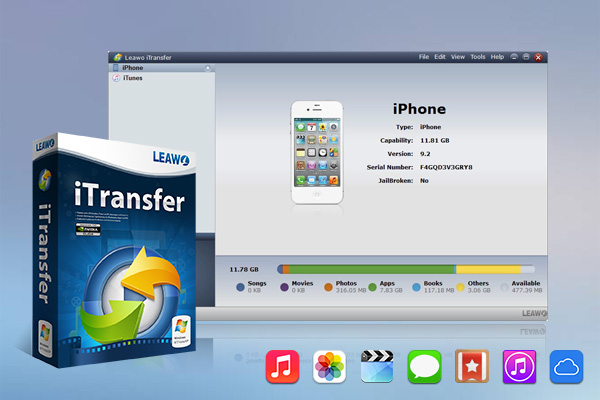
When it comes to content in the iTunes library, it's better to back them up before you restore your device. You can move the iTunes library to an external hard drive so you can put them back after restoring. Alternatively, you may transfer the entire iTunes library to a new computer with a third-party tool to back up everything. Here comes Leawo iTransfer, a practical tool to help you transfer files between iOS devices, iTunes, and computers. With Leawo iTransfer, you can back up up to 14 kinds of data and files without iTunes.
-
Leawo iTransfer
- Transfer files among iOS devices, iTunes and PCs with ease.
- 6x faster than iTunes
- Transfer up to 14 kinds of data and files without iTunes.
- Support the latest iOS devices like iPhone 12, iPhone 12 Pro, etc.
- Play back, view, and delete data and files on iOS devices.
- Support Windows & Mac OS
With iTransfer, you can back up any kind of data like TV shows, apps, music, contacts, bookmarks, etc. from iOS devices to iTunes library or back up iTunes library to another computer. It's also quite useful when you want to transfer files between iPhone and computer. With a user-friendly interface, iTransfer is easy to use. Now let's see how to copy the iTunes library to the computer with Leawo iTransfer!
First off, you will need to download Leawo iTransfer from the links above.
◎Step 1. Launch Leawo iTransfer
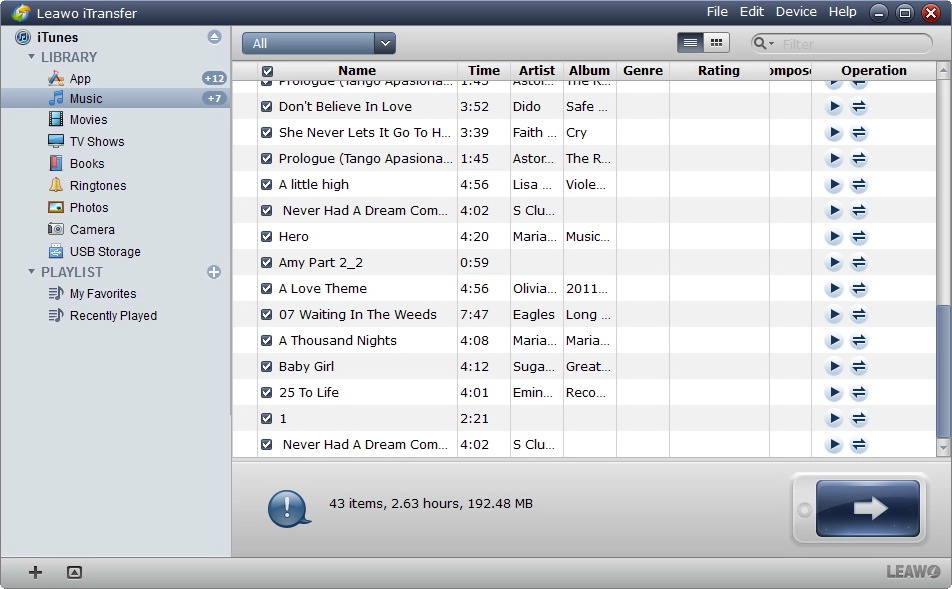
Connect your phone to the computer with the USB lightning cable. Launch Leawo iTransfer and it will automatically detect the device and load the library on the left panel.
◎Step 2. Choose content to copy
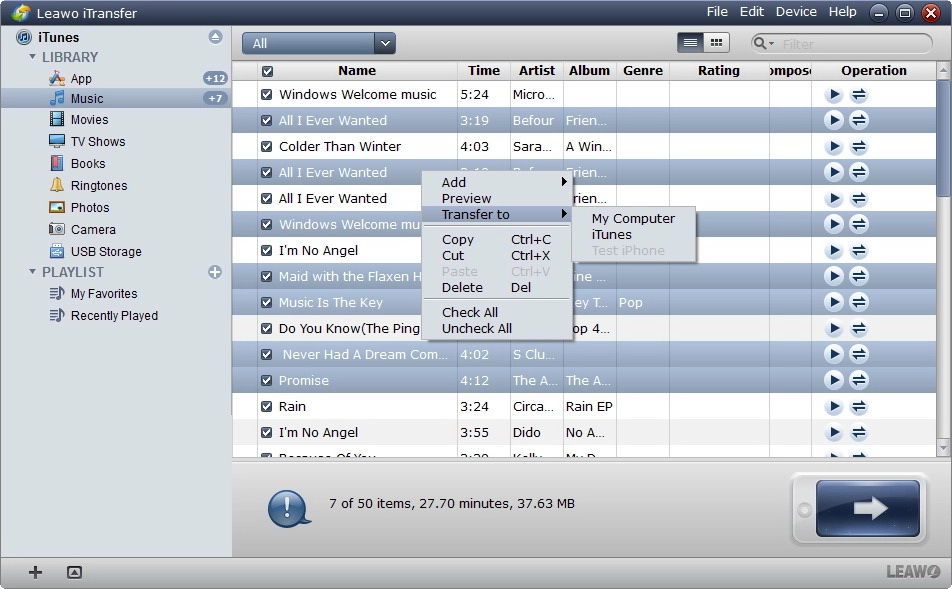
Go to iTunes > Library, for instance, choose "Music" to display all the music files. Select songs you want to copy and right-click on them, choose "Transfer Now > My Computer" to transfer music.
◎Step 3. Set destination folder
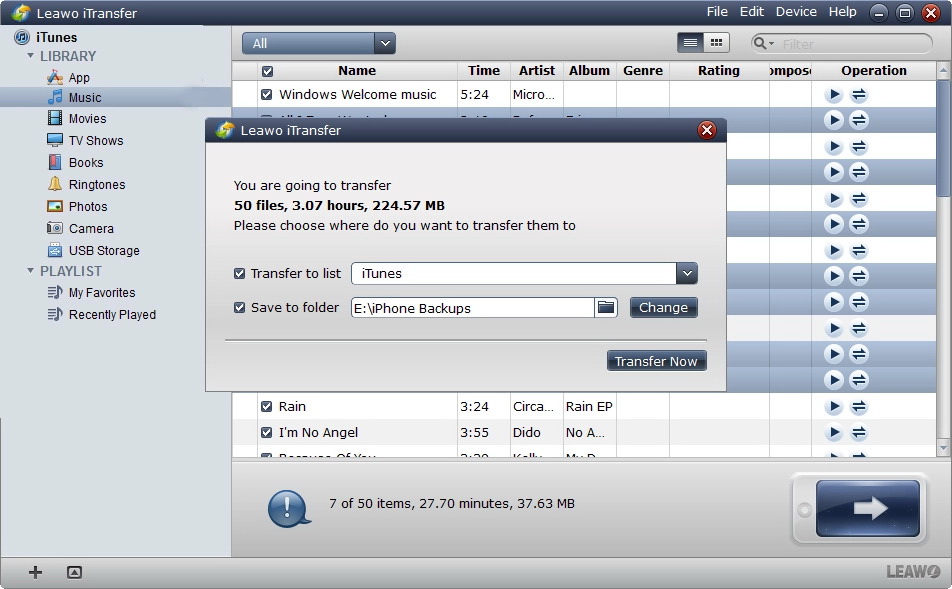
In the prompt popup, click "Change the destination folder if necessary. Click "Transfer Now" to start transferring.
The Bottom Line
How to fix iTunes error 4013? Simply try out the solutions above. If you decide to fix the issue with restoring, just remember to back up your iTunes library with Leawo iTransfer and download iTunes music with Leawo Prof. DRM. These two practical tools can effectively help you backup all the files without worrying about data loss while fixing iTunes error 4013.

