If you get used to recording your life with the photos, then you may have gathered a lot of old photos at home. Well, due to the less advanced professional cameras or photo apps, some images would be blurry to a great extent in comparison with nowadays. But how to recover these blurry photos and are there any good ways to fix them? For many photographers, Photoshop and Lightroom alternatives would be quite helpful in completing the task which are undoubtedly reliable. In this post, we would focus on how to fix grainy images and fix blurry photos with some powerful photo editing programs.
Menu
Part 1: What Causes Blurry Photos?
Why are the photos blurred? Many people have encountered such a problem more or less when taking photos. Why does this happen? What causes blurry photos? Actually, the reasons vary to a large extent, the following aspects may cause the blurry photos.
- Shutter speed is not high enough
- Out of focus
- Unsuitable aperture
- Unstable tripod
- Bad weather
- The subject is shaking or moving
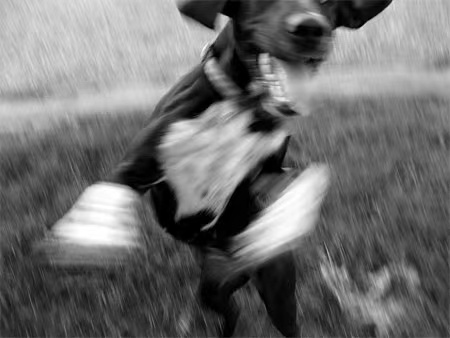
For ordinary people, the first reason for blurring is that the shutter speed is not high enough, and the root cause is that the environment is not bright enough. The blurry picture that appears at this time has a very intuitive radial effect, that is, we will feel that the whole picture is dragged by something. If you see a similar effect, the photo would present to be blurry greatly.
Inaccurate focus also often occurs in low light conditions. Of course, some DSLR cameras may also have out of focus due to assembly and other reasons. The blurring effect caused by the inaccurate focus is that the entire screen is slightly enlarged and blurred, and certain specific light points will be enlarged.
The unsuitable aperture has a direct effect on the depth of field. When you use a small aperture to shoot, the overall picture you shoot will be very clear. When you use a large aperture to shoot without long exposure, only the part of the focus of the picture is very clear. Then the more it goes out, the more blurry it gets.
A good tripod and a bad tripod have completely different experience. A poor and unstable tripod is soft and not strong enough. A gust of wind will threaten it. Such an unstable shelf is hard to guarantee that it will not shake slightly during shooting and cause the picture to be blurred.
Bad weather can make the picture look unclear, but it is actually the real state of the environment at the time. In such a case, the blurry photos are not caused by a technical or camera problem.
If the subject is moving, it will also cause the picture to be blurred. In this case, you need to adopt fast shutter speed by increasing the shutter speed.
Part 2: How to Fix Blurry Photos in Photoshop?
In order to fix blurry photos in Photoshop, you make seek help from Unsharp Mask and Smart Sharpen tools which could be used as the useful sharpening filters in Photoshop. Unsharp Mask filter would not increase any noise for the photos which could be considered to be the most traditional method for fixing the blurry photos. Here are the details on how to fix blurry photos in Photoshop.
Step 1: Open Photoshop and add the photo to the program you would like to fix.
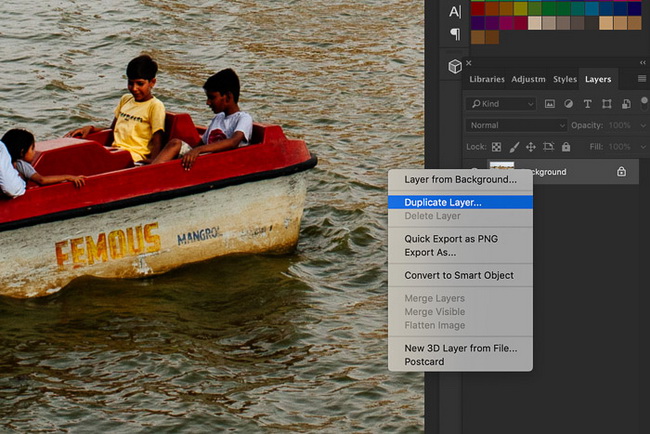
Step 2: Right click on the background layer and select Duplicate Layer. Then you can see a new layer appearing on the top of the background layer. Here you had better set the blend mode of the new layer to Luminosity.
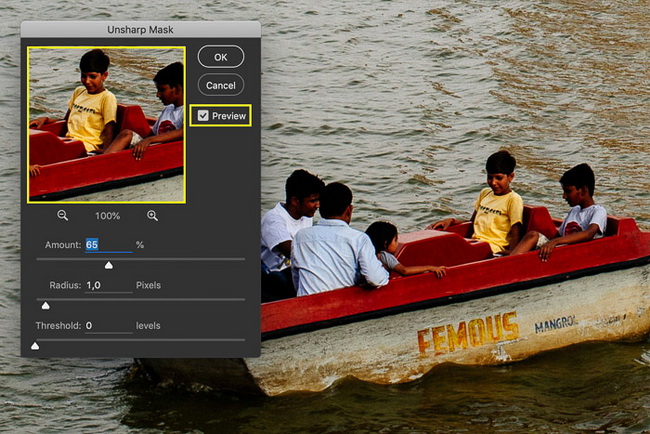
Step 3: Go to the main menu and click Filter >> Sharpen >> Unsharp Mask options. Select Preview icon to view all the details of the photo and make sure you know the areas you would like to fix.
Step 4: Set the amount of sharpening by dragging the Amount slider. Usually you only need to set about 60%. Also, you can set the Radius as well as the Threshold parameters based on your needs. Finally, click OK button if you have finished all the settings and before that you can preview the image to see whether it has been fixed or not.
Part 3: How to Fix Blurry Photos Online with Online Enhancer?
Besides some independent photo enhancers, some online enhancer tools could be your another referential help, for example PixStudio online editor. PixBuilder Studio is a very simple image editing tool. Although the software is not as powerful as Photoshop, it is enough to complete simple image editing. This online tool is mainly used for digital photo editing, image processing and resizing, support for local picture optimization, add brightness, adjust contrast, set picture blur effect, add picture text description, etc., which could easily make your pictures more attractive to browse. Here are the detailed steps on how to fix blurry photos online with PixSutdio editor.
Steps:
- Open PixStudio website and choose your own preferred target design.
- Add the blurry photo to the program you want to fix. Once you have imported your target photo, then it would appear on the screen and you can find some additional tool bars on the left.
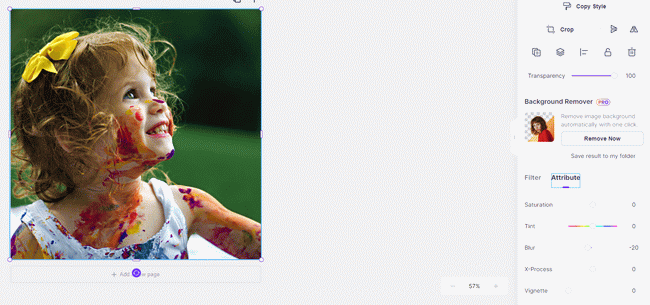
- Select the photo you want to fix and click Attribute option which includes Saturation, Tint, Blur, X-process and Vignette. Here in order to fix blurry photos, you should choose Blur option and drag the slider to the proper location and then you can find the photo seems to be clearer.
- Save the fix. Once you have edited your photo and your blurry photo has been successfully fixed, finally click Save option and then you can download the saved photo for free.
Part 4: How to Fix Blurry Photos Automatically with Leawo PhotoIns?
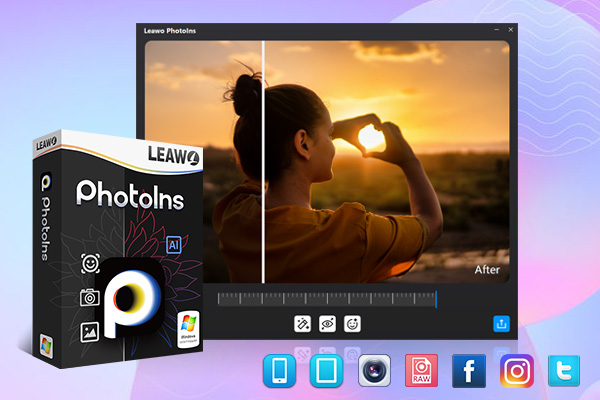
If you prefer the third-party programs to edit your professional photos and totally fix your blurry photos, then another Photoshop alternative you can refer to is Leawo PhotoIns. With this photo enhancer, due to its Artificial Intelligence enhancer tool, users can easily apply some automatic enhancing filters or tools to the blurry photos. Besides, you can enhance your photos by retouching skin, removing freckles, adjusting lighting, enlarging eyes, etc. No matter how dark or bright your photos are, Leawo PhotoIns can automatically detect these areas instantly and accordingly, some adjustment would be added to make your photos look much more comfortable. Among them, if you have further requirements on the sky photos, this tool would improve these photos in a more vivid way, which could optimize colors and tints easily. To put it in a simple way, Leawo PhotoIns could enhance your photos to be looked in the most nature way with the best visual effects. Follow the steps below to fix the blurry photos with Leawo PhotoIns.
Step 1. Download and install Leawo PhotoIns
Go to the official site and download Leawo PhotoIns for free. Install the program on your computer in minutes.
-
Leawo PhotoIns
- Enhance portrait photos easily with advanced AI technology
- Fix photo exposure and white balance issues automatically
- Optimize photo colors and perfect photo tints
- Make photos perfectly clear with smart dehaze
- Boost photo lighting and color quality
- Process RAW and JPG files
Step 2. Add your preferred blurry photo to Leawo PhotoIns
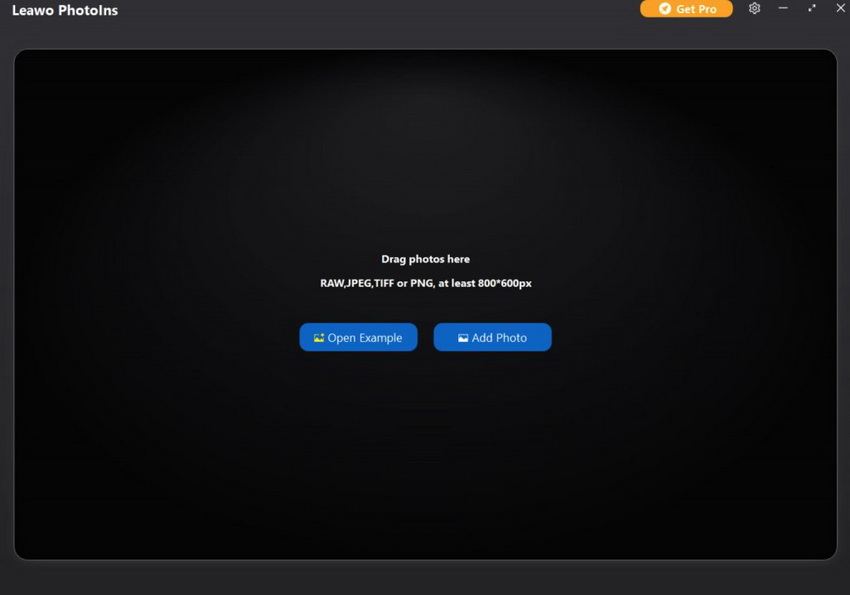
You can load preferred photos into the program by clicking the option “Add Photo”. Or you can simply drag and drop your photos to this program directly. By the way, you can also right click on the loaded photos to delete them as you like.
Step 3. Start to fix blurry photos
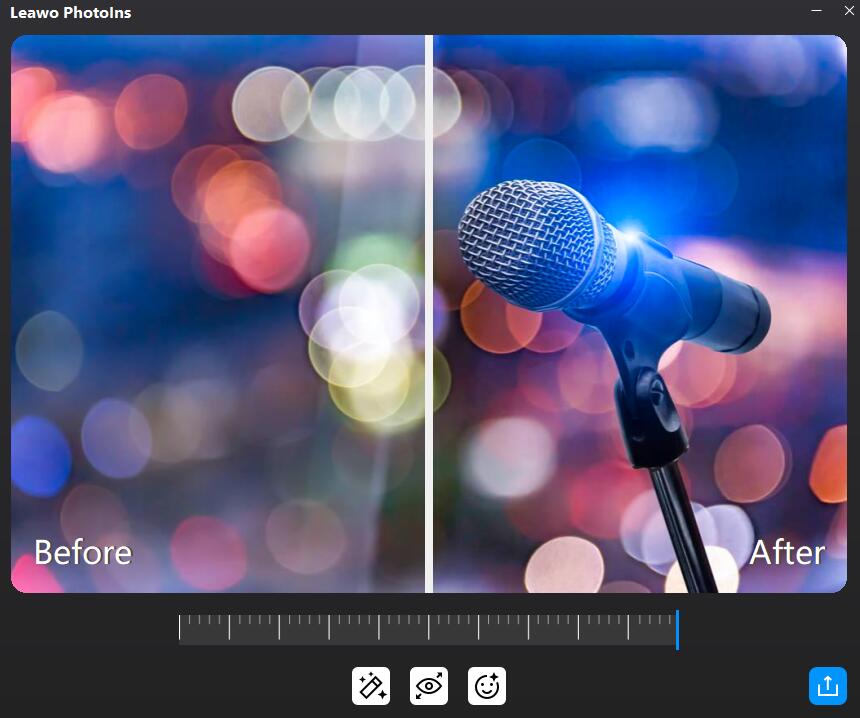
After loading your blurry photos to the tool, then you can start to enhance the photos. You can click the AI Enhance tab to choose the features, including "Automatic Lens Correction", "Face Enhance" and "Enlarge Eyes" to automatically fix the blurry photo.
Step 4. Set output parameters
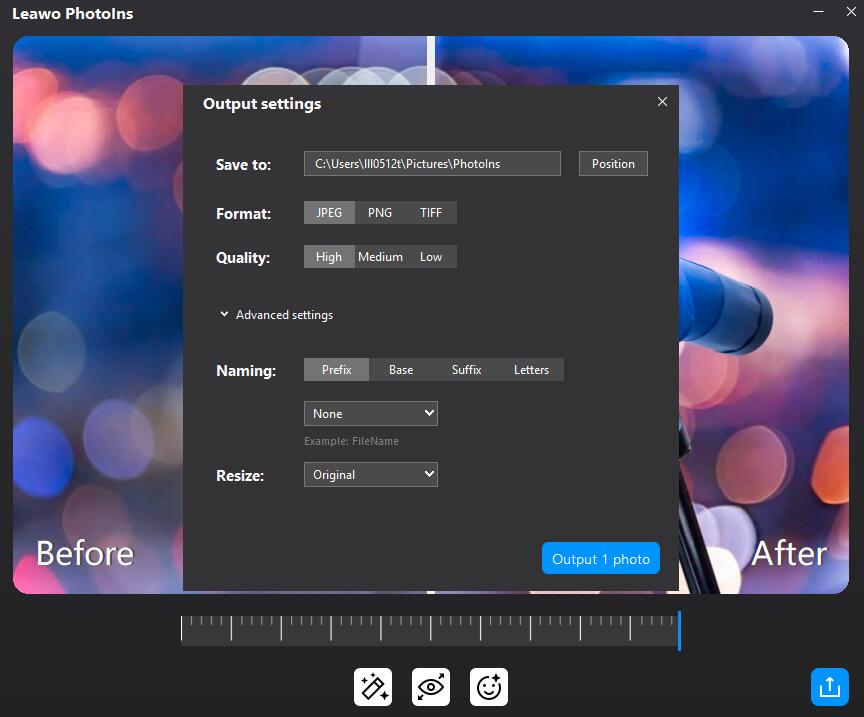
Once you have chosen your preferred effects and you have applied the AI Enhancer to your chosen pictures, now you need to click the bottom right output icon to proceed for output settings including “Save to” route, “Format”, “Quality”, “Naming”, “Resizing” and so on.
Part 5: How to Fix Blurry Photos on iPhone/Android Phone?
If you would like to fix blurry photos directly on your mobile phone, for example you prefer to edit your Instagram photos on your iPhone or Android phone, then you may need some powerful mobile phone apps to help you out. These photo editing apps are the best at unblurring your photos so far, including Vsco, Afterlight and so on. Here let’s take Afterlight as the example to show you the details on how to fix blurry photos on iPhone/Android phone.
Step 1: Download and install Afterlight app on your mobile phone.
Step 2: Open Afterlight app and click the Sharpen option to unblur your photos. Before that, you should add your blurry photo to the app. Then slide the Sharpen slider to the right to define the edges in your image based on your own requirements.
Step 3: You can further click on the Clarify option to sharpen the blurry images.

