It is said that there are so many people once trapped by the question of "how do you burn a DVD from Windows Movie Maker". Windows Movie Maker was prevailingly used as a video creating and editing program on Windows. Since Windows Movie Maker can only burn videos to a CD, there might be some problems on Windows Movie Maker to DVD When you are willing to keep the videos you made in a DVD or share the enjoyable videos with your friends in DVD players. How do you burn a DVD from Windows Movie Maker, then? Windows Movie Maker to DVD Burner solution is available and workable.
Part 1. Introduction of Windows Movie Maker
We know that Windows Movie Maker has installed in Windows ME, XP and Vista for creating and editing home videos or videos from digital camera or camcorder. And on Windows 7, Windows Movie Maker became a separate product part of the Windows Live Essentials suite. It was once popularized by creating and editing videos as well as publishing the videos on some video sharing sites such as Facebook, YouTube, OneDrive, Vimeo, and Flickr. However, sometimes you need burn DVD from Windows Movie Maker so as to share these videos on DVD player with others or keep them in safe DVD, hence, Windows Movie Maker to DVD Burner solution would be in great help then.
Part 2. Export your Windows Movie Maker project files and save as WMV format
After you have completed editing your project files in Windows Movie Maker, you may find out that the exported files will be saved as a Movie Maker Project file with .wlmp extension. These .wlmp files can be opened only in Windows Movie Maker. If you would like to upload them and share them with others, or burn DVD from Windows Movie Maker files, you'll have to export it as a .wmv file at first.
To export Windows Movie Maker project files into a WMV format so that the files can be uploaded, shared and burned, you can choose recommended settings. In recommended settings, Windows Movie Maker will check the size and bitrate of the project videos and select settings with the best balance between file size and video quality automatically. You can simply follow the detailed guide as follows.
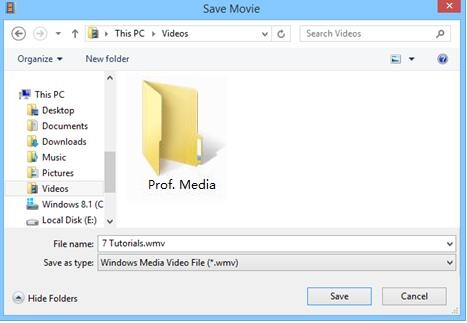
STEP 1: Go to the ribbon and click or tap the "Save Movie" button in the Share section on the Home tab.
STEP 2: A Save Movie dialog will pop up and you can click "Save" button, then the video files will be saved in WMV. And you can burn it to DVD as you like with the Leawo DVD Creator immediately.
How to convert WLMP to MP4?
After exporting WLMP files as WMV format via Windows Movie Maker, you can easily convert WMV to MP4 via Leawo Video Converter Ultimate. Here you can refer to the specific steps to begin the conversion as below:
-
Leawo Video Converter Ultimate
Convert Any Videos and Audios
converting video from 2D to 3D
Output for Any Apple and Android Devices
Download Videos and Audios from 1000+ Sites
Professional Photo Slideshow Maker and Burner
Greatly Enhance Blu-ray/DVD/Video Output Effects
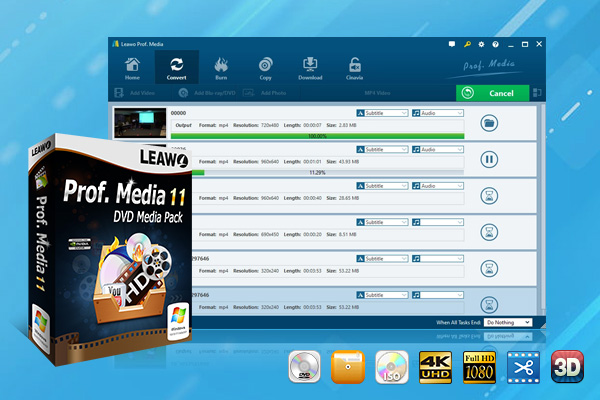
Leawo Video Converter Ultimate is capable of converting videos and audios from above 180 formats like MP4, AVI, MKV, H.265 MP4, H.265 MKV, MOV, AAC, AC3, WAV, MP3 and more. It not only acts as a video converter, but also is a great audio converter. What’s more, this converter can do well in converting HD video and 4K video in different formats as input files or output files. Besides, Leawo Video Converter Ultimate also can make the direct output to the portable devices which is running with iOS and Android system like iPhone, iPad, iPod, Samsung Galaxy series and so on.
Step 1. Run Leawo Video Converter Ultimate
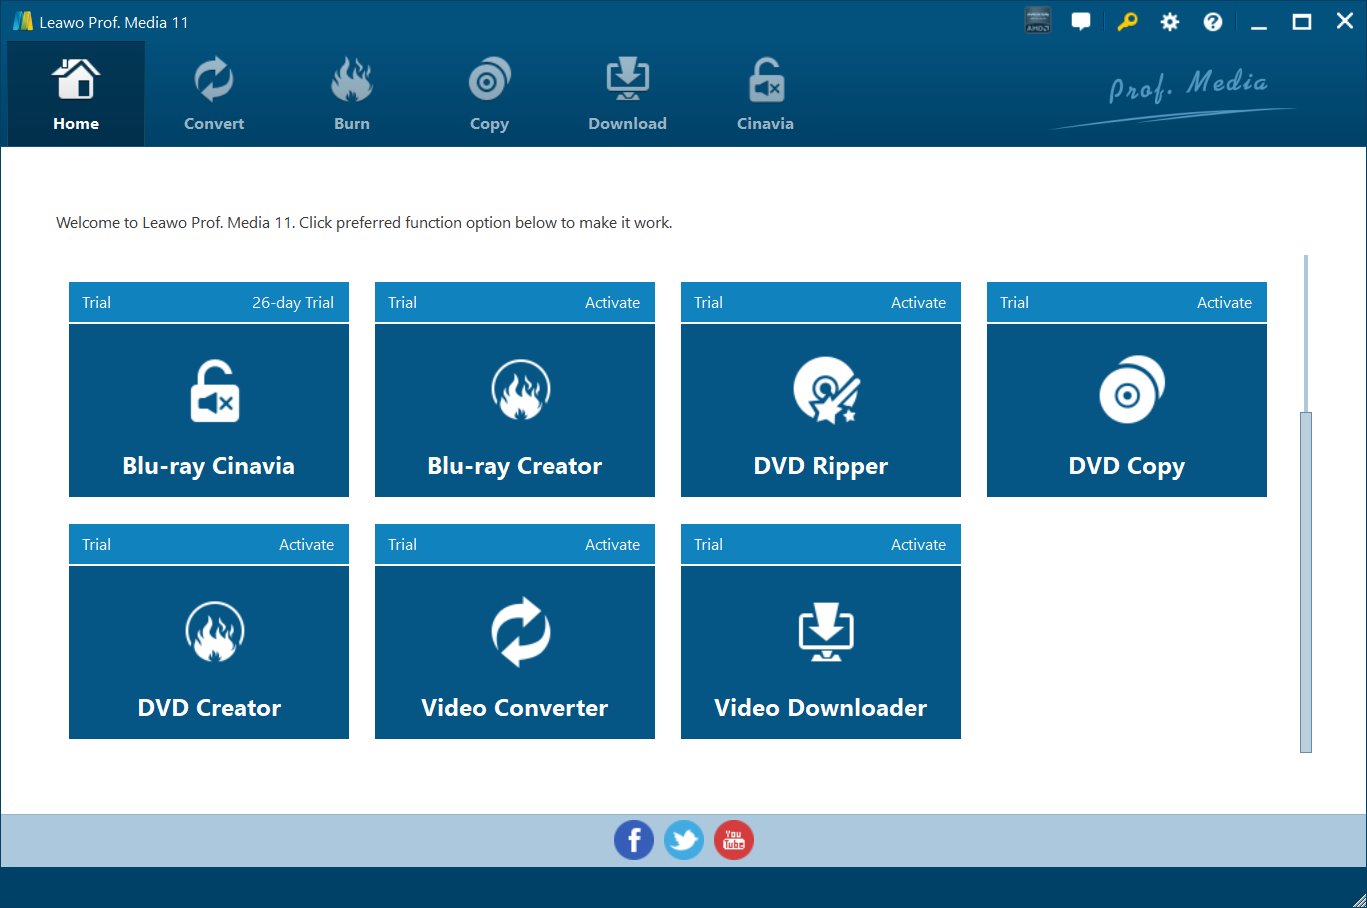
Go into home page once the program is launched, in which you can click to “Convert” button from the sub-menu to go into the converting interface.
Step 2. Get the source files imported into program
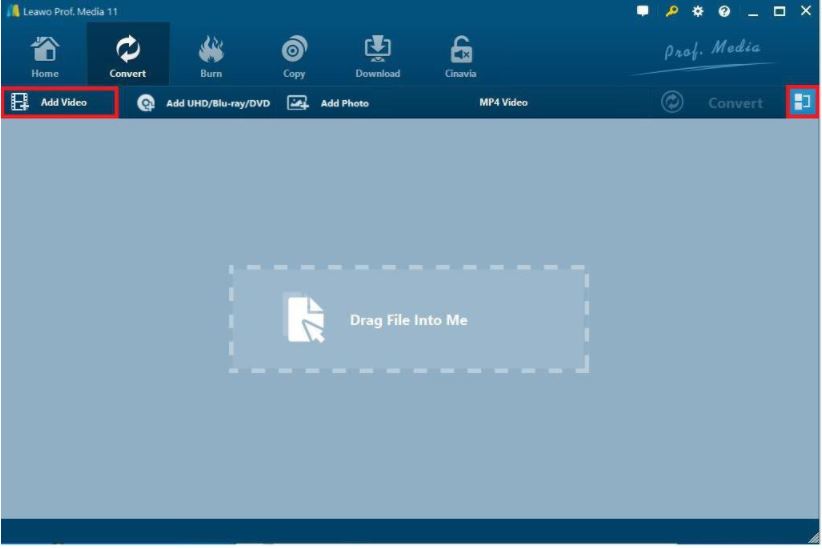
From the converting panel, click to “Add Video” button to get source WMV files imported or you can get the source video files dragged and dropped directly into the converting panel directly. After the source files are imported, they can be viewed via the internal media player, you also can choose subtitles , select audio tracks and edit source for them.
Step 3. Select the output profile
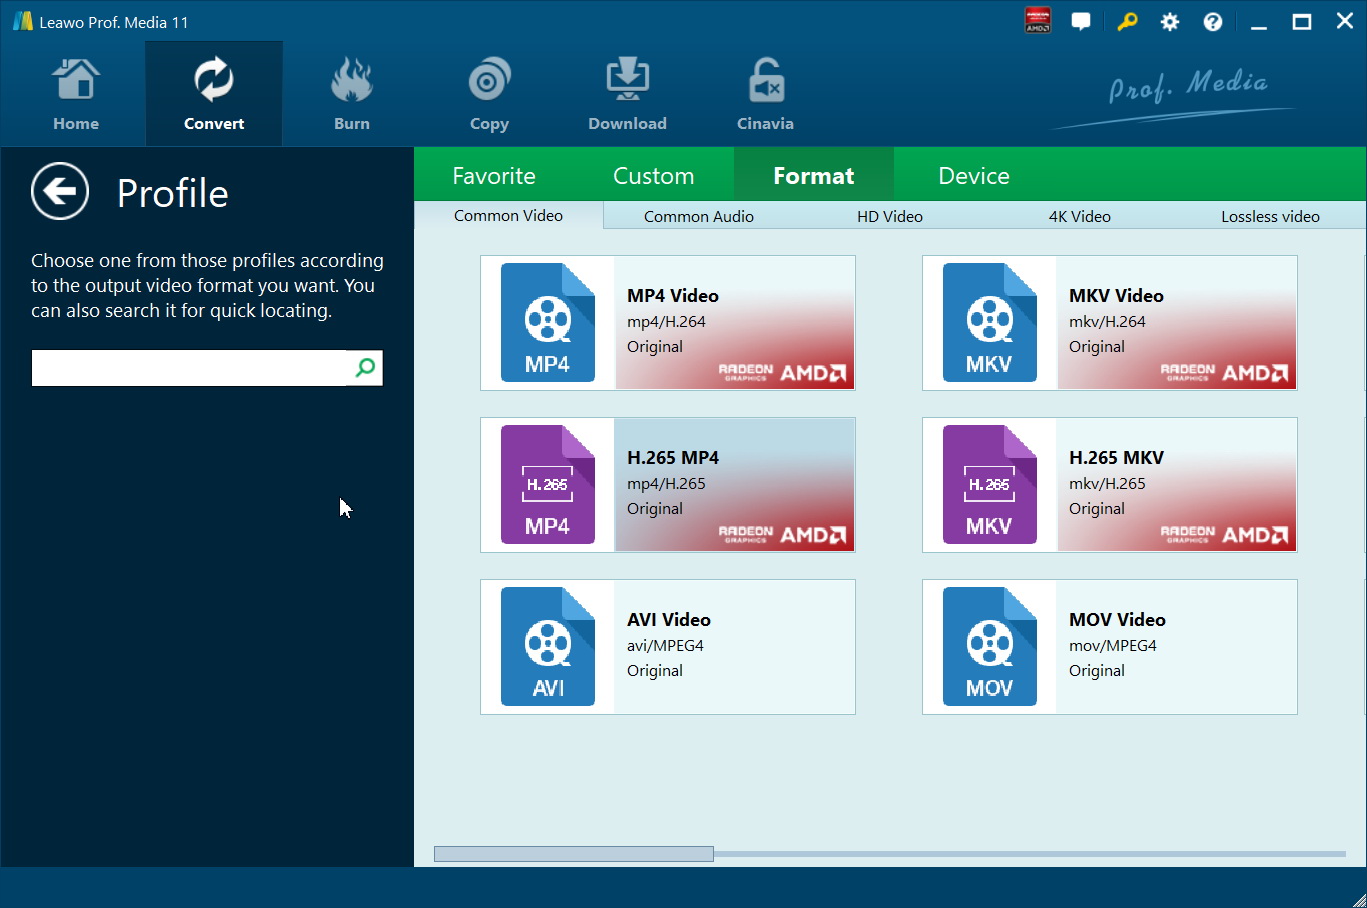
Click to the drop-down box with the name “MP4 Video” beside the button “Add Photo”. Then a small panel pops up, in which you need to hit on the “Change” option to go into “Profile” panel. Here you can choose “MP4” as the output profile below “Format” group. Also, other kinds of video or audio formats or device models including 4K MP4, 4K MKV, MOV, iPhone, iPad and so on can be set as the direct output profile.
Step 4. [Optional] Adjust video and audio parameters
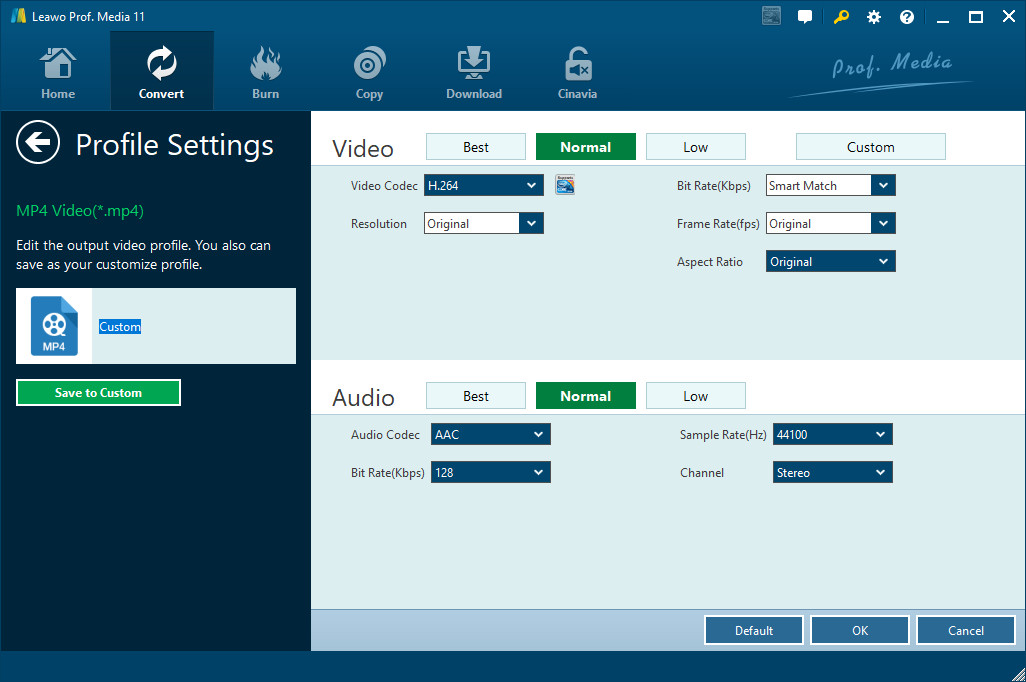
You are allowed to adjust the video and audio parameters like video codec, bit rate, aspect ratio and so on. Stay in the same drop-down box and then click to “Edit” button. Once the parameters are set, you can hit on the “Save to Custom” option to get the customized profile added to “Custom” group.
Step 5. Choose output directory
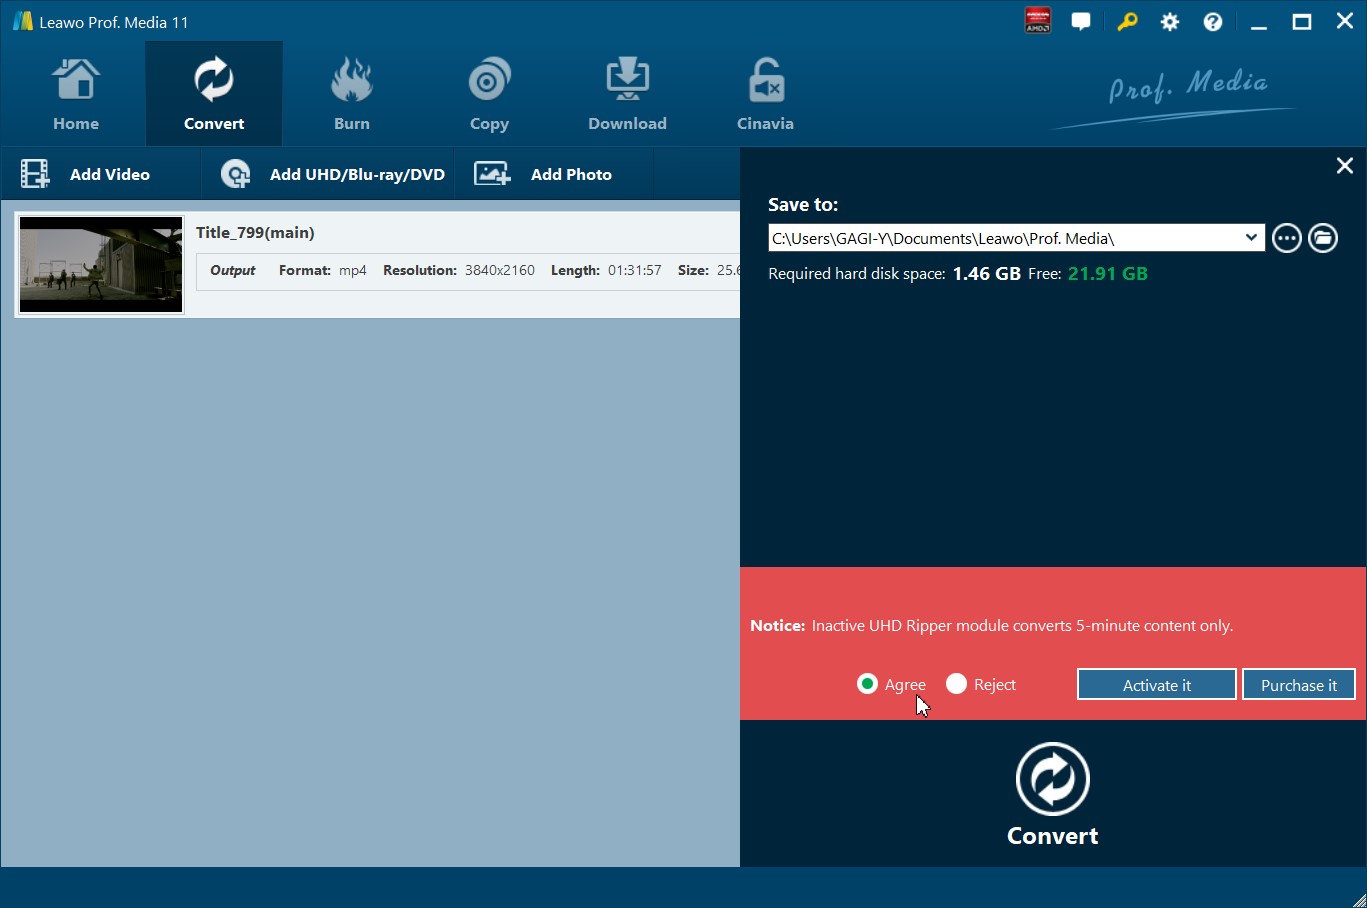
Once the profile settings is finished, you will go back to the converting panel, then hit on the green button “Convert” to choose an output directory to save the output files. After that, a pop-up small side bar will appear on the right side, here you can choose a directory below “Save to” option to store the output file on computer.
Step 6. Begin conversion process
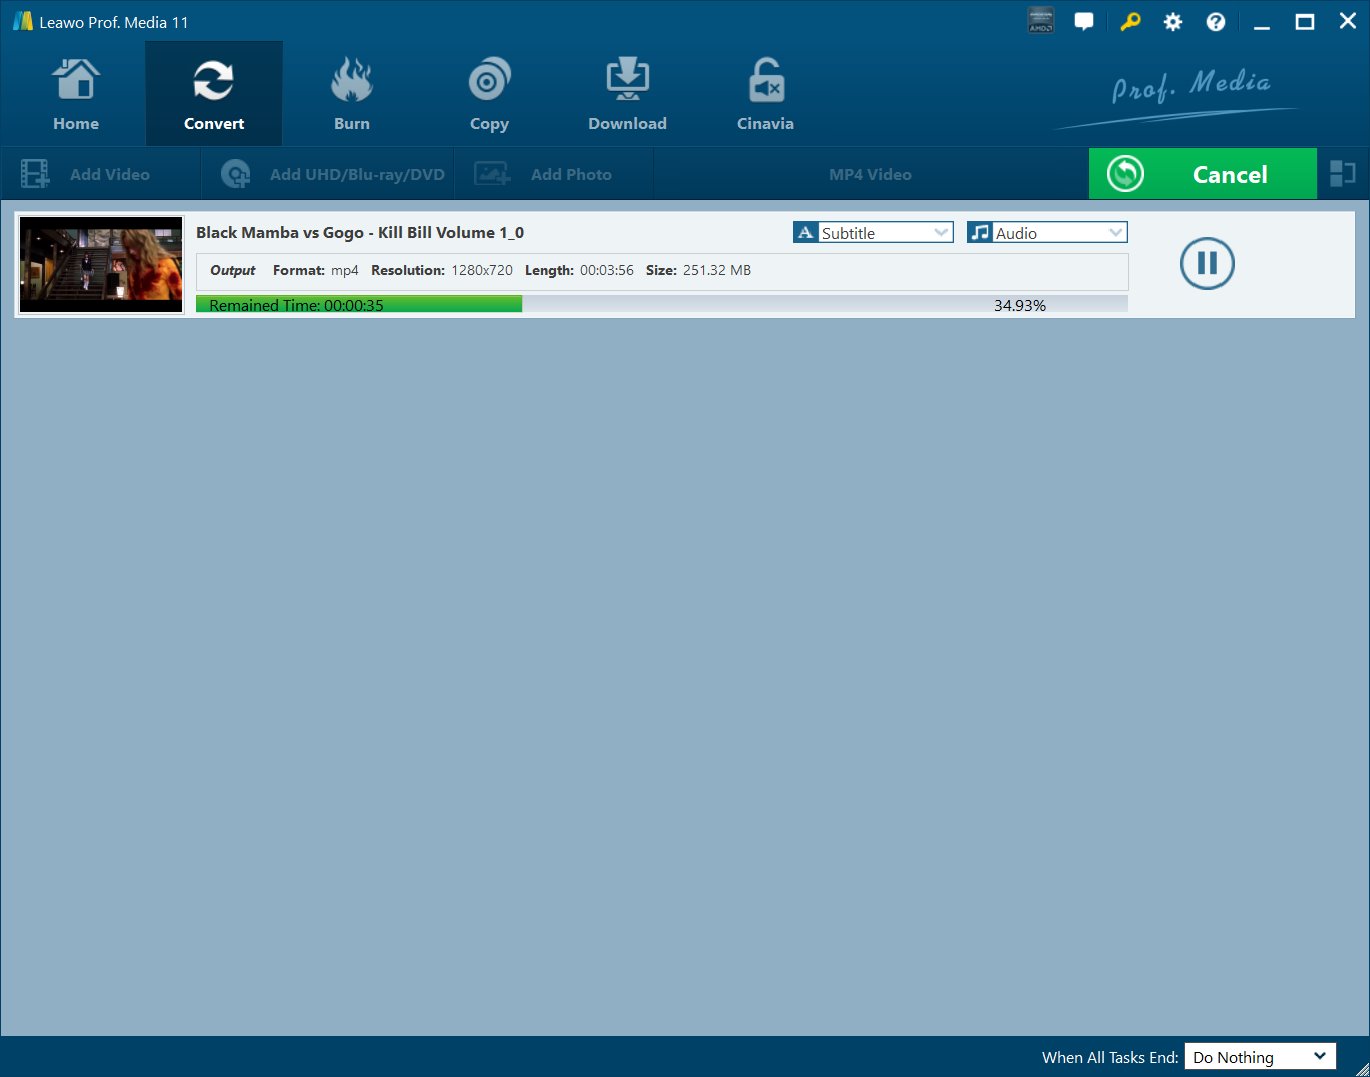
Hit on the “Convert” button from the bottom of the pop-up side bar to begin conversion process. You even can stop the process by hitting on “Cancel” button during the conversion process.
Part 3. How to Burn Windows Movie Maker to DVD with Leawo DVD Creator
After exporting your Windows Movie Maker project files and save as WMV format, you can burn them to DVD now. Here I recommend a professional Windows Movie Maker to DVD Burner -Leawo DVD Creator. It is regarded as one of the best DVD Burner for Windows Movie Maker. It is burner software app which is popular for turning videos and photos to DVD in over 180 formats to DVD with fast speed and high quality. Moreover, there are over 40 beautiful DVD Menu Templates free and customizable. Since videos in formats like AVI, MKV, MP4, WMV, Xvid, MOV, and FLV can be burnt to DVD-9 and DVD-5 discs, you should export your Windows Movie Maker project files and save as WMV format first before you burn DVD from Windows Movie Maker. You can download and install Leawo DVD Creator directly through the download buttons below and then follow the steps carefully.
STEP 1: Add the exported WMV videos to DVD creator
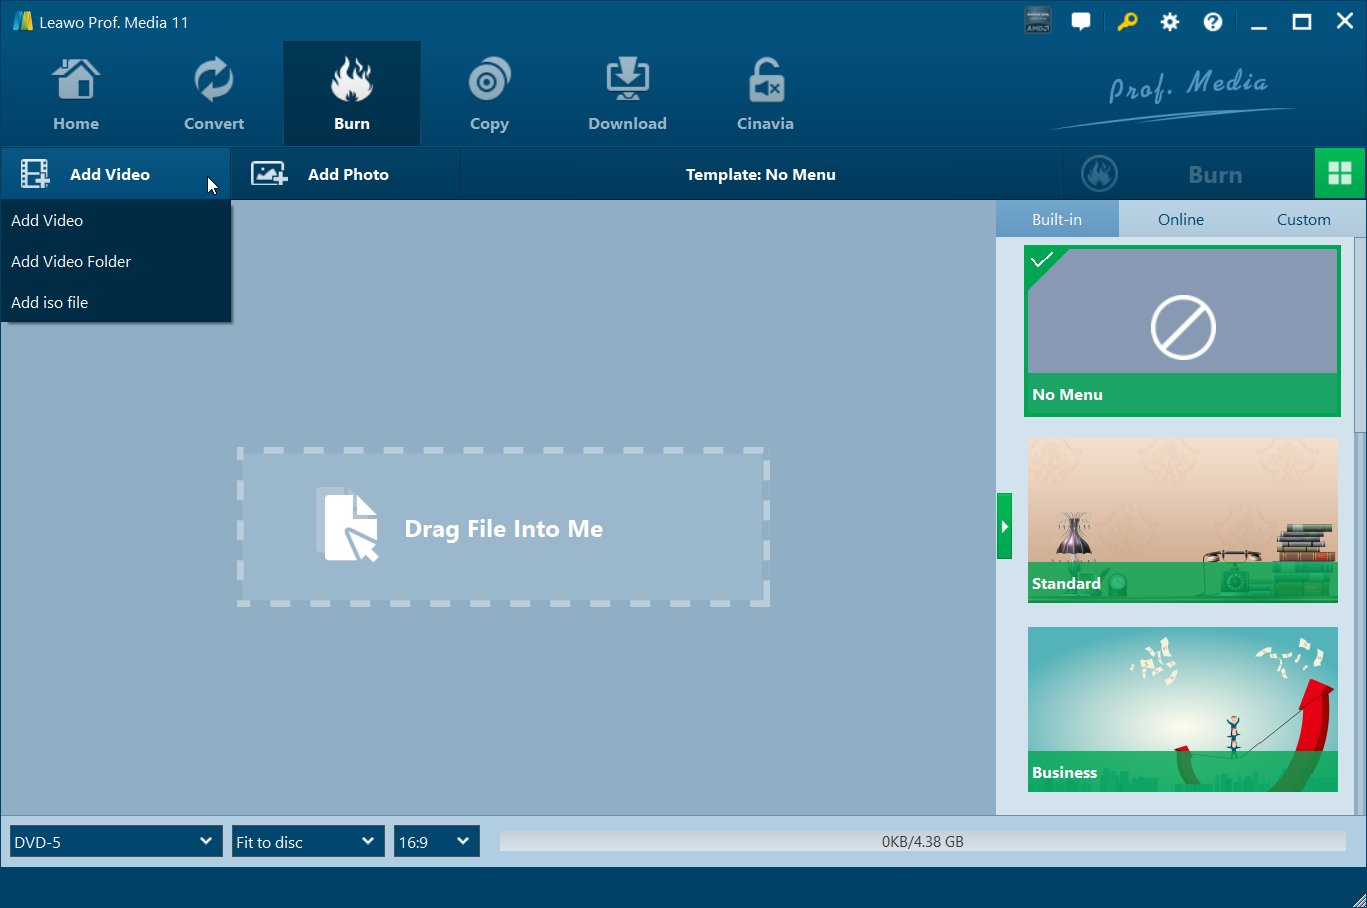
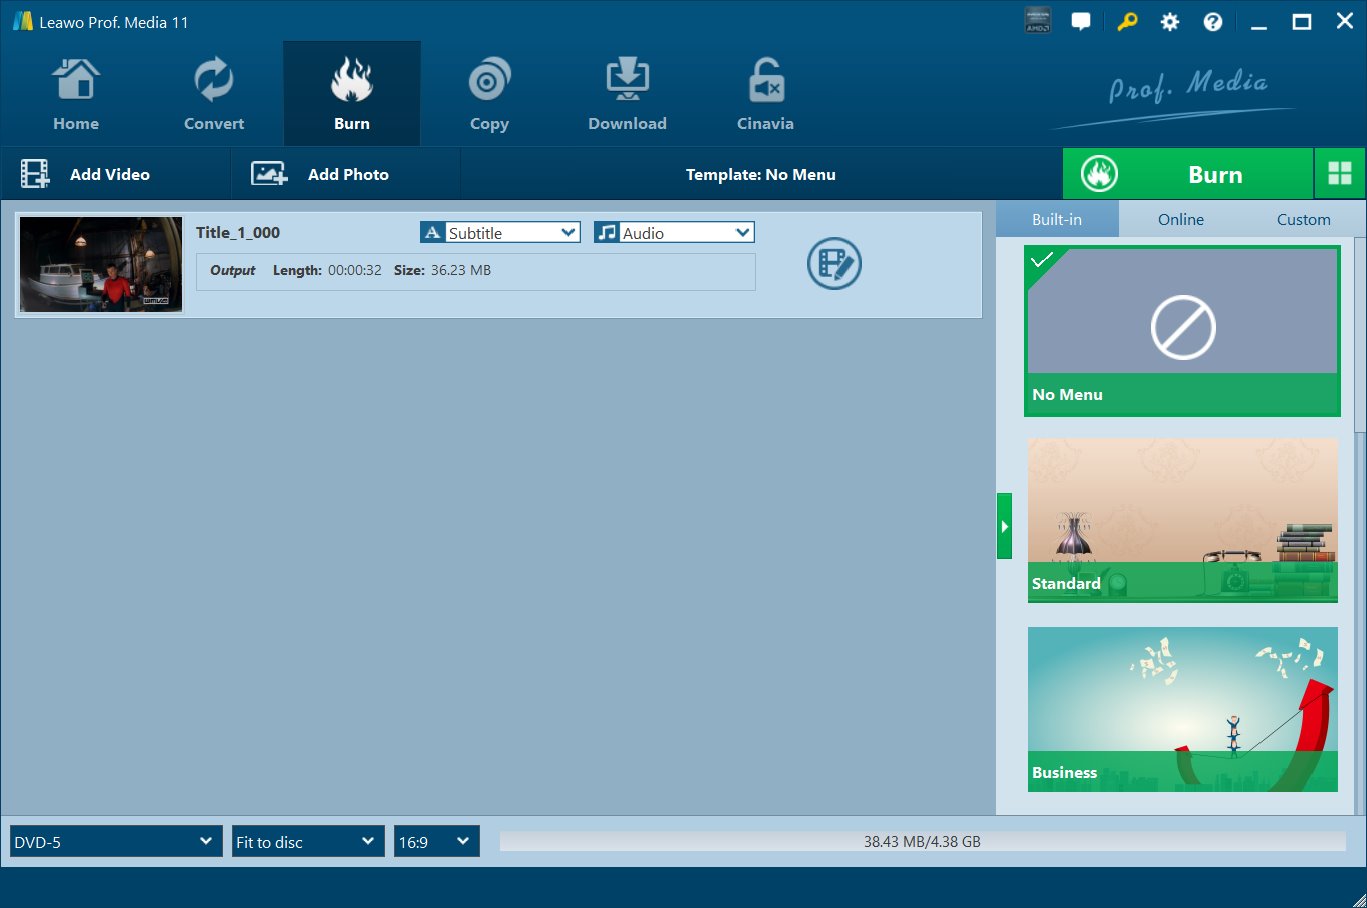
You can import the exported WMV videos to the DVD creating software by clicking the "Add Video" button or clicking "Drag file to me" to directly drag files to the program. After importing the WMV video files, you could select subtitles and audio tracks for the videos or play back the videos, etc. And you are able to set the output DVD disc type (DVD-5 or DVD-9), quality and aspect ratio (16:9 or 4:3) at the bottom here.
STEP 2: Set disc menu
In the right sidebar, Leawo DVD Creator offers you multiple preset disc menu templates in different themes like Standard, Business, Education, Childhood, Holiday, etc. And it even allows you to DIY disc menu with your own images and audios as well. You can choose one as you like or select "No Menu" as you want.
STEP 3: DVD burning settings
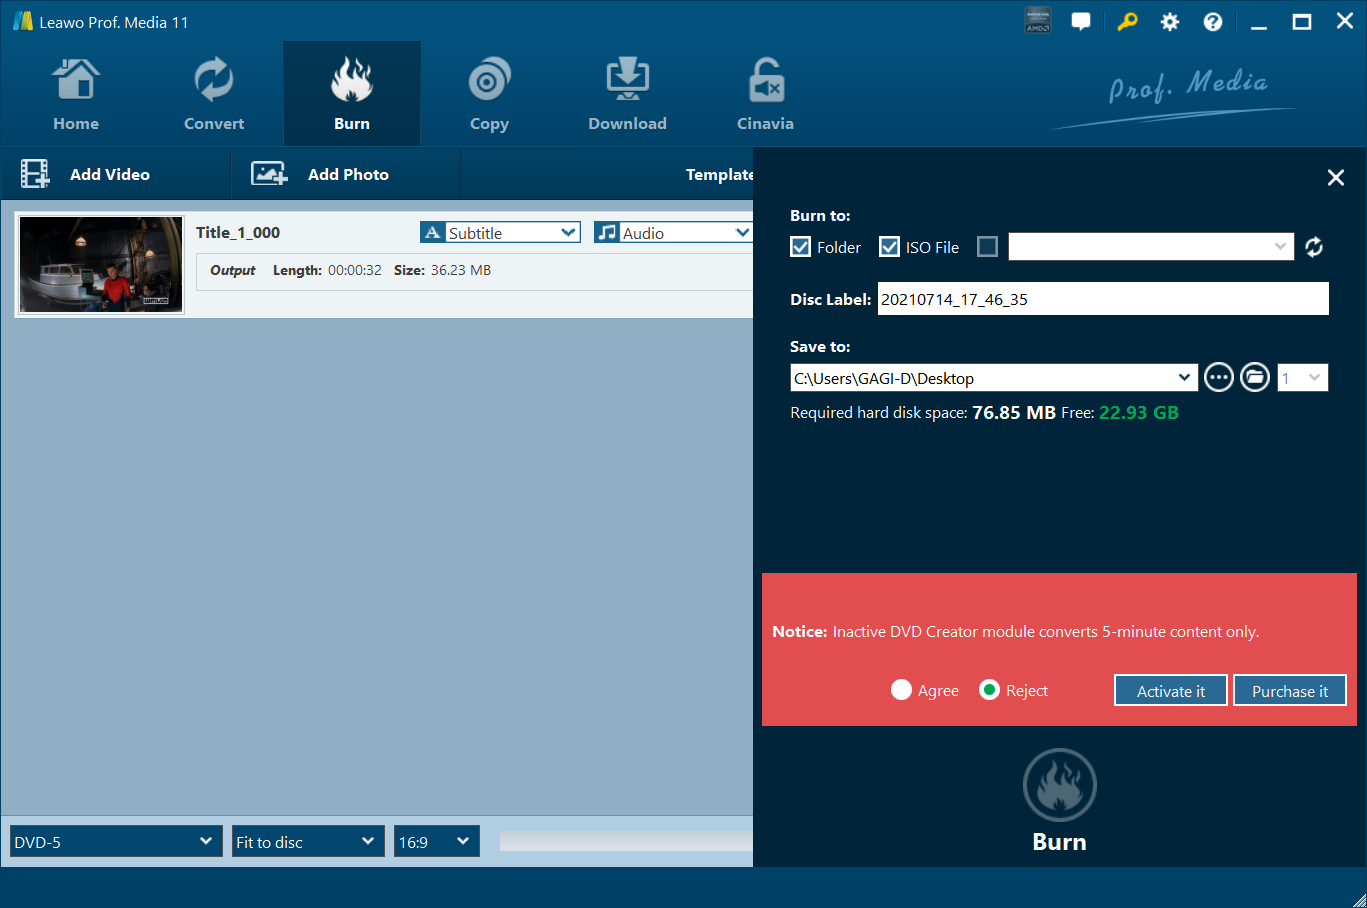
After finishing the disc menu settings, insert a blank DVD, then you could click the big green "Burn" button to enter the burning settings panel where you can figure out "Burn to", "Disc Label", and "Save to" options.
STEP 4: Burn WMV video to DVD
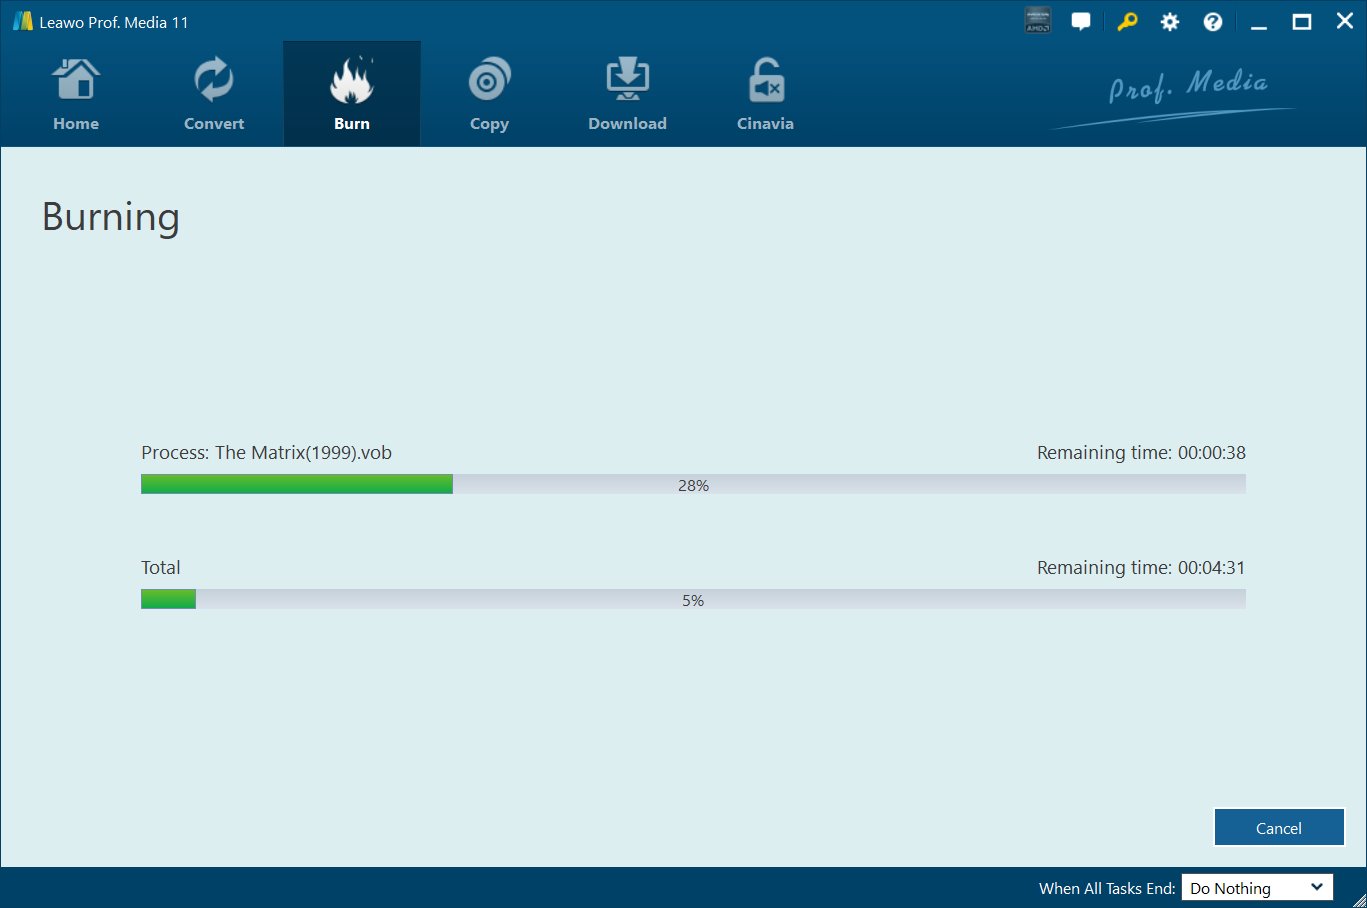
Click the "Burn" button on the pop-up burning settings sidebar after the burning settings, and the program will start burning the WMV videos from Windows Movie Maker to DVD right away at once and finish it with the original quality reserved in a few minutes.
To sum up, it is quite simple to burn DVD from Windows Movie Maker with the professional burning program Leawo DVD creator. And the easy-to-use steps, the high speed of working process and high quality video reserved will offer you great user experience. Finally you will never worry about the problems on how to burn Windows Movie Maker to DVD any more. Just feel free to be an expert on creating videos from Windows Movie Maker to DVD and sharing happiness with others you loved.


