Leawo Prof. Media 13 for Mac is capable of burning videos and ISO images to Blu-ray/DVD discs. Learn how to use the Blu-ray/DVD Creator module to burn videos and ISO images to Blu-ray/DVD discs.
With Blu-ray/DVD Creator modules built-in, Leawo Prof. Media 13 for Mac is able to help you burn videos of all kinds of formats to rewritable Blu-ray/DVD discs. It can also burn ISO images. Check out how to use the program to burn videos and ISO image to Blu-ray/DVD discs in the instructions below.
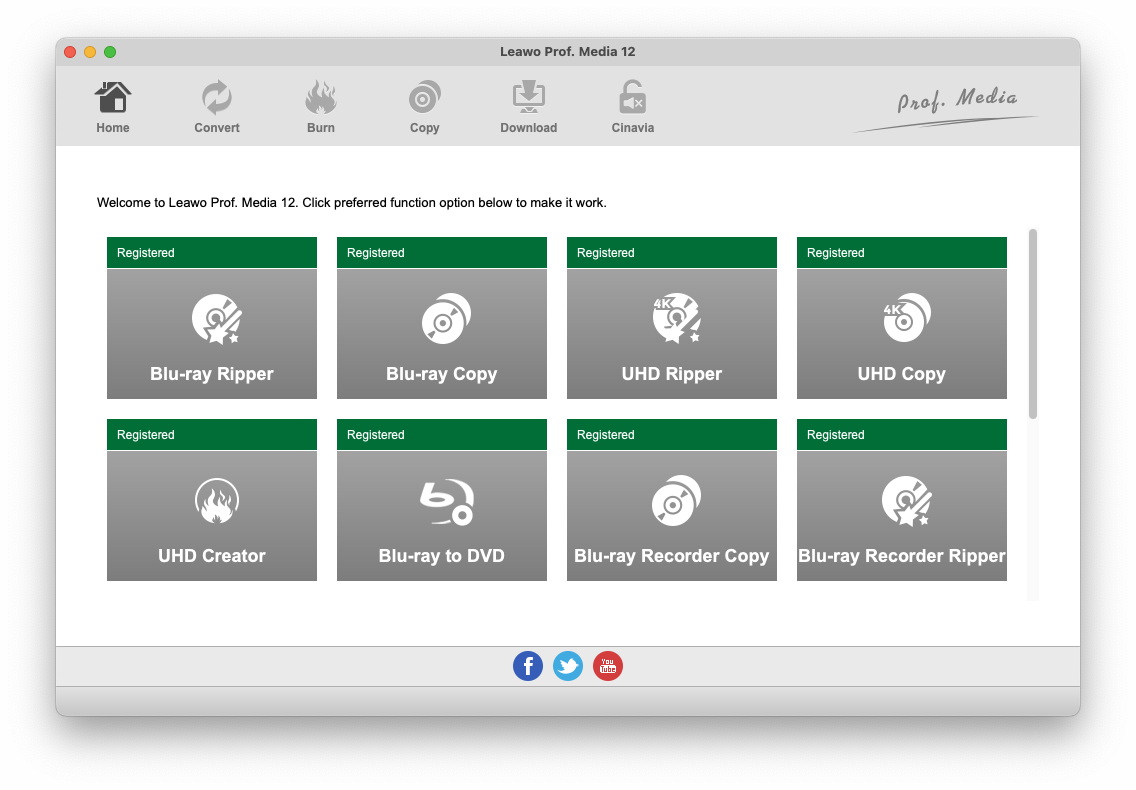
Click the Burn button from the menu bar in the upper left of Prof. Media’s interface or click the shortcut icons of Blu-ray/DVD Creator to open the Creator module.
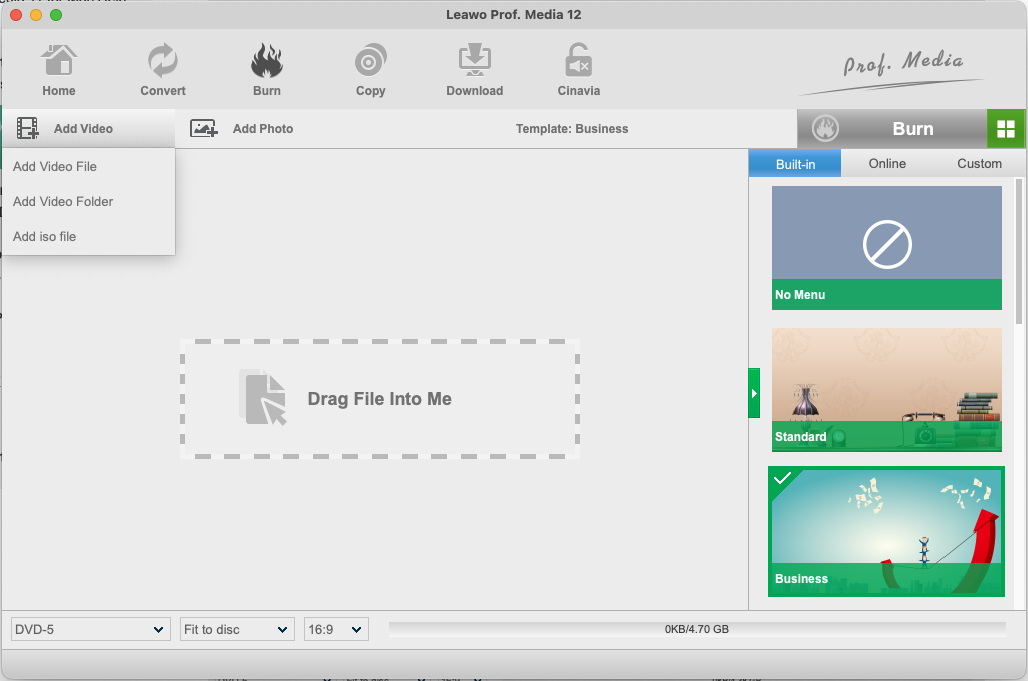
Click Add Video drop-down button from the upper-left corner. There will list 3 options for video loading: Add Video File, Add Video Folder, and Add iso file. Click Add Video File to add video files to the program, click Add Video Folder to add a folder of videos to the program, click Add iso file to add an iso file to the program.
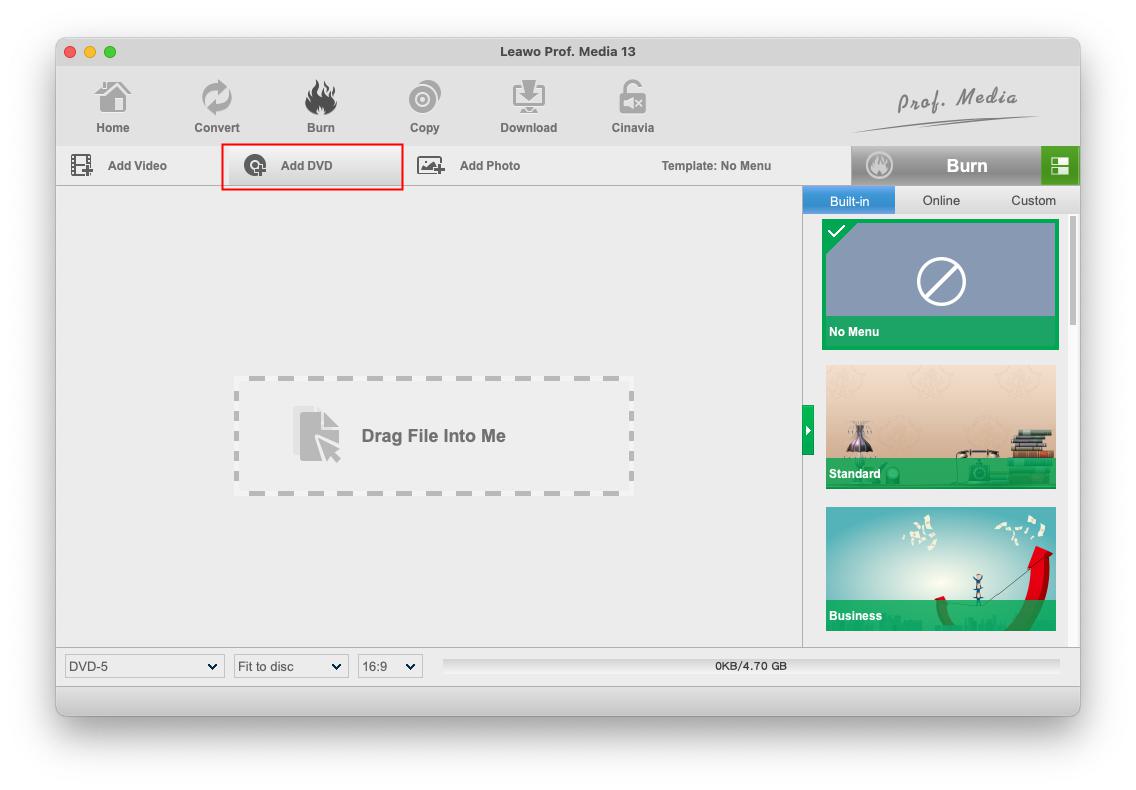
Or, if you want to burn DVD to Blu-ray, click the "Add DVD" drop-down button to choose to add DVD disc, DVD folder or DVD iso image file.
Leawo Prof. Media offers 3 different DVD content loading modes: Full Movie, Main Movie and Custom Mode. Full Movie mode helps convert and burn all source DVD titles to Blu-ray, Main Movie mode allows choosing one source DVD title for burning to Blu-ray, while Custom Movie mode enables selecting several source DVD titles for converting to Blu-ray.
On the right sidebar, there are different disc menu templates for you to choose. To select a disc menu template, just simply click on it. The chosen template will be applied to the Blu-ray/DVD movie you are making.
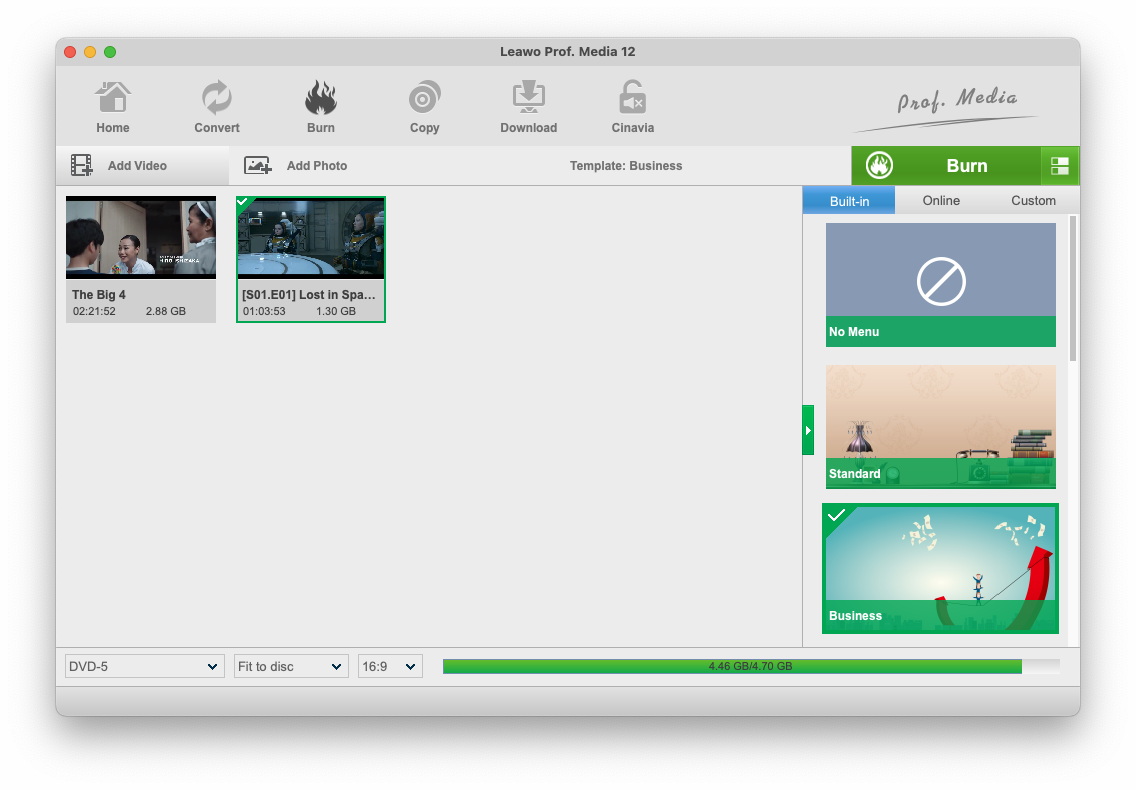
The program offers some built-in and online disc menu templates for you to choose. If you can’t find a suitable template, you can choose to customize an existing template to make your own disc menu.
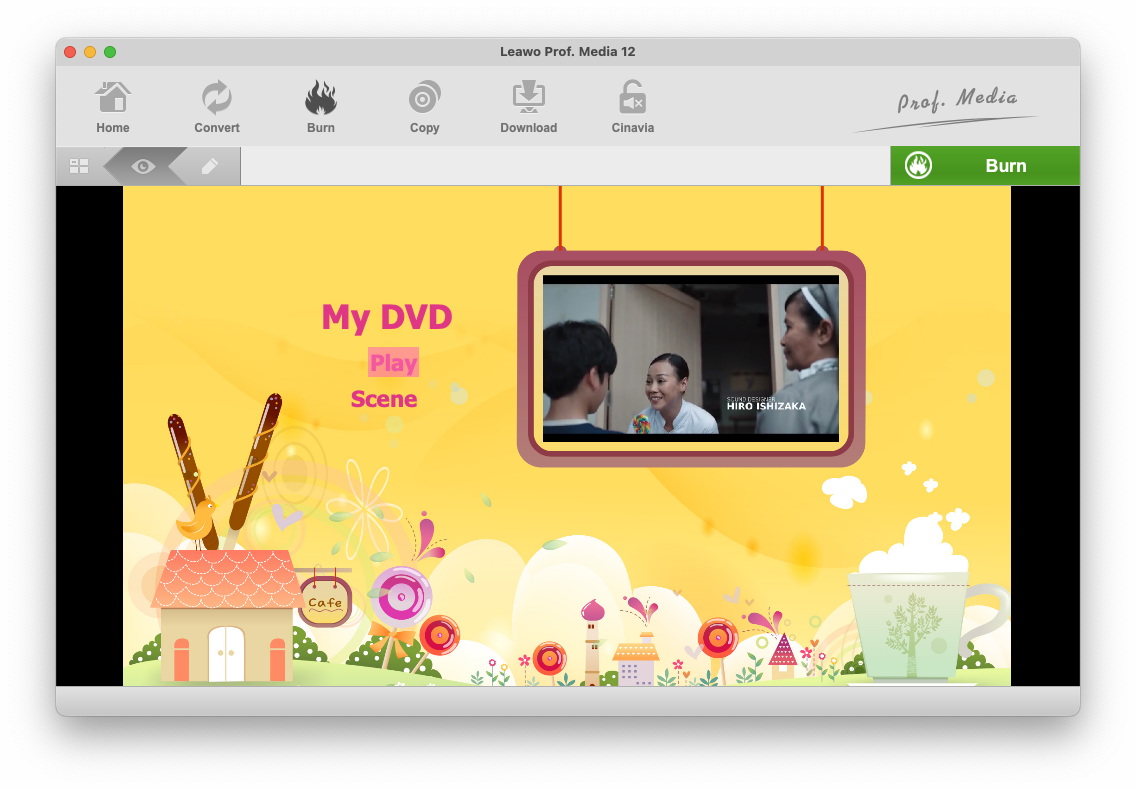
First move your mouse over to one template and you will see a preview icon appearing on it, click on it to enter the preview page where you can preview what the disc menu looks like. And then on top of the disc menu there are 3 buttons, click the Edit button next to the preview button to open the panel for customizing the disc menu template.
All the items and elements on the template can be moved. You can reposition all the thumbnails or buttons on it by sampling dragging them with your mouse. And the texts can also be changed. Simply double-click on the “Play” button, and then you can type in a new word in the text box and it will still function as the Play button.

To change the background image of the disc menu, click the Image button in the bottom-left corner and turn the Background Image option on. You can use a new image or even a video as the background of the disc menu. Just check the respective option and add the image or video file you need to the program. The change of the background image can be instantly seen from the current panel.
You can also add background music to the disc menu, just click the Music button from the bottom-left of the panel and then activate the Background Music option. And then load the music file to the program in the Source From box. You can also set the duration of the music playback and apply one of the provided sound effects including Fade in, Fade out and Loop Play.
In the bottom-left corner, click the DVD-5 button and select one disc format. Options available include: DVD-9, DVD-5, BD25-1920*1080, BD25-1280*720, BD50-1920*1080, BD50-1280*720. You should choose one according to the size and resolution of the original video and the Blu-ray/DVD disc you are burning the video to.
On top of the disc menu template bar there’s a green Burn button. Click on it to call out a sidebar from the right side of the interface.
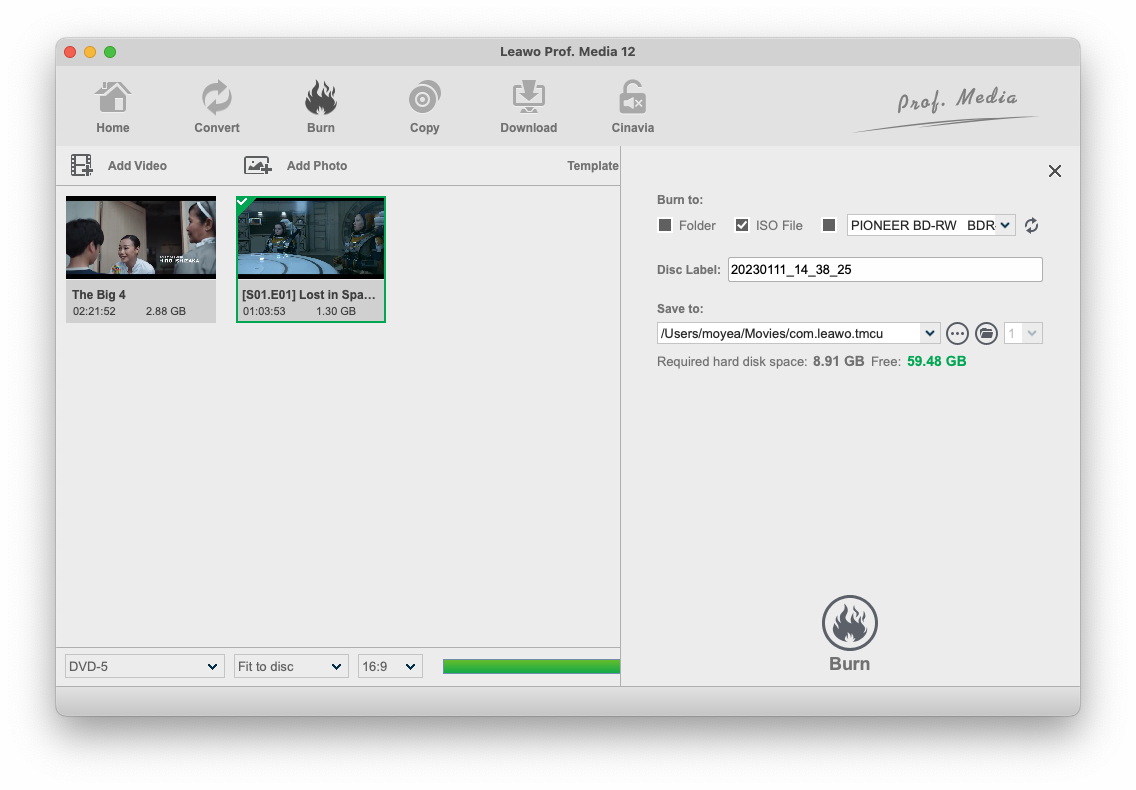
On top of the sidebar you can see 3 options. Check Folder and the program will convert the video to a Blu-ray/DVD folder and store it on the hard drive of your Mac. Check ISO File and it will convert the video into an ISO image. To burn it to the recordable Blu-ray/DVD disc in your disc drive, check the third option. You can set where to save the Blu-ray/DVD folder and the ISO image by setting an output directory for them in the Save to box.
And then you can start the process by clicking the Burn button that locates in the bottom.
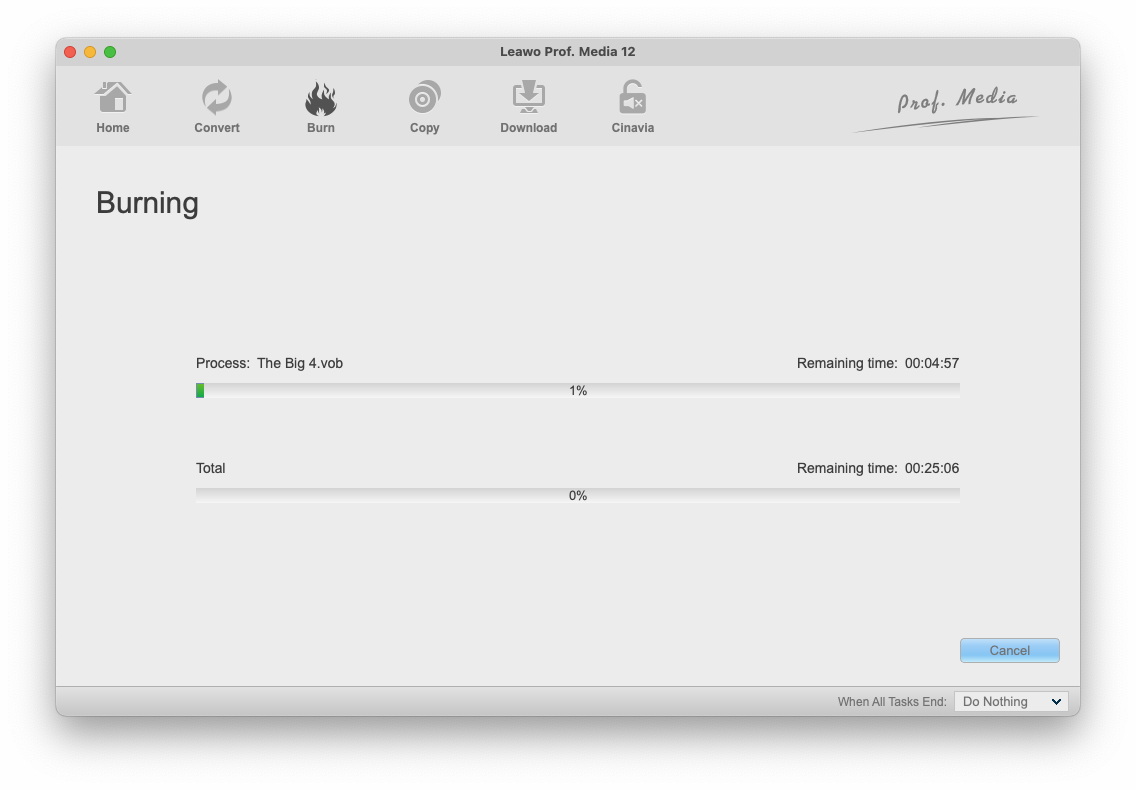
You can stop the burning process at any time by clicking the Cancel button in the bottom-right corner..
Other than burning videos, the program can also burn Blu-ray/DVD ISO to Blu-ray/DVD discs.
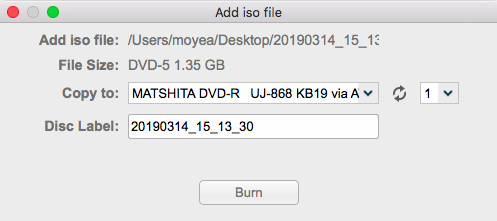
Launch the Burn module and then click Add Video. This time, click the Add ISO file option at the bottom and import the ISO file to the program. A window would pop up and you need to select the Blu-ray/DVD disc in your disc drive as the target from the Copy to drop-down menu. And then start burning the ISO image to the disc by clicking the Burn button at the bottom of the window.