What is LibreDrive & How to Install?
“I have been looking around, but don't really find any info about how to enable LibreDrive. Is there anything to enable or is it automatic? I have tried on Windows, Linux native and in Docker containers, but there are nothing about LibreDrive at all.” - by saarg on MakeMKV forum.
Though it is a fact that more and more people enjoy movies online using streaming services instead of watching DVD movies with optical drives, there is still a small crowd who still into the physical discs or collections. Sometimes people may fail to play Blu-ray or DVD on the drive due to the protection scheme by drive firmware. Under normal circumstances, taking the drive back to the basic lever is a proven way to read the data from any area on the disc. To solve this problem, a LibreDrive from the MakeMKV community can help. In this post, we’re about to introduce what is LibreDrive as well as how to install LibreDrive, just dive in if you are still confused by this powerful firmware pack.
Outline
Part 1: What is LibreDrive
LibreDrive is a mode of operation of optical drive (including DVD, Blu-ray and UHD), aiming at accessing disc data directly without any restrictions or transformations enforced by drive firmware. Usually, optical disc drive is a device that scans the surface of a disc with a laser and passes the data to another device. When it comes to the disc with a specific protection code, such as CCS, the drive cannot read the DVD if your CSS-protected DVD is not identified with the DVD-ROM’s region. That’s because the drive defaulted firmware acts like a “police” and decides what area of the disc can be accessed and on what conditions.
There are several yet complicated ways to read the disc bypassing the protection, one is to use a microscope to snatch at the raw data from the disc (since a microscope one can clearly see the pits on an optical disc, apply standard (publicly defined) decoding algorithm and get the raw data from the disc.) The other one is way more easier - bring the drive back to the previous level and change the optical embedded firmware to be compatible with any disc. A drive bypasses the protection scheme and delivers the data to the user directly, we call this drive a LibreDrive or LibreDrive Firmware. LibreDrive is not an actual drive, instead, it’s a modification to firmware for drives that allows this feature to be applied on existing hardware drives.
Part 2: How does LibreDrive work & How to install MakeMKV LibreDrive
A drive in LibreDrive mode can ignore requests for encryption, which is a vital factor cause the drive can’t be used as “friendly” drive. Besides, it also bypasses the MKB revocations of host keys. If that disc has a newer MKB version then your drive's firmware will update with the new MKB. Under such conditions, any compromised host keys would be revoked. A third-party program like MakeMKV will need to be updated with a new host key that isn't revoked for decrypting previous contents. Therefore, LibreDrive makes it possible to decrypt any title by passing the MKB revocation.
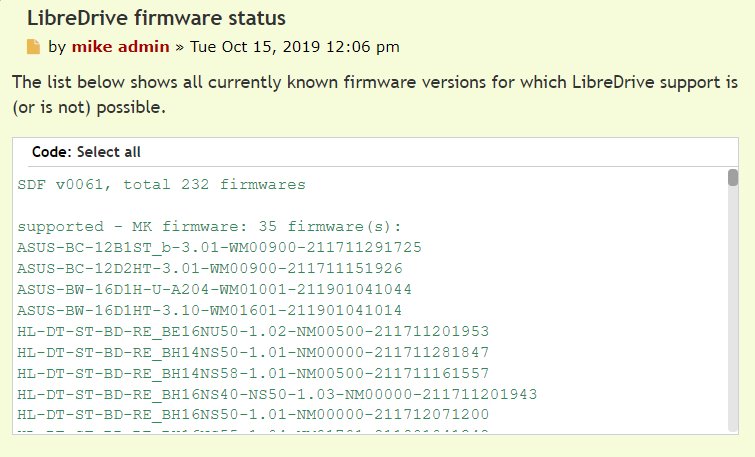
Here are some firmware packs and tools shared from MakeMKV forum:
- The all you need firmware pack:
https://drive.google.com/file/d/1HRnbXiM8TkwcAcvqYFR31bbJsEZ0FCdM/view - GUI SDF tool:
https://forum.makemkv.com/forum/viewtopic.php?f=16&t=22896 - Asus flasher:
https://forum.makemkv.com/forum/viewtopic.php?f=16&t=18933 - LG flasher + DE firmware:
https://forum.makemkv.com/forum/viewtopic.php?f=16&t=18873#p70284 - MK firmware:
https://forum.makemkv.com/forum/viewtopic.php?f=19&t=19113
Part 3: Another easy way to downgrade firmware on UHD drive
It requires advanced computer skills to enable LibreDrive on UHD drives since user need to single out the specific info from various long topics on forum, and should to read the notes very carefully before flash the firmware to avoid bricking your drives. We have to admit that it’s quite a time-consuming job. In this scenario, I’ll highly recommend another easy way to flash or revert firmware on UHD drive, requiring extremely simple computer skills. Leawo UHD Drive Tool is a powerful yet user-friendly program to downgrade UHD-unfriendly firmware on UHD Blu-ray drive to a compatible version for 4K UHD Blu-ray ripping, copying or playing via certain programs like Leawo UHD Ripper. Without installing extra firmware pack or any sort of stuffs, Leawo UHD Drive Tool enables people to turn the firmware into previous level just one click, for instance, downgrading firmware on LG WH16NS60.
Covering internal 4K Blu-ray drives with SATA interface, external 4K Blu-ray drives and external USB drives, Leawo UHD Drive Tool is designed to support the overwhelming majority of 4K UHD drive existing, click here to check the supported 4K UHD drive list.

-
Leawo UHD Drive Tool
It supports a wide range of 4K UHD drives.
It enables you to downgrade UHD-unfriendly Firmware on Blu-ray drive to a compatible version for 4K UHD Blu-ray ripping, copying or playing via certain programs.
It has an intuitive interface
It can provide you with detailed information about your UHD Bu-ray drive, as well as a helpful log when you use the software.
It supports Windows 7, Windows 8 and Windows 10.
To illustrate the steps on downgrading firmware on UHD drive, I’ll show you guys how to use this program in 2 different ways:

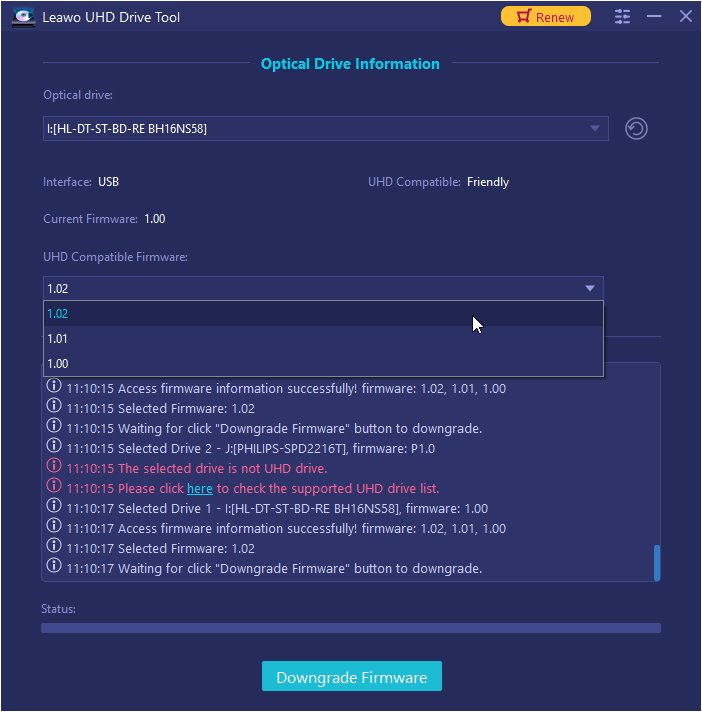
Step 1: Select the UHD drive from the available list. Ensure that the UHD drive is connected to your computer, then start Leawo UHD Drive Tool. Select the optical drive by clicking the downward triangle icon.

Step 2: Pick out a target firmware. Choose a firmware version from the drop-down box by clicking the Downgrade Firmware button.

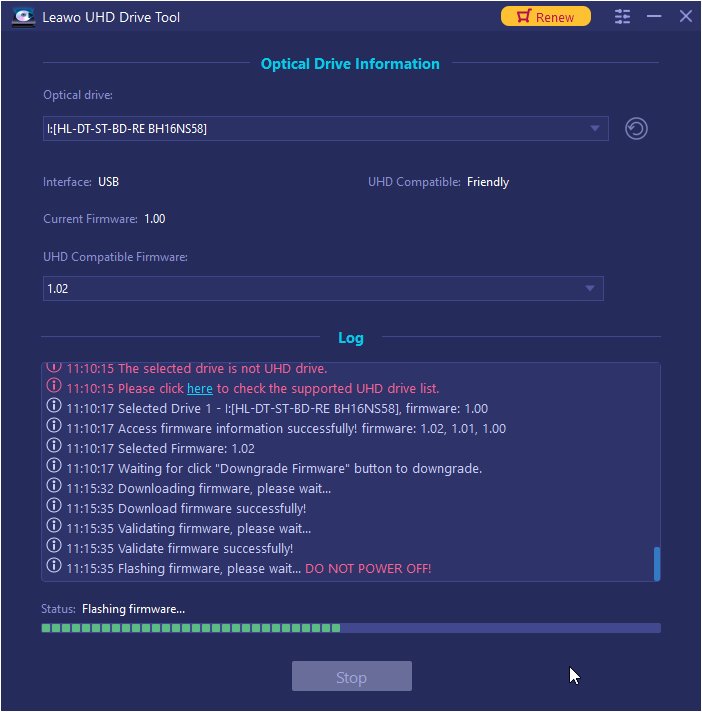
Step 3: Downgrade the firmware. When you click continue, the firmware should begin downgrading.
Note: When the downgrading process is finished, restart your computer to make sure that your UHD drive runs smoothly and flawlessly.
Here is a video guide on how to use Leawo UHD Drive Tool
Part 4: Best software to rip UHD disc after downgrading firmware on UHD drive
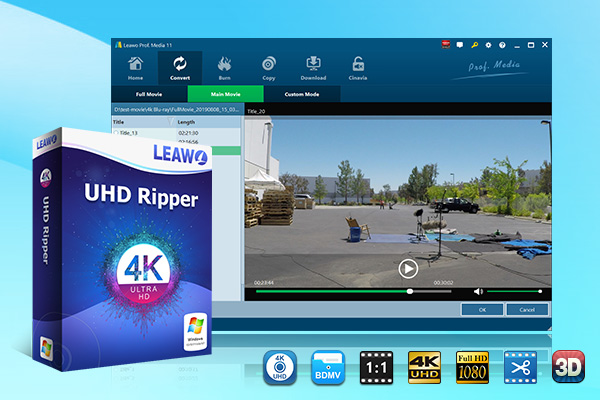
There are quite a few wonderful 4K Blu-ray ripper software tools for you to rip and convert 4K Blu-ray movies for playing the 4K content on various devices such as computers, tablets, mobile phones, Android TV boxes, among which Leawo UHD Ripper is the best 4K Blu-ray converter software. Exclusively designed for 4K Blu-ray movie conversion, Leawo UHD Ripper could help you decrypt, rip and convert 4K Blu-ray movies in disc, folder and ISO image files to videos in 4K, 1080P or even 720P videos, like 4K Blu-ray to 4K MKV, 4K MP4, 1080P MP4, 1080P MKV, AVI, WMV, MOV, etc. You could even edit 4K/UHD Blu-ray movies like trimming, cropping, adding watermark, applying 3D effect, etc. before converting 4K Blu-ray movies.
After downloading and installing Leawo UHD Ripper on your computer. Get source 4K Blu-ray movie ready for converting. Then, follow the below guide to learn how to rip and convert 4K Ultra Blu-ray to lossless video files for streaming over other devices.

-
Leawo UHD Ripper
☉ Remove AACS 2.0 protection from UHD Blu-ray discs
☉ Decrypt and rip 4K Blu-ray discs, folders and ISO image files
☉ Convert 4K Blu-ray to MP4, MKV, AVI, MOV, FLV, and other 180+ 4K/1080P/720P/regular files
☉ Convert 4K Blu-ray movies in Full Movie, Main Movie or Custom Mode
☉ Edit 4K Blu-ray movies like trimming, cropping, adding watermark, applying 3D effect, etc.
Step 1: Enter UHD Ripper module
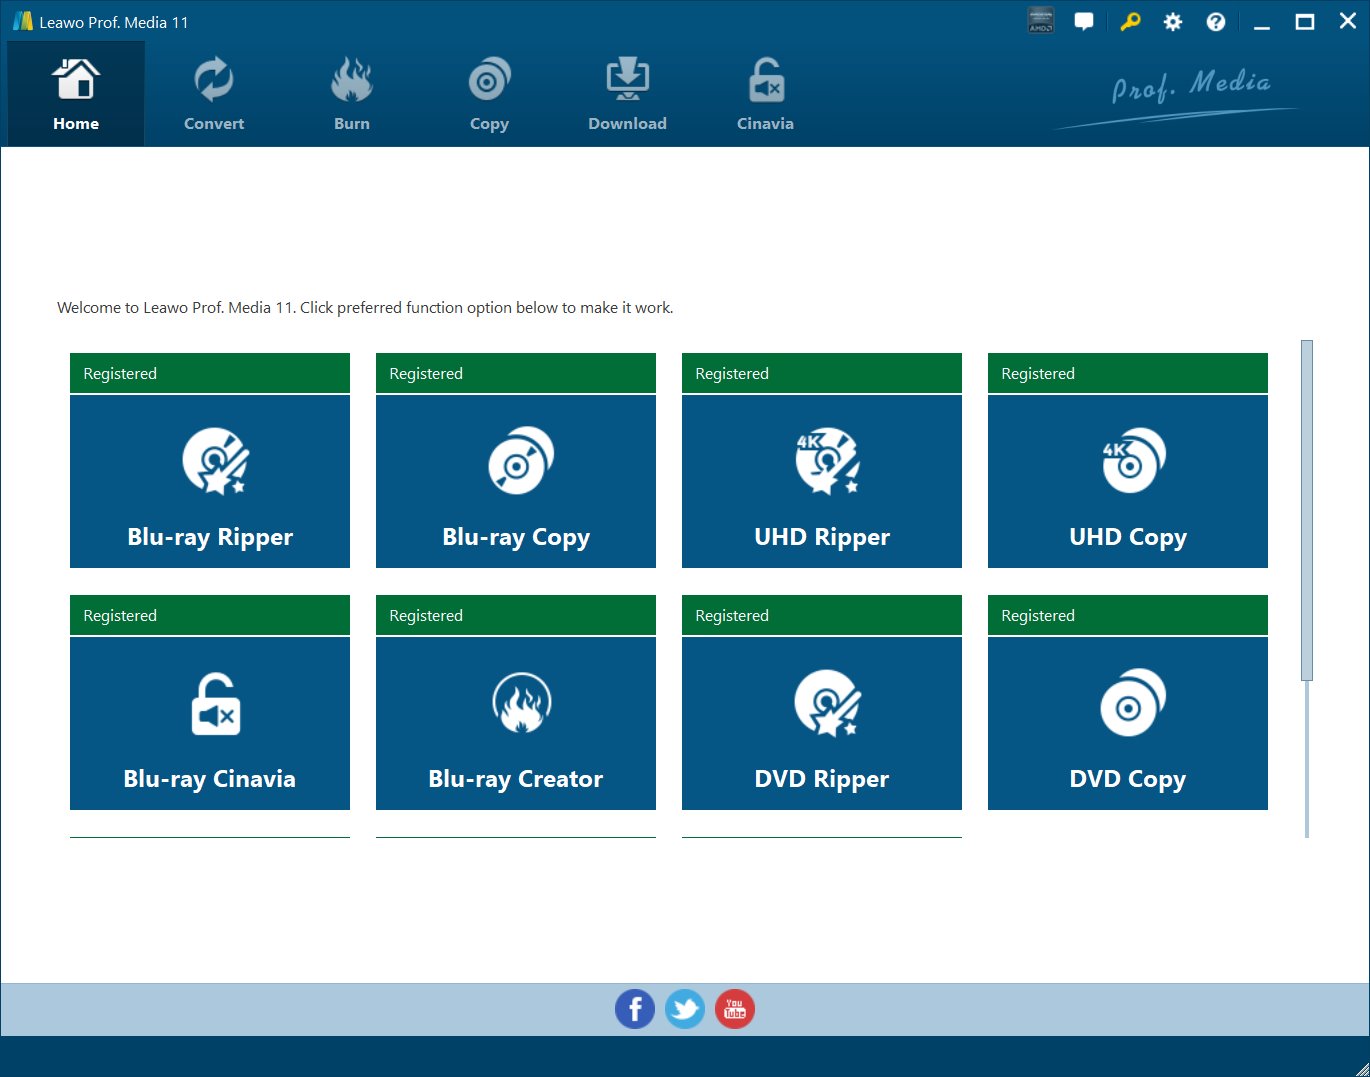
Launch Leawo Prof. Media and then click “Convert” button on the sub-menu or “UHD Ripper” button in the middle to enter the “UHD Ripper” module.
Step 2: Add source 4K Blu-ray disc
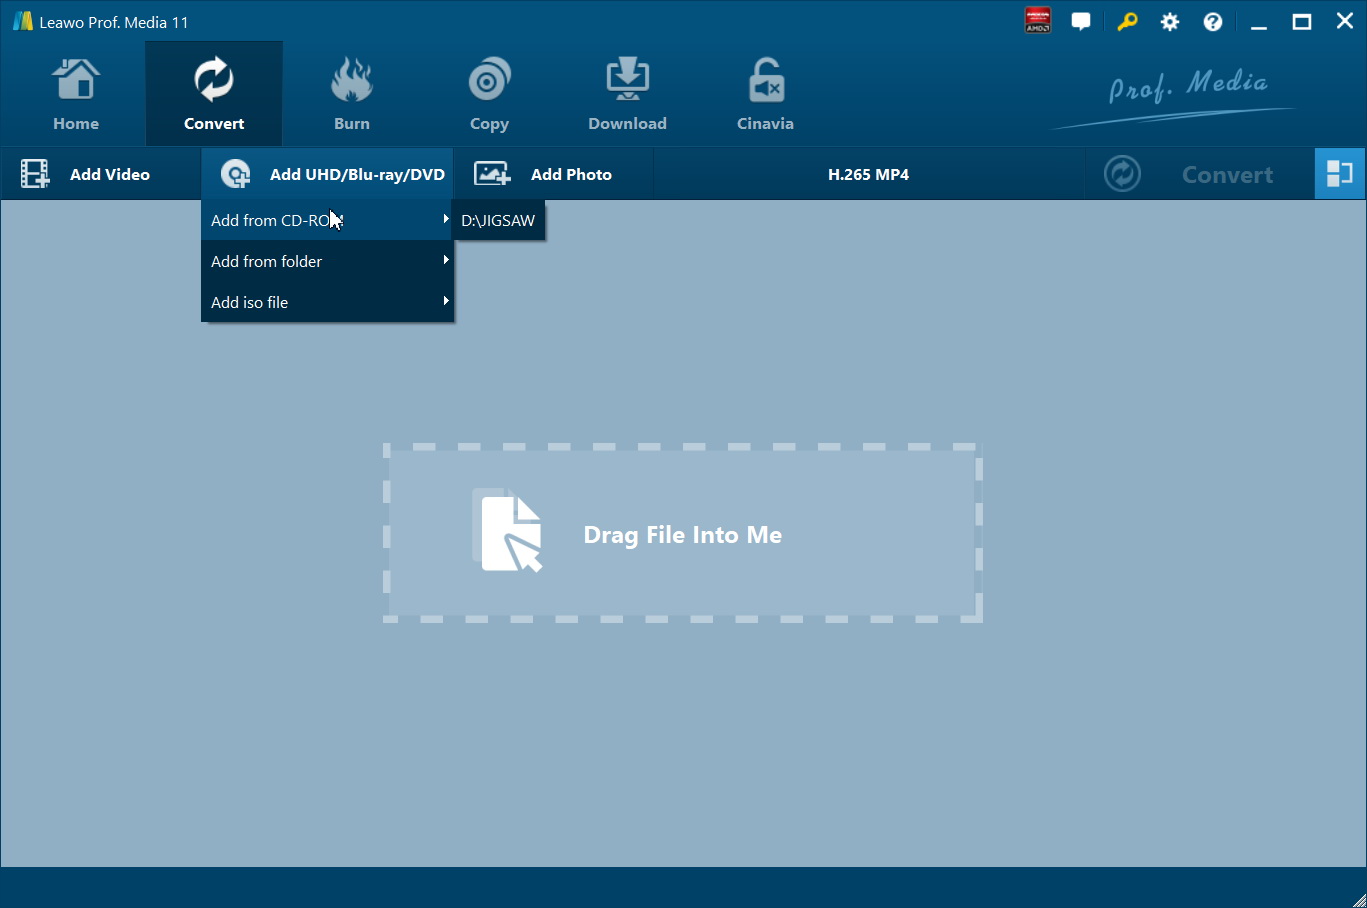
Under the “Convert” module, click on “Add UHD/Blu-ray/DVD” to add source Blu-ray disc by choosing “Add from CD-ROM” option on the drop-down panel.
Attention:
1. Leawo UHD Ripper offers 3 options to load source movie: Full Movie, Main Movie and Custom Mode. Full Movie allows you to import all titles, and Main Movie only imports the longest title by default but allows you to switch, while under Custom Mode you could freely choose any title(s) for loading. Choose the one according to your needs and load source Blu-ray movies.
2. You could play back loaded 4K Blu-ray movie files, select subtitles and audio tracks, edit loaded 4K Blu-ray movie titles, etc.
Step 3: Set output format
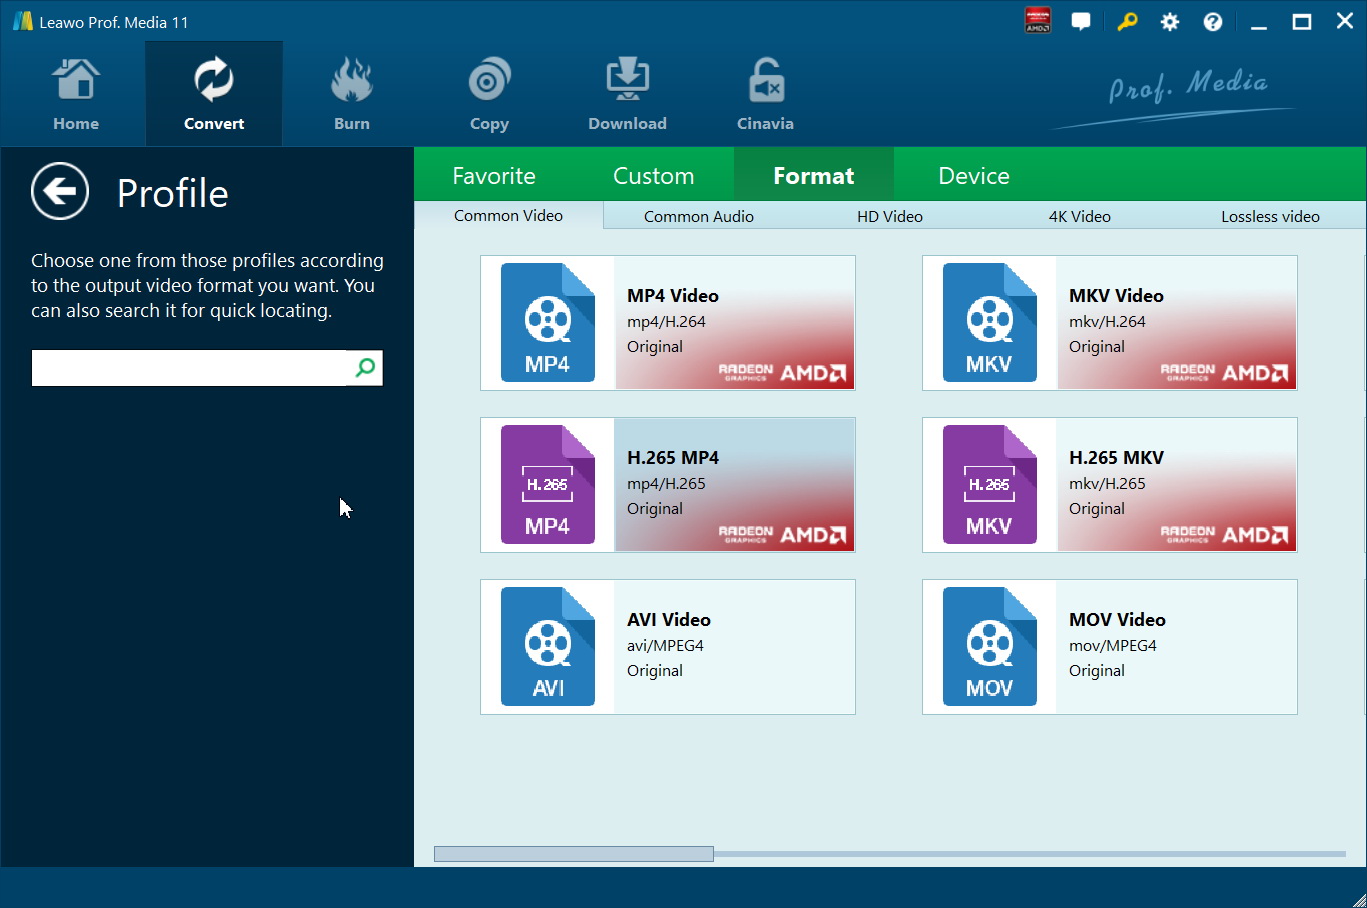
Hit the button next to the “Add Photo” button and then click “Change” option on the drop-down panel to enter the “Profile” window. Choose output format from either “Format” or “Device” group according to your device. VLC media player accepts most video file formats. For higher quality, choose MKV Video from “Format > Common Video” or select one from the “Lossless Video” group as output format.
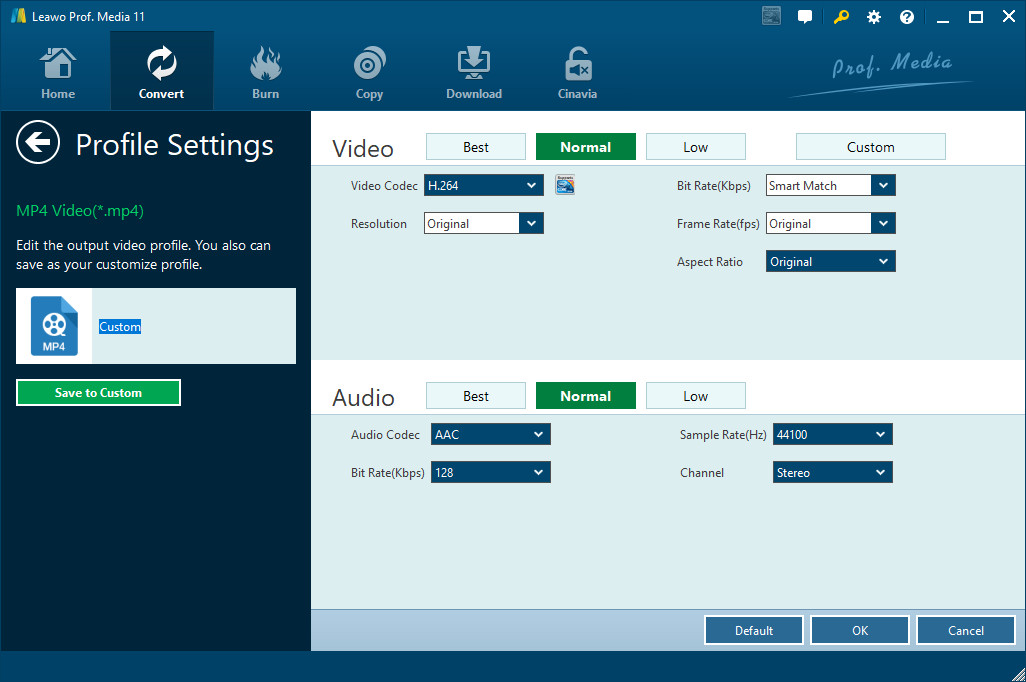
You could adjust video and audio parameters of output files to make sure the output files meet your media or player exactly, including video bit rate, aspect ratio, resolution, audio codec, sample rate, audio bit rate, audio channel, etc. To do these, just click the “Edit” option on the drop-down panel next to the “Add Photo” button.
Step 4: Set directory and start converting 4K Blu-ray disc
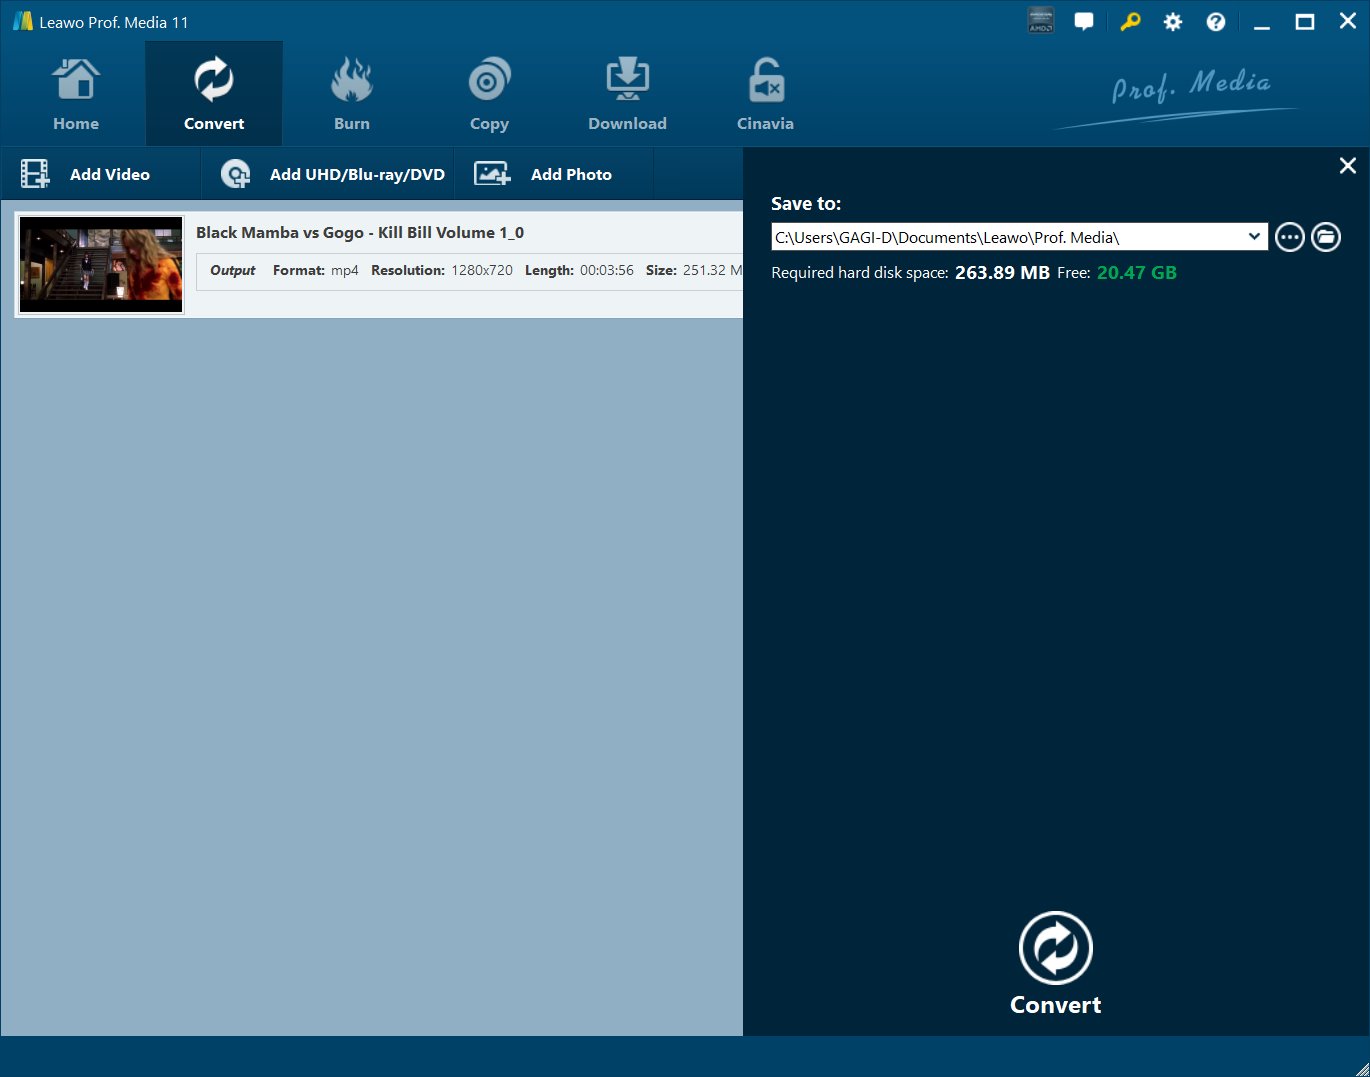
On the main interface, click the “Convert” in green on the sub-menu and then set the output directory in the “Save to” box to save the output video file. After that, hit the “Convert” button at the bottom to start converting 4K Blu-ray discs.


 Try for Free
 Try for Free

