More and more people are accustomed to regularly backing up their photos to the Mac, which is a good habit. Normally iPhoto can automatically give you a prompt for you to decide whether to sync your photos or not when you connect your iPhone to Mac. I bet you must have been stuck in some problems such as the photos not showing up on Mac. So, here we are going to show you some tips on how to fix iPhone photos not showing up on Mac.
Part 1: Possible Reasons on "iPhone Photos Not Showing up on Mac"
Actually, many problems can lead to your iPhone Photos not showing up on Mac. Now I am going to give you some possible reasons on this bug, nevertheless you still need to turn to Apple technical service if you are looking for some professional advises.
1. Your Mac is not trusted by iPhone.
2. If "iCloud Photo Library" on your Mac and iPhone is turned on, your photos have been automatically transferred to your Mac, which means you cannot find them in iPhoto.
3. The using of any other photo storage devices like DropBox on your Mac can cause incompatibility with iPhoto.
Part 2: Solutions to Fix "iPhone Photos Not Showing up on Mac"
Here we collect some common tips on how to fix iPhone photos not showing up on Mac.
1. Make sure your Mac and your iPhone system are the latest version.
2. Unplug your iPhone. Quit iPhoto/Photos and iTunes. And then restart iPhoto/Photos and plug the iPhone back.
3. Turn off your Mac and your iPhone, and restart again.
4. When you see a pop-up window for you to choose to trust this computer or not after you connect iPhone to your Mac, choose "Trust".
5. Any other photo storage device on your Mac like DropBox can be the obstacle to iPhoto. Quit or remove it.
These are some solutions on how to fix iPhone photos not showing up on Mac.
Part 3: How to Sync iPhone Photos to Mac via iCloud
It seems like a normal way to transfer photos to Mac via iCloud. So taking a few minutes to get clear about how to sync iPhone photos to Mac via iCloud is still worth it.
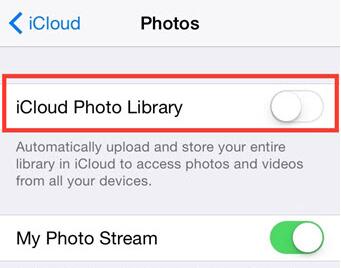
Step 1: First of all, you need to enable iPhone to automatically sync your photos to iCloud. Choose "Setting > iCloud > Photos". Turn on "iCloud Photo Library".
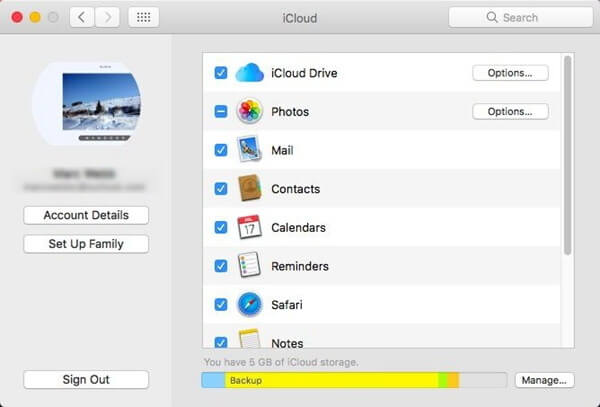
Step 2: Choose System Preferences app on your Mac. Click iCloud and then enter your Apple ID and password to sign in.
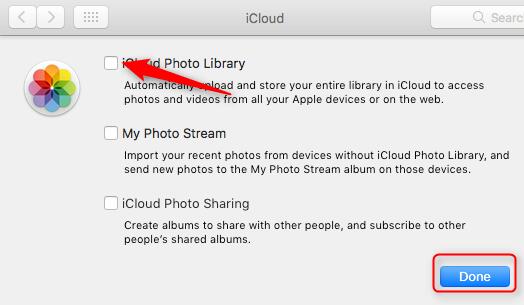
Step 3: Click "Options" which is on the right of "Photos".
Step 4: Check the box besides "iCloud Photo Library". Click "Done".
If you don't have Mac but PC, the solutions on this page also apply to how to fix iPhone photos not showing on PC.
Part 4: How to Sync iPhone Photos to Mac via Leawo iTransfer for Mac
Covering all kinds of iOS data, Leawo iTransfer for Mac makes you efficiently organize your iOS data among iOS devices, iTunes, PCs/ Mac. Thanks to its easily navigated interface, even beginners can make good use of Leawo iTransfer without much instruction. With the smooth and easy-to-use process, everything you need will be displayed as soon as it loads and the data transferring is just a piece of cake. Leawo iTransfer breaks the rules of network connectivity that most of the software have to keep. You don't have to be connected to the Internet in order to run Leawo iTransfer.
Main Features:
- 1. Freely transfer files among iOS devices, iTunes, PCs/ Mac without effort.
- 2. No involvement of sync of iTunes.
- 2. No involvement of sync of iTunes.
- 3. Rapidly back up iOS data.
- 4. Support various kinds of files, including photos, music, apps, TV shows, ringtones, movies, ebooks and Camera Roll files.
- 5. Perfectly support all kinds of iOS devices.
With tons of simple features and an easy-to-use interface, it doesn't take a genius to figure out how powerful Leawo iTransfer is. Believe it or not, you would never let it go if you give it a shot. Let's take a few minutes to see how to sync iPhone photos to Mac via Leawo iTransfer for Mac.
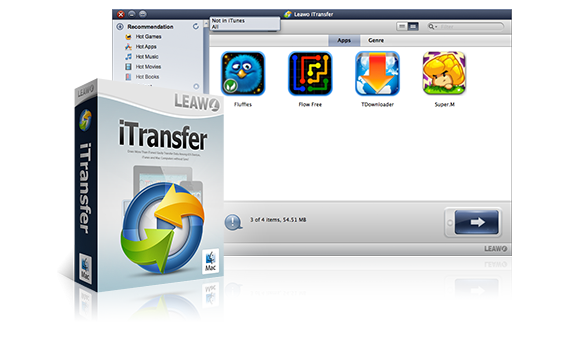
Leawo iTransfer for Mac
☉ copy files among iOS devices, iTunes and PCs with ease.
☉ copy up to 14 kinds of data and files without iTunes.
☉ Support the latest iOS devices like iPhone 7, iPhone 7 Plus, etc.
☉ Play back, view, and delete data and files on iOS devices.
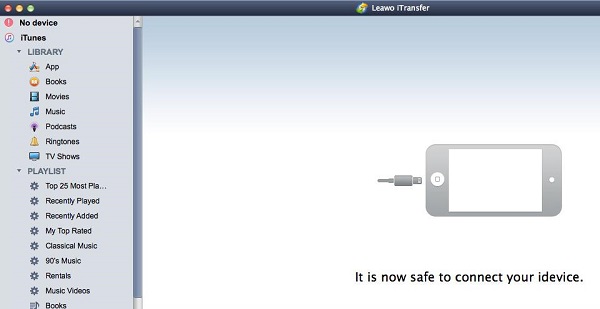
Step 1: Launch Leawo iTransfer
Download and install Leawo iTransfer on your Mac. Open it.
Step 2: Connect your iPhone
Connect your iPhone with USB cable to your Mac. Leawo iTransfer can have your device fully scanned and make them all show up in front of you. Choose "iPhone > LIBRARY > Photos".
Step 3: Transfer the photos
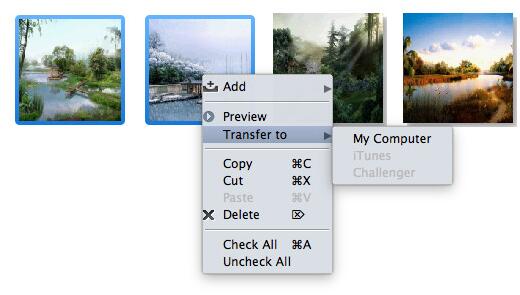
Press "Ctrl" when you click the photos you would like to transfer. Right-click one of the selected photos. Choose "Transfer to > My Computer". Or you can directly click the arrow below.
Step 4: Choose the destination folder
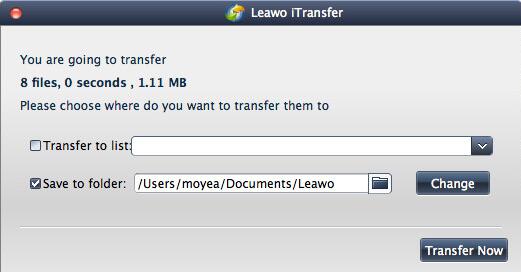
In the pop-up window, check the box besides "Save to folder". Click "Change" to select the destination folder. Then choose "Transfer Now".
No need to take a detour to complete the data transferring. All you can get from Leawo iTransfer are just simplicity and efficiency.

