The Easter holiday is around the corner, and it will be a time when everyone gets together with family and friends. When that happens, photo taking is an activity all of us want to do. Even though the iPhone camera has been getting more powerful over the years, photos taken without filters can look a bit dull. We will explore the best filter apps you can use to make your Easter photos outstanding.
Related articles:
20 Best Easter Quotes for Easter Sundy
Top 10 Easter Worship Songs for Easter
Part 1: 10+ best Easter filters to make you photos stand out
Photo filters are used to increase brightness, contrast as well as to add a wide variety of textures, tones, and special effects to a picture. That said, many developers have been building apps packed with many filters, many of which are most suitable for the Easter holiday photos. Here is the list:
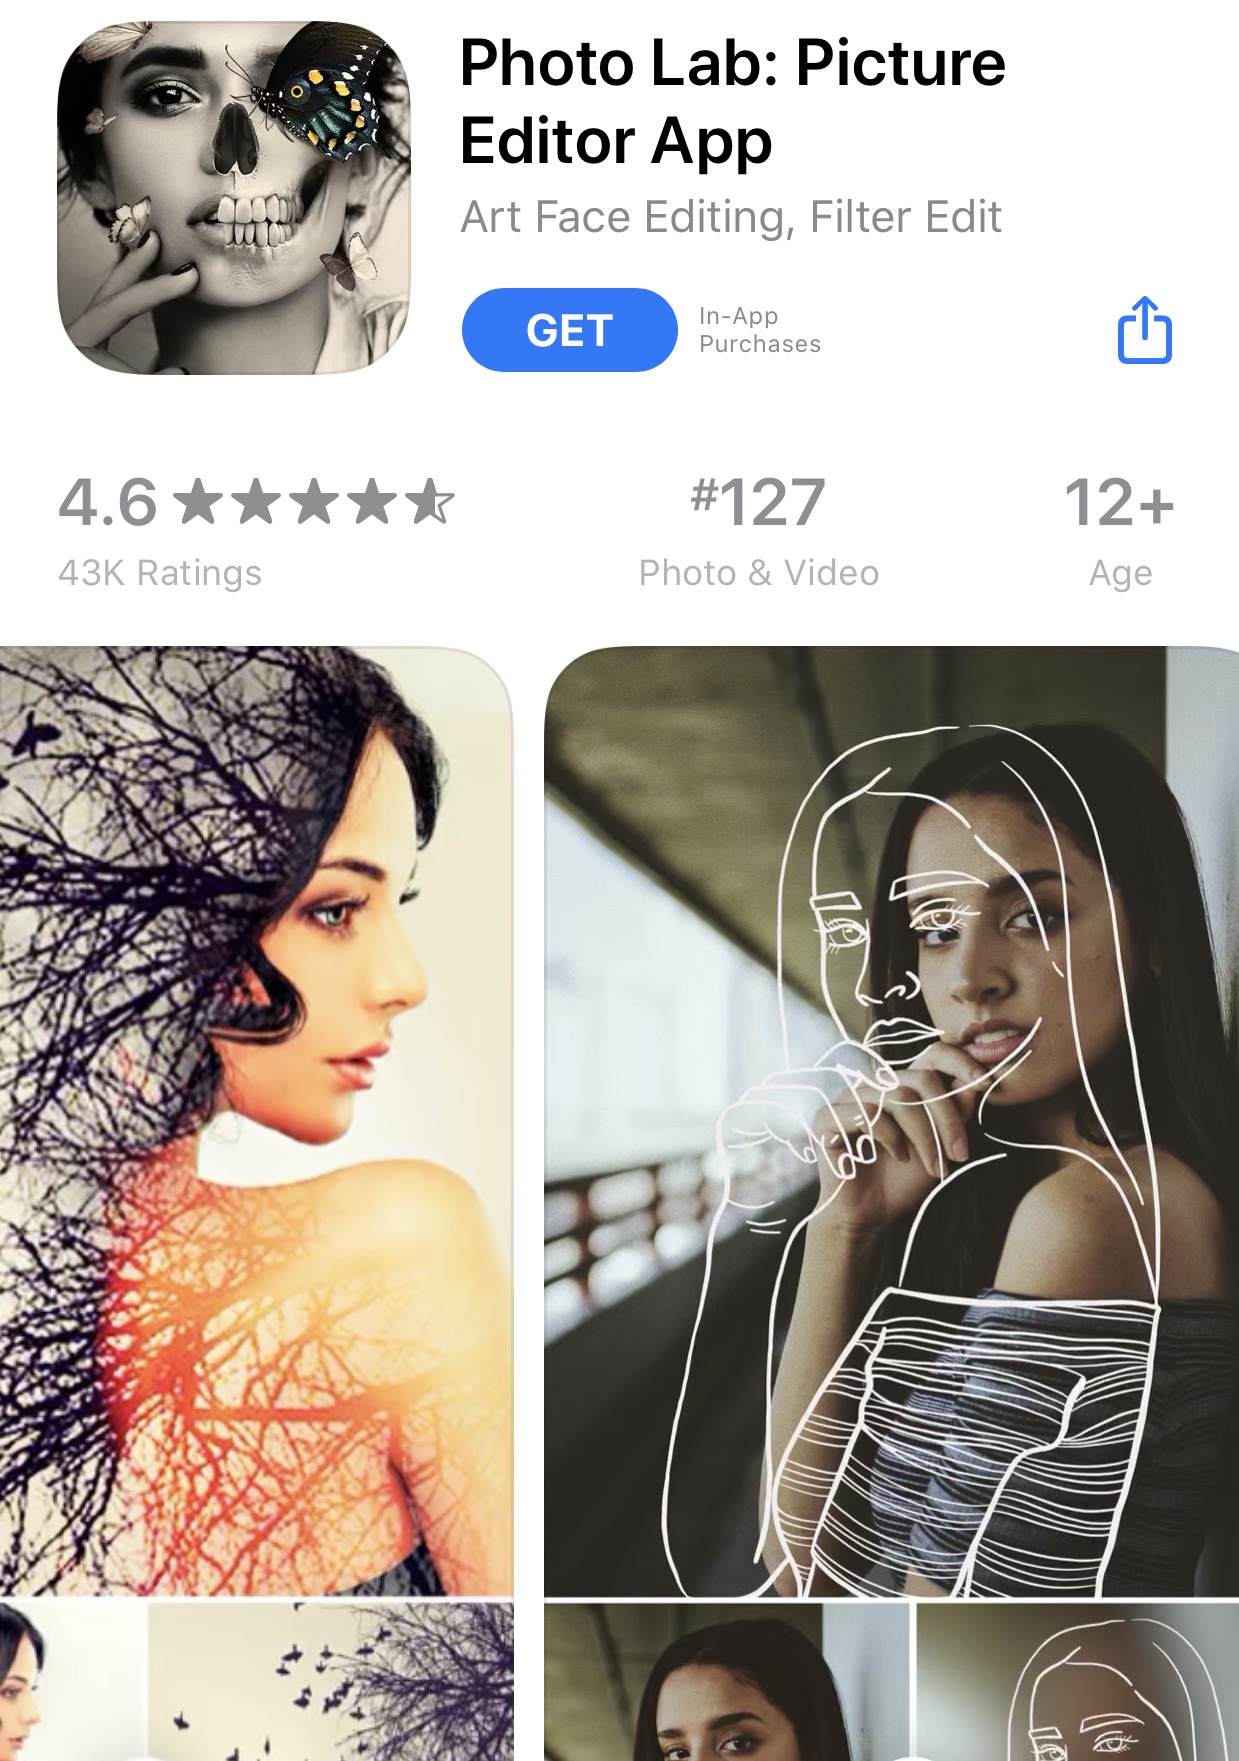
Photo Lab is your top bet when you want to select the perfect photo filter to make your Easter photos standout. The app is packed with over 600 fantastic effects, and it will be easy for you to find the perfect Easter filters. The app is also equipped with automatic face detection, which should help you to use photomontages.
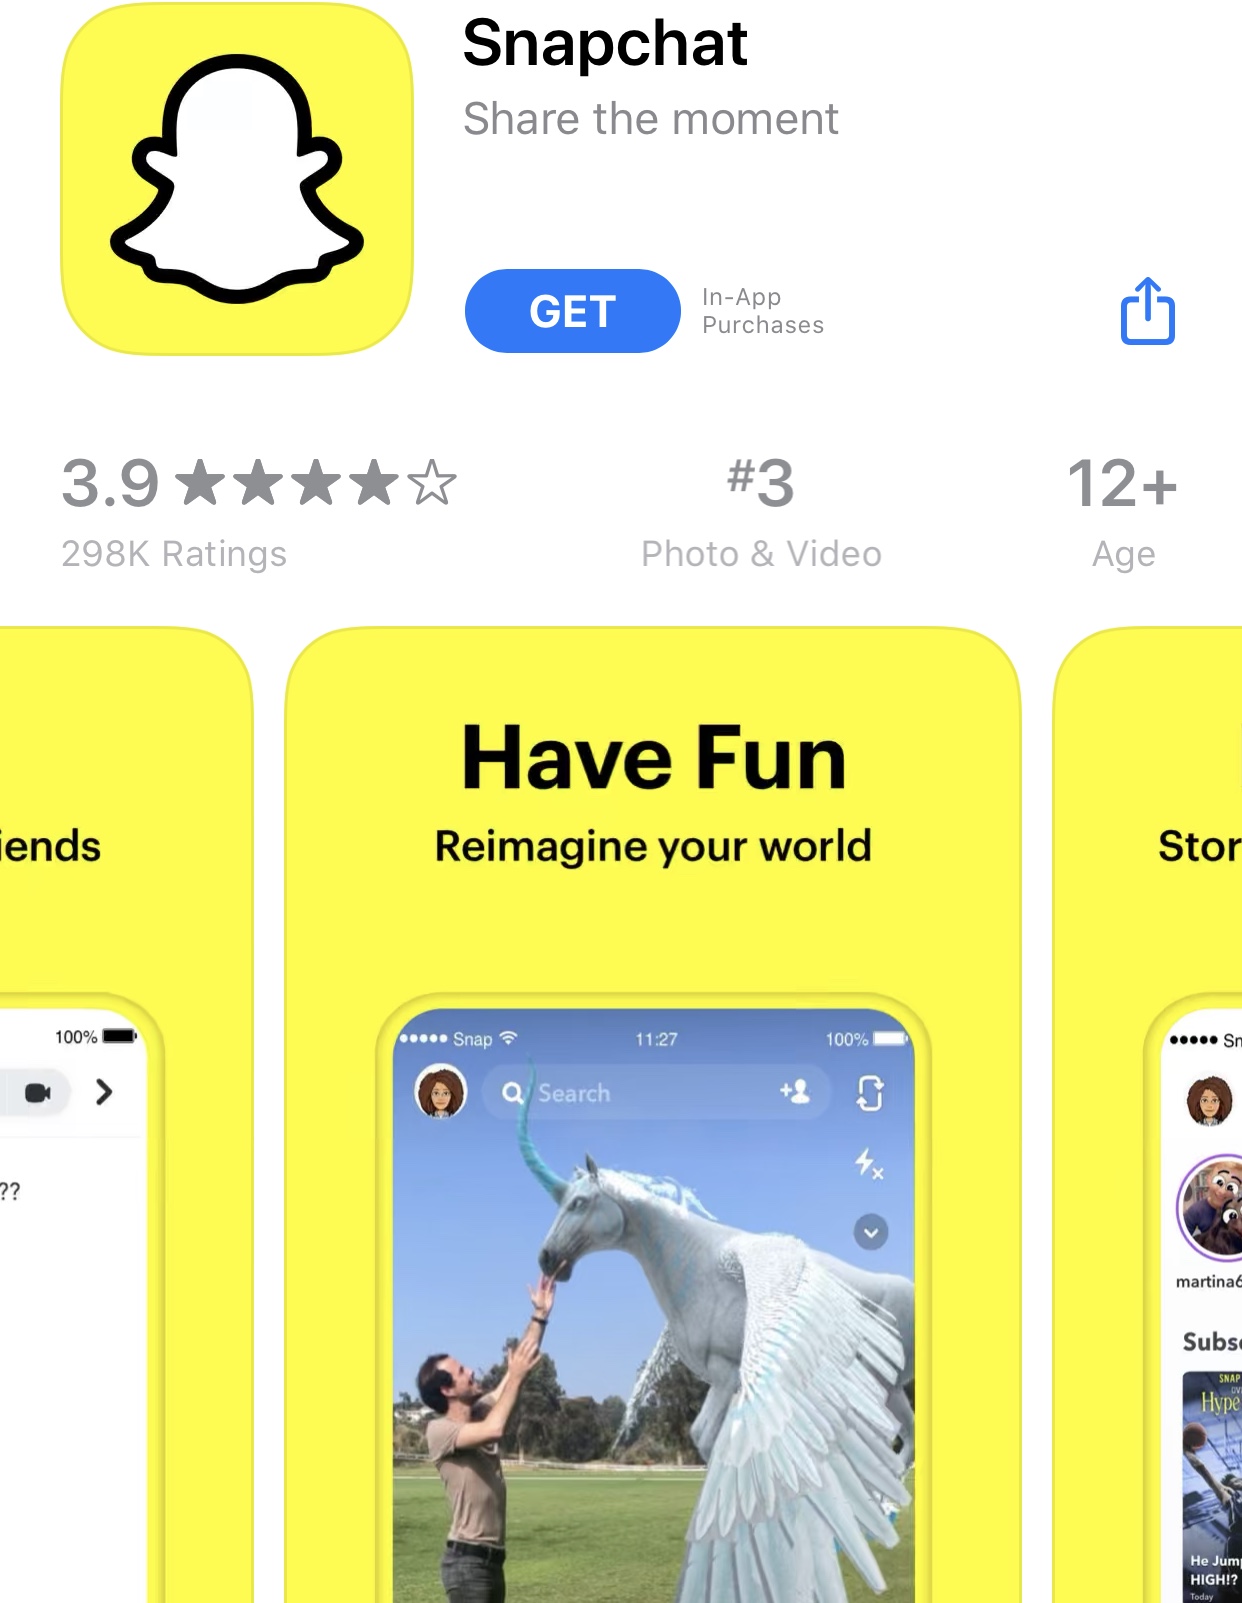
If you are looking for Easter bunny filters, or Easter egg filters then Snapchat has to be one of your best bet. Every year, Snapchat releases filters to mark the beginning of the Easter event, and rumors have said they will release an Easter bunny Snapchat lens which will allow users to turn themselves into the Easter bunny.
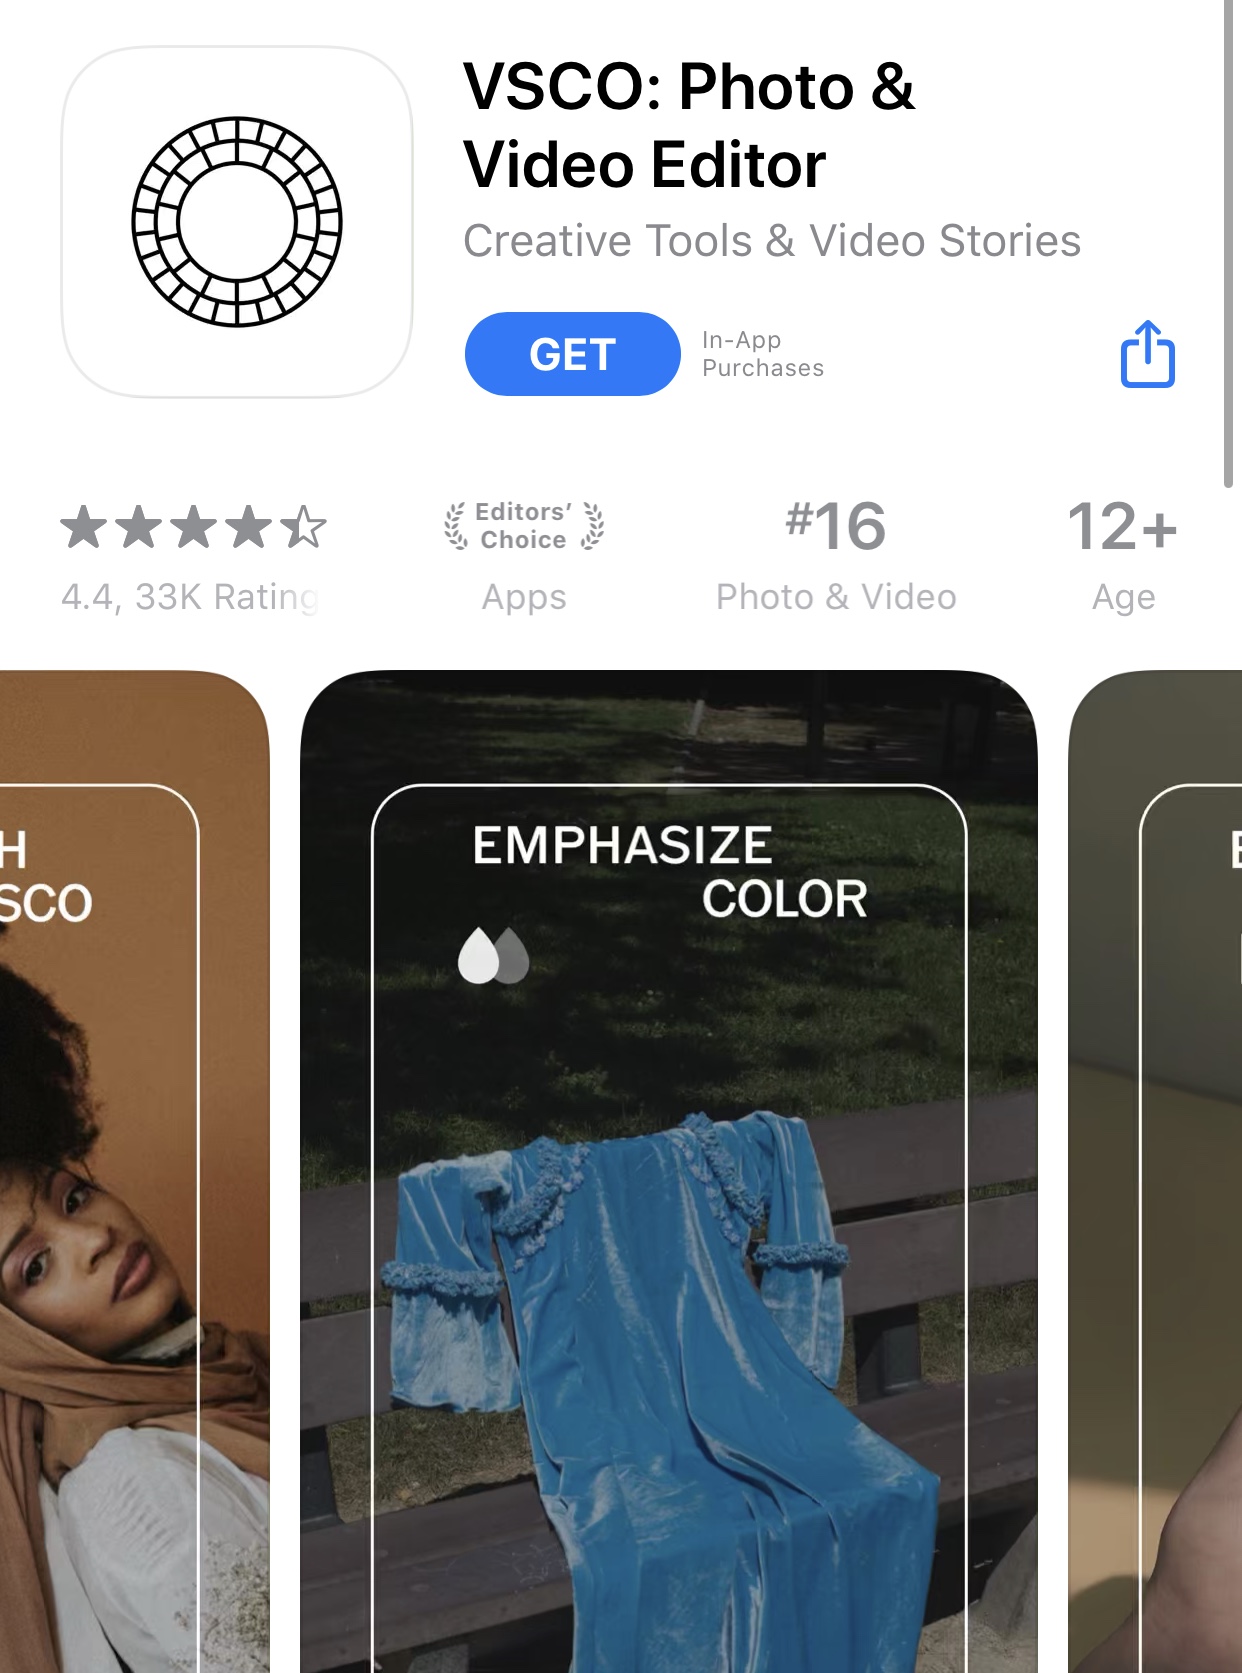
This app has been one of the best photo editing applications for mobile devices, which features an excellent 3-in-1 camera, social sharing and iPhone photo app. You can get over 130 filters which you can also modify the exposure, clarity, contrast, saturation, etc. to adjust the filter strength. The app is also very easy to use, which means you will not use a lot of time to make the perfect Easter photos.
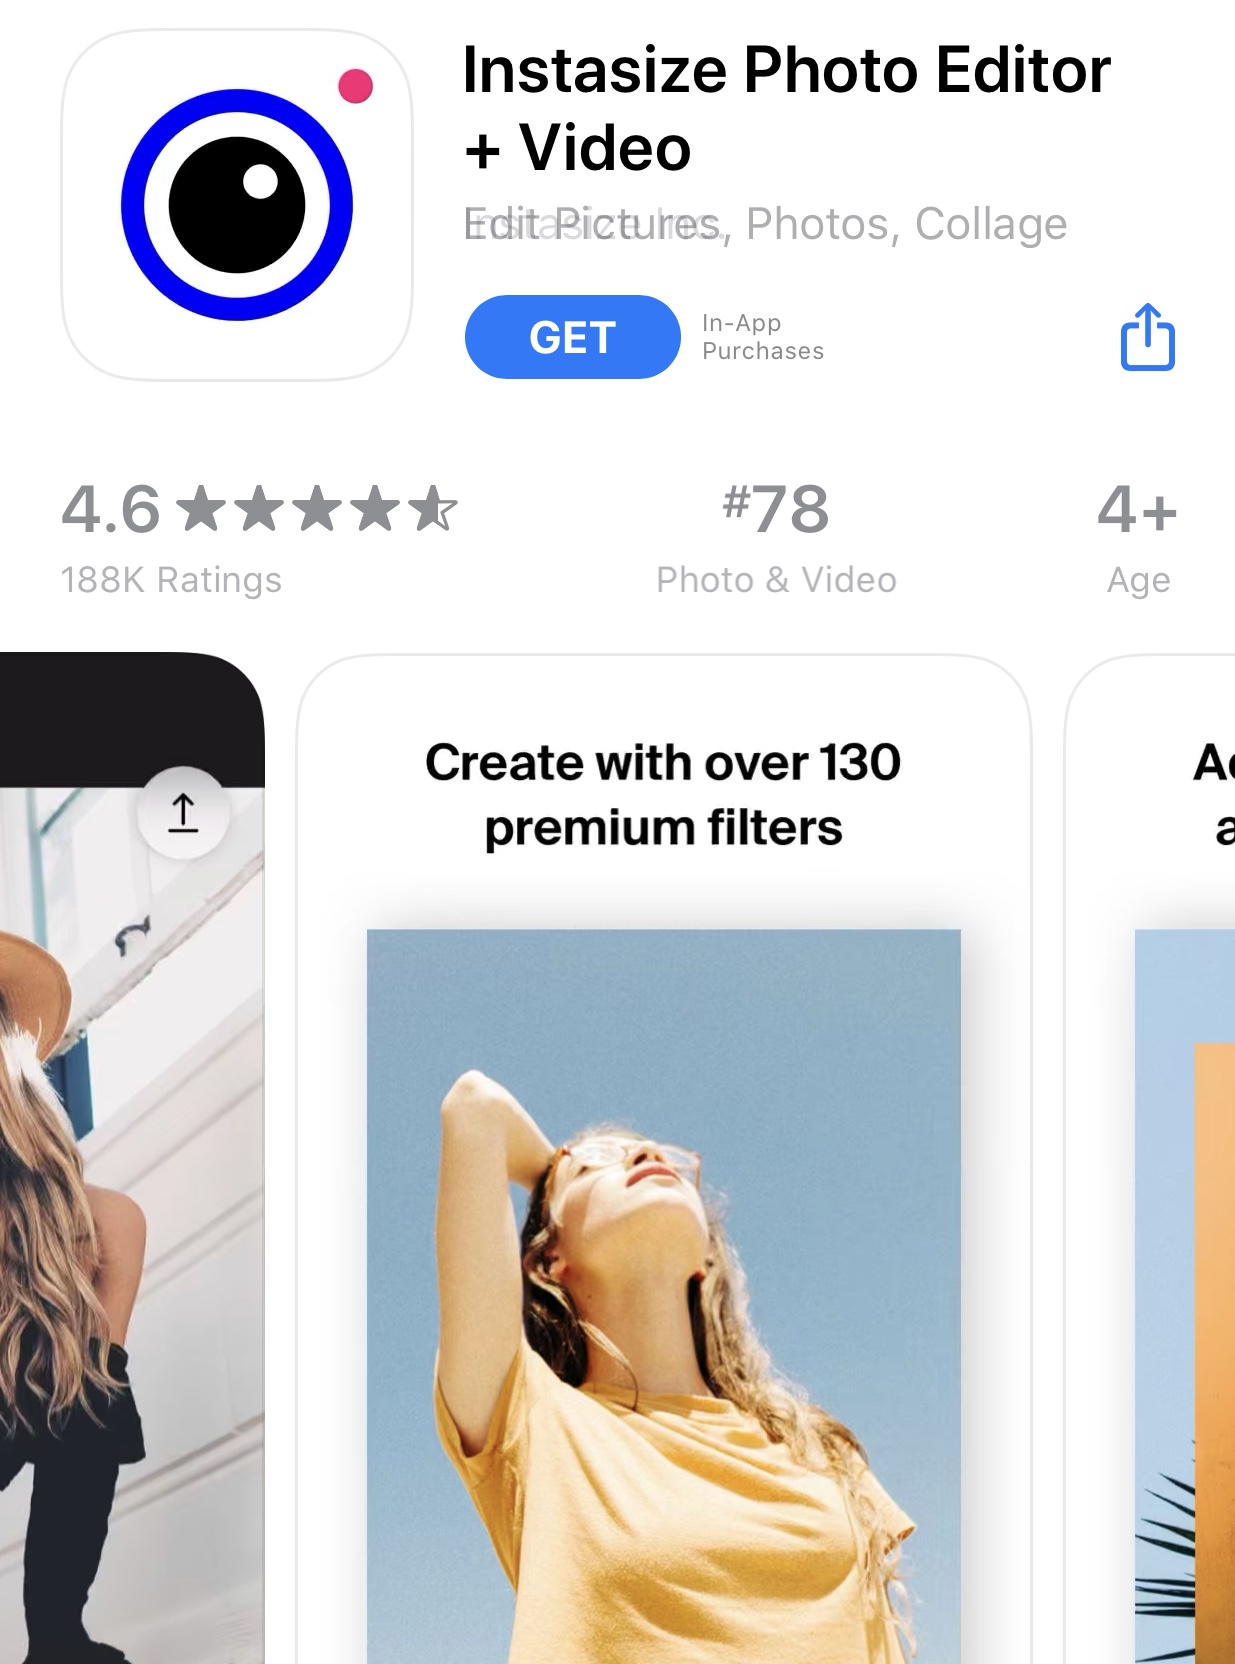
InstaSize is one of the best photo editing tools that you can use to enhance your Easter photos. This app has been coined an “all in one” photo editing app since it combines many features into one. It also comes with a robust library of photo filters that will instantly enhance your Easter photos, over 130 of them precisely. The design of the app is also intuitive, and you will find it easy to navigate through it.
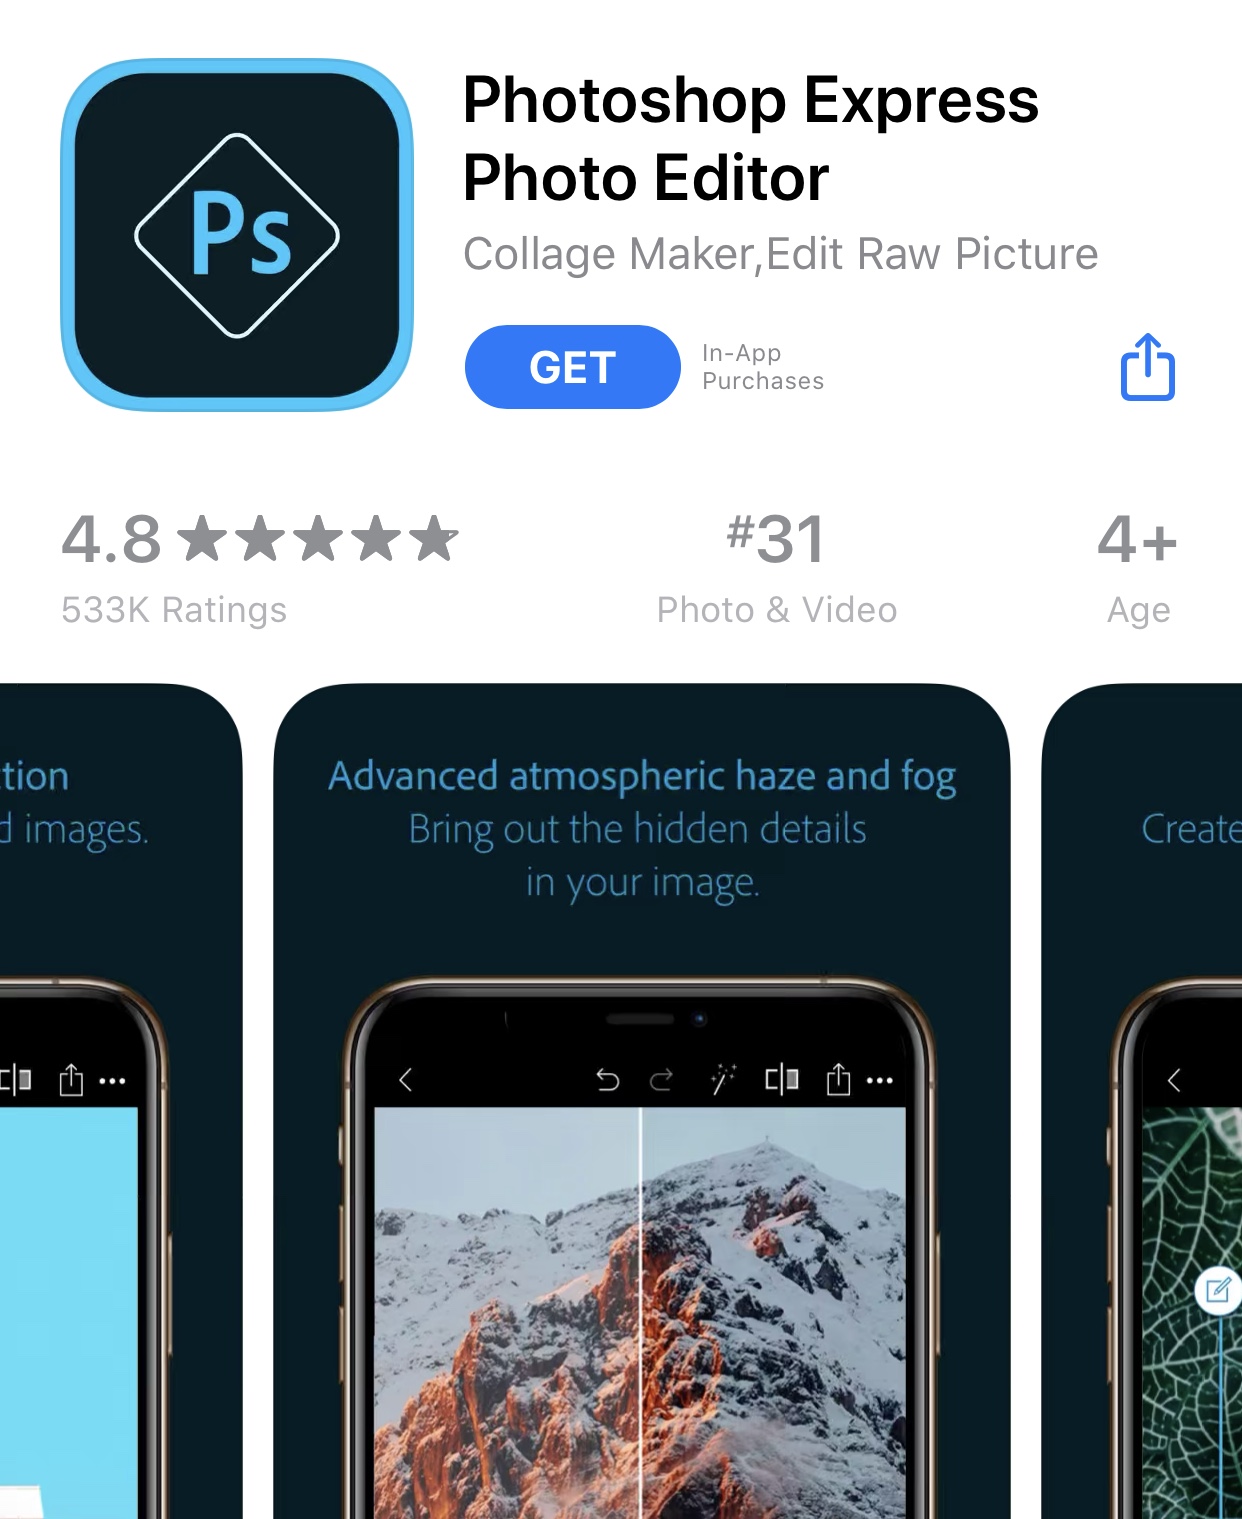
Adobe Photoshop is known to be one of the top photo editing software on the planet, and with Photoshop Express, they are bringing that experience to mobile. If you are going to take your pictures in RAW or TIFF formats, this app will be able to edit them. More so, it comes with 45 photo filters to choose from if you want the perfect Easter photo that stands out.
A staggering 1 billion active users enjoy this photo-sharing app. Although this app is mainly for sharing photos, videos, video calls, and even messaging, it has over 40 photo filters which should help in enhancing your Easter photos.
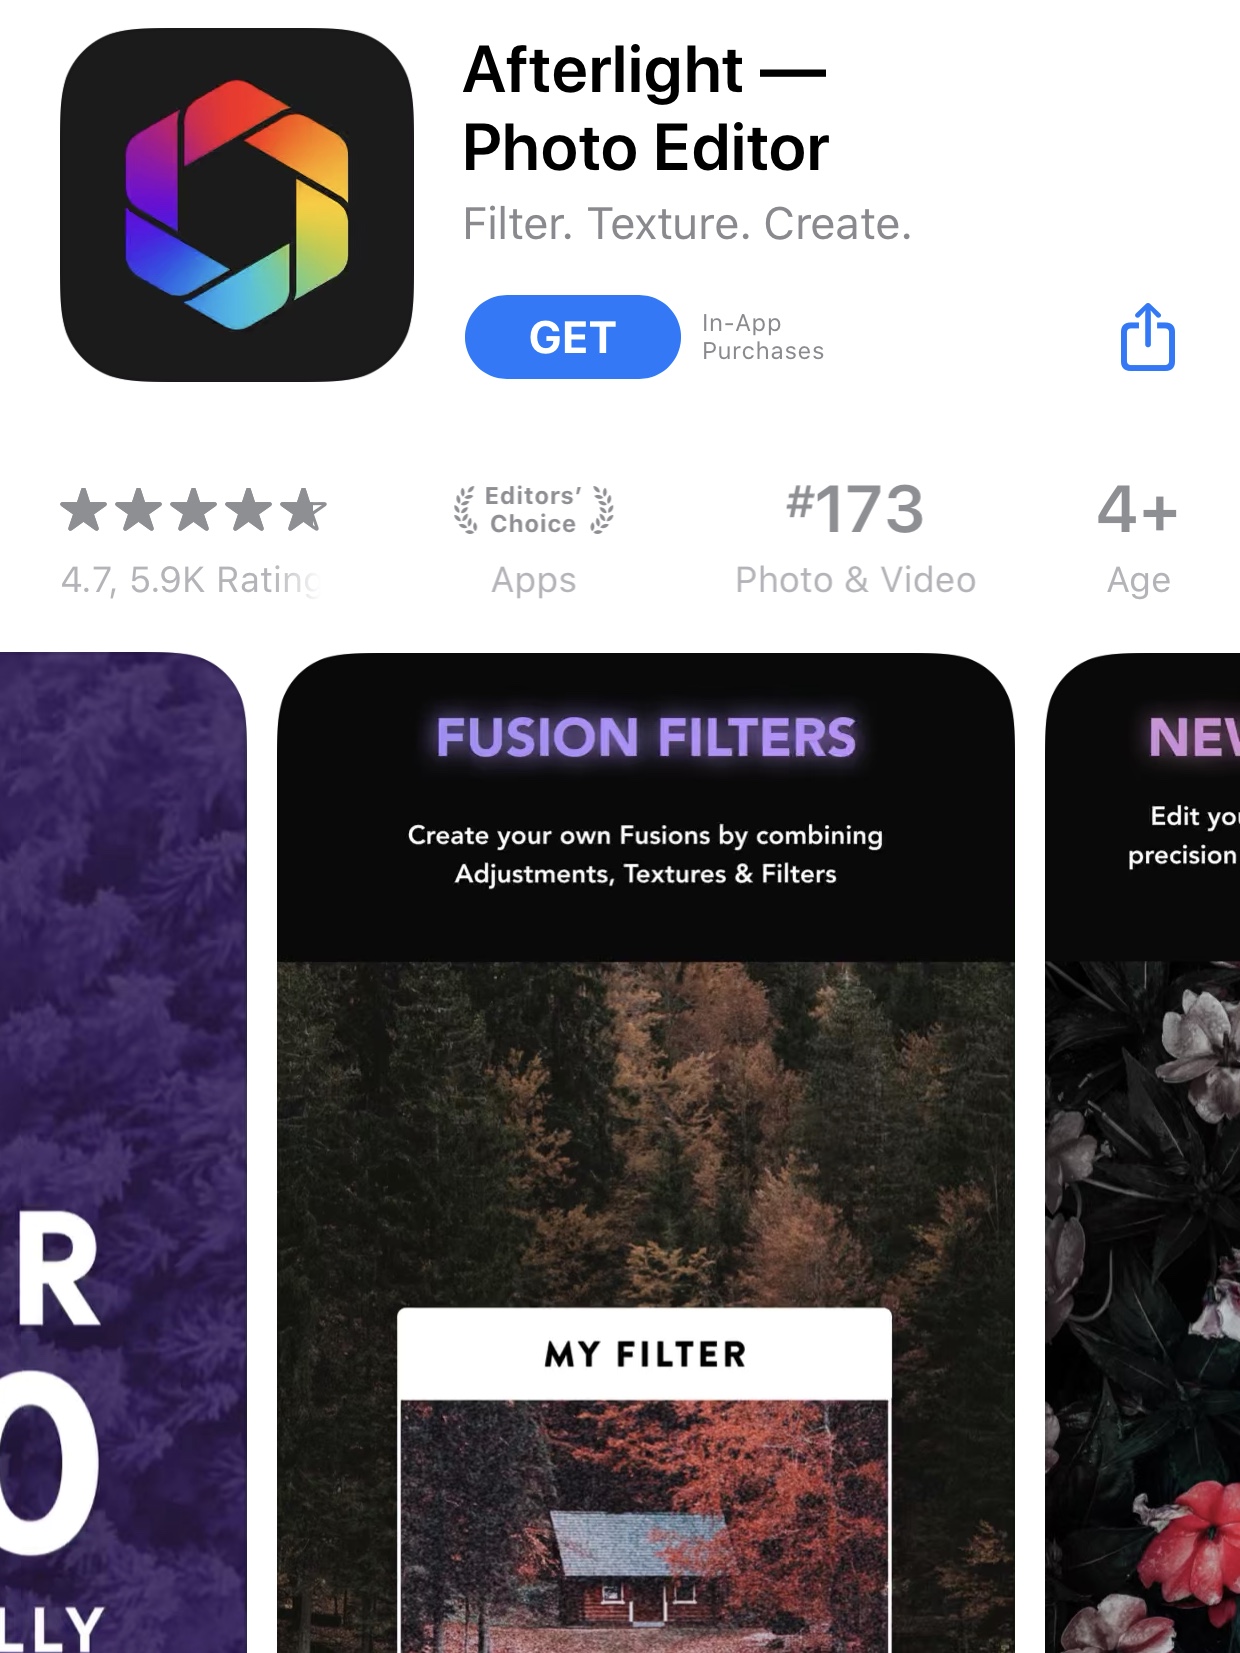
This photo editing tool has an extensive collection of natural filters. When you use it to edit your Easter photos, it will be a very simple and easy thing to do as this app was designed with simplicity in mind. You can import photos in RAW, use your favorite filters on them and then export them to the HEIC format widely used by iOS these days.
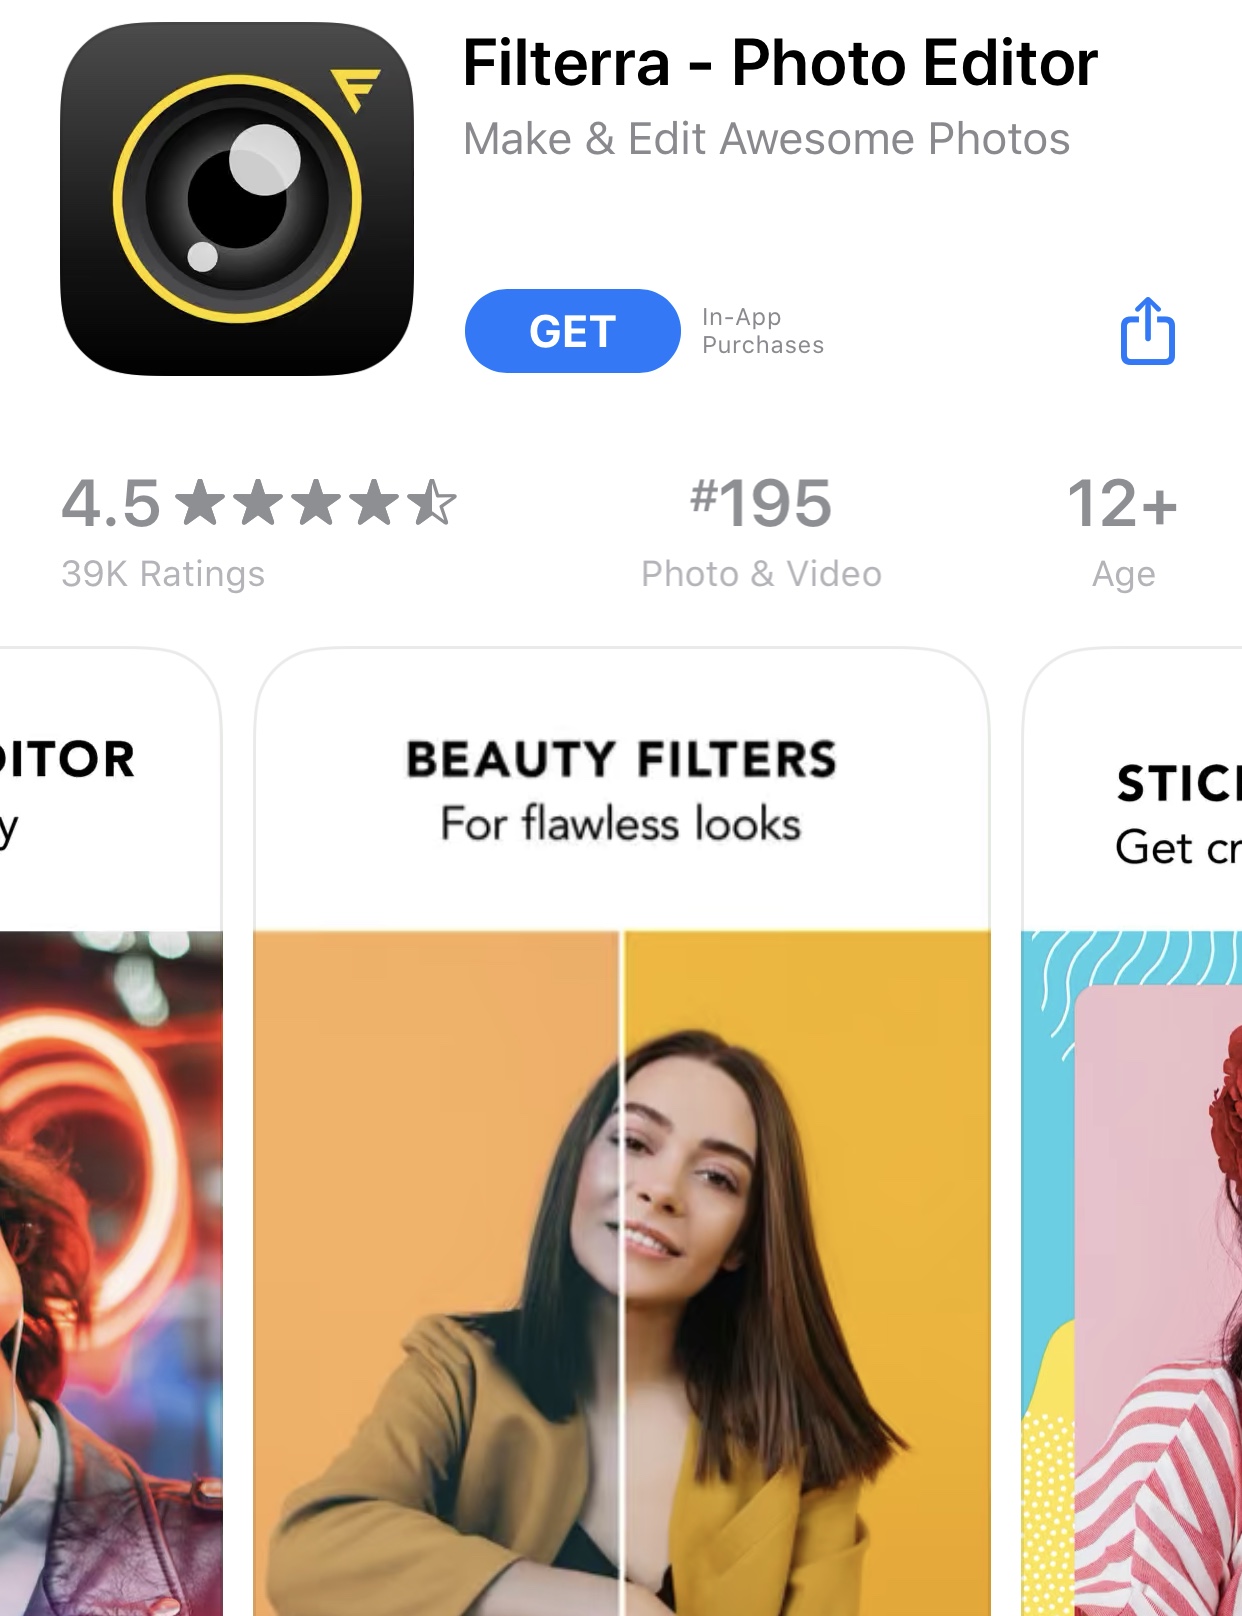
As the name suggests, this app is loaded with plenty of filters and also effects. What makes this app special is its ability to allow you to compare the selected photo filters and effects while editing your Easter photos.
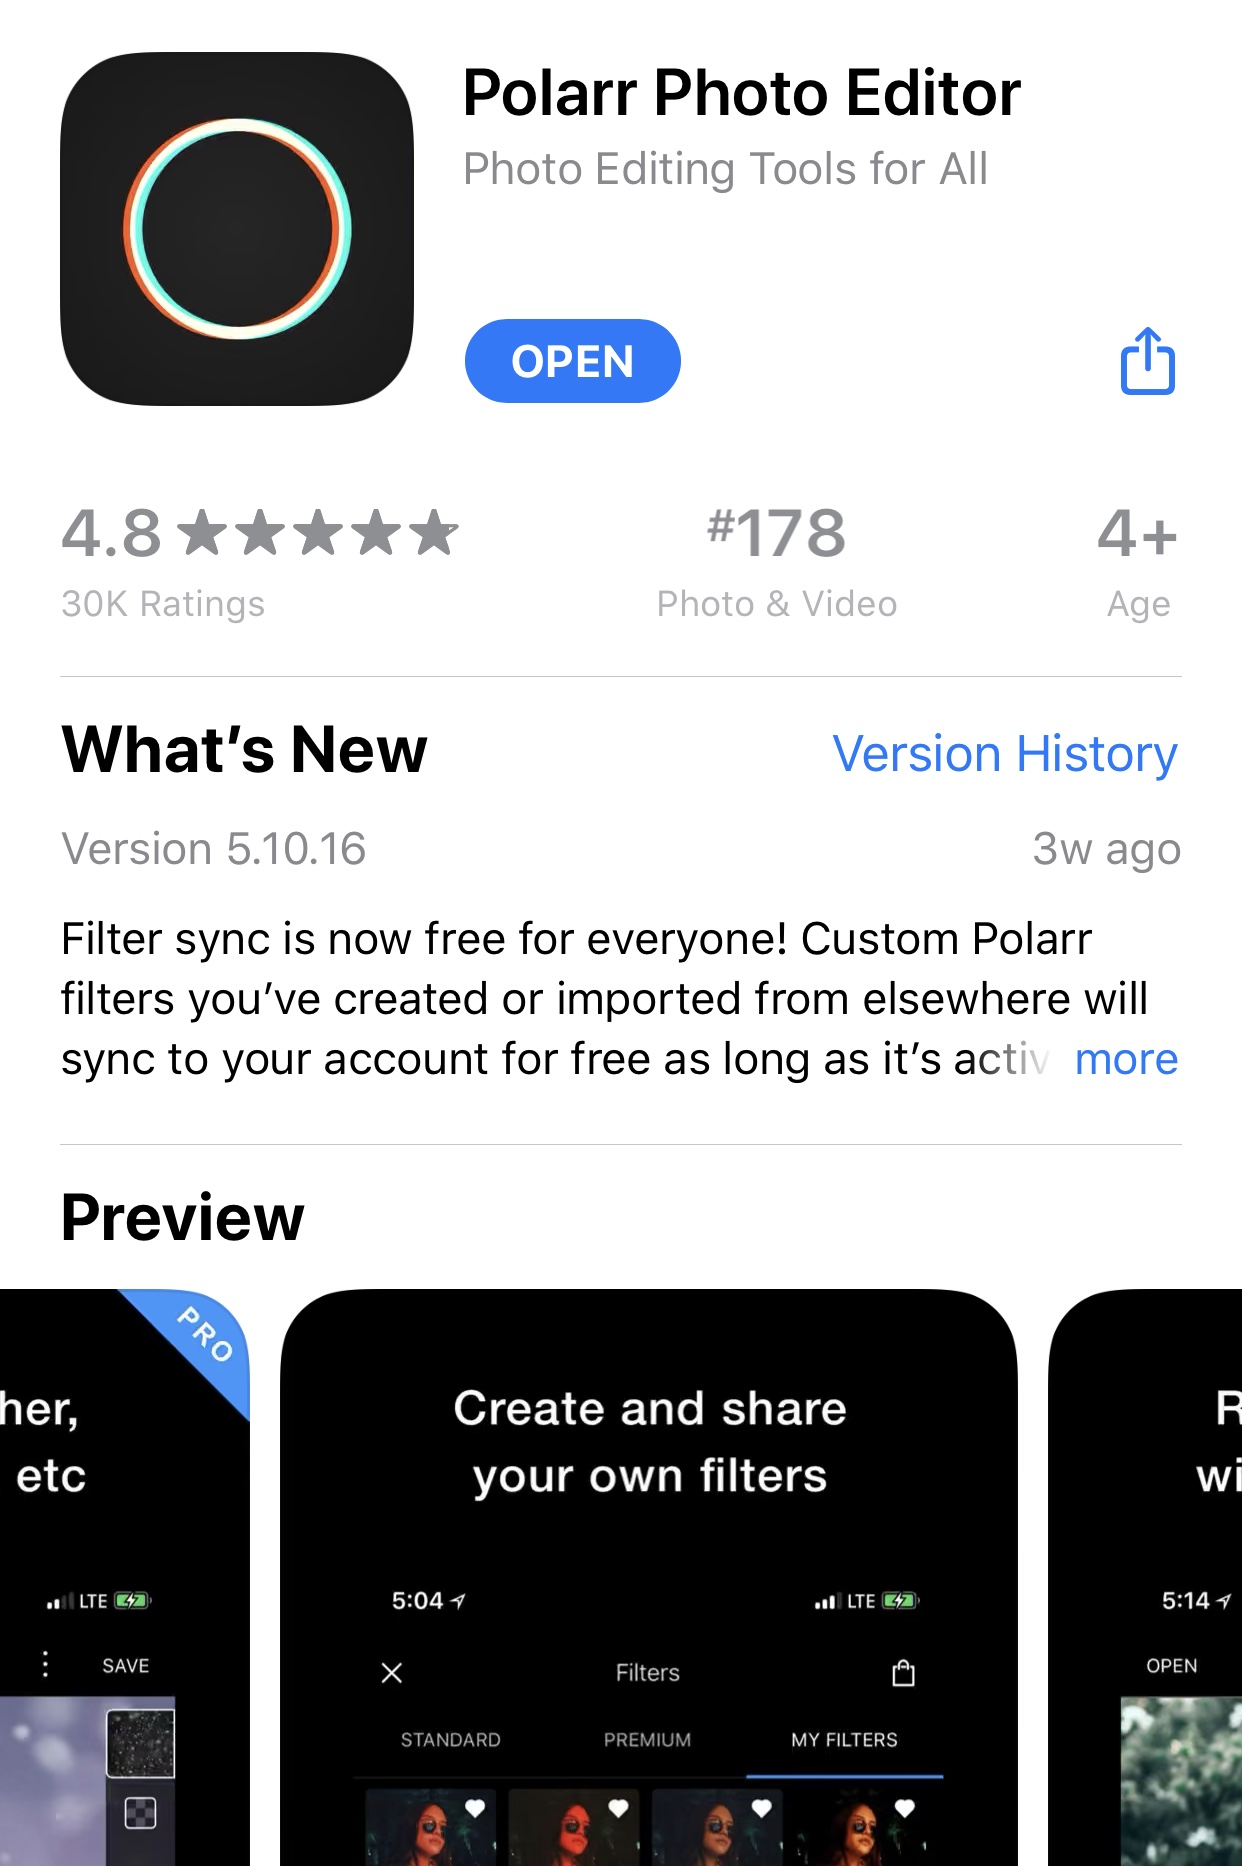
Do you imagine creating your own Easter photo filters? Well, you can do that with Polar. More so, this app will allow you to sync the filters you created or imported to your account, so that you can use them if you have more than one device. The filter section also gives you advanced control of color and other details.
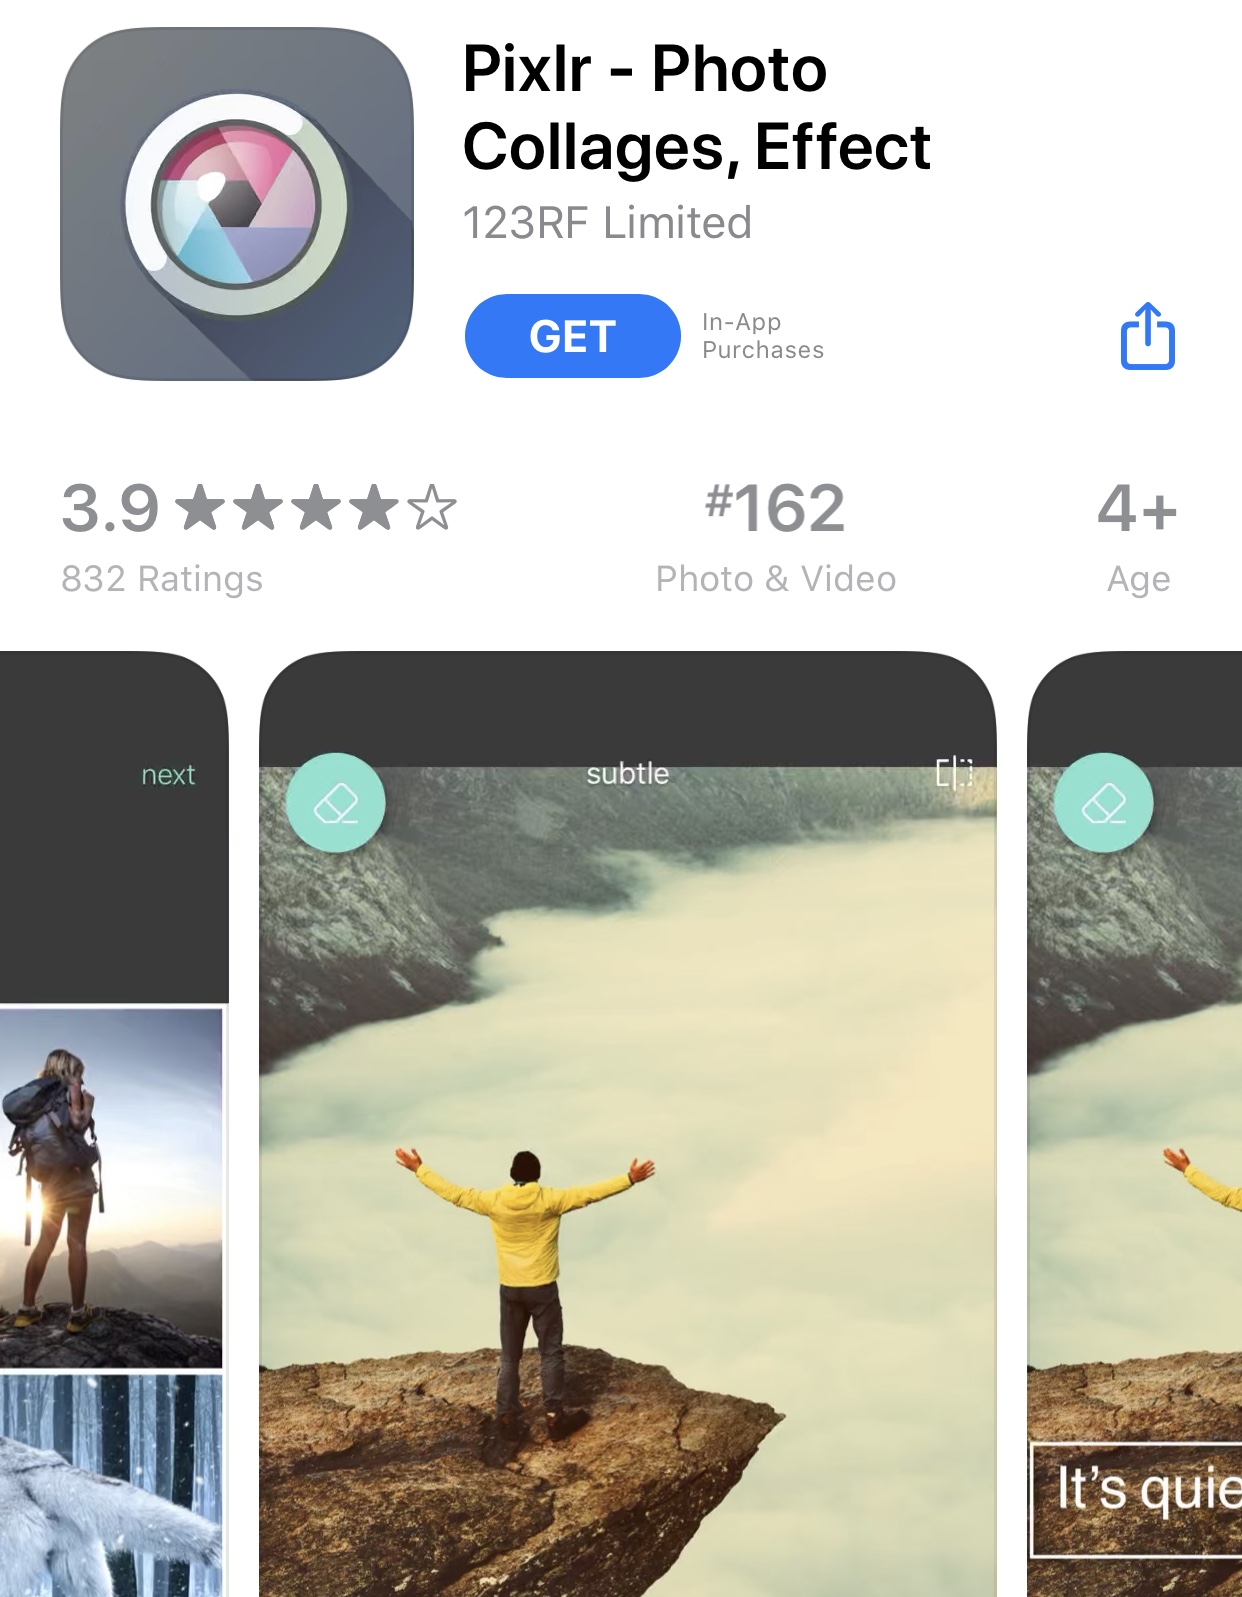
Pixlr is also one of the most popular free photo apps which has a wide range of different photo effects overlays, and yes filters which can help you to create truly unique and visually appealing images. Try this app’s filters for your Easter photos.
Part 2: How to transfer pics from iPhone to PC via email
Since it is possible to attach documents on the Mail app on iOS, it is also possible to attach media files, particularly photos. However, this method will be the slowest way to transfer your Easter photos, because the Mail app will only allow you to attach a maximum of 5 photos. If you have more than 5 photos, you will have to send multiple emails. The steps for transferring photos through an email are as follows;
Step 1: Open the “Photos” app from the main home screen. Tap the “Photos” tab if you took the photos recently. If you stored the photos in a separate album, tap the “Album” tab and open the corresponding album.
Step 2: When you locate the specific photos you want to transfer, tap the “Select” button near the top right. Select all the photos you wish to transfer. (For email, remember you can only transfer 5 photos at once).
Step 3: Tap the Share icon near the bottom left of your screen. This will bring out the share menu, and from there select “Mail”.
Step 4: Enter the email address of the recipient, and the enter subject if necessary. Once done, click the Send icon near the top right, and the email should send right away. Repeat the process if you wish to transfer more than 5 pictures through email.
Part 3: How to transfer pics from iPhone to PC via iTunes
iTunes has and somewhat still remains the traditional method of syncing data between your iPhone and computer. While that is the case, not all data types are supported somehow. For instance, if you want to sync photos from your iPhone to your PC, you will need the aid of the Windows Photos app as iTunes alone cannot complete the task. That said, using Windows Photos may also be slower, depending on the number of photos you want to transfer. The steps are as follows;
Step 1: Install the latest version of iTunes on your PC, as importing photos requires iTunes version 12.5.1 or later. Launch iTunes after installation.
Step 2: Connect your iPhone to your PC using the USB cable. You will need to unlock your iPhone and tap “Trust This Computer” when it pops up.
Step 3: On the iTunes top bar, click your iPhone’s icon, and then click “Photos” from the left side. Check the “Sync Photos” option on this section of iTunes.
Step 4: Depending with where the photos you want to import are stored, you can either select “All folders” or “Selected folders”. To import with videos, check “Include Videos”. Once finished, click the “Done” button.
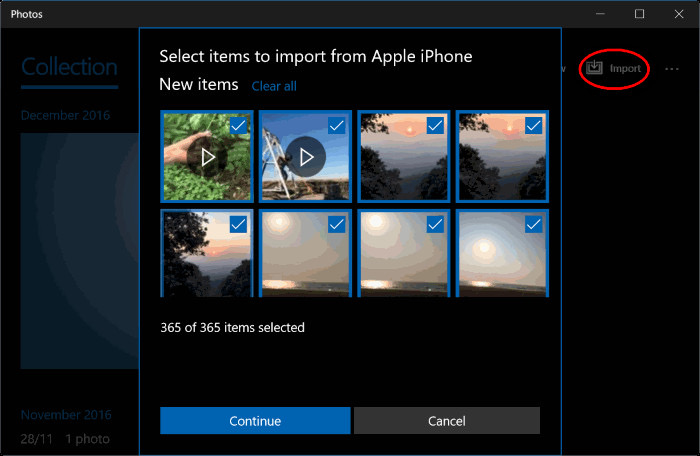
Step 5: Click the Start menu on your PC, then open the Windows “Photos” app. Once opened, select “Import” followed by “From a USB device”. Choose your iPhone and follow the simple instructions. The time to import will vary depending with the amount of photos you want to import.
Part 4: How to transfer pics from iPhone to PC via iTransfer
While iTunes need the aid of other apps to transfer photos from iPhone to a Windows PC, there is a third party alternative that requires minimal steps for the transfer, and it can also sync your data completely independent of Windows Photos, and even iTunes itself. That software is Leawo iTransfer, which is a much more polished tool for managing files on Apple mobile devices (like manage photos on iPhone). It supports 12 kinds of data, and if you have some data in file formats which are not compatible with iOS, this software will intelligently convert them for you. If you want to sync your music, Leawo iTransfer will do that completely independent of iTunes. Overall, this software is very fast, fluid and easy to use. You can learn more, and download it by clicking buttons below:
Step 1: Launch the software on your Windows or Mac computer
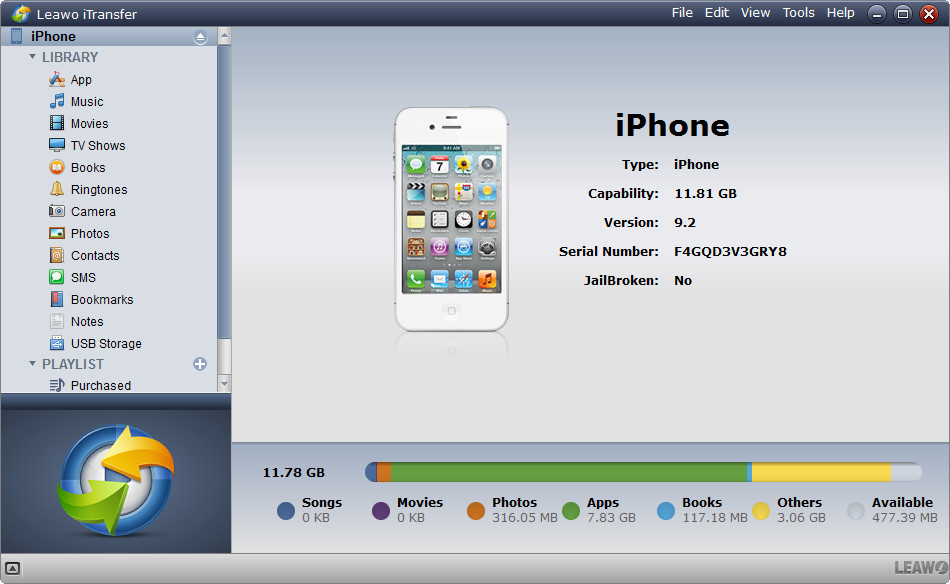
Using your USB cable, connect your iPhone to the computer and the software should detect the connection. On the left, you will see the library menu (which includes photos, 3rd party apps, music, notes, USB storage, messages, podcasts, etc).
Step 2: Set your transfer options. Select Photos from the libraries
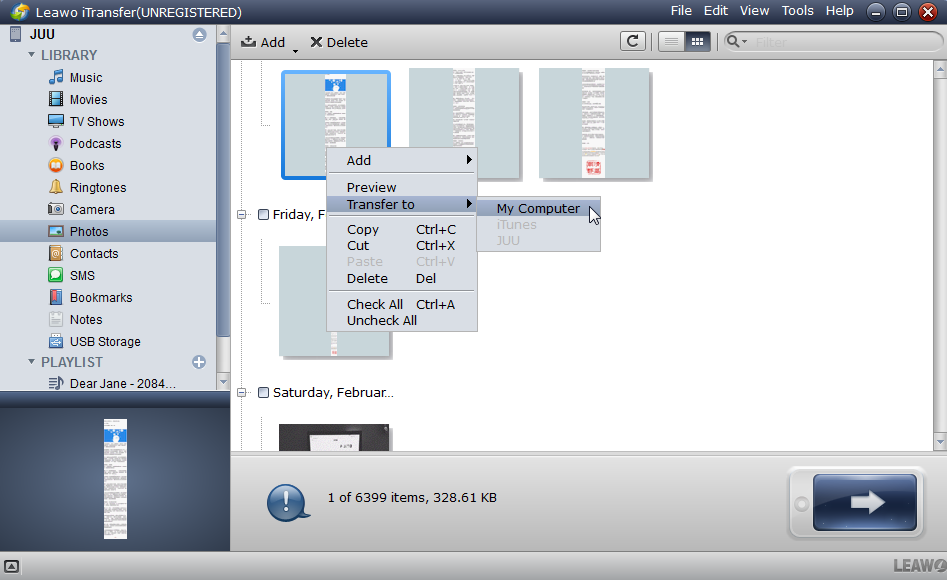
Hold the “Ctrl” (for Windows computers) or “Command” (for Mac computers) keys. Find the specific photos you wish to transfer, then right-click and under “Transfer To:” select “My Computer” since you want to transfer from your iPhone to your computer.
Step 3: Set your output folder
As soon as you select “My Computer” from the previous step, a pop-up window will show up. Check “Save to folder:” followed by clicking “Change” to select the output folder. After you have selected your output folder, click “Transfer Now” to begin transferring your photos.
Step 4: Wait for the transfer to finish
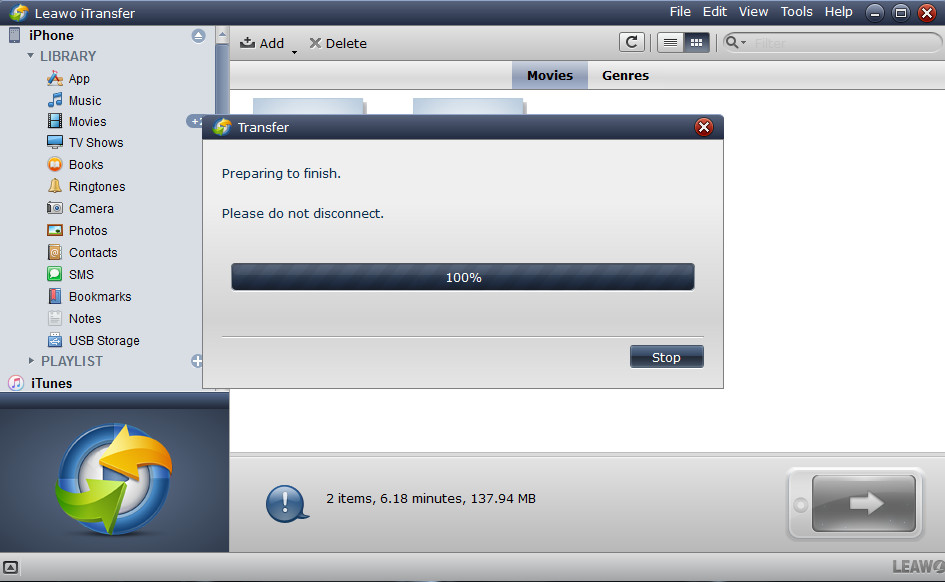
The progress bar will show you the percentage of the progress. Try to wait patiently for the transfer to complete, because interrupting the process will fail to complete the transfer to PC. If you wish to cancel, click “Stop”.

