In the previous posts, we have discussed about color saturation in photography. Today, we would focus more on the contrast in photography. Contrast exists everywhere in our lives, such as red flowers and green leaves, tall buildings and thatched houses, swans and frogs, etc. It is undeniable that works with strong contrasts are more likely to make an impression. In photography, creating contrast for the picture is one of the common expression methods of photographers. If you can be good at discovering the characteristics of things, creating and using contrast, it will enhance the visual impact of the picture and make the theme of the photo more vivid and more attractive. If you would like to know more about different contracts in photography, then you can follow the parts below.
Menu
- Part 1: What is Contrast in Photography?
- Part 2: Conceptual Contrast in Photography
- Part 3: Color Contrast in Photography
- Part 4: Tonal Contrast in Photography
- Part 5: Texture Contrast in Photography
- Part 6: High Contrast Photography vs. Low Contrast Photography
- Part 7: How to Adjust Contrast in Photography in PhotoIns?
Part 1: What is Contrast in Photography?
Whether it is photography creation or painting creation, the visual effects of the pictures are presented through contrast, mainly from the contrast of the elements, colors, light and shadow of the pictures to reflect the rhythm of pictures. So, what is contrast in photography? Simply speaking, contrast is difference. It relates to one subject that is quite different from something else in terms of colors, sharps and so on. You can also define contrast as the difference between critical elements in a composition.
Common contrast techniques in photography include distance contrast, size contrast, virtual and real contrast, density contrast, curve and straight contrast, color contrast, conceptual contrast, tonal contrast, texture contrast, high low contrast, etc. As one of the most important methods of expression in photographic creation, contrast can be used consciously. Sometimes, multiple contrast methods are applied at the same time, which can produce better results. The contrast should be natural and in line with the connotation to be expressed, while paying attention to the overall harmony and balance.
Part 2: Conceptual Contrast in Photography
Conceptual contrasts mainly focus on the comparison between different subjects and its backgrounds as well as the emotion it reveals. While talking about conceptual contrast, it is usually more abstract and less obvious. You have to figure out the whole picture by putting more efforts to it. For example, it may be related to some ideas, concepts and emotions that photographer would like to express. You can regard the photo which has adopted conceptual contrast as a mini story. In this photo, you can find something more interesting and profound in this picture. You may even not expect to see some subjects would appear in the same picture.
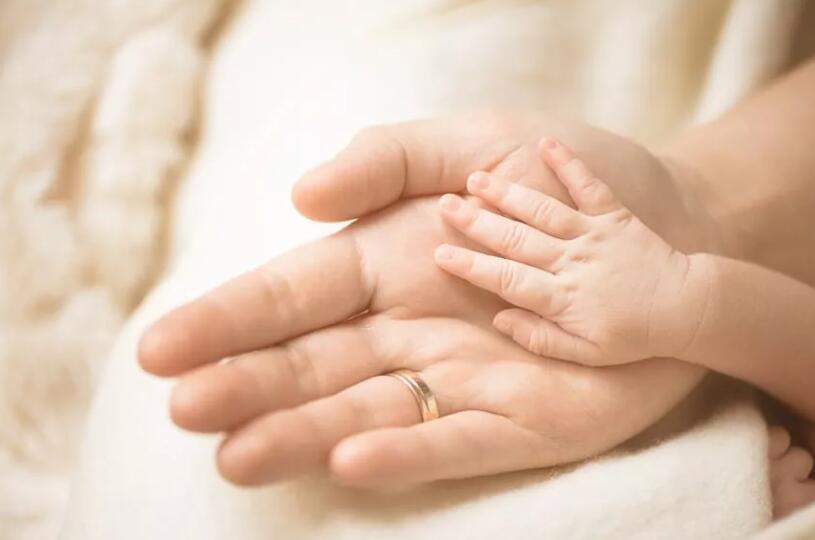
Conceptual contrast would play a role on telling a story with a picture which could add depth to your picture and provide a way to remind you of the surroundings around you. Then how to use conceptual contrast properly? First of all, you need to take some time observing the things around you. Actually, if you have passion about your life, you can find conceptual contrast everything, the old hands and the new-born baby hands, the deadly ruined areas and the new bud of flower and so on. Once you located the good subjects, then next step is to put it into practice. Which setup would make your viewpoint stand out with these subjects? Come up with your own ideas by combining them together.
Part 3: Color Contrast in Photography
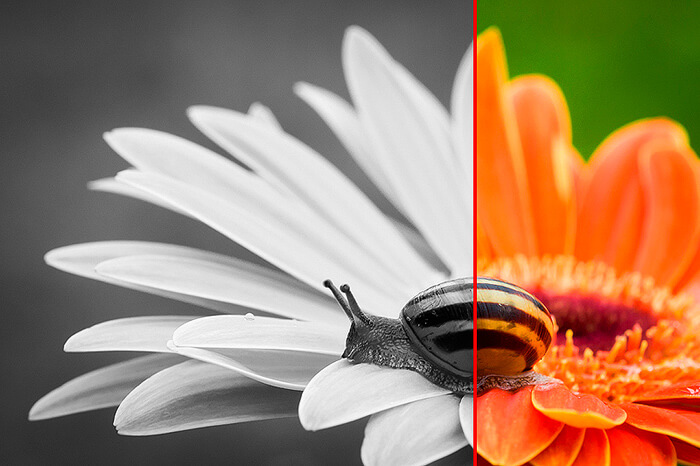
There are differences in coloration, brightness, purity, area, position, shape, and physical and psychological feelings between different colors. The magnitude of this difference determines the strength of the color contrast. Color contrast mainly refers to the contrast of the three elements of color (hue, purity, lightness), namely color contrast, purity contrast, and lightness contrast.
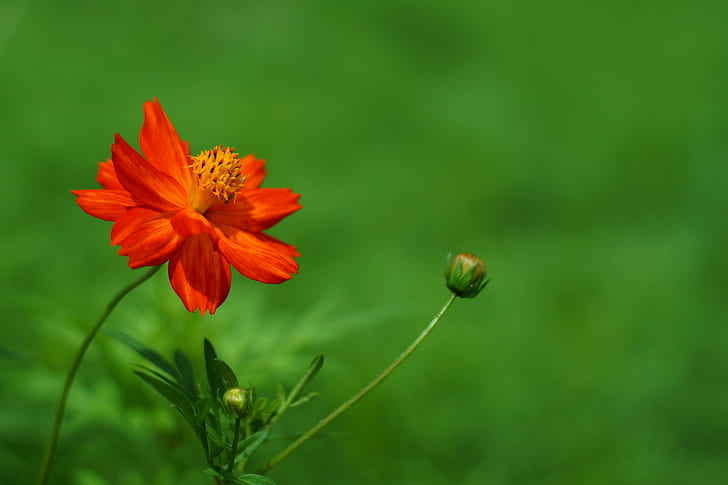
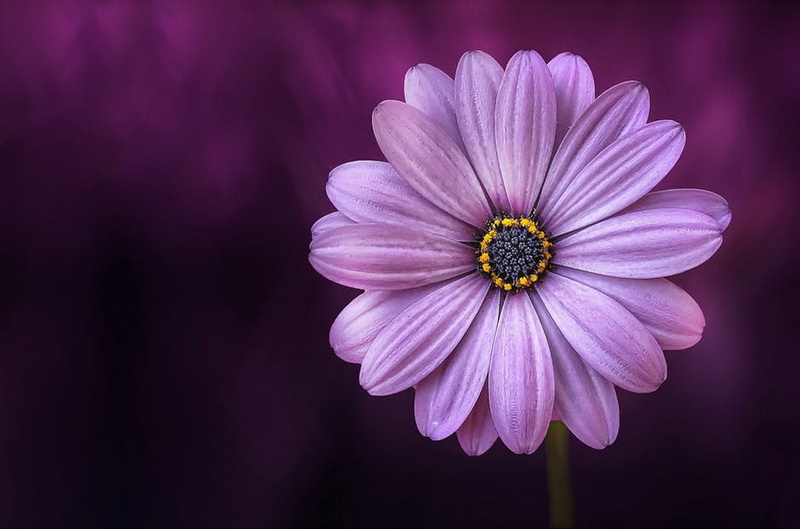
In order to make full of color contrast in photography, first you can find the pure color spaces. Walls usually provide this pure color. The red brick wall can be contrasted with green or blue. In some environments, you will find a wall painted blue or lined with wood of a special color. You can also create your own color contrast. You can create still life photos that show color contrast. Maybe you can quickly go to your local stationery store and buy colored paper to practice the color contrast photography. You can also look for color contrast in nature. Flowers have natural color contrast, that is, you don't need to create it! Another object with strong colors is fruit, so enter the market and see if you can find contrast colors in the food on the display!
Part 4: Tonal Contrast in Photography
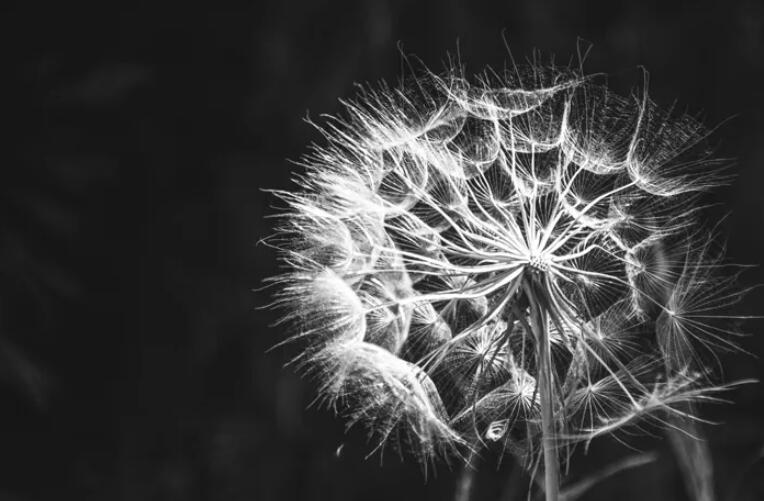
Because of the difference in brightness between colors, tonal contrast then can be created. Different lightness of the same hue can form a tonal contrast. Tonal contrast is the best way to express the contrast relationship between color hierarchy, space, clarity, weight, and softness. The level change of the achromatic system is mainly set off and expressed by the change of the lightness. Black and white photos in photography are expressed in simple colors of black. The tonal contrast can be divided into several degree, including high level, medium level and low level which are determined by the contrasts of the colors that have been applied.
Tonal contrast is an intuitive feeling for us. For example, I feel that white can illuminate the environment around us. For example, energy-saving lamps shine on objects of various colors at night. The most recognizable ones are yellow objects and then purple. Even if it is the same color, there will be different brightness changes. For example, red has dark red, light red, and blood red. So when we take pictures, we must take lighting into consideration. Usually while taking photos for architectures, photographer adopts the sharp white and black tonal contrast to stand out the space and distance.
Part 5: Texture Contrast in Photography
The difference between textures in photography is also a good way to increase contrast. You can combine rough and soft elements to give your image an extra punch. The color is closely related to the material properties of the object and the surface texture of the image. What affects the color perception is its surface tactile texture and visual experience. Especially in the absence of color, texture will bring details and interest to your photos that will attract the audience.
An easy way to use texture contrast is to make full of use the background as a foil. If you are taking a photo with a lot of texture elements, put it in front of a soft background. It can be a clear sky or a flat wall. If you don't have a clear background, you can use depth of field to soften it. Using a large aperture and placing your subject further away from the background will create a shallower depth of field. The background will become blurred and soft, contrasting with the sharpness and texture of your subject. An ideal way to show texture and detail in various objects is to have good side lighting. Whether it is natural lighting or a well-positioned flash, the use of side-light lighting can bring all kinds of small details under the texture contrast.
Part 6: High Contrast Photography vs. Low Contrast Photography
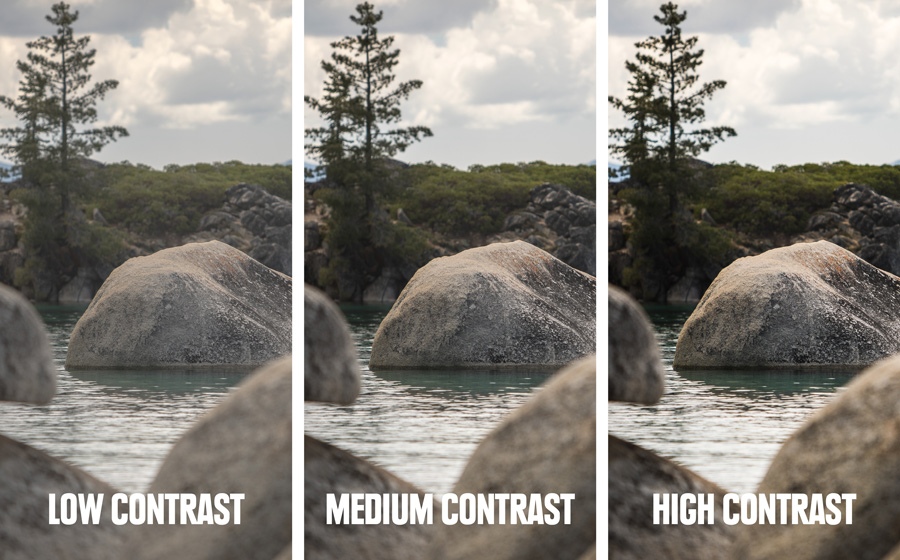
High contrast means that there are very wide areas of light and dark. Not only is there a relatively large gap between bright and dark areas, high-contrast photography usually means that light is very concentrated in bright and dark areas. Therefore, the mid-tone range in the photo is not very prominent. The high-contrast image gives a feeling of impatience, vitality and strength. These are widely used in street photography and nature photography. Low-contrast images often have a dreamlike feel. If it has a series of mid-tones but lacks pure white and pure black, the photo is a low-contrast image. It is for this reason that low contrast is very commonly used in outdoor portraits, especially if you want to take a vintage look.
High contrast images can show all tones from black to white, with dark shadows and bright highlights. If you shoot in bright sunlight, contrast will occur. Generally, a high contrast image will have a strong, bold tone, and will emphasize texture, which will produce a deep and interesting effect. A low contrast image will not show much difference between light and dark, so the picture effect will appear flat or dim. It is easy to take low contrast images in foggy days. The lack of difference between light and dark gives it a soft tone.
Part 7: How to Adjust Contrast in Photography in PhotoIns?
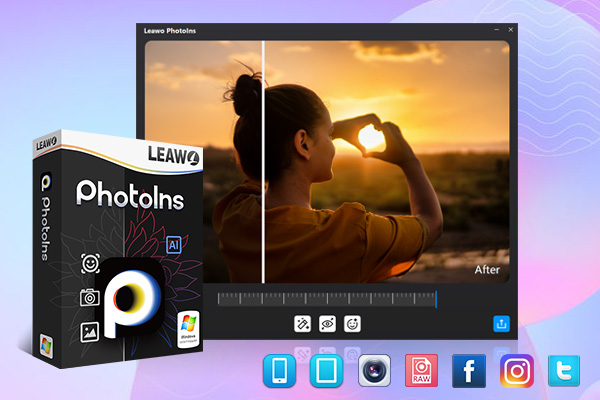
If you are not familiar with the setup of your camera, and you don’t know how to adjust contrast while shooting photos either, then you can find your own way out with the help of the third-party photo enhancement program – Leawo PhotoIns to enhance photo quality. Leawo PhotoIns is able to automatically improve quality of the photos you have taken due to its Artificial Intelligence Enhancer Technology, including enhancing your photos on the retouching skin, removing freckles, adjusting lighting, enlarging eyes, etc. And of course adjusting contrasts to the photos is included. Leawo PhotoIns could enhance your photos to be looked in the most nature way with the best visual effects.
Step 1. Download Leawo PhotoIns
Download and install Leawo PhotoIns on your computer.
-
Leawo PhotoIns
- Enhance portrait photos easily with advanced AI technology
- Fix photo exposure and white balance issues automatically
- Optimize photo colors and perfect photo tints
- Make photos perfectly clear with smart dehaze
- Boost photo lighting and color quality
- Process RAW and JPG files
Step 2. Import Source Photos to Leawo PhotoIns
Once you have installed Leawo PhotoIns on your computer, then open it and import source photos you would like to enhance to this program.
Step 3. Boost contrast in photography
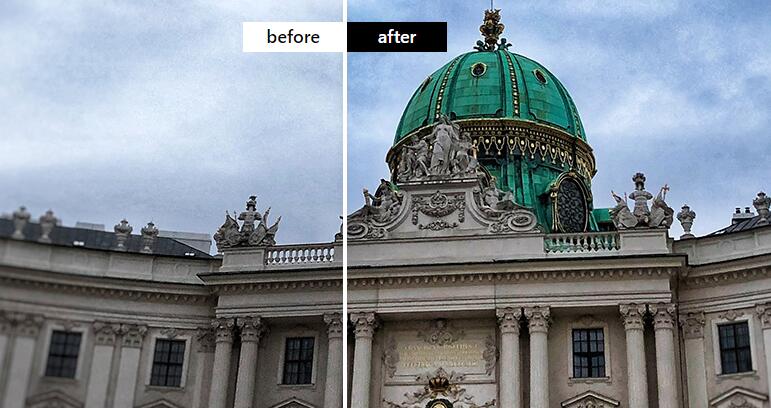
After loading your preferred photos to the tool, then you can start to enhance the photos. You can click the AI Enhance tab to choose the features. Within this AI Enhance, it could optimize photo contrast for better visual effect automatically which could then deliver a clear and natural effect.
Step 4. Set output parameters
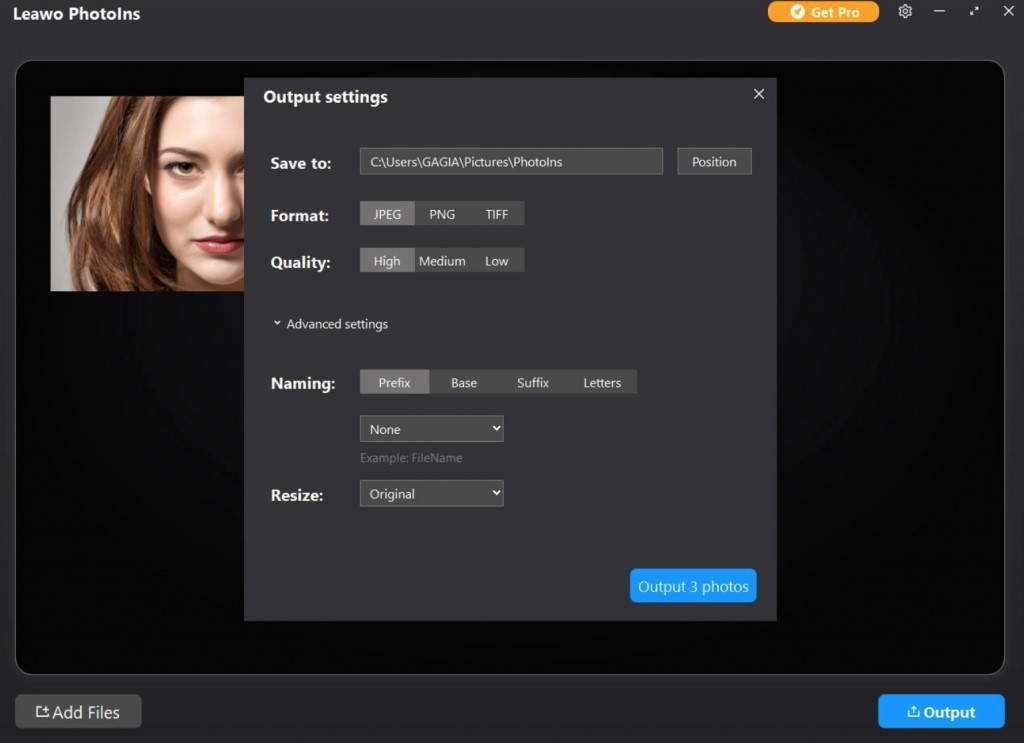
Once you have chosen your preferred effects and you have applied the AI Enhancer to your chosen pictures, now you need to click the bottom right output icon to proceed for output settings. On the Output Setting panel, you can complete the following things: “Save to” route, “Format”, “Quality”, “Naming”, “Resizing” and so on. Finally click “Output” to export the enhanced photo to your computer.

