OS X El Capitan is the final version of OS X. Although now OS X has been renamed to macOS, it’s still relative new as it’s only been released for about 2 years. So if you want to rip DVD on Mac El Capitan, there are still a lot of programs you can use.
An Introduction to OS X El Capitan
Mac OS X El Capitan is the twelfth version of OS X before the system was renamed macOS. This version of OS X for Macintosh computer got some major updates on aspects including performance, stability, and security. Apple's got the tradition of naming its system version after Northern California landmarks since OS X Mavericks. And the name El Capitan comes from a rock formation in Yosemite Nation Park, indicating that it aims to be an improved version of Yosemite.
DVD Ripper for Mac OS X El Capitan
There are a lot of DVD Rippers that are compatible with Mac OS X El Capitan. And a lot of them can do a great job ripping DVDs on El Capitan. Here's one that has been highly recommended by a lot of users: Leawo DVD Ripper for Mac. It can rip DVDs to common videos in common formats. It's compatible with OS X El Capitan and the main selling point of this program is that it can rip protected DVD or DVDs with region code. So it's basically capable of ripping DVDs from all over the world.
Guide to Rip DVD Mac El Capitan Users Could Try
Follow the instructions below to rip DVD on Mac El Capitan. The program is, overall, easy to use, so you don't have to worry about the process being too complicated. It will just take a few steps to get your DVD collection ripped and converted to common videos.
Note: Leawo Software, the developer of Leawo DVD Ripper for Mac, wanted to server users better and they decided to put several of its media processing programs together into one program. And DVD Ripper is one of them. So now the DVD Ripper is in this software suite called Prof.Media for Mac.
Check out how to rip DVD on Mac El Capitan with Leawo DVD Ripper for Mac here.
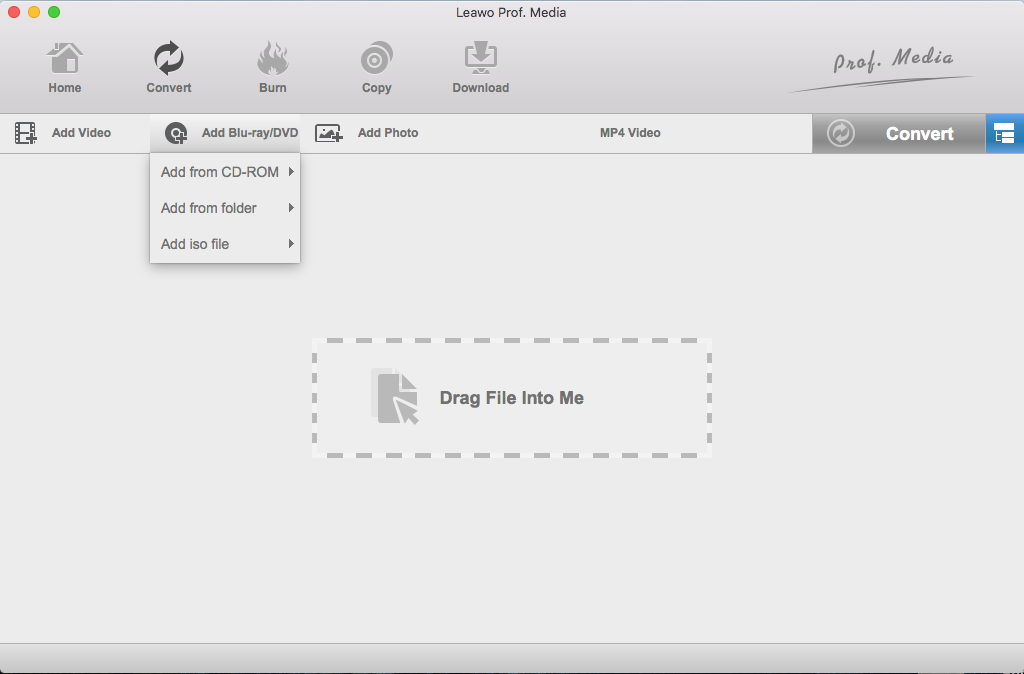
Step 1. As is mentioned above, Leawo DVD Ripper is now a part of Prof. Media. So launch Prof. Media and you will see 8 tabs of different modules that have been integrated into this software suite. Click on the fourth tab on the top row of tabs which is DVD Ripper to load the DVD Ripper module. As you can see, there's a sign in the center to let you know that you can directly drag the DVD content to the program to add them to the program. Also the program provides to you an Add Blu-ray/DVD button to load DVD. Use one method to load your DVD content and move on to Step 2.
Step 2. After importing the DVD content to the program, you will see different titles listed on the left side of the program. Usually a DVD or Blu-ray disc would include several different titles, each title is representing a single video. Usually the longest one is the movie itself. Here the program provides you with 3 different ways of importing the DVD content: Main movie, Full Movie and Custom Mode.
- Main Movie will only import the movie itself to the program and all other parts will be excluded.
- Full Movie mode includes the content of the whole disc.
- Custom Mode allows you to choose whichever title to import to the program.
Choose one mode and click OK to import the DVD content you need to the program.
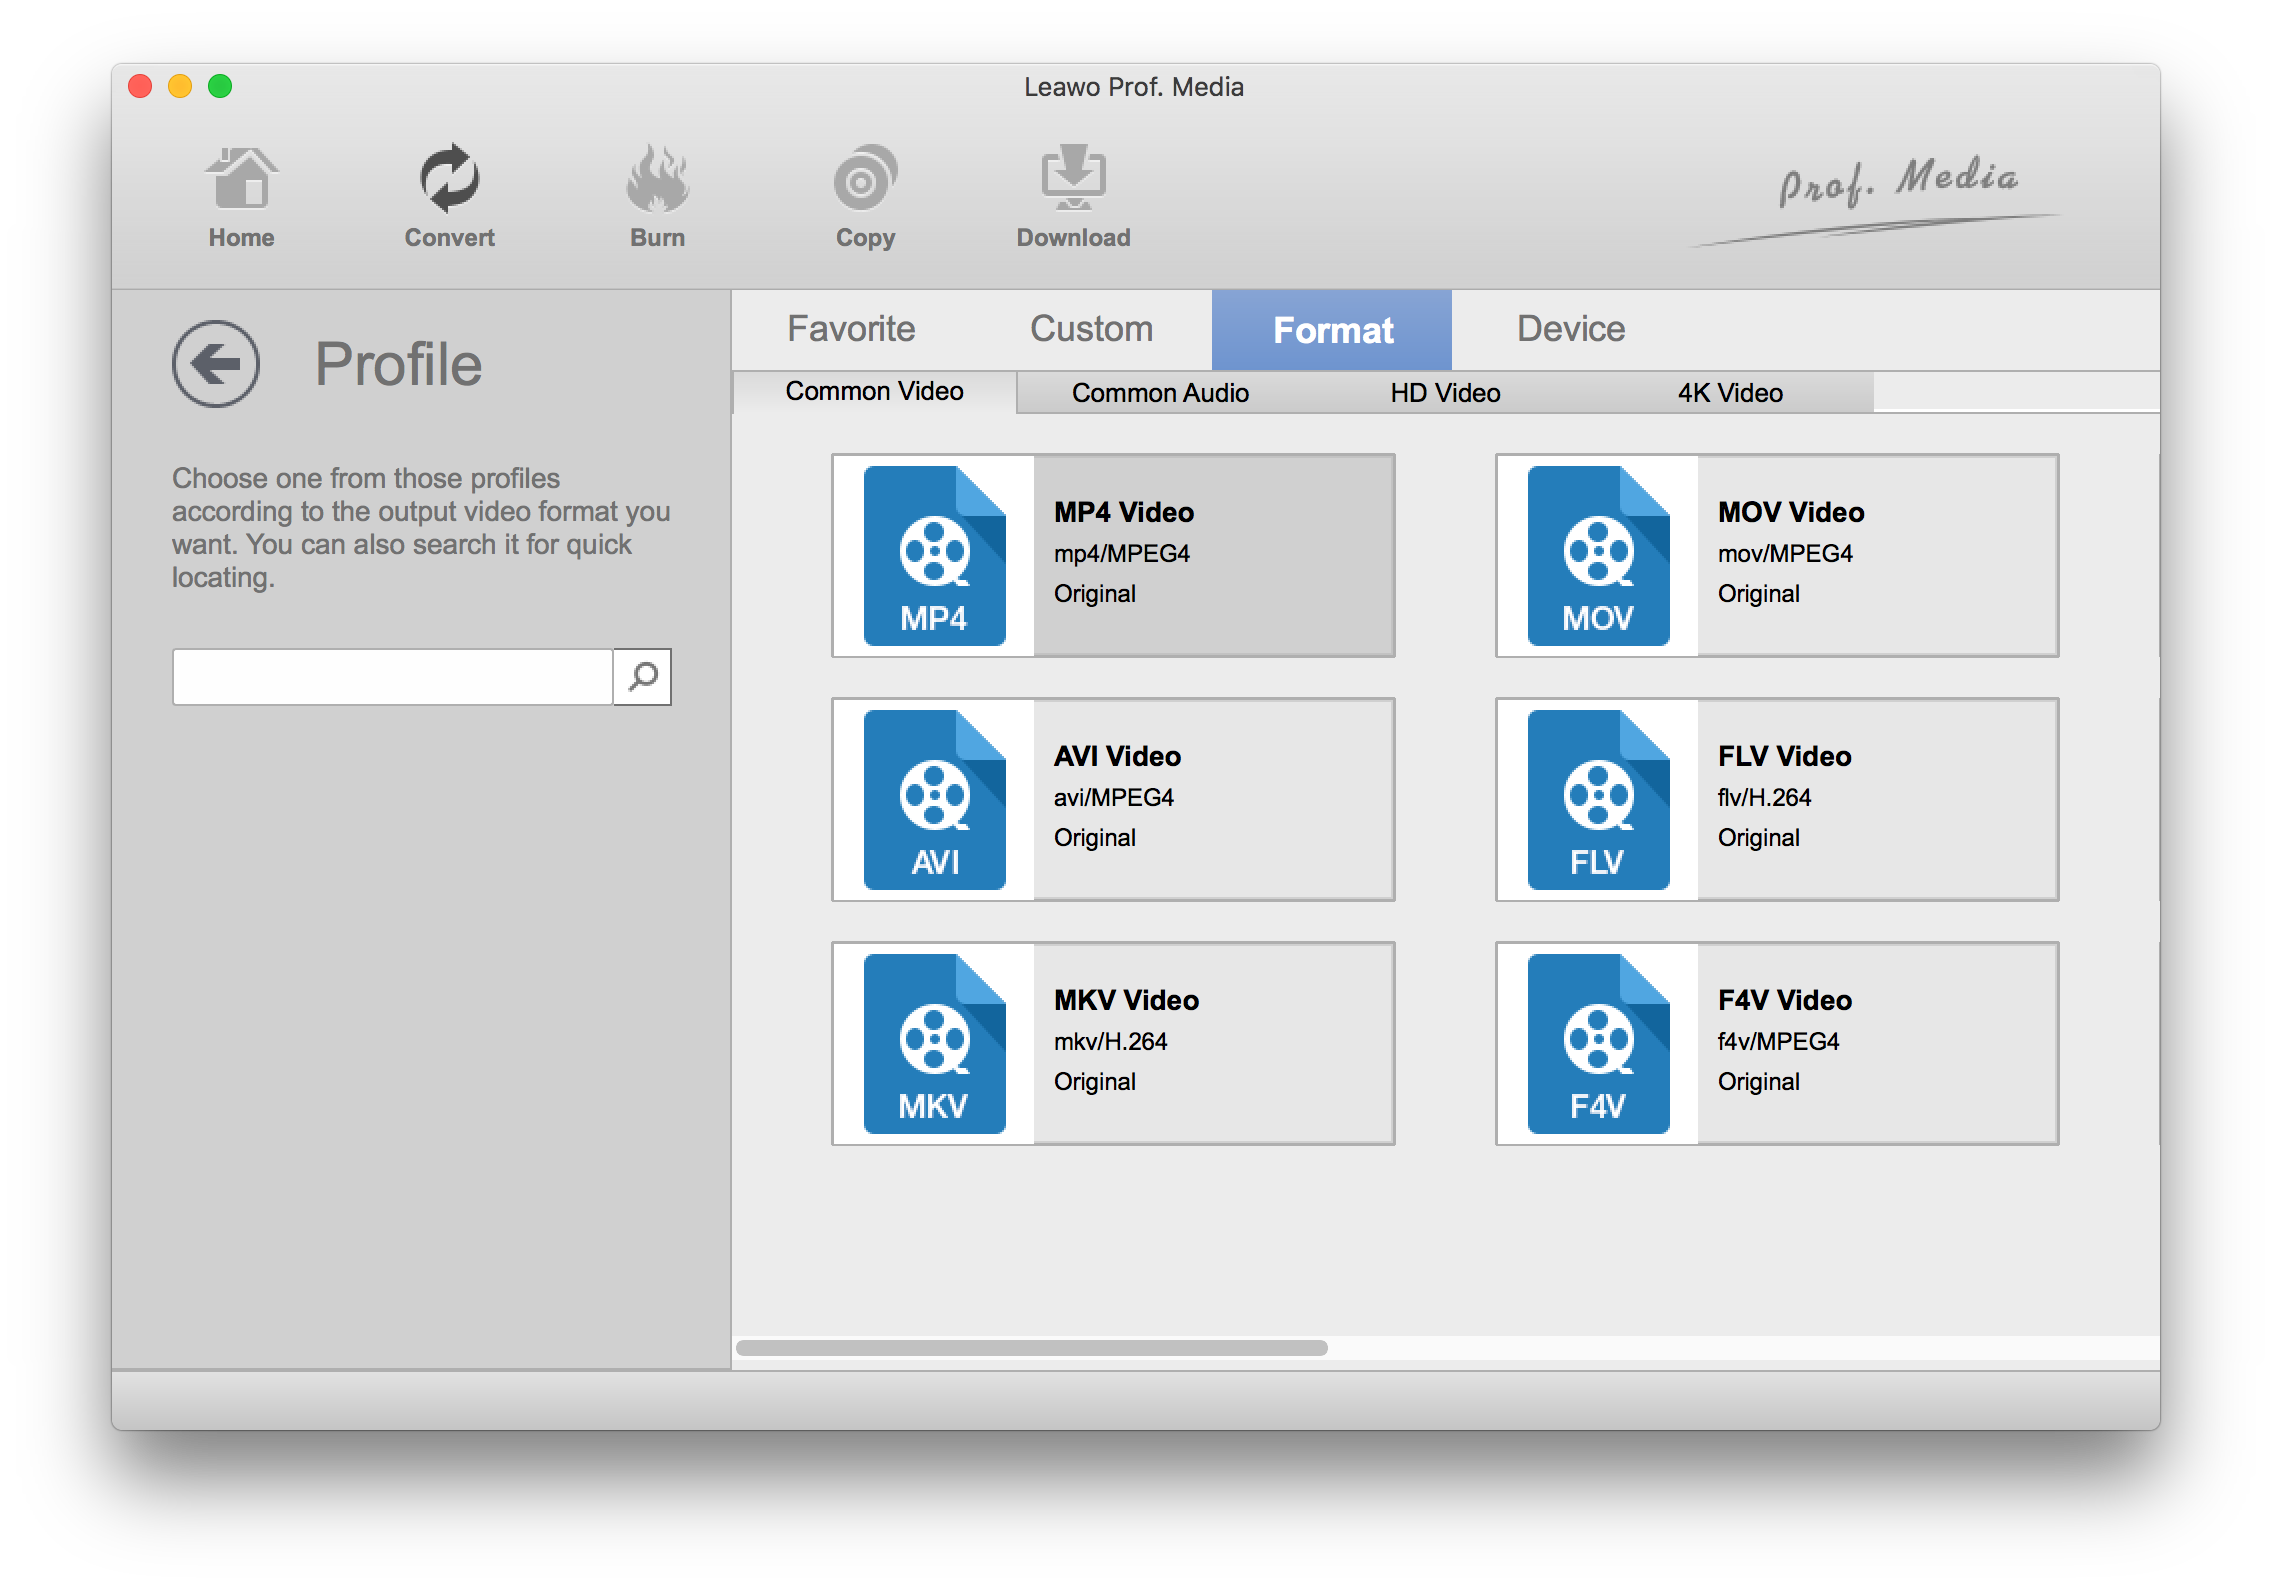
Step 3. The chosen parts will be imported to the program and shown on the file list. To choose a video format for the video, click the Format button on the left side of the green Convert button. Usually it's MP4 by default. Just click on that button and then click the Change button in the middle and it will open the Profile page for you. Choose the format you need from this page and click on the format to set it as default, it will, at the same time, take you back to the file list.
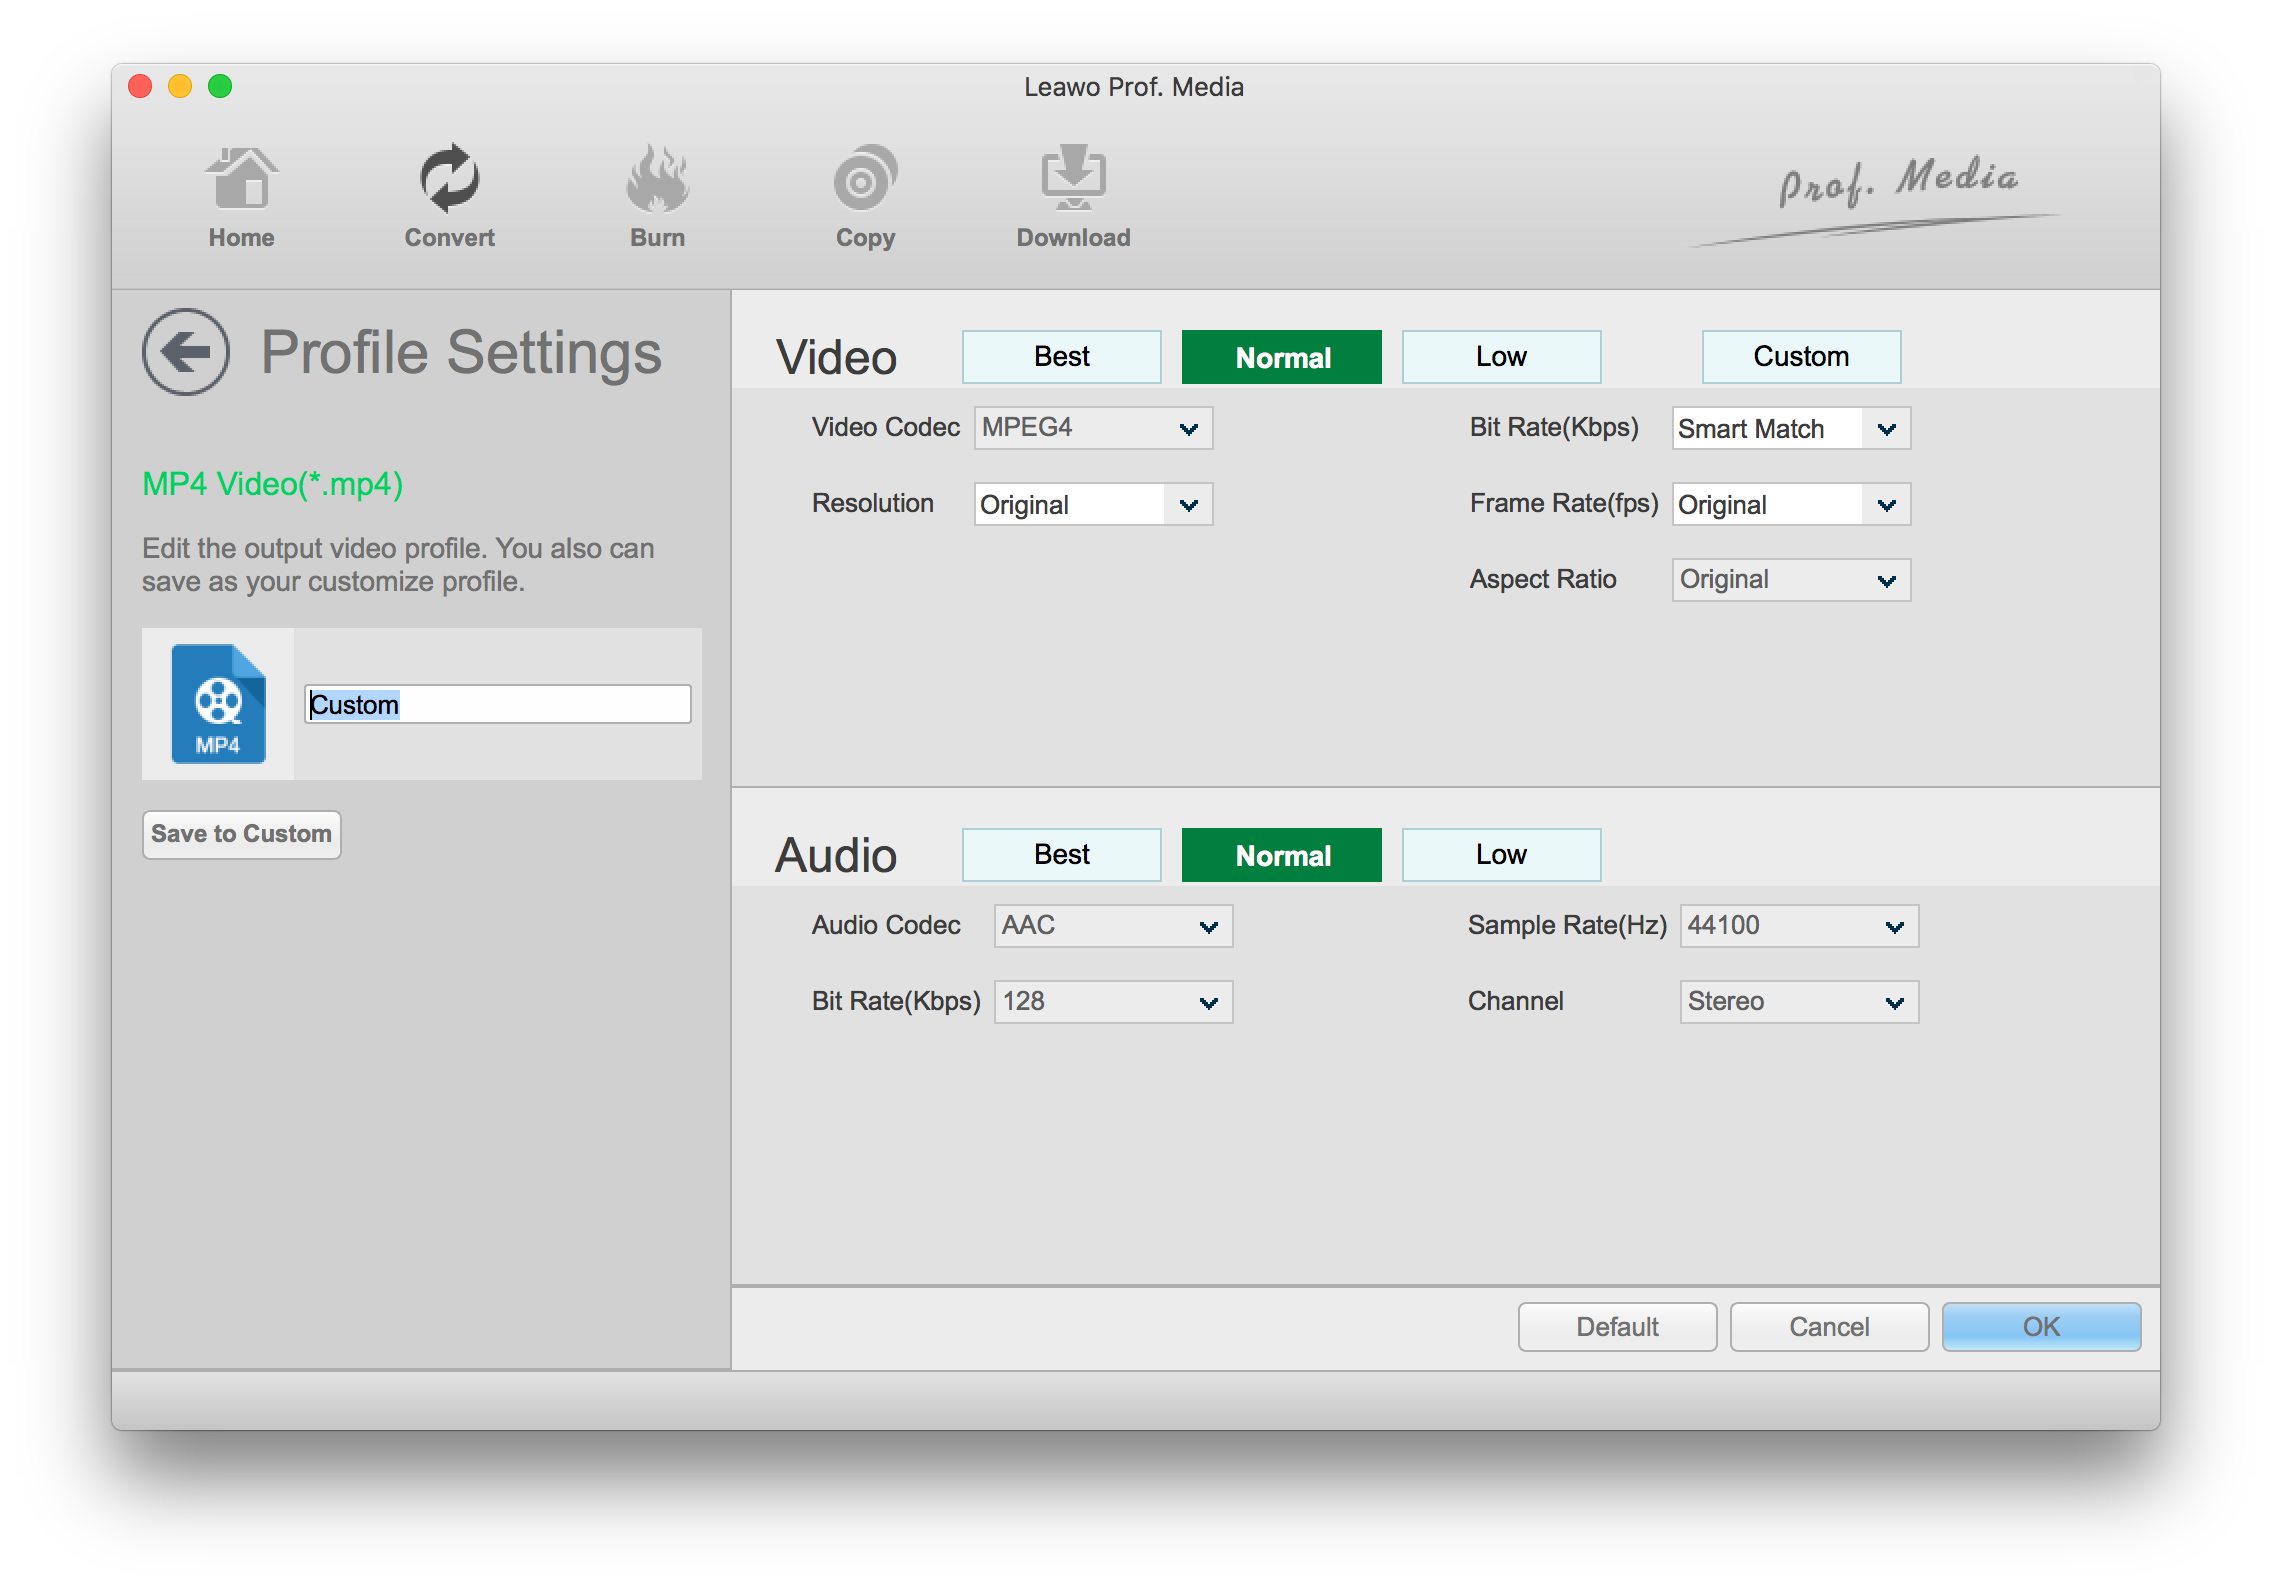
Step 4. The video and audio quality can be changed in Settings. To custom the quality yourself, click that Format button again and this time, click the Edit button on the left. In this page you can freely set the video and audio parameters. And there are 3 different quality levels provided for you to choose from. When you are done tweaking things, click OK to go back to the main interface.
Step 5. Now it's time to get the DVD ripping process started. Click the Convert button and a sidebar would emerge from the right side and other than the Convert button, there's also the output path on it. Click on the "…" button next to the output path to reset it. And needless to say, the Convert button is for starting the DVD ripping process. Click on it to start ripping your DVD.
Ripping DVD on El Capitan is quite easy, right? If you've updated your system to macOS, you can still use this program to rip DVD because this program is compatible with all major system versions of OS X and macOS. With the help of this program, you can also rip DVD to MKV on your Mac, or to other formats you need.

