It is not convenient for you to take cash to pay nowadays. Apple Pay becomes more and more popular, which assist people to pay for goods just by taking out their Apple devices. Once you have tried to use Apple Pay, there is no chance for you to go back. It is so useful, which can be used almost everywhere and on every iOS device you own. However, there are many options you need to set up when you use Apple Pay for the first time and not everyone know how to use this feature clearly. In this post, I will introduce to you the way Apple Pay works and explain how to use Apple Pay so that you can use your Apple Device to pay for things at ease.
Part 1: What is Apple Pay and How Does Apple Pay Work?
Currently, Apple Pay is becoming more and more popular. As we all know, Apple Pay is a payment feature integrated into the Wallet app on your Apple device that allows you to add your credit or debit cards to make purchases in stores, in apps, and on the web with Near Field Communication (It is also known as NFC) technology.
And you can also use Apply Pay to send or receive money from friends and family right in Messages. This contactless payment technology for Apple devices is designed to move consumers away from physical wallets into a digital wallet world. This feature helps you to pay with your Apple device instead of a card.
Part 2: How to Use Apple Pay on iPhone?
As we know the wonderful features of Apple Pay and Apple Pay stores, we then need to figure out how to use Apple Pay on iPhone.
2.1 How to Set up Apple Pay on iPhone
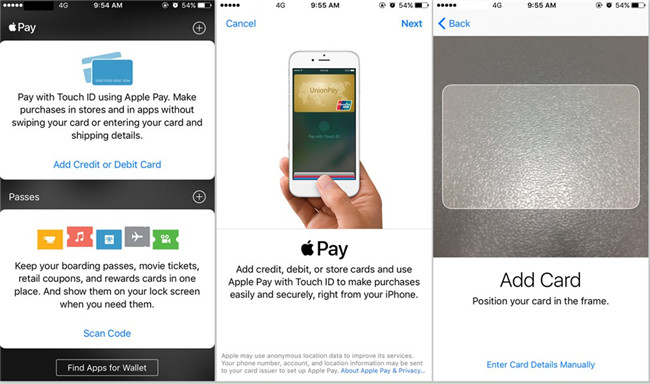
- 1. Open the Wallet app.
- 2. Tap Add Credit or Debit Card. You can use the iSight camera to instantly capture your card details or by entering them manually.
- 3. Later the screen will show you the Card Details.
- 4. Tap Next.
- 5. The card issuers will verify to check your card information is right or not. Then they will decide whether you can use your card with Apple Pay or not. They will contact you if they need more information to verify your card.
- 6. Once you have completed all the information, go back to Wallet and tap your card.
- 7. After the card issuers verify your card, tap Next.
Now you have set up Apple Pay successfully.
2.2 How to Use Apple Pay on iPhone
After we have set up Apple Pay on iPhone, it is time for us to use Apple Pay on iPhone to pay in Apple Pay stores. How can you make it? Here's the answer.
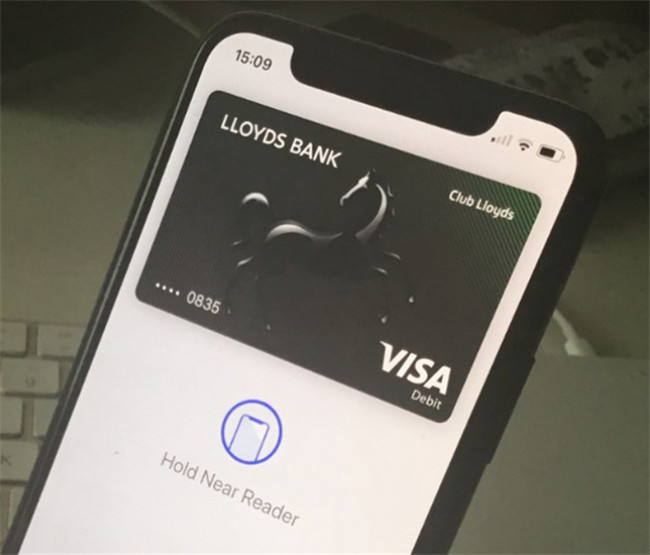
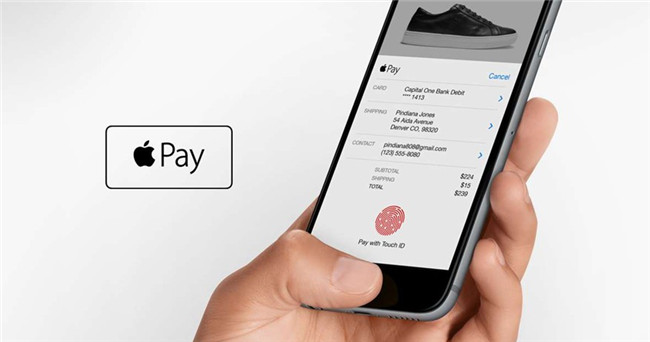
- 1. Place your iPhone near the contactless reader with your finger holding down Touch ID or keeping your eyes on your iPhone to authenticate with Face ID.
- 2. A subtle vibration and beep will confirm the transaction is complete. Then you can see “Done” and a checkmark on the display.
To make a purchase in-app with your iPhone, you can do the following steps.
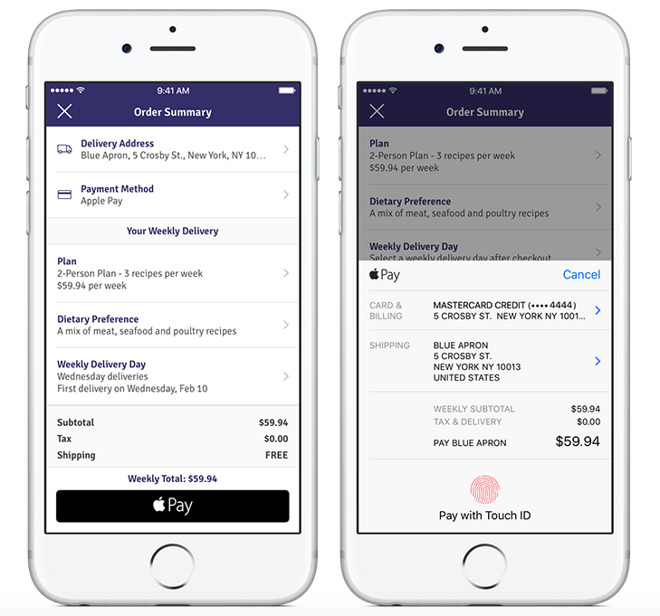
- 1. You can choose Apple Pay as the payment option in the app.
- 2. Check your billing, shipping, and contact information to ensure that they're correct.
- 3. Later you can place your finger on the Touch ID or keep your eyes on iPhone to authenticate with Face ID.
It is really convenient and safe to pay with Apple Pay with the Touch ID and Face ID sensor. Our fingerprints and face are now the signatures to complete the transaction. And unlike our autograph, the biometric fingerprint can't be forged. What is more, it will never reveal the user name, card number or security code to the in-store cashier.
Part 3: How to Use Apple Pay on Apple Watch?
Apart from using Apple Pay on your iPhone, you can also apply this feature on your Apple Watch. However, you need to know that you have to set it up through your iPhone if you desire to add a card to your Apple Watch.
3.1 How to Set up Apple Pay on Apple Watch
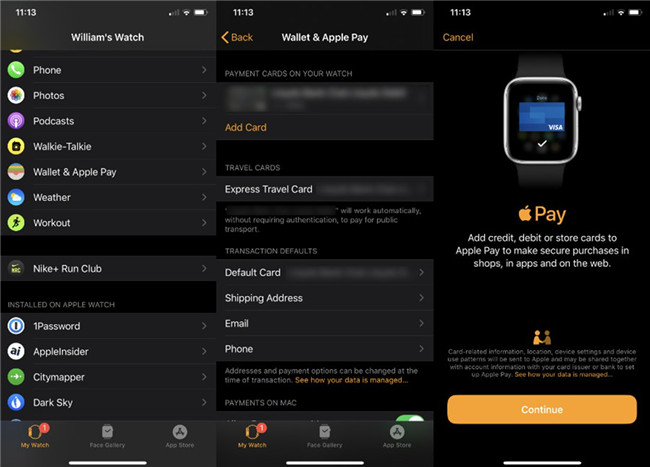
- 1. On your iPhone, you need to refer to the steps in Part 2.1 to set up Apple Pay on iPhone and add a card to your Wallet app.
- 2. After that, you need to add the same card to your Watch app and Apple Pay will recognize it.
- 3. You need to enter just the security code on your Apple Watch to set Apple Pay well.
3.2 How to Use Apple Pay on Apple Watch
- 1. Double-click on the side button and hold your Apple Watch over the reader.
- 2. Wait for a while and you will feel a gentle tap.
Note
You may also need to sign a receipt or enter your PIN, which varies from stores and the transaction amount. As for the specific areas and stores, you can try by yourself to check it out in your daily life.
Part 4: How to Use Apple Pay on Mac?
It is easy to use Apple Pay on iPhone and Apple Watch, and you may also desire to know how to apply this feature on your Mac. Here are the tips for your reference.
4.1 How to Set up Apple Pay on Mac
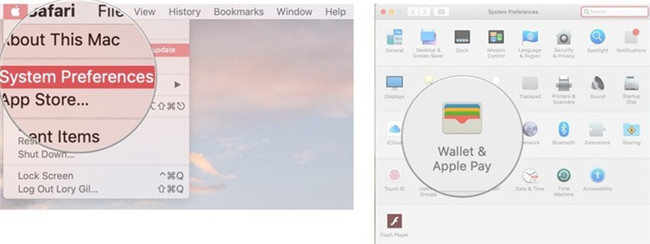
- 1. On your Mac, you need to navigate to “System Preferences” and then hit on the icon of “Wallet & Apple Pay”.
- 2. Hit on the “Add Card” button and then refer to the steps in part 2.1 to add card to your Apple Pay on Mac. The steps are just the similar to the ones in setting up on iPhone.
4.2 How to Use Apple Pay on Mac
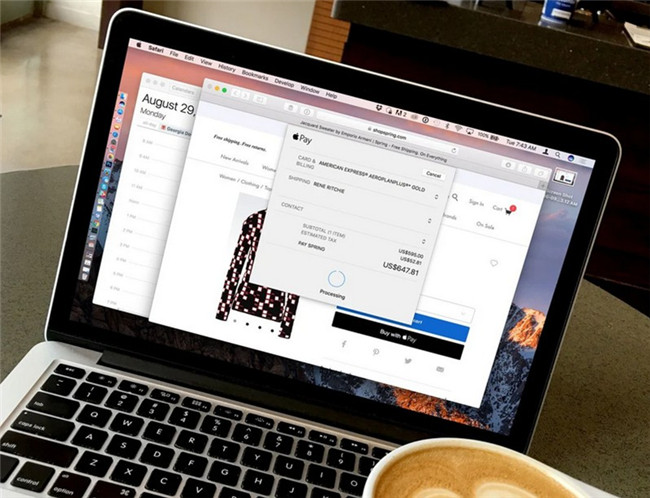
- 1. As for how to use Apple Pay on Mac, you can just refer to the steps in part 2.2 on how to use it on iPhone. The payment steps are the same.
- 2. If your Mac computer supports to use fingerprint to pay for products with Apple Pay, you can skip using Touch ID or Face ID on your iPhone and just apply your fingerprint to purchase goods.
Part 5: Where Can We Use Apple Pay?
Apple's NFC digital wallet is accepted in a lot of Apple Pay stores, such as the grocery stores, boutiques, restaurants, subway, hotels... What is more, you can also use Apple Pay in all kinds of apps, and on participating websites using Safari on your Apple Device.
Now you know the place where is Apple Pay accepted, come and have a try! With Apple Pay, your experience on payment will be simple and elegant, and it combines the tech you've already got with a one-step payment process, which is all wrapped up in watertight security safer than traditional chip and PIN.
Part 6: How to Back Up iPhone before Updating to Latest iOS for Apple Pay?
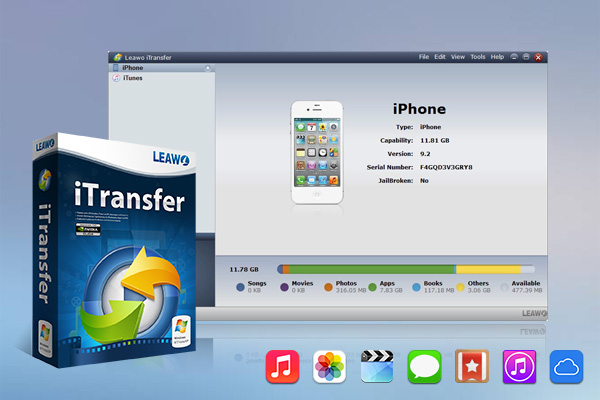
If you desire to enjoy the convenience of Apple Pay more smoothly and safer in daily life, it is sensible for you to update your iOS device to the latest version. However, in order to make sure the previous data on your iDevice not to lose, you’d better backup your iPhone before you update your device. For a lot of iPhone users, data backup from iPhone to computer is a common thing that they might do almost everyday. Here's a great program for those who need to transfer data between iPhone, iTunes and PC frequently and are looking for an alternative to iTunes. Leawo iTransfer, a practical data transfer program that enables users to transfer 12 different types of data between iOS device, iTunes and PC. It's much easier to use and more convenient compared to iTunes. The following steps will take photos for instance to show you how to make use of this tool easily for backup.
Step 1. Download Leawo iTransfer
Choose a proper version below to download and install Leawo iTransfer on your computer.
-
Leawo iTransfer
- Transfer files among iOS devices, iTunes and PCs with ease.
- 6x faster than iTunes
- Transfer up to 14 kinds of data and files without iTunes.
- Support the latest iOS devices like iPhone 12, iPhone 12 Pro, etc.
- Play back, view, and delete data and files on iOS devices.
- Support Windows & Mac OS
Step 2. Fire up iTransfer, and Insert iPhone into Computer
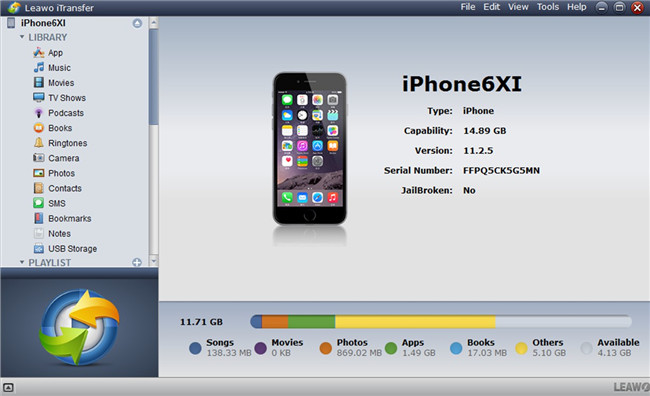
Run the transfer software on computer and then connect iPhone with a proper USB cable. The software will show iPhone information automatically.
Step 3. Choose Photos to Transfer
Move to “iPhone icon > LIBRARY > Photos” and all iPhone images will show in the right side of the window. Choose the photos that you would like to transfer to computer for backup by tapping on the button of “Transfer” at the bottom right of the interface. Afterwards, check “Save to Folder” in the pop-up panel and then tap on “Change” to browse your computer to set a proper folder on your computer as the location to save the exported pictures from iPhone. Click on “Transfer Now” to start exporting images from iPhone to computer for back up successfully.
After a while, your iPhone photos will be on computer local folder. If you want to transfer other files from iPhone to computer for back up, you just need to choose the corresponding category in the left sidebar to reach your goal. After you update your iPhone to the latest version, you can use Leawo iTransfer again to transfer your photos back to iPhone from computer for viewing on the go.


