Carrying so much precious information and memories, iPad always plays an important role in our life. So regularly backing up your iPad is the best way to secure your memories, just in case something happens to your devices, like getting lost or stolen. If I ask you "can you back up an iPad to an external hard drive" and "how do you back up your iPad normally", how are you going to answer me? I believe some people are used to backing up their iPad, but for those still holding the thought "can I back up my iPad to an external hard drive" and confused on the way to back up iPad to hard drive, just keep focus on what I am going to write. Now I plan to take photos transferring as an example to show you how to back up iPad to external hard drive.
Part 1: How to Back up iPad to External Hard Drive via Email
Email can be an easy method for transferring little information, as long as your iPad and computer should be connected to network. Now let's learn how to back up iPad to external hard drive via Email.
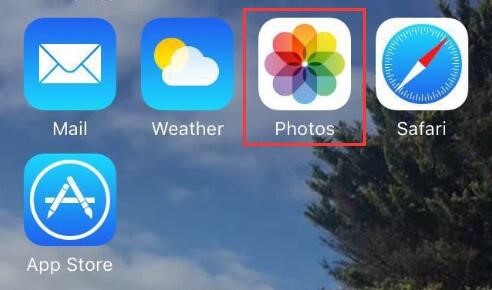
Step 1: Choose Photos app on your iPad.
Step 2: Click "Select" in the top right corner and tap the photos you would like to transfer. Click Share icon in the bottom left corner. Choose "Mail" to transfer your photos via email. Log in the same email account in your PC and download the photos you have just transferred. Connect your external hard drive to your PC and copy the photos to it.
Part 2: How to Back up iPad to External Hard Drive via Windows Explorer
By using Windows Explorer, you can back up your information to your computer without network. If photos and videos are the data you need to transfer, then this way is quite simple and rapid. Follow me to see how to back up iPad to external hard drive via Windows Explorer.
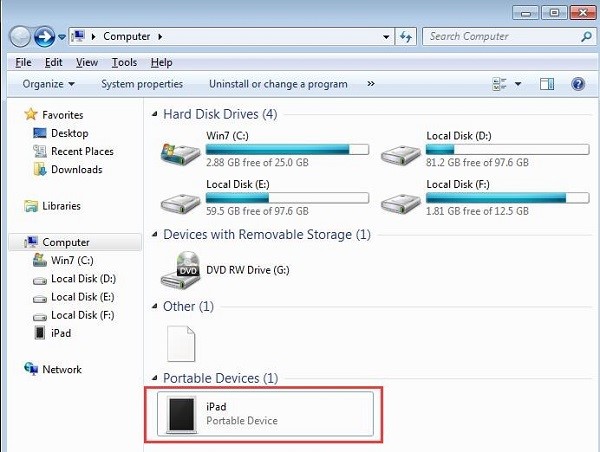
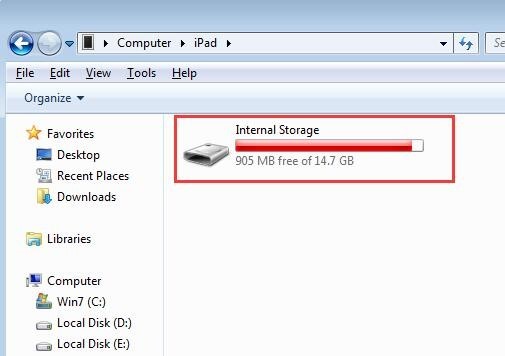
Step 1: Connect your iPad to your computer. Double-click "computer" on the desktop to show the Windows Explorer. Double-click "iPad".
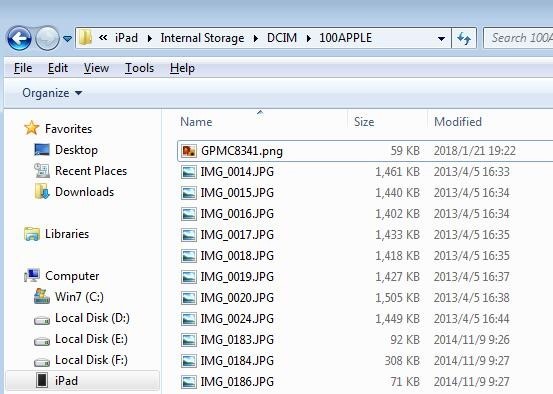
Step 2: Double-click "Internal Storage > DICM > 100APPLE". Then all photos and videos in your iPad can be displayed.
Step 3: Select the photo you need to transfer or you can hold "Ctrl" to select photos. By simultaneously clicking "Ctrl" and "A", you can select all photos and videos. Then copy them to your computer. This is how to back up iPad to external hard drive via Windows Explorer.
Part 3: How to Back up iPad to External Hard Drive on PC via Leawo iTransfer
Neither email nor Windows Explorer can perfectly meet your transferring demand considering so much data on your iPad. What you need is a tool which can provide you much convenience as well as simplicity. Leawo iTransfer is the one you need. As a perfect iOS data management tool which can support all iOS devices, Leawo iTransfer covers all kinds of iOS data like photos, videos, music, SMS, etc. Transferring speed and safety are not the problems you need to worry about, since Leawo iTransfer can perfectly take care of them. Now I am going to show you how to back up iPad to external drive via Leawo iTransfer.
Step 1: Download and install Leawo iTransfer on PC
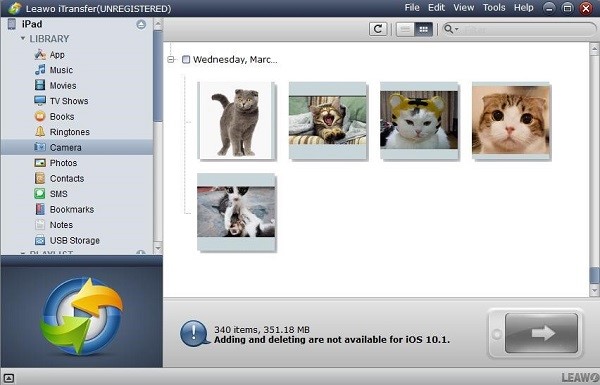
From https://www.leawo.org/itransfer/, you can simply download Leawo iTransfer. Install it on your computer and launch it. Connect your iPad to your computer with USB cable. Your device will be automatically scanned and all information will show up in the right part of the window.
Step 2: Transfer your photos to your computer via Leawo iTransfer
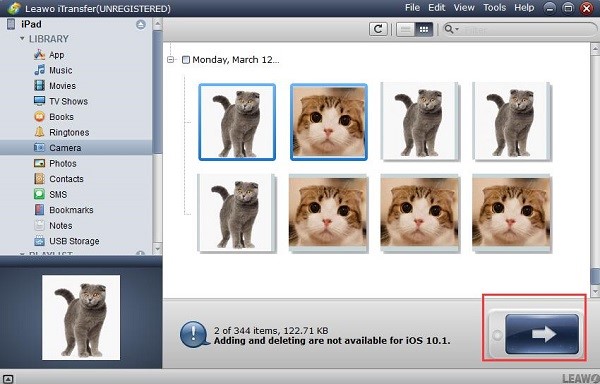
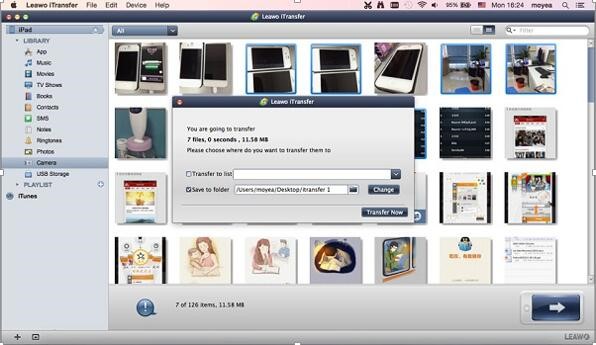
Choose "iPad > LIBRARY > Camera". Select the photo you want to transfer or click the photos with holding "Ctrl" to multiply select. Then click the arrow icon in the bottom right corner.
Step 3: Transfer your photos to the external hard drive
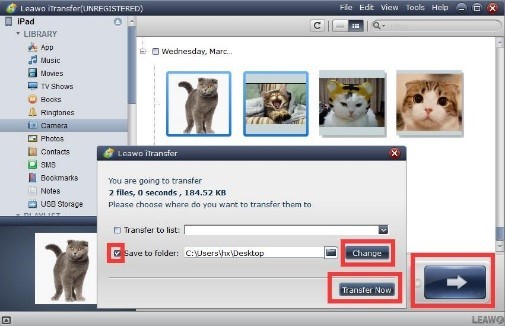
In the following pop-up dialog, check the box besides "Save to folder". Click "Change" to select where you need to save your photos in your computer. Connect your external hard drive to your computer. Copy the photos you already transferred from iPad to the external hard drive. This is how to back up iPad to external drive via Leawo iTransfer.
You may worry about that your computer is laptop, indeed, you can use iTransfer to realize backing up iPad to laptop without any difficulty.
Part 4: How to Back up iPad to External Hard Drive on Mac via Leawo iTransfer
Basically the steps on Mac and Windows make no difference, although I believe that making those steps in detail for you could be better. Here are two similar steps to back up iPad to external drive.
Leawo iTransfer for Mac
☉ copy files among iOS devices, iTunes and PCs with ease.
☉ copy up to 14 kinds of data and files without iTunes.
☉ Support the latest iOS devices like iPhone 7, iPhone 7 Plus, etc.
☉ Play back, view, and delete data and files on iOS devices.
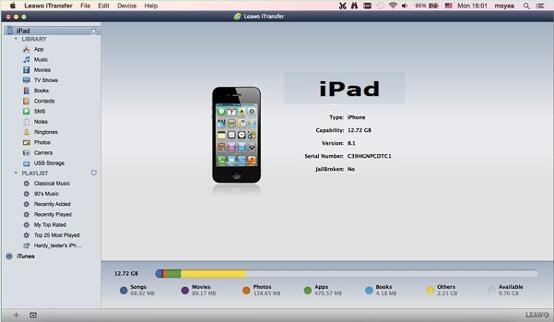
Step 1: Go to https://www.leawo.org/itransfer-mac/ to download Leawo iTransfer and install it on your Mac. Plug your iPad into the Mac and the data in your iPad fully scanned will be displayed in the right side.
Step 2: Choose "iPad > LIBRARY > Camera". You can make a single selection or hold "command" to make some multiply selections, then right-click the selected photo to choose "Transfer > My Computer".
Step 3: In the pop-up window, check the square besides "Save to folder" and click "Change" to select where you need to save your photos in your computer. Connect your external hard drive to your Mac and copy the photos to it.
By the article above you must have learned how to transfer iPad data to external hard drive, to backup iPad files to Mac is also a piece of cake with the help of iTransfer for Mac, just try it.


 Try for Free
 Try for Free

