iPad is a good displayer for you to enjoy all your photos. However, sometimes we don’t have enough storage in our iPad to store all our photos. In order to solve this problem, we might need some SD cards with large storage which are good choices to store your photos as many as you like without worrying about using up its space. However, iPad does not allow a SD card to insert in it directly. Thus, we cannot just transfer photos from iPad to SD card directly. So how can we export photos from iPad to SD card?Here are three good solutions.
If you are working with an iPhone and wanna transfer data between iPhone and SD card, look up the tutorial link below:
How to Transfer Files Between iPhone and SD Card
Part 1: Transfer Photos from iPad to SD Card via iCloud
The first solution on transferring pictures from iPad to SD card is using iCloud. You can transfer all your photos on iPad to your iCloud and then copy them from the iCloud to the SD card. The following part is the steps of how to transfer photos from iPad to SD card. But please remember that your iPad can only automatically upload your photos to iCloud under Wifi.
Step 1: Log in iCloud on your iPad
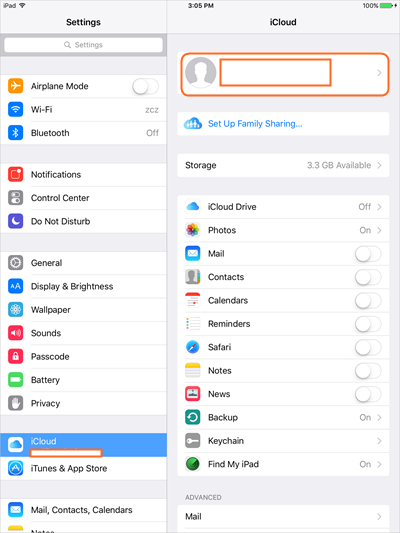
Tap “Settings” on your iPad and launch “iCloud”, and then log in with your Apple ID.
Step 2: Turn on “iCloud Photo Library”
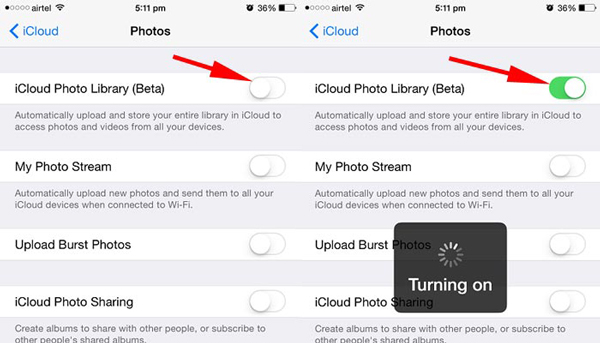
Click “Photos”, and then turn on “iCloud Photos Library” in the next page. Now, all of your photos can be backed up in iCloud.
Step 3: Download the photos from iCloud
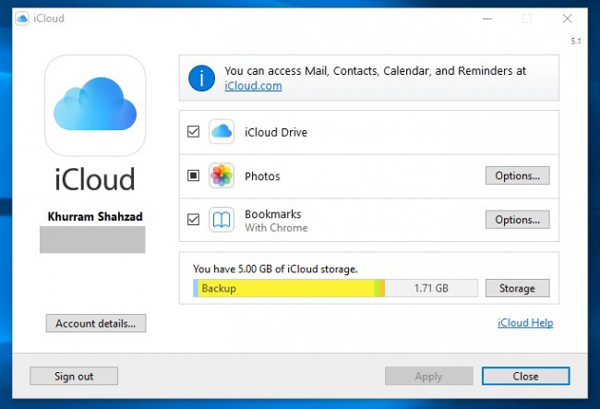
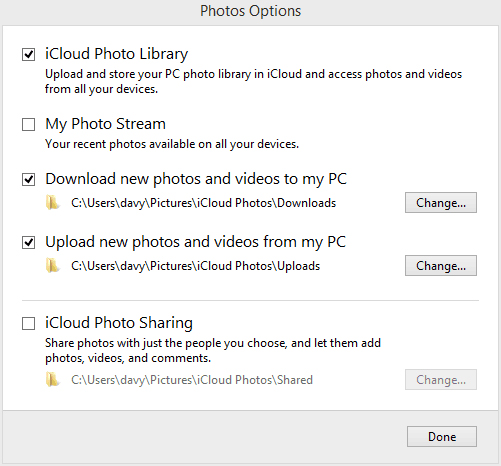
Now launch iCloud on your computer and log in it, and then click “Photos” and enter the “Options” to choose the output source.
Step 4: Choose output source and then download photos to your computer
Click “Change” to choose the output source and then download your photos from iCloud to your computer.
Step 5: Transfer iPad pictures to SD card
Connect your computer to your SD card with the SD card reader, and copy and paste the photos downloaded from iPad to your SD card.
Part 2: Transfer Photos from iPad to SD Card via Windows Explorer
Another way to transfer photos from iPad to SD card is using Windows Explorer. You need to transfer your photos on iPad to computer and then transfer them from computer to SD card. Here are the steps in detail.
Step 1: Connect your iPad with your computer
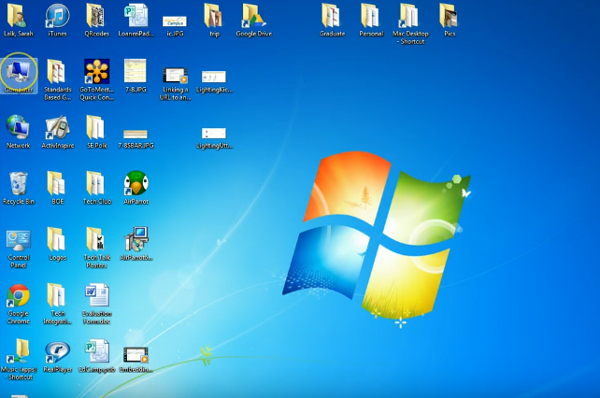
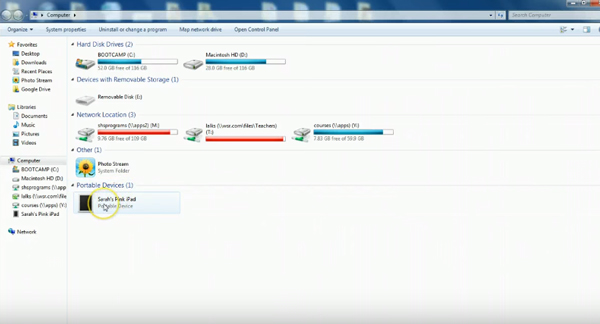
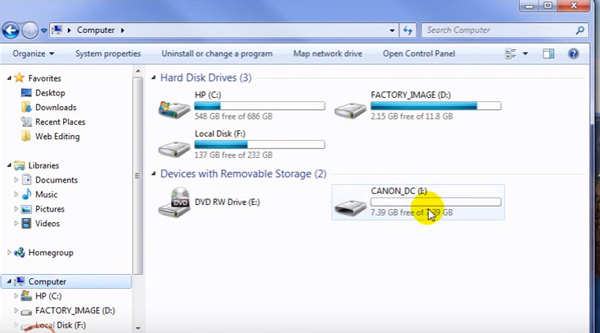
Connect your iPad with computer via USB cables and open the “Computer”.
Step 2: Open your iPad
Double click on your iPad icon in the portable devices to open it.
Step 3: Choose photos you want to import to your computer
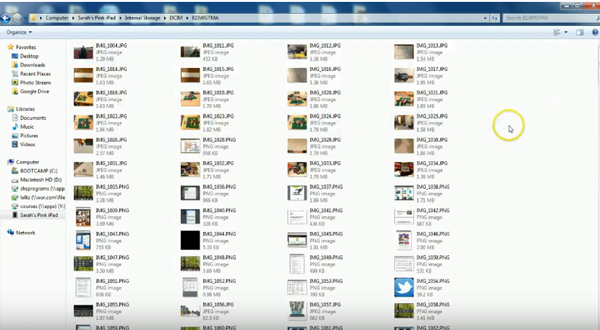
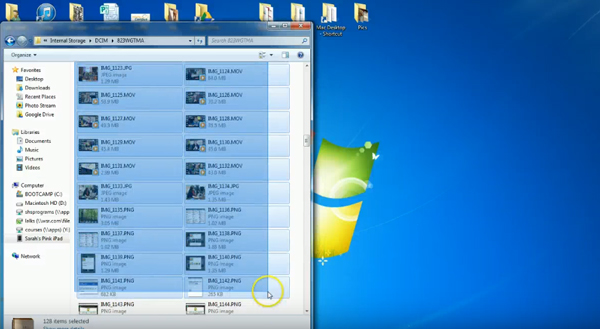
Search in your iPad and find the pictures you want to import and then save them in a specific folder on your computer.
Step 4: Import photos to your computer
Choose the photos and then copy and paste to the specific folder in your computer.
Step 5: Import photos to your SD card
Insert your SD card to your computer and then copy and paste the photos from your iPad to SD card.
Part 3: Transfer Photos from iPad to SD card via Leawo iTransfer
In the last part of this guidance, we are going to introduce another approach of how to export photos from iPad to SD card. In this approach, you are going to use the software called Leawo iTransfer, the powerful transfer software which can be easily used in your computer. It is able to transfer all kinds of files such as picture, documents, apps, movies, TV shows, music, baritones, books, and Camera Roll files among IOS devices, iTunes and PCs. With this convenient software, you can transfer photos from iPad to SD card quickly. In the following part of the context, we are going to introduce the detailed steps on how to transfer photos from iPad to SD card. Before you export photos from iPad to SD card, you need to transfer photos from iPad to your computer with Leawo iTransfer.
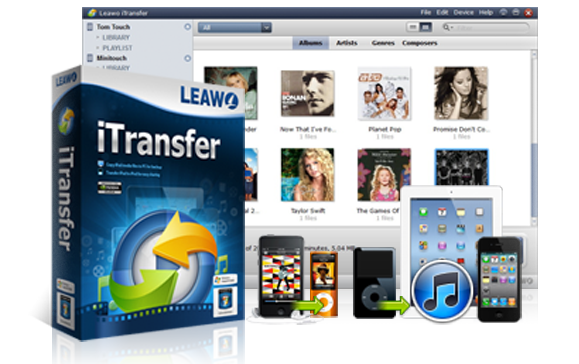
Leawo iTransfer
☉ Transfer files among iOS devices, iTunes and PCs with ease.
☉ Transfer up to 14 kinds of data and files without iTunes.
☉ Support the latest iOS devices like iPhone 7, iPhone 7 Plus, etc.
☉ Play back, view, and delete data and files on iOS devices.
Step 1: Connect your iPad with your computer
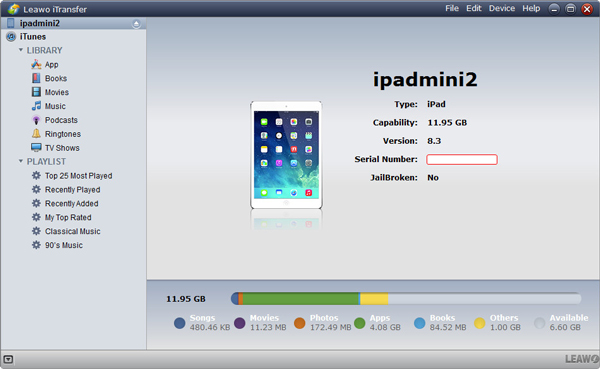
Connect iPad to computer with USB and launch Leawo iTransfer on your computer.
Step 2: Select photos you want to transfer
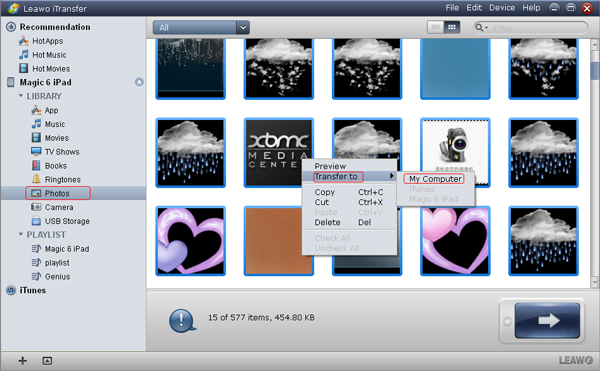
Click the “iPadmini” and then click “Camera” and all your iPad photos will be available on the right side. Then choose the photos you want to transfer from iPad to computer and right click the mouse. Tap “Transfer to” and then click “My Computer”.
Step 3: Start transferring photos
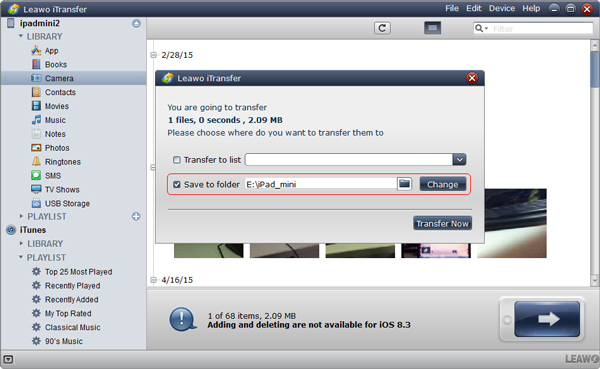
Click “Change” to choose the output folder and then click“Save to folder”icon. Tap“Transfer Now”icon to begin transferring photos from iPad to your computer.
Step 4: Export photos from computer to SD card
After you have transferred your photos from iPad to your computer with Leawo iTransfer, insert your SD card to your computer with SD card reader and then copy and paste those photos to your SD card.


 Sep. 08, 2021 by


