With more than 1 billion users, Instagram is a well-known social media for people to share perfect pictures, where you can keep up with what your friends and celebrities that you love are doing. But sometimes these picture-perfect moments may make you fuss over the life or dramatically overindulge in perfect illusion. In case if you have decided to get rid of it and change your life, you should get everything started with deleting Instagram account. Here in this article, we will introduce you how to delete Instagram account on iPhone and PC. Apart from that, everything you should know about deleting Instagram will also be discussed.
- Part 1: What You should Know Before Deleting Instagram Account on iPhone?
- Part 2: Save Instagram Data Before You Delete Instagram Account on iPhone
- Part 3: How to Delete Instagram Account on iPhone Permanently?
- Part 4: How to Delete Instagram Account on PC Permanently?
- Part 5: How to Temporarily Disable Instagram Account?
- Part 6: How to Recover Deleted Instagram Account?
Part 1: What You should Know Before Deleting Instagram Account on iPhone?
Before you decide to delete the Instagram account permanently on the iPhone, let me tell you what will happens. Deleting your Instagram account will remove your profile, videos, likes, photos, comments, and followers from Instagram history.
The account deletion request will be finished in 30 days. In that case, your account and all your information will be permanently deleted, and you won't be able to retrieve your information anymore. During account deleting process, all data mentioned above is not accessible to other Instagram users. 90 days are needed to complete the whole deletion process after it begins.
Note:
- Copies of your content still remain in backup storage for recovery in case of a disaster, software error, or other data loss event. Your information is also kept for things like legal issues, terms violations, or harm prevention efforts.
After your account is deleted, you can sign up again with the same username or add that username to another account as long as it hasn't been taken by a new person on Instagram.
Part 2: Save Instagram Data Before You Delete Instagram Account on iPhone
After your account has been deleted, you will not have access to Instagram's database. Thus, before deleting your Instagram account, you may want to save a copy of your information (like your photos and posts) from Instagram. There are several ways for you to do that:
Download Copy on Instagram
You can request a download of your data in a machine readable HTML or JSON format on Instagram if you want.
Step 1: Go to your profile and then "Settings" panel.
Step 2: Find and click "Your activity" on mobile phone app or "Privacy and security" on PC/browser.
Step 3: Tap "Download your information" or "Download Data."
Step 4: Select the file format you want and then enter your password to start request downloading your data. You will receive an email with link to download your data.
Note:
- Download link will be sent to you within 48 hours by Instagram team. They will keep your deleted data temporarily for safety purposes and you can contact them to ask for a copy data if you want.
Downloading Data with Leawo Video Downloader
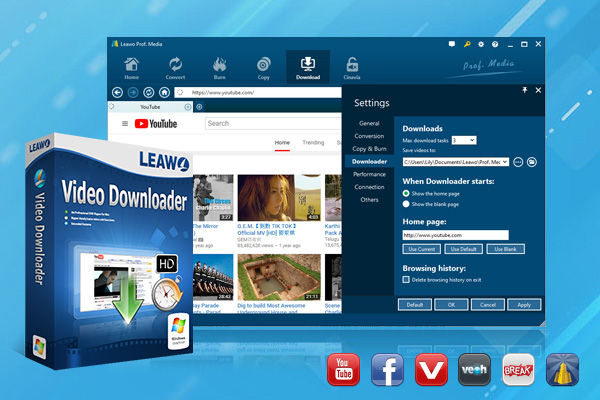
It takes up to 48 hours to email you a download link. To prevent the case where you need to use your data, you can download them with the powerful software tool - Leawo Video Downloader. It's a tool acting as a best YTD video downloader for Mac alternative and you can even download Hindi 4K movie from other sites. So downloading Instagram video is a piece of cake.
◎Step 1: Download and install Leawo Video Downloader
Click the below button to download and install the program to your PC. Remember to hit the Mac button if you are a Mac user.
-
Leawo Video Downloader
- Download Video & Music from 1000+ Sites
- Download Live Stream Videos from YouTube Live and Others
- 720P and Even 1080P HD Video Downloading
- 6X Faster Online Video Downloading
- Smarter Downloading Settings
- 1-Click to Play Downloaded Videos
- Provid Precise Video Info
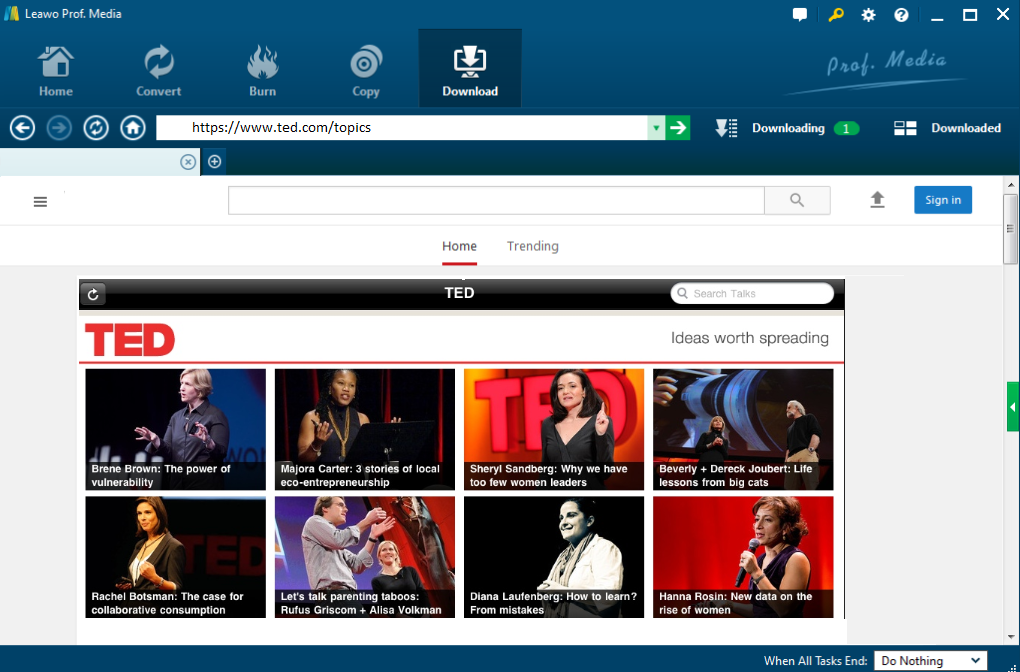
◎Step 2: Find videos
Enter key words or directly paste the URL on the address box to locate the desired video. The built-in browser is capable of searching for videos quickly without any adware hindrance.
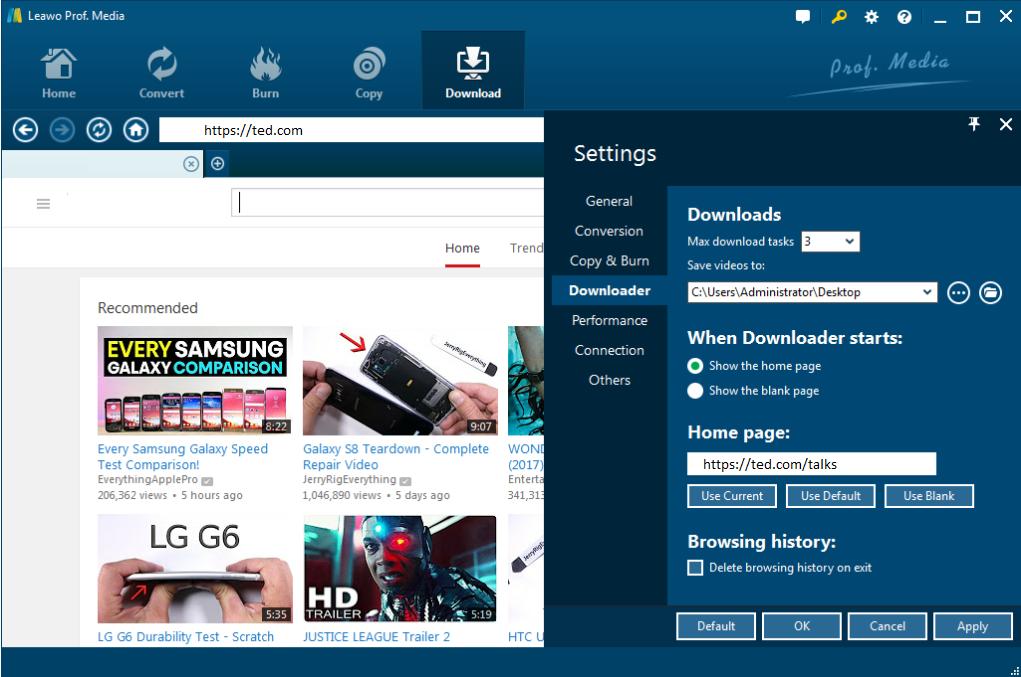
◎Step 3: Set a directory to save the downloaded video
On the Settings panel, specify a directory to save the video after downloading completes. Meanwhile, you can set the maximum downloading task number based on your preference. Normally 3 tasks are reasonable as it will be faster for a video to complete downloading.
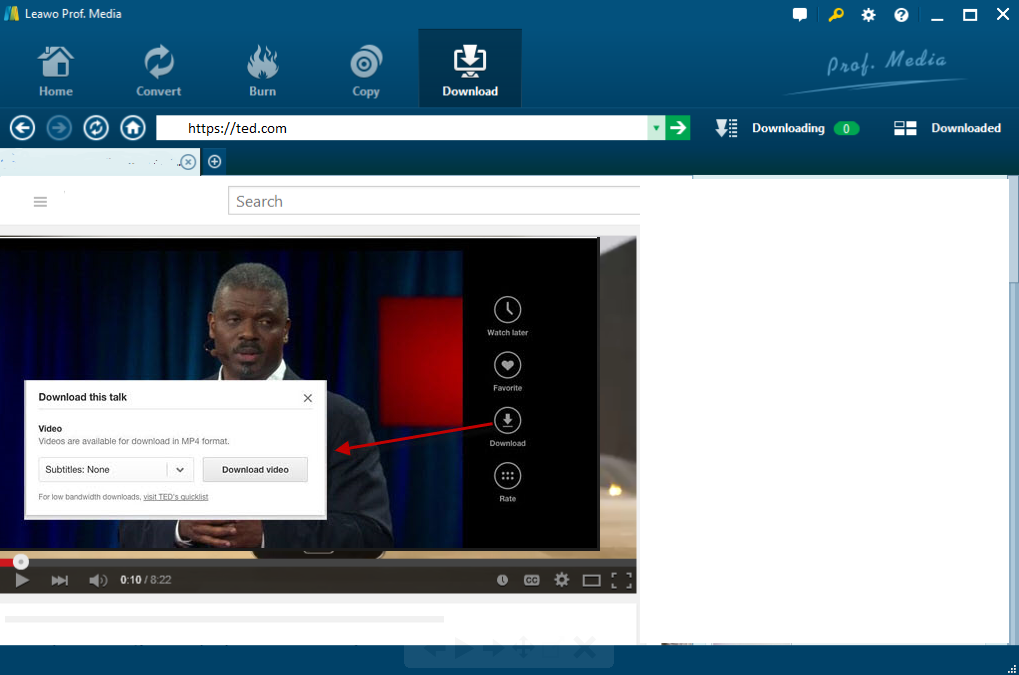
◎Step 4: Download videos
Click the download icon to download videos. You can download several videos simultaneously.
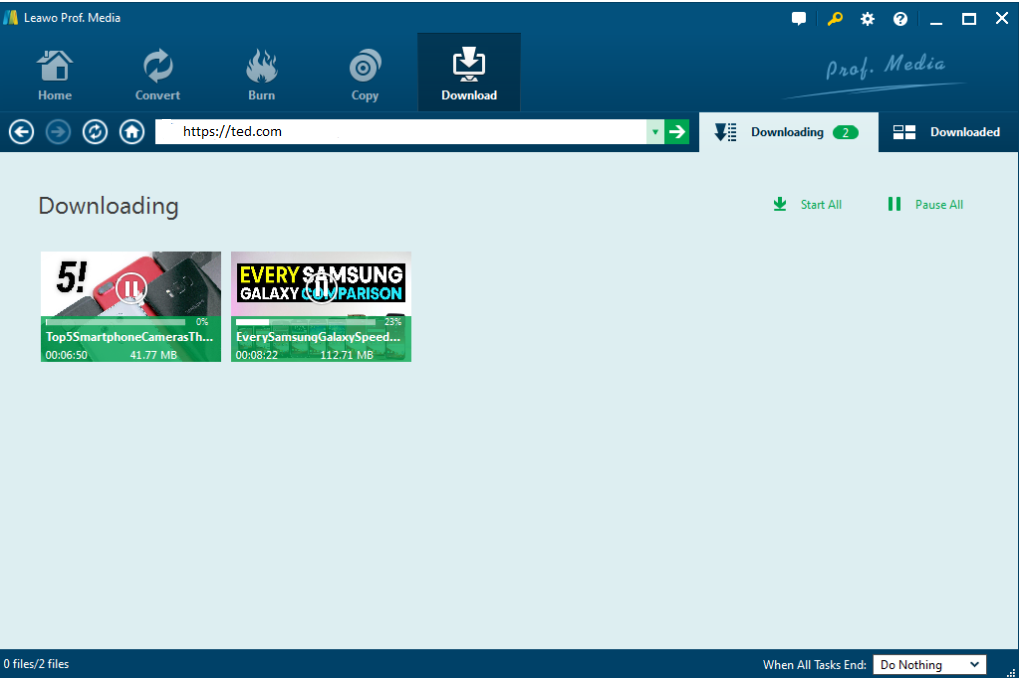
◎Step 5: View the downloading progress
Two tabs, namely Downloading and Downloaded on the top of the toolbar can be used to view the downloading progress, respectively. Once the downloading completes, you can directly right click the video to convert it to any other format. Surely, you are also free to play the video anytime and anywhere you want.
Downloading Data with CleverGet Video Downloader
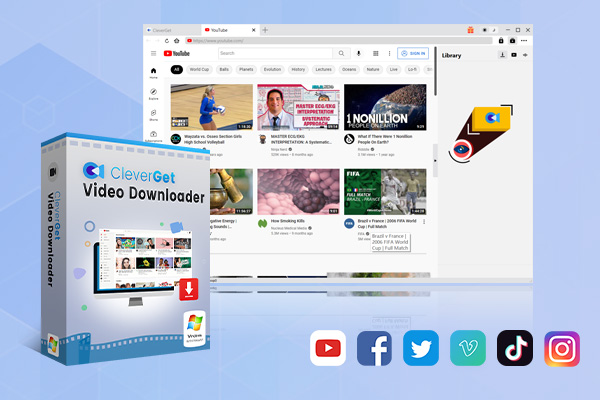
If there is 8K or 4K video in your Instagram account, then you must need this CleverGet 8K Video Downloader. With this tool, you can download your Instagram videos or stories in batch and keep their original quality. Downloading speed is really high and it will certainly save your time.
-
CleverGet 8K Downloader
- Download Video & Music from 1000+ Sites
- Download Live Stream Videos from YouTube Live and Others
- Up to 8K UHD Video Downloading with 320 kbps Audio Quality
- Smarter Downloading Settings
- 1-Click to Play Downloaded Videos
- Provide Precise Video Info
- Step 1. Download and install CleverGet on your PC or Mac computer. It's free to download, install and try.
- Step 2. Copy and paste the IG video into the address bar and press the "Enter" key.
- Step 3. Then log into Instagram if required.
- Step 4. CleverGet will start to analyze the Instagram video URL and then provide available download options.
- Step 5. Choose desired options for downloading before clicking the blue "Download" button.
- Step 6. View and wait for the download process to complete on the right sidebar.
Part 3: How to Delete Instagram Account on iPhone Permanently?
After you have known what will happen when there is the deletion, you may still want to delete Instagram account. It's not easy for customers to delete the Instagram account since there is no direct entrance on the app. Here are simple steps for customers to follow:
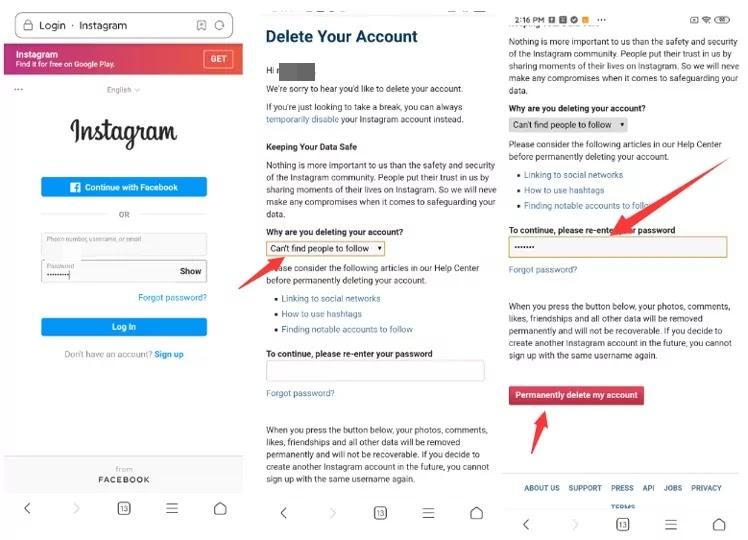
Step 1. Log in to your account on website of Instagram in Safari or other browsers. (Unfortunately, you can't delete your account from the Instagram app.)
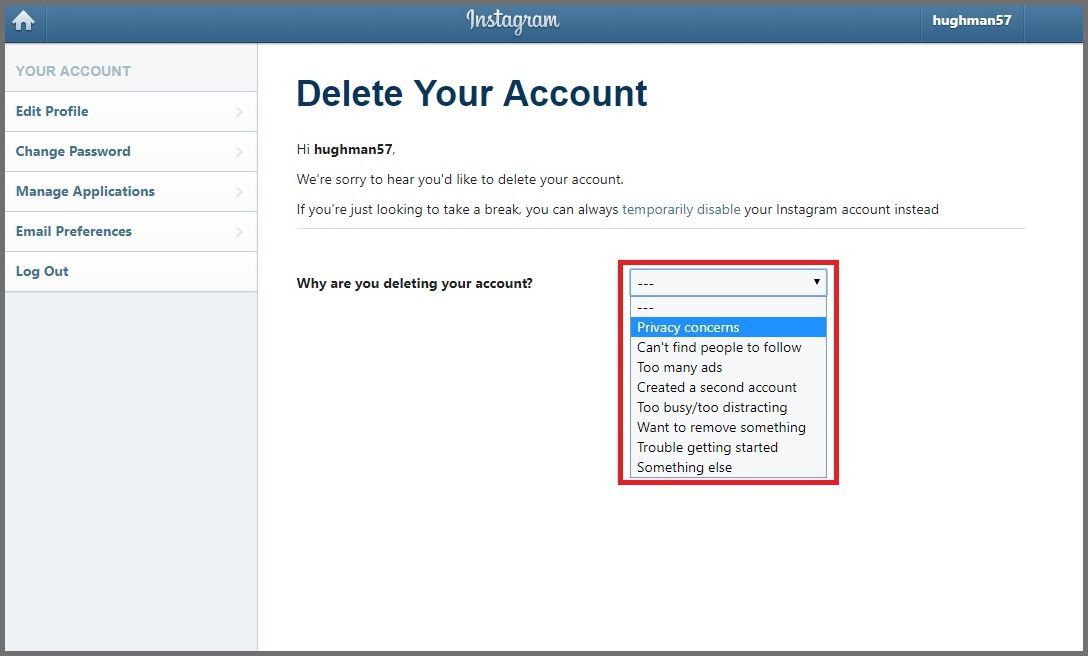
Step 2. Go to the "Delete Your Account" page. You can also go directly to this page by clicking this link. (https://instagram.com/accounts/remove/request/permanent/).
Step 3. Choose an option from the drop-down menu next to "Why are you deleting your account?"
Step 4. Re-enter your password and click "Permanently delete my account" to submit your deleting account request.
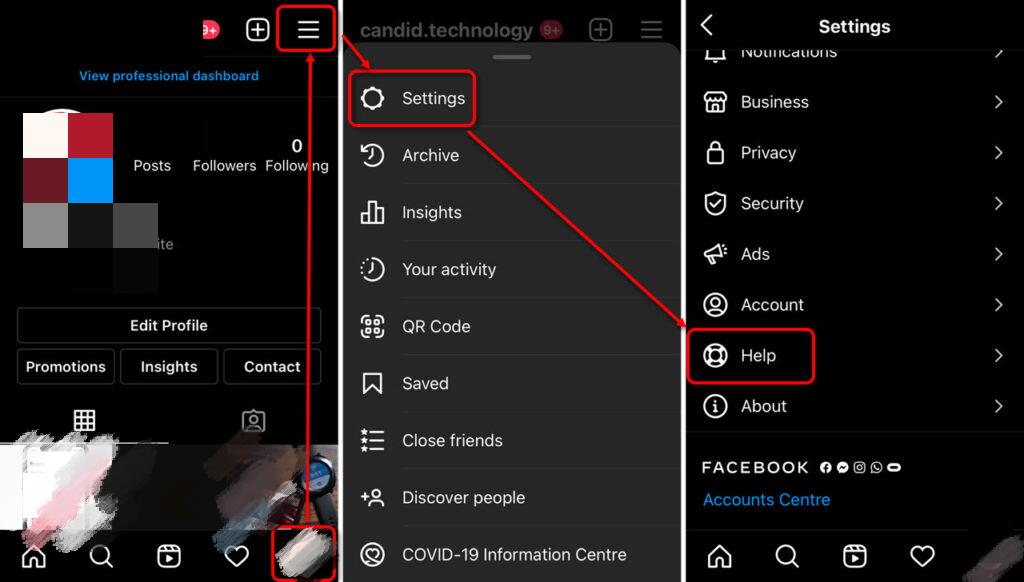
You can also enter the "Delete Your Account" page on the app, you can follow this guide:
Step 1. Tap on your profile icon and find three-lines icon to get more options.
Step 2. Go to "Settings" > "Help" > "Help Centre".
Step 3. Select "Manage Your Account" to enter the "Delete Your Account" page.
Step 4. Do the same things as the guidance above.
Part 4: How to Delete Instagram Account on PC Permanently?
Besides, it is possible for you to delete Instagram account on PC instead of iPhone. The process to delete the Instagram account on the computer is the same as we do on iPhone because Instagram doesn't have any inbuilt option stocked in the app to delete the Instagram account permanently.
Step 1. Log in to your account on the Instagram website.
Step 2. Go to Instagram's 'Delete Your Account' page. Select from the drop-down menu your reason for leaving.
Step 3. Enter your password and click 'Permanently delete my account'.
Step 4. Your Instagram account is now deleted.
Part 5: How to Temporarily Disable Instagram Account?
There is an alternative option for you if you'd just like to take a break, through which you can temporarily disable your account for a certain time instead. But this will make your information and other data not available for other users. If you are hesitating about whether delete the Instagram account or not, you can try this solution. Here is the guide:
Step 1. Log in to your account on Instagram from a computer or mobile browser.
Step 2. Click on the person-like icon in the upper right-hand corner to enter profile panel.
Step 3. Click "Edit Profile."
Step 4. Scroll down to the bottom of the page and click "Temporarily disable my account" in the bottom left-hand corner.
Step 5. Once on that page, choose an answer from the drop-down menu under "Why are you disabling your account?"
Step 6. Re-enter your password and click "Temporarily Disable Account" button.
However, some report that the Instagram will delete their account during the period of disabling account. That's a way of protecting your data cause Instagram assumes that someone is trying to get unauthorized access to your account when location and IP that are different than that you have used to deactivate an Instagram account. If you don't want to take this risk, you can just delete the app directly. But all the pictures and data are still available for other users.
Part 6: How to Recover or Get Back Deleted Instagram Account?
Actually, there is no official way for you to get your deleted Instagram account back, especially when it is 90 days after you delete your account. But there is still workaround method for you. Just as we've mentioned above, Instagram will retain your data temporarily for safety purposes. You just need to report your account as hacked to Instagram and request a data recovery. Here is how we do that.
Step 1: Firstly, type in your username or email address and click on Instagram's "Get help signing in" option, from which you can find and select "Trouble logging in."
Step 2: Follow the prompts as it tells and remember to click the option for "My account was hacked" to proceed.
Step 4: Then select "hear more about your experience."
Step 5: Fill out the forms and Instagram will send you an email within a few hours. You will eventually need to provide some verifications for this to work.

