Nowadays, more and more apps are available in App Store, but still some of them are exclusive for special country, which means you cannot download those apps if you are not from the cpuntry. How shall we fix the problem? Here is a good way: change your APP Store country. You may ask how to change APP Store country, so follow us to learn more information about how to change country in APP Store.
Part 1: What You Need to Know Before Changing APP Store Country?
Generally speaking, one’s Apple ID country must be in concordance with the country you are located in. However, in some cases, you have to change your APP Store country. Before you change your APP store country, it is significant for you to keep the following things in mind:
- 1) Remember to update your bill address to the country you are converting to.
- 2) Change your payment method, for only credit cards of the country you want to switch can be used to purchase apps from App Store of that country.
- 3) Those items that you buy in the App Store from the previous country won’t be shown any more unless you switch your country to the previous one.
- 4) You are not allowed to re-download the past purchased Apps without additional costs.
- 5) Based on the above two situations, you can back up your Apps and other items in other devices or iTunes.
Part 2: How to Change App Store Country on iPhone/iPad?
2.1 How to Change Country on App Store
Sometimes when you go to other country and want to download apps, you have to change your App Store country. In this case, you can simply follow these steps to change your App Store country:
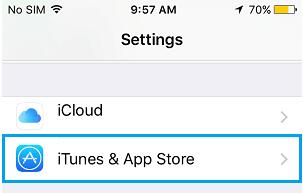
1) Click Settings > iTunes & App Store.
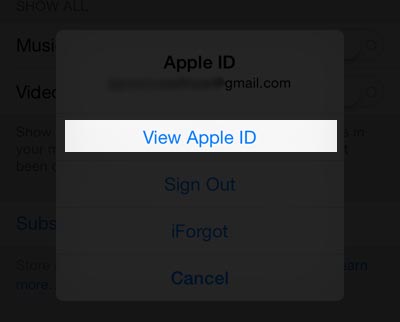
2) Tap on your Apple ID. If you're not signed in, input your Apple ID and password. Then go to View Apple ID.
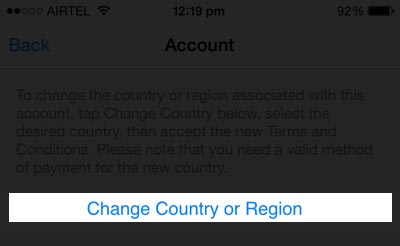
3) Go to Country/Region > Change Country or Region.
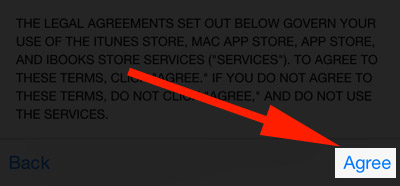
4) Select your new country or region, and then tap on Agree the Terms & Conditions.
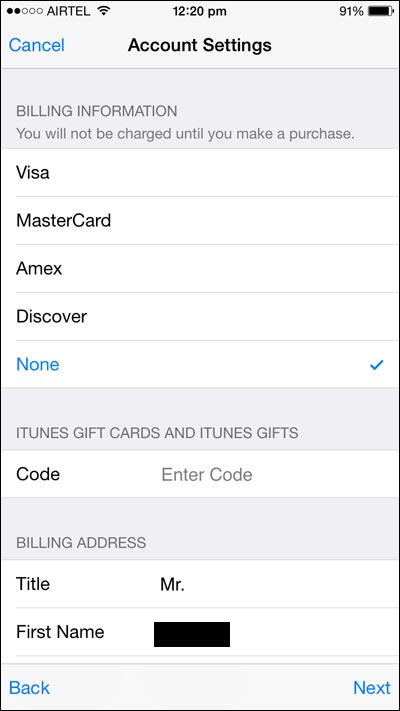
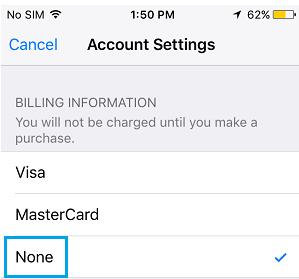
5) Enter into Payment Information > None in Payment Type and click Next.
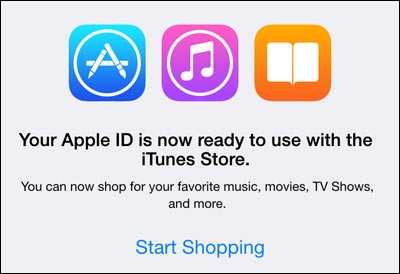
6) When the above steps are finished, a message will notice you that your Apple ID is now ready to use with iTunes Store.
2.2 How to Change App Store Country without Credit Card
You might be wondering if you could change App Store country without credit cards. Yes, here are three simple steps:
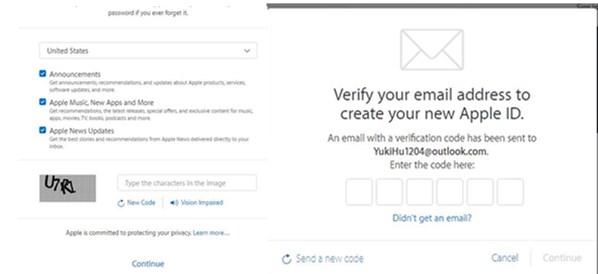
1) Create a new Apple ID.
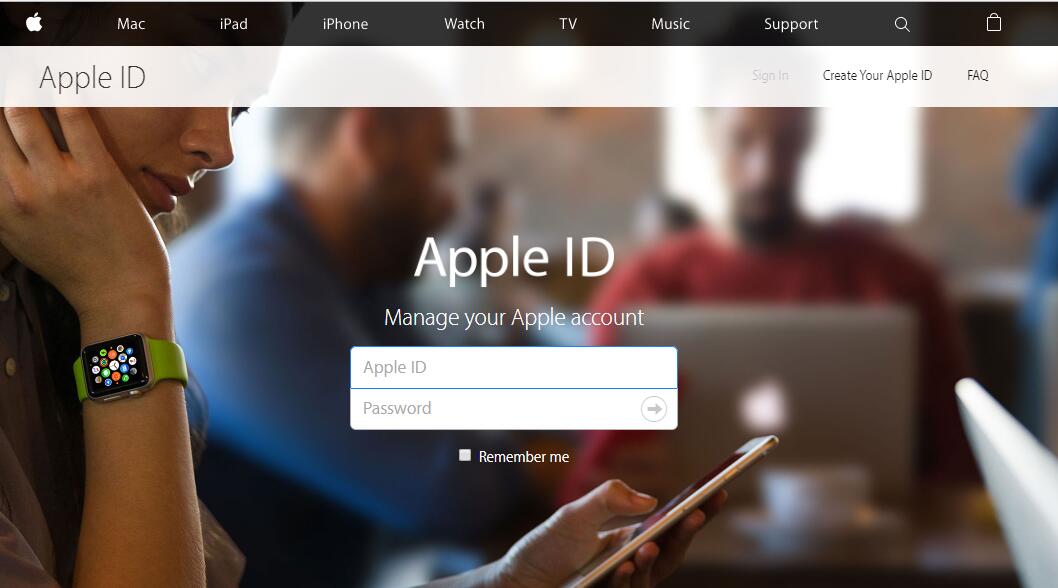
- a. Go to https://appleid.apple.com to create a new Apple ID on your computer or iPhone.
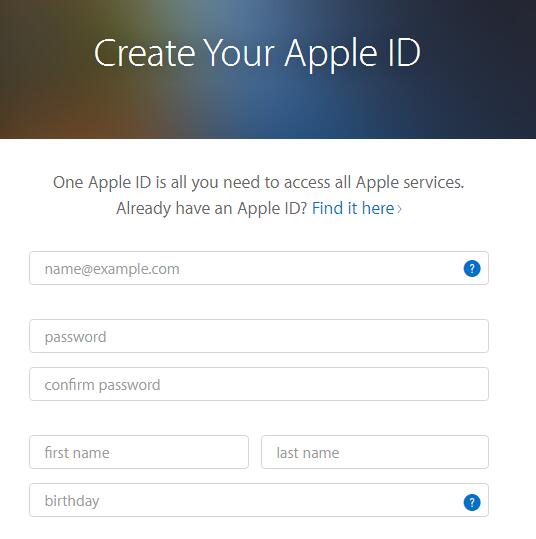
- b. Fill up the required information including e-mail, name, password, security country and select the country you want to access.
- c. Click Continue, a dialogue will pop up and requires you to enter a 6-digit verification code.
Note: please make sure that you register a new Apple ID with another e-mail address.
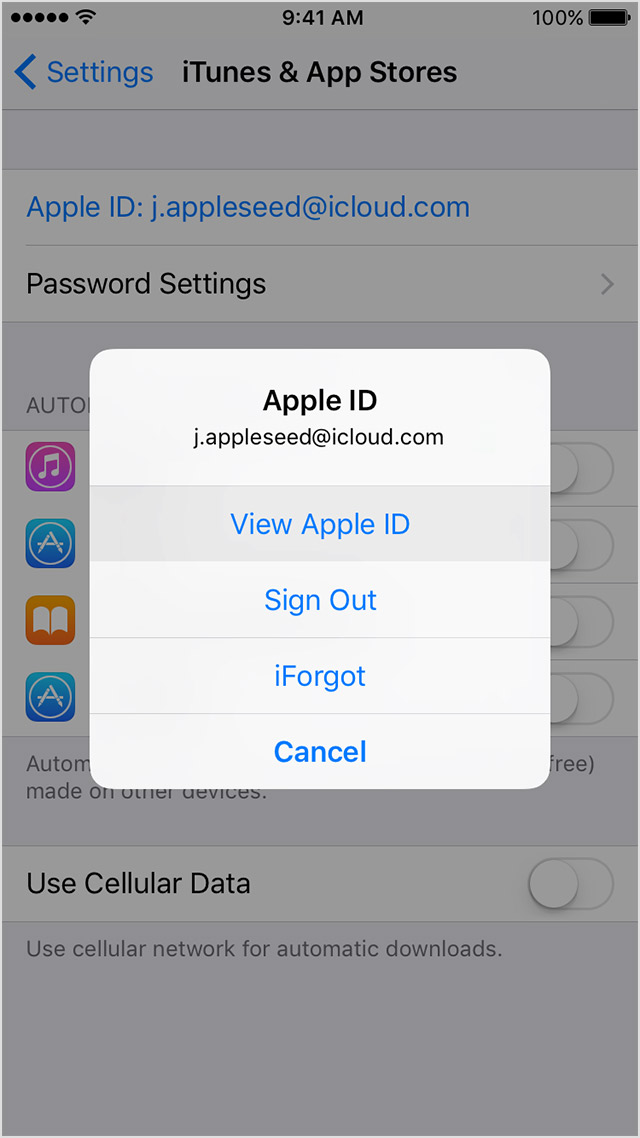
2) Sign out of previous Apple ID.
- a. Click Setting > iTunes & App Store on your iPhone.
- b. Next, Tap on your Apple ID and a dialogue box will be shown. Select sign out.
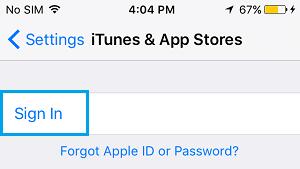
3) Sign in a new Apple ID.
- a. After signing out, the iPhone will notice you to sign in, click sign in and sign in your new Apple ID.
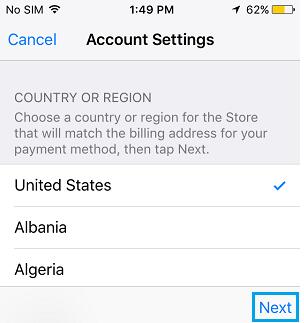
- b. Once you sign in, a pop-up dialogue will inform you to review your Apple ID.
- c. Select the country you want to switch to and confirm Agree when Terms & Conditions show up.
- d. Go to Payment Information to select None, fill up bill address and phone number.
Part 3: How to Change App Store Country on Mac/PC?
As for how to change your App Store Country on Mac/PC, you can follow these steps:
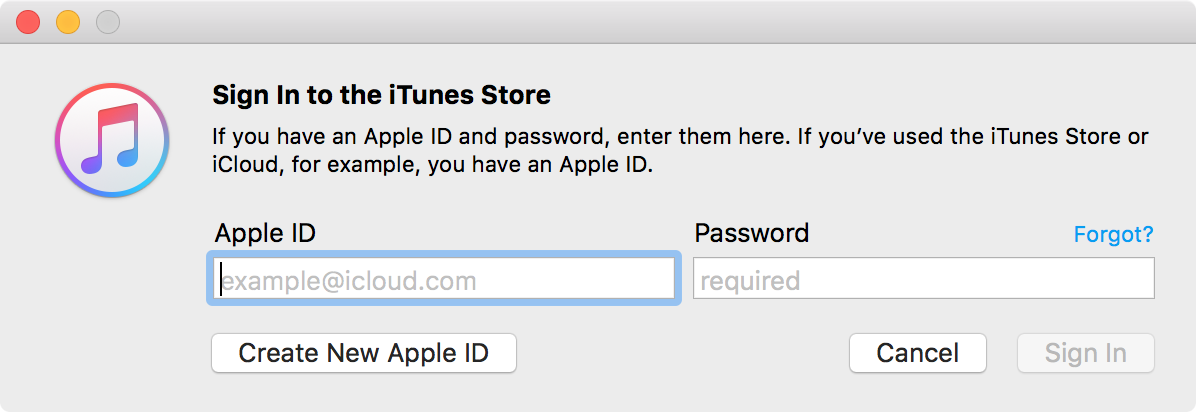
1) Sign in your Apple ID in iTunes.
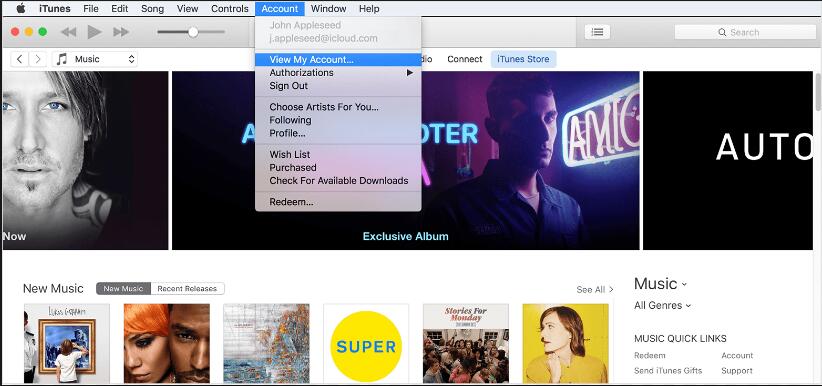
2) Click Account >View My Account and input your password.
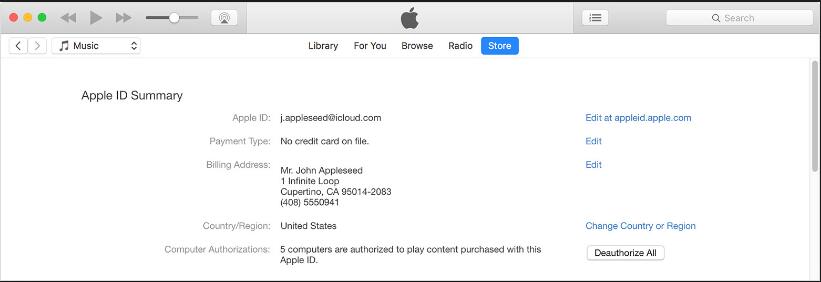
3) Click Country/Region> Change Country or Region, select a new country you want to change.
4) Click Continue on the Welcome to iTunes Store Page.
5) Agree to Terms and Conditions and Apple Privacy Policy.
6) Enter your bill address and click Continue in Payment Information.

