ISO is very important for photography, which can influence the photo quality to a great degree. What does ISO stand for in photography? How can you use ISO to get better photos? Many photographer novices do not have a clear understanding of ISO. In order to clear off these confusion and get pictures with great quality, this guidance will explain ISO to you in detail and you will have the chance to learn a great tool to enhance photo quality after shooting.
MenuCLOSE
Part 1: What Does ISO Stand for in Photography?
Before we get to know how to make use of ISO, first let’s have a look at what does ISO stand for in photography and the comparison of low ISO vs. high ISO.
1.1 What Does ISO Mean in Photography
ISO stands for “International Organization for Standardization”. However, in the world of digital cameras, ISO means the sensitivity to light of your camera, which is displayed in a number like this: 100, 200, or 400, etc. When you adjust your camera ISO, your camera sensitivity to light will be altered. It also means you are changing the exposure on your camera when you adjust ISO, which will brighten or darken your photos. If the ISO is lower, your image will be darker. When the ISO is higher, your imager will be brighter. Therefore, ISO can assist you to shoot pictures in darker circumstances, or be more flexible about your aperture and shutter speed settings.
1.2 Low ISO vs. High ISO
After you know what ISO stand for on a camera, now let’s continue to see the differences between low ISO and high ISO.
- If you make use of a low ISO setting, the sensor will be less responsive to the light, which calls for more light to create a photo with good exposure. In general, a low ISO setting will produce photos with better technical quality and with little or no digital noise. You can also gain images with better colors and contrast.
- If you make use of a high ISO setting, your camera sensor will be more responsive to light, which results in less light requirement in your shooting to produce photos with good exposure. However, your photos’ technical quality will be influenced by digital noise. The colors of your images may be less vibrant and the entire photo contrast will be flatter.
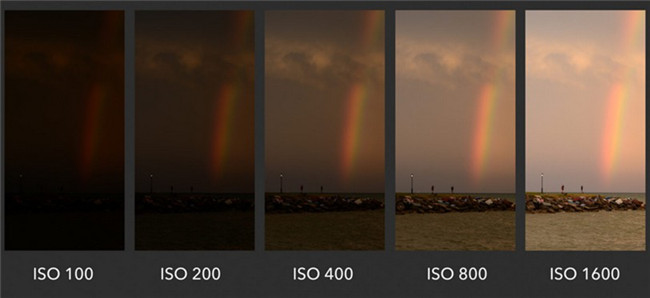
- When the ISO is raised from a low value to a high one, the signal that the photos are creating on the sensor will be amplified. You can have a look at the comparison photo below and pay attention to the noise level (graininess and blotchy colors) in it. You will find that the higher ISO value is, the more noise will be.
Part 2: How to Make Use of ISO for Better Photo Quality?
Now that you are clear with what does ISO mean, it is time for you to learn how to apply it to get better photo quality. It is vital for you to set proper ISO value and reduce noise in photos to improve your image quality for enjoyment. Read on and your photography skill will be improved with the tips in this part.
2.1 How to Set ISO?
As for how to set ISO, the procedure will vary, which depends on your camera models and phone models. The following tips will tell you the general method and you can take it for reference.
2.1.1 Set ISO on camera
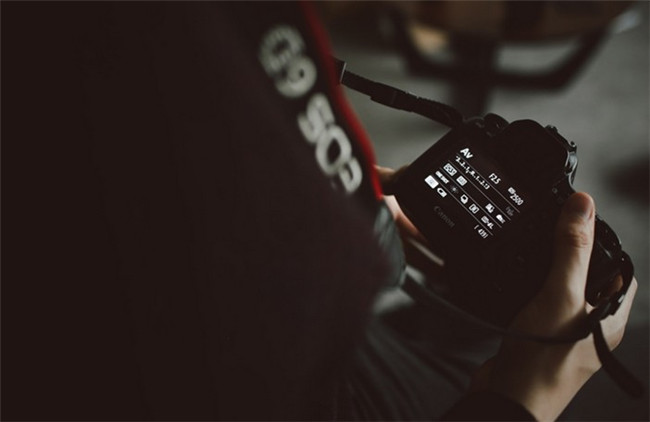
Step 1: Fetch your camera and set your camera to Manual, Shutter Priority, Aperture Priority, or Program Mode. Then you can find the ISO value option and set it according to your demand.
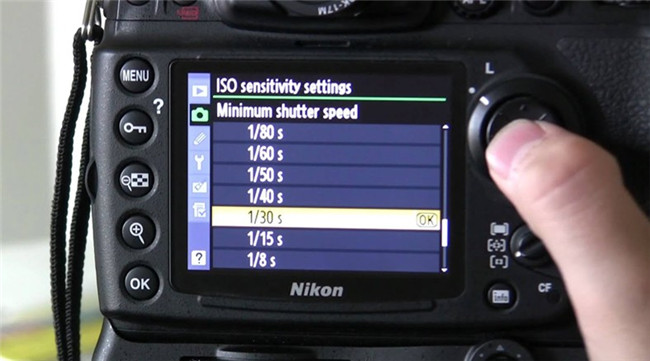
Step 2: If you have an entry-level DSLR or mirrorless camera, you can adjust the ISO value via a menu. You will also be able to select the option of “Auto ISO”.
Step 3: It is sensible for you to check out your camera manual to find the easiest method to adjust your ISO setting.
2.1.2 Set ISO on mobile phone
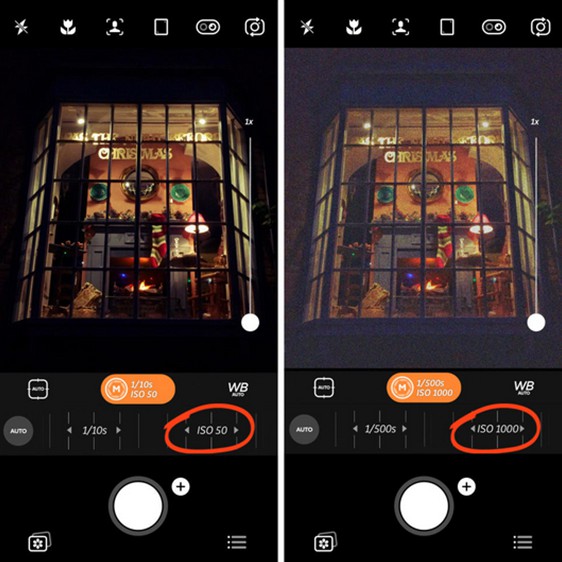
Step 1: On your smart phone, you can open your built-in camera app to find the option in Professional Mode to set the ISO value.
Step 2: If you do not find the ISO setting option, you can download a third-party camera app like Camera+ 2 to install it on your mobile phone to adjust the ISO value based on your need. It is easy for you to operate and you just need to drag the ISO slider to set the ISO value to fit your demand.
2.2 When to Use Auto ISO?
It is quite convenient for you to apply the feature of “Auto ISO” to select the best ISO value automatically to expose your image appropriately on the basis of the aperture and shutter speed that you select.
- It is very helpful when you desire to shoot in the location where the light is changing constantly and there is a lot going on in the environment.
- When you shoot sports, during a movie show or during a concert with changing lights, it is a good idea to use Auto ISO feature.
- When you shoot a family going out with many active children, you’d better apply the Auto ISO feature.
2.3 When to Use Low ISO
It is advisable for you to insist on using low ISO, typically ISO 100 or 200, which can help you to minimize the appearance of noise as much as possible.
- When the shooting environment is bright and there is a lot of light available, you can choose lower or the lowest ISO value.
- When you shoot landscapes or long exposures during the day, it is better for you to set the ISO value to 100 or below to ensure your photo look great at any size when you print your pictures.
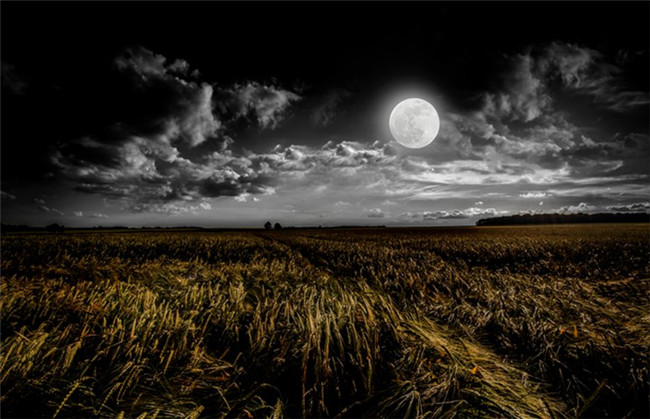
- When the environment is dim or dark, you can also use a low ISO, for you can mount your camera on a tripod and brighten your photo via a long shutter speed. Here I would like to take the steps to shoot the moon for example.
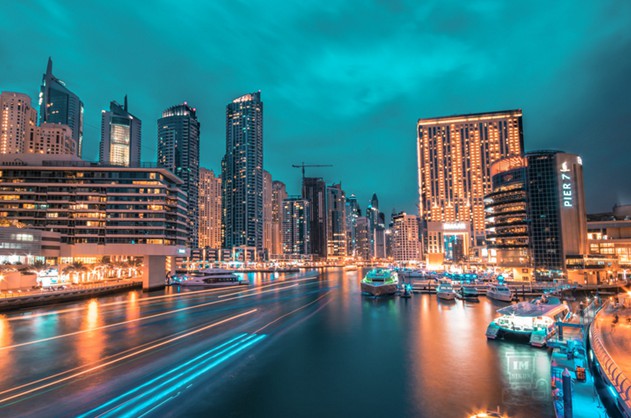
- When you desire to shoot a grainy effect on purpose and want to give mood to a scene, you can set a high ISO value.
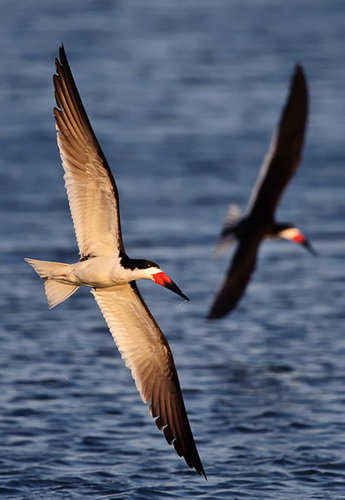
- When you want to freeze fast motion like the insect’s wings and flying bird, you’d better use high ISO setting to fight against motion blur.
- When you plan to shoot night sky photography like stars and you’re shooting handheld with a long lens, it is sensible for you to set ISO value high.
-
Leawo PhotoIns
- Enhance portrait photos easily with advanced AI technology
- Fix photo exposure and white balance issues automatically
- Optimize photo colors and perfect photo tints
- Make photos perfectly clear with smart dehaze
- Boost photo lighting and color quality
- Process RAW and JPG files
Step 1: Choose to use a long lens (> 200mm) and zoom in as possible as you can.
Step 2: Set the camera ISO value to 100 or lower to eliminate noise and grain.
Step 3: Set the aperture to f/11 to f/16 and set the shutter speed around 1/60th to 1/125th.
Step 4: Set the manual focus to infinity and then find the best shooting angle to take the moon photo.
2.4 When to Use High ISO?
Part 3: How to Enhance Photo Shot in Low/High ISO with Leawo PhotoIns?
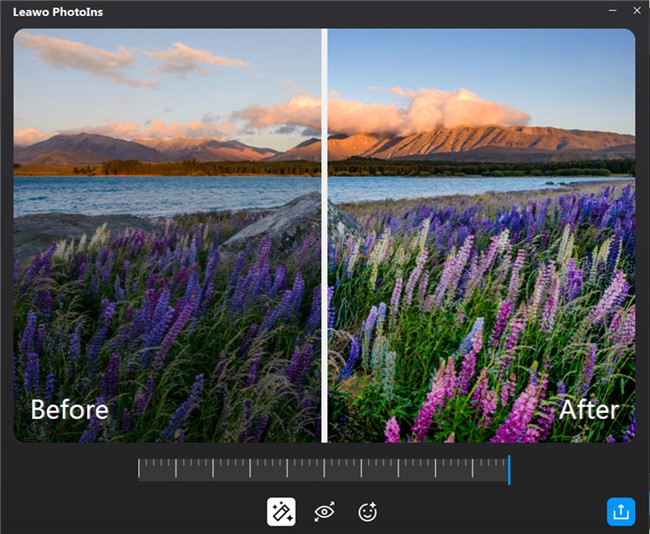
After you learn so much knowledge on what ISO stand for in photography, you may have determined to take some photos in popular spots. This is a good idea for travelling around and take wonderful photos for memorization. However, in order to get the best images, you also need to grasp some methods to enhance photo quality to enable your pictures to be flattered and to make your photos clear. There are actually various photo enhancer apps for you to apply both on your computer and mobile phones. Here I highly recommend you make use of Leawo PhotoIns to assist you to improve photo quality in the case you are not satisfied with the picture you have taken with improper ISO value or exposure. This program is a powerful AI photo enhancer, which is able to help you to enhance and beautify images quickly and efficiently. Follow the simple instructions below to enhance your photo shot in low/high ISO effectively.
Step 1: Download Leawo PhotoIns
To enhance the photo shot in low/high ISO, download and install Leawo PhotoIns on your PC.
Step 2: Add photo to the software
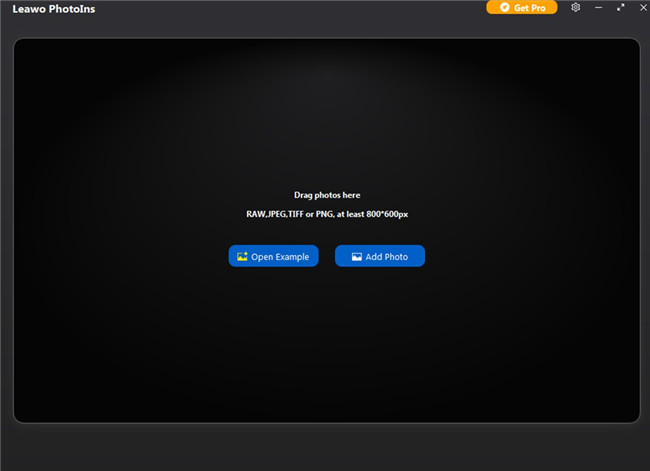
Fire up Leawo PhotoIns and then click on the “Add Photo” button to browse and load your photo shot in low or high ISO value into the program. You can also directly drag and drop photo shot in low/high ISO to the software for uploading.
Step 3. Enhance your pictures
After your photo shot in low/high ISO is imported to the program successfully, you need to double click it to call out the photo enhancer editing panel. You can preview your edited photos and drag the effect adjuster bar to adjust and enhance your photo quality automatically.
Step 4: Output AI enhanced images
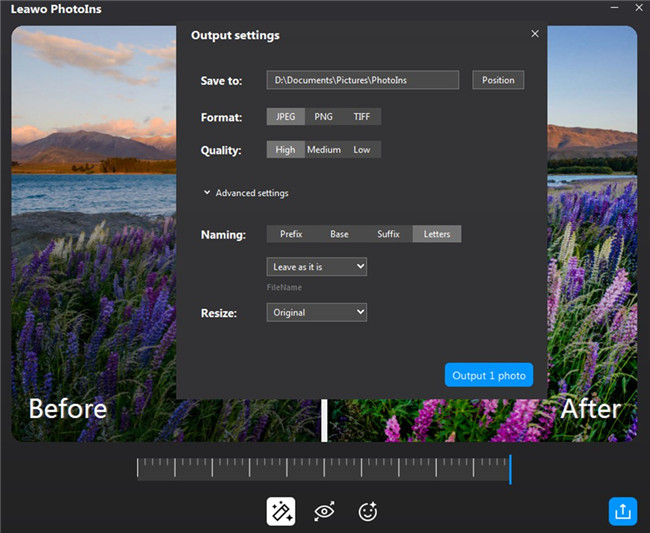
After you finish the AI enhancing, you need to hit on the bottom right “Output” button to call out the output settings panel. You can change the output directory, and set the output format and quality via this panel. The name and size of the enhanced image can also be set here. In the end, you need to hit on the blue “Output photos” button to output AI enhanced photo shot in low/high ISO.

