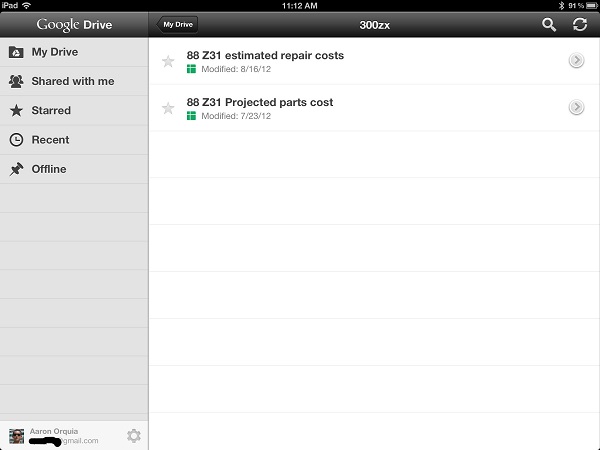
Google Drive on iPad gives users free access to different files like videos, documents, photos, etc. on different phones. With it, you don't need to worry that you will lose your iPhone information one day. Besides, the Google Drive for iPad is delicately designed by Google with free 15GB of storage space. If someone doesn’t know how to use Google Drive for iPad, you can learn from this article.
Part 1: How to Transfer Google Photos to iPad with Google Driver for iPad
With a large storage space, this Google photo iPad app is a good place to save photos here. You can make Google Drive iPad sync photos so that you can appreciate them anywhere and anytime. As for how to transfer Google photos to iPad, here are steps you can take.
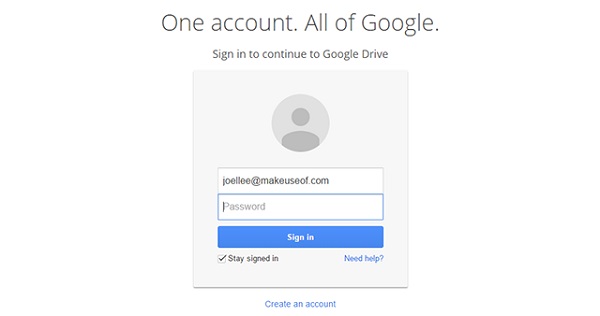
1. Enter the website: https://drive.google.com and log in with your Google Drive for iPad account. If you don't have, you can create one.
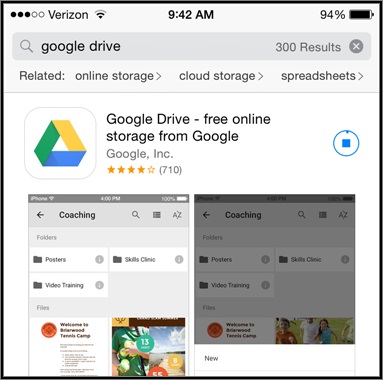
2. Open App Store on your iPhone and download this Google photos iPad app to your iPad, then open Google Drive for iPad.
3. Go to "My Drive" and select photos from there, then right click them to choose "Save".
4. At this time, "Camera Roll" will pop up and tap on "Edit" in the upper-right corner, then selected photos will show.
5. Now press "Add to" at top right corner of the screen to choose "Add to Existing Album" or "Add to New Album". You can choose one based on your need. In this way, you transfer photos from Google Drive to iPad.
Part 2: How to Transfer Photos from iPad to Google Drive with Google Drive for iPad
After we learn how to transfer photos from Google Drive to iPad, it is also necessary for us to learn how to upload photos from iPad to Google Drive. Check the following step-by-step tutorial to learn to upload photos from iPad to Google Drive.
1. Go to https://drive.google.com and sign in your Google Drive on iPad with your account. If no account is available, try to create one.
2. Download Google Drive app on iPad App Store and install it. After it is installed, open this Google Drive on iPad.
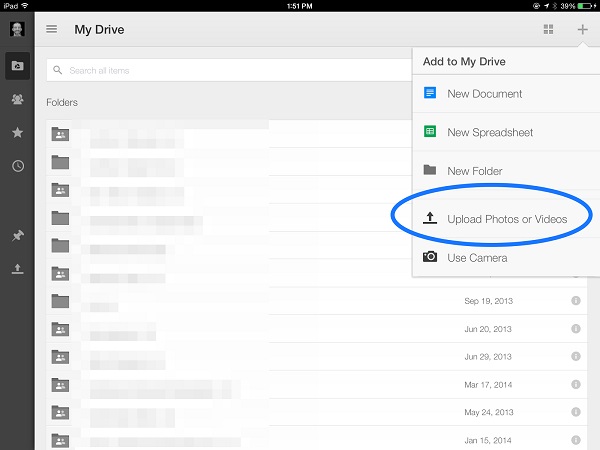
3. Click "+" icon at top right corner and select "Upload Photo or Video", then choose "Camera Roll" to select photos from iPad. When you finish selecting photos, you can click "Upload" button to transfer iPad photos to Google Drive.
Part 3: How to Transfer Photos from iPad to Google Drive with Leawo iTransfer
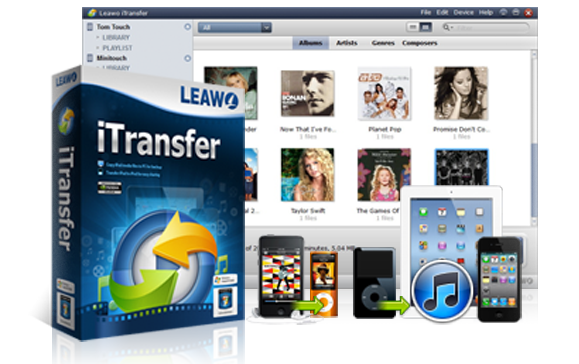
To transfer photos from iPad to Google Drive, we can also adopt the tool of Leawo iTransfer. Leawo iTransfer is all-in-one software that supports to transfer various Apple device files including photos, music, contacts, SMS, ringtones, etc. between iPhone/iPad/iPod, computer and iTunes. Within a few clicks, Leawo iTransfer enables you to transfer photos safely and quickly. What's more, you can also use this software to back up your iOS device files to computer and iTunes. How to transfer photos from iPad to Google Drive? Let's see how.
Leawo iTransfer
☉ Transfer files among iOS devices, iTunes and PCs with ease.
☉ Transfer up to 14 kinds of data and files without iTunes.
☉ Support the latest iOS devices like iPhone 7, iPhone 7 Plus, etc.
☉ Play back, view, and delete data and files on iOS devices.
1. Launch Leawo iTransfer
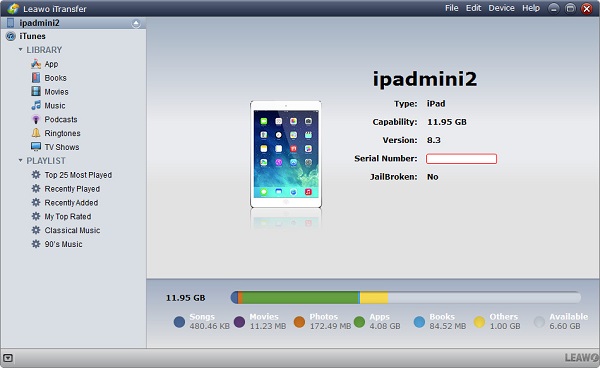
Open Leawo iTransfer after downloading and installing it. Connect iPad to your computer via USB cable. The library of iPad will be automatically detected in the left sidebar.
2. Select photos
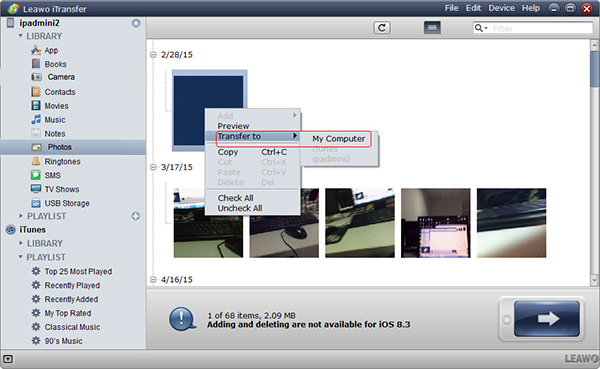
Head to iPad > Library > Photos to see iPad photos on the right interface. Select photos by pressing "Ctrl" and clicking photos you want to transfer. Afterwards, right click one of them to "Transfer to > My Computer".
3. Start to transfer photos from iPad to computer
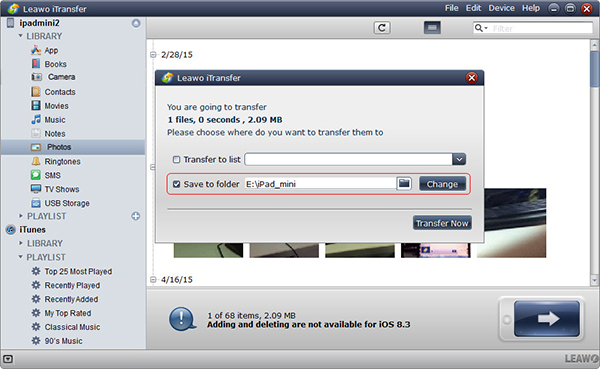
A pop-up dialogue will require you to choose output directory. You can click "Change" to choose the target folder. Now click "Transfer Now" to start to transfer photos from iPad to computer. You can see the transferring percentage on the screen. After that, you get photos on your computer.
4. Upload iPad photos to Google Drive
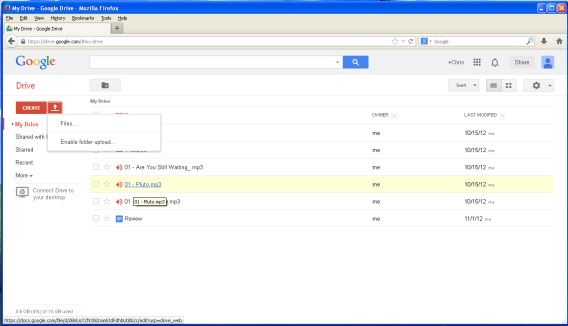
Now go to https://drive.google.com and sign in the website. Locate "Create" on the left side to create a folder where you are going to save your photo. Now click "Upload" icon next to "Create" and choose "File" option to select and upload iPad photos to Google Drive. You can also directly drag your photos from computer to marked area to transfer iPad photos to Google Drive.

