Digital cameras and DSLRs are always necessities when people go traveling. The cameras help people to capture the moments which the smartphones aren’t capable of getting the details. Photos shot by cameras are more detailed, and give you more specific focus, therefore many people will use cameras to take photos instead of the smartphones or tablets.
But viewing photos is another thing. Most people will transfer the photos to their computer or tablets to view the photos because of the small display of the camera. People can copy photos from camera to computer easily, but when they want to know how to transfer photos from camera to iPad, they may have no idea on how to do that. In fact, people have 3 easy ways to import photos from camera to iPad, and the following post will introduce you how to do that.
Method 1. Using Computer & iTunes
With a card reader, people can move all the photos from the digital camera to computer. After that, they can take advantage of iTunes to transfer photos from computer to iPad. This should be easy, but please note that the RAW files takes much more storage space than the JPEG files, so you’d better take a look at your storage space of your iPad before you import photos from camera to iPad.

After importing photos from camera to iPad, you can view these photos with the Photos app on your iPad. The RAW files can also be read on your tablet, and supported RAW files are exactly the same as your Mac computer does.
Method 2. Using iPad Transfer Software
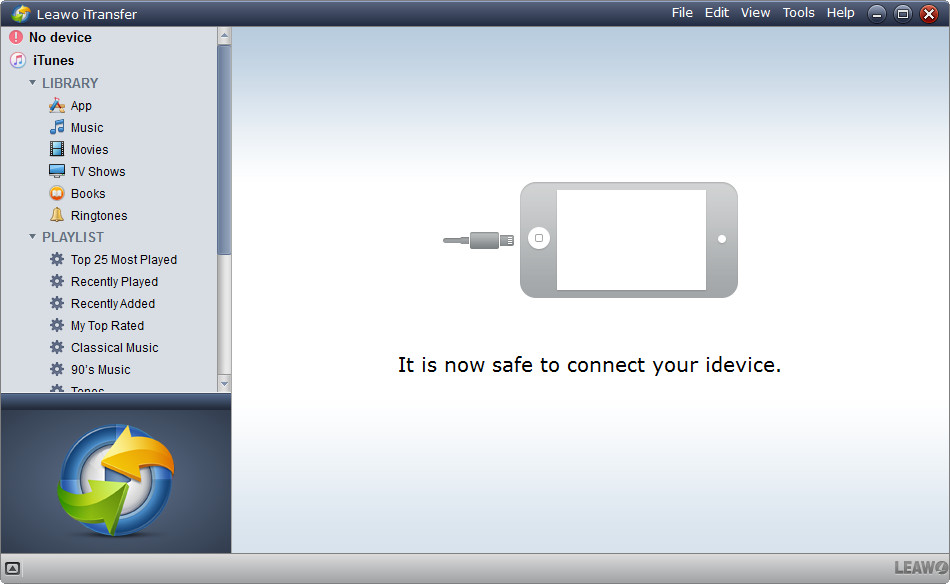
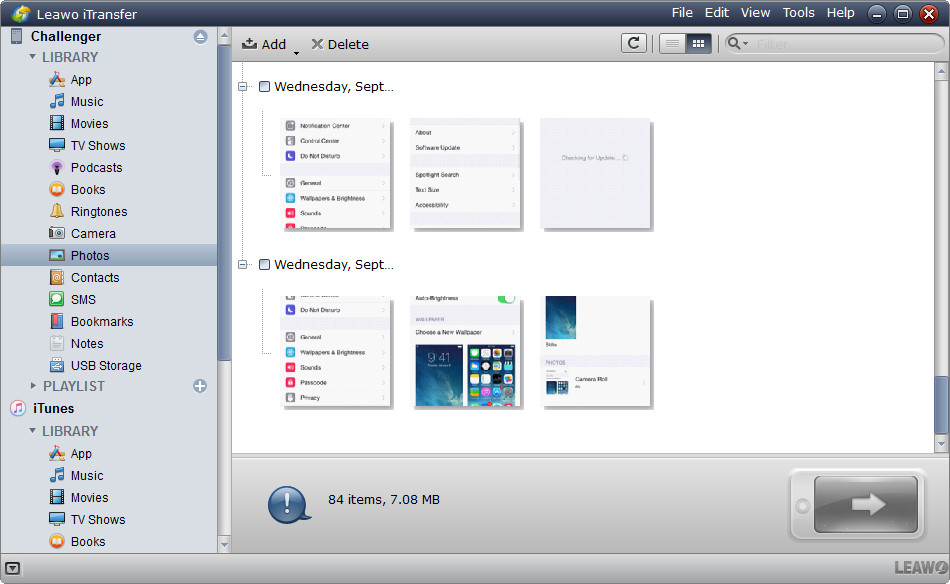
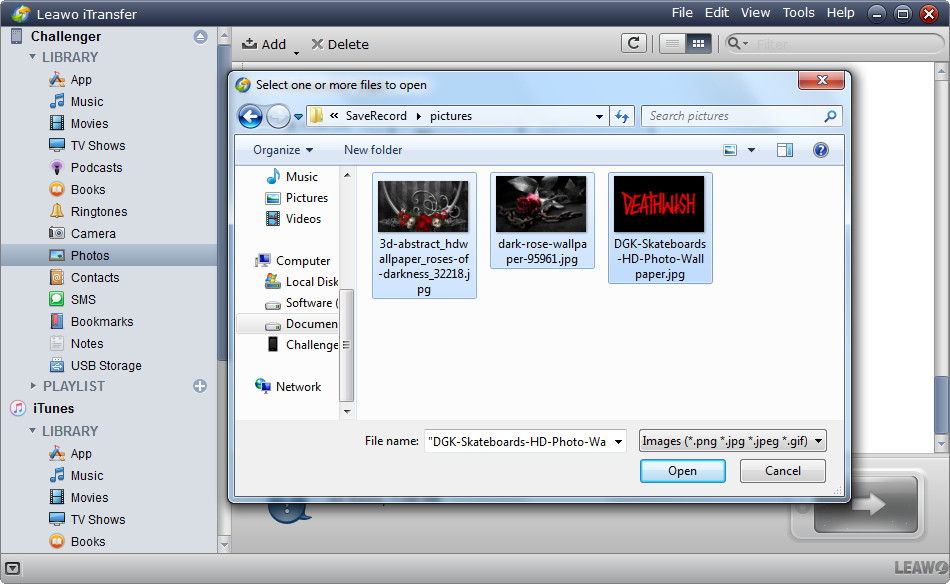
The card reader can be recognized as an external hard drive on computer, and the users can take advantage of the iPad transfer software to transfer photos from camera to iPad without using iTunes. Leawo iTransfer will provide much help on this issue. This software is used for transferring files among iOS devices, iTunes and computers, and it enables users to transfer various kinds of files without the sync of iTunes. The following guidance will show you how to transfer photos from camera to iPad, and you can free download the software to have a try.
When the transfer finishes, you’ll get the photos in your iPad Photos app, and the previous photos will still be available. Leawo iTransfer is also helpful for other kinds of data transfers, for example, you can transfer files from old iPhone to iPhone 6s with this software.
Method 3. Using Lightning to USB Camera Adapter
With the Lightning to USB Camera Adapter, it's easy to download photos and videos from your digital camera to your iPad or iPhone with Lightning support so you can view them on the gorgeous Retina display and share them with family and friends. The detailed steps on how to transfer photos from camera to iPad directly are as follows:
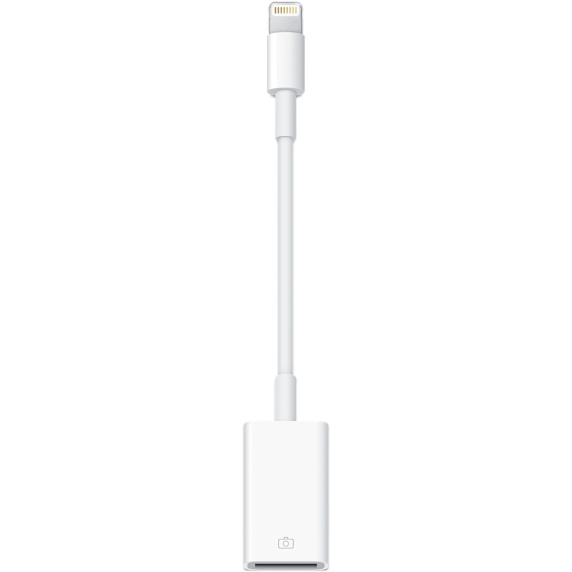
1. Connect USB cable to your camera.
2. Then connect your iPad to the USB cable of camera with the Lightning to USB Camera Adapter.
3. Now turn on the camera and make sure it is in transfer mode.
4. Turn on your iPad and unlock its screen.
5. Photos should automatically open your iPad with the Import tab. If not, open the Photos app and tap on Import.
6. Tap Import All if you want to transfer all photos from camera to iPad. Or if you only want to import selected photos, choose the photo and tap Import.
7. When the import is complete, there is a option: Keep or Delete the medias on the camera.
Method 4. Using Lightning to SD Card Camera Reader
With the Lightning to SD Card Camera Reader, it’s easy to download photos and videos from your digital camera to your iPad or iPhone so you can view them on the gorgeous Retina display and share them with family and friends.
After you insert the SD card into the reader, your iPad automatically opens the Photos app, which organizes your photos into Moments, Collections, and Years. And when you use iCloud Photo Library, all your full-resolution photos and videos are stored safely in iCloud and automatically added to the Photos app on all your devices. With iCloud Photo Sharing, you can share your photos and videos with just the people you choose.
The Lightning to SD Card Camera Reader supports standard photo formats, including JPEG and RAW, along with SD and HD video formats, including H.264 and MPEG-4. It supports data transfer at up to USB 3 speeds on iPad Pro, and up to USB 2 speeds on all other iPad and iPhone models. Look the following guidance to know how to import photos from camera to iPad with the SD card reader.
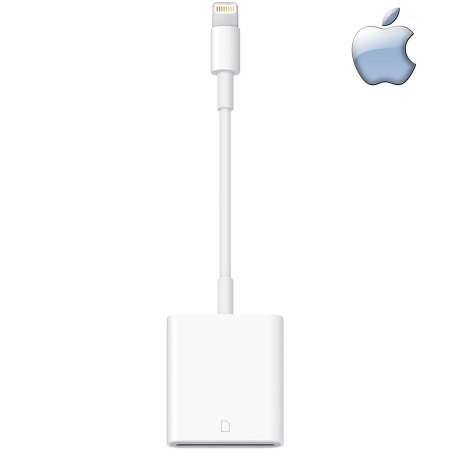
1. Remove the SD card from your digital camera and place it into the Lightning to SD Card Camera Reader.
2. Connect the Lightning to SD Card Camera Reader with SD card in it to your iPad.
3. Turn on your iPad and unlock its screen.
4. Photos should automatically open your iPad with the Import tab. If not, open the Photos app and tap on Import.
5. Tap Import All if you want to transfer all photos from camera to iPad. Or if you only want to import selected photos, choose the photo and tap Import.
6. When the import is complete, there is a option: Keep or Delete the medias on the camera.
All these four methods mentioned above is so useful for transferring photos from camera to iPad, if you are in need, check them out.

