The consensus about video games is they are solitary engagements for the gamers, whether they are played in single or multi-player modes. However, this is not entirely the case. Over the last couple of years, people in general and even gamers themselves like to watch other gamers play and nobody saw this coming in the early days of gaming. Because of this, video streaming sites like YouTube have come up with sections for gaming. There is even a dedicated streaming service for gaming, that is Twitch.
Twitch, also known as Twitch.tv is a video-game broadcasting and viewing platform, where viewers can enjoy watching their favorite players as they broadcast themselves playing the games, usually with an audio commentary. In this post, we will focus on showing you how to stream Twitch with OBS (Open Broadcaster Software). We will also show you how to save your streams, and where to get them from their stored location.
Outline
Part 1: What is OBS
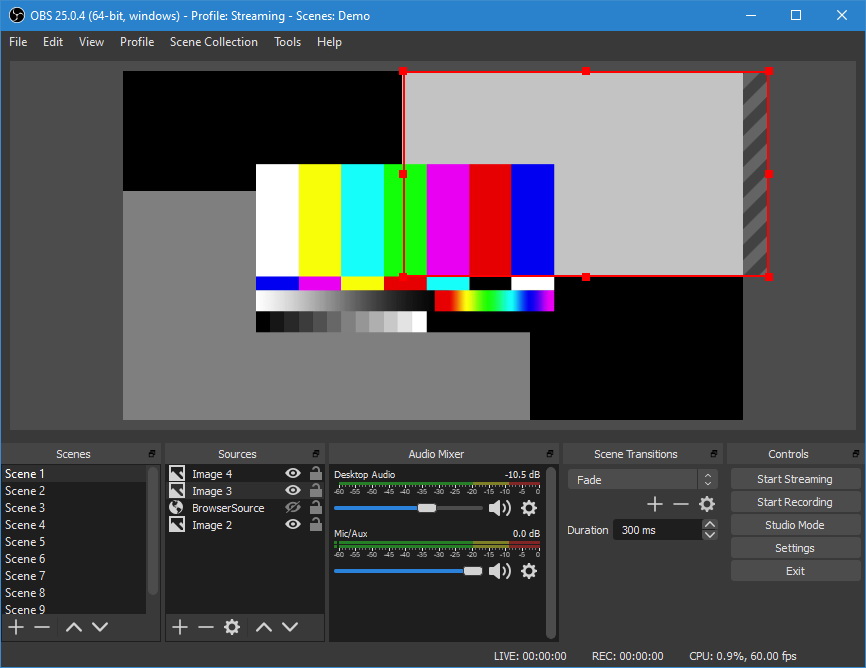
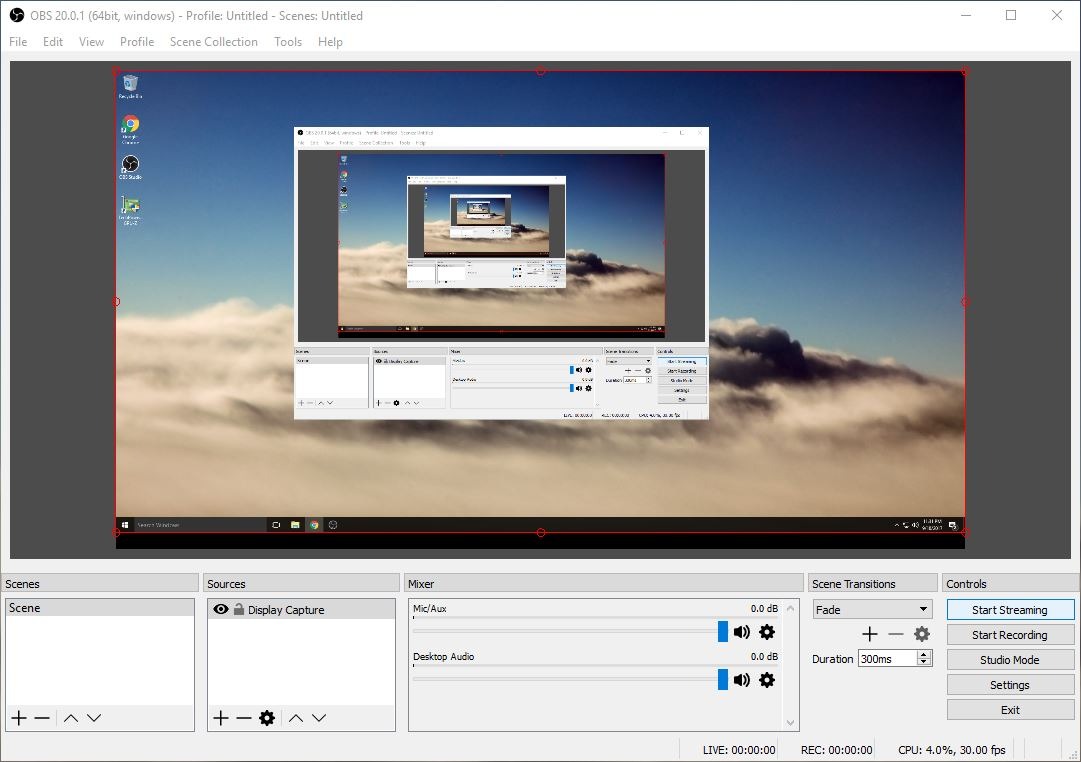
What is OBS? OBS (Open Broadcaster Software) is a free and open source live video production software, which is supported by a large community of developers from around the world. With OBS, users can produce live videos, live streaming and record videos. If you want to use OBS, a setup wizard will ask you if you would like to optimize the software for recording or live streaming when you are installing it, because it has the ability to mix together many different audio visual sources into a live video production environment. If what is offered by OBS is not enough, this software also supports many plugins which can extend the functionalities of the software, such as VST plugins, NDI support, and stream deck controls. OBS can record a screencast and save it locally as a video file (please refer to Part 3 of this article to see where the files are locally saved on your computer.) OBS can also live stream from services like YouTube Gaming, Twitch etc., and allows you to add additional elements to your stream, so you can add live video from your webcam, image overlays, and other visual elements. Therefore, how to use OBS? How to record with OBS? We will explore that in the next segment of this article.
Part 2: How to Stream on Twitch with OBS?
Before you start streaming Twitch on OBS, Twitch itself recommends you fairly powerful hardware for streaming the content. Twitch recommends you to use a computer with an Intel Core i5-4670 or AMD equivalent CPU, at least 8 GB of DDR3 SDRAM, and a newer operating system (at least Windows 8 or higher is better, the same is also true for macOS and its required to have 10.13 or higher installed). Another thing you need to ensure is that you have a fast and stable internet connection for higher quality streams, which is a prerequisite for any kind of streaming anyway. Lastly, you are going to need to download and install OBS on your computer. OBS is available for Windows 8 or higher, macOS 10.13 or higher, and Linux Ubuntu 18.04 or newer. Please refer to the steps below:
Step 1: Open the Twitch website, login to your account and get a Twitch.tv Stream Key. On the top-right corner of the Twitch homepage, select “Dashboard”, and click the “Stream Key” heading. Click the “Show Key” button to get your private key.
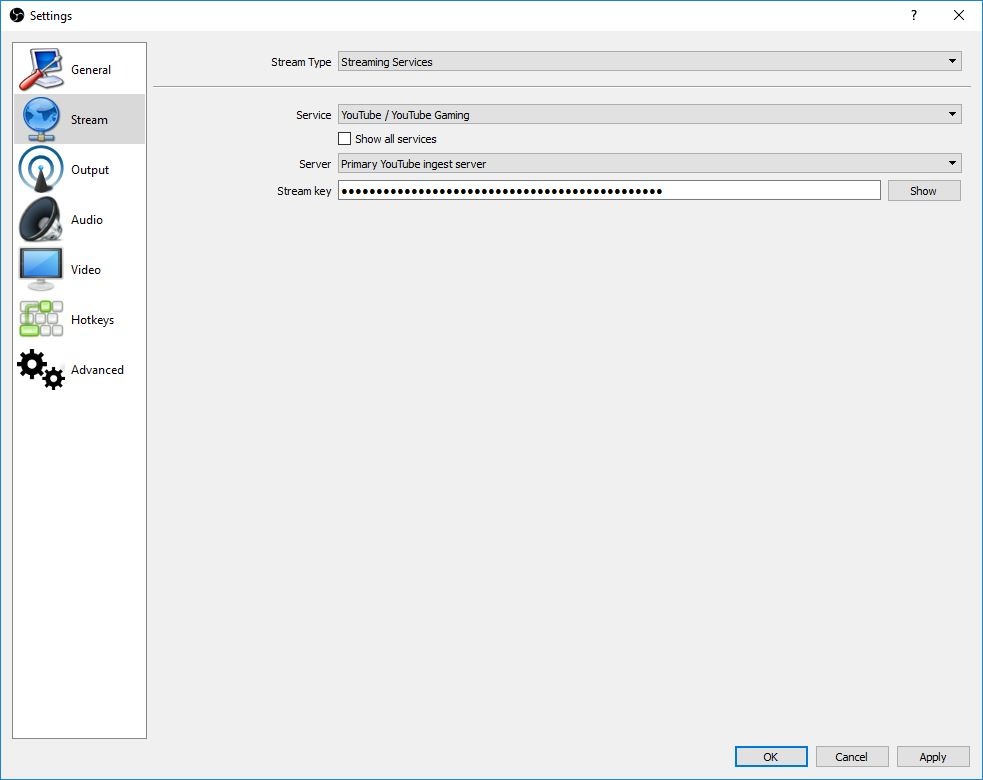
Step 2: Setup the game capture mode. In OBS, click the Settings button in the lower right corner. Select “Stream” in the left-hand pane and next to “Service” select Twitch. Next to “Stream Key,” enter the key you acquired from your Twitch dashboard.
Step 3: Setup the broadcast. First open the game you want to stream, then right-click the “Sources” box in OBS. In the Add > menu, choose “Window Capture.”, name the source and then press Enter. Click OK when you are done, then when you are ready to start broadcasting click “Start Streaming”.
Part 3: Where Does OBS Save Recordings?
If we are going to be honest, OBS is a fairly complex software to use especially if you are a beginner. Therefore, you could find it difficult to locate your Twitch recordings, just in case you want to play them or upload them to another streaming site like YouTube. Therefore, we are here to help.
The OBS software will automatically output any recordings to your ‘Video’ folder in your main documents section. The quickest way to find this location is clicking (File > Show Recordings) within the OBS application itself. You can also change the save location for your convenience, by going to Settings> Output and then clicking the “Recording” section. On “Recording path”, click the Browse button to choose an appropriate save location.
Part 4: Best Media Player to View the Recordings of OBS
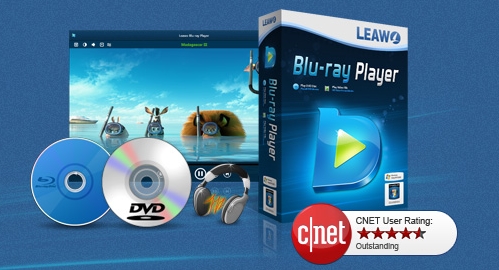
We have shown you how to stream on Twitch with OBS and where OBS saves the recordings. To watch and enjoy your Twitch recordings, you will need a good and universal media player for the playback. Therefore, we will introduce Leawo Free Blu-ray Player, a good playback software that you can always rely on. It supports over 180 video and audio formats for playback, which is a lot more than what other playback software suites like VLC, Media Player Classic, QuickTime etc., offer. Some of the supported formats include AVI, MPEG, WMV, WPL, ASF, FLV, MKV, MOV, MP4, M4A, AAC, NUT, MP3, OGM, etc. Leawo Blu-ray Player also supports Blu-ray Discs, folders and associated file formats from all the regions A, B or C, which means it’s possible to play region A Blu-ray disc in Europe without extra efforts for movie lovers. Apart from the said, Leawo Blu-ray Player also supports the playback of DVD discs from all the regions 0 to 6.
-
Leawo Blu-ray Player
Region-free Blu-ray player software to play Blu-ray disc and DVD disc for free, regardless of disc protection and region restriction.
Play 4K FLV videos, 4K MKV videos, 4K MP4 videos, etc. without quality loss.
Support the conversion from Blu-ray/DVD discs to MKV in the premium version.
Follow the steps below for additional help on how to use this software.
Step 1: Import your Twitch recordings into the software
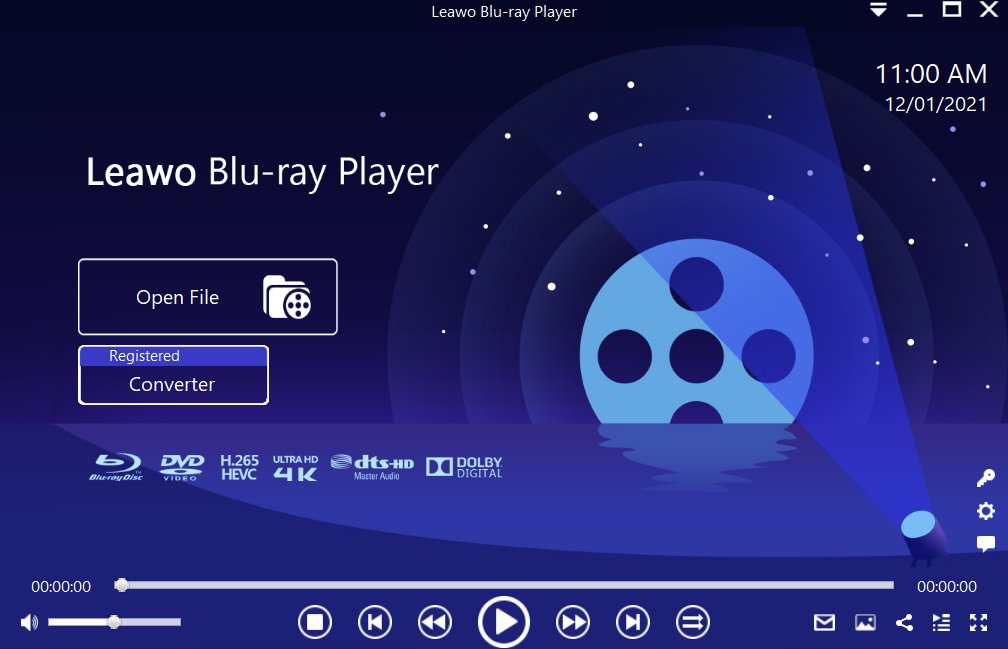
From the main interface, load your videos or movies from your computer by clicking the “Open File” button, then browsing for it. If you want to load Blu-ray or DVD movies, insert the corresponding disc, then click the disc name on the interface.
Step 2: Next, adjust the video settings
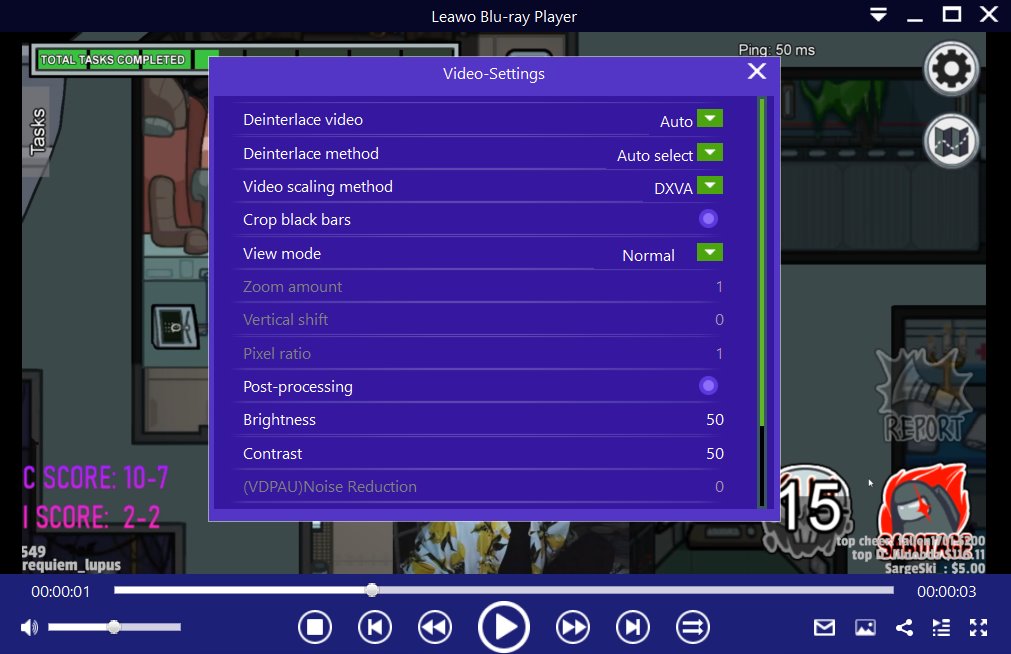
Hover your mouse over to the top left corner, or right click on the main interface and choose the "Videos" option to enter the ‘Video-Settings’ panel. Video cropping, post-processing, view mode, zooming etc., are some of the available options.
Step 3: Lastly, adjust the audio settings
Right click on the main interface and select the “Audios" option, or move your mouse over to the top left corner to enter the ‘Audio-Settings’ panel. The options available include audio volume, amplification, offset, stream, output device, etc.


