In the digital era, Apple has already won its popularity with its superior intelligent devices and friendly-used iOS system. For example, now you have an iPhone, you must have found that there are numerous wonderful iOS applications waiting for you to take a try. Not to say all sorts of applications in App Store, the default applications on the iPhone are also worth spending more time because they are really amazing in their features and functions. One of the most interesting applications on iPhone is iMovie. If this is your first time to hear about iMovie, you may think this application is a movie player or something like that. Well, that is the case. However, iMovie is not an App to play movies, but a movie editor instead. As a part of the Apple's iLife suite for iPhone, iMovie is an App allows you to create home videos, assemble video clips, add music, apply soundtracks and add other effects to a piece of movie on your iOS devices. With iMovie at hand, you can edit, create and share movies and trailers without having a computer. So, if you are also one of those who has missed iMovie on iPhone, now let's turn to it again to find out more fun about it.
Part 1: Detailed steps to make a movie with iMovie
Since you have a general understanding about iMovie, then you can't help asking how to make movie with iMovie. Actually, making a movie with iMovie is not so complicated as you imagined. Now let's take a look on the detailed steps on how to make movie with iMovie.
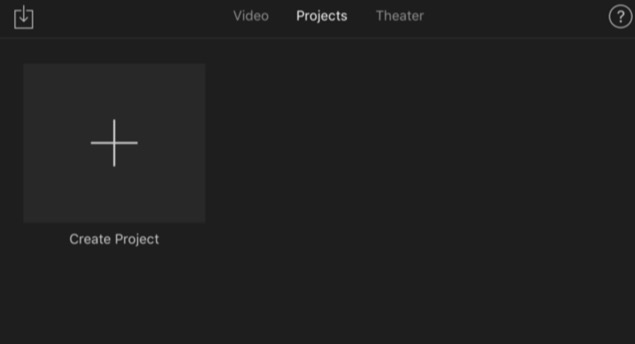
Step 1. Open iMovie and select "Project" tap and click "Create Project" to get started.
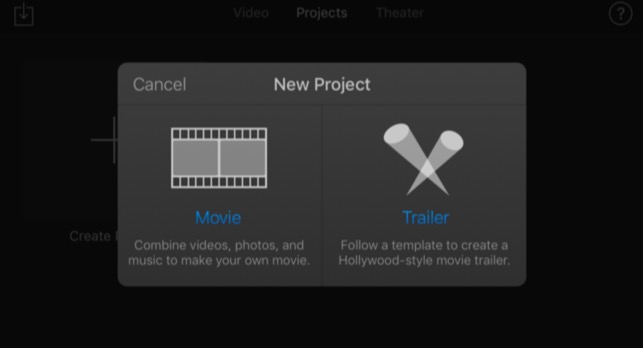
Step 2. Confirm to create a "Movie" or "Trailer". In most cases, you can choose "Movie".
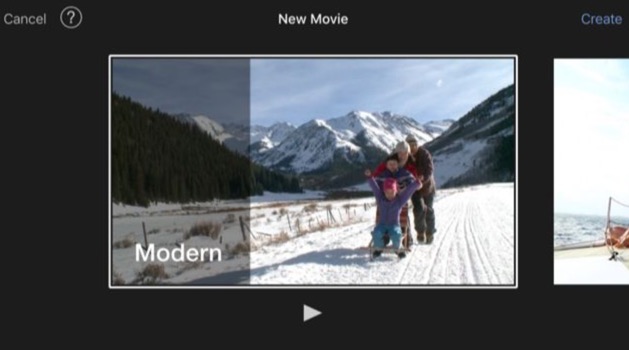
Step 3. Choose a theme or template for the movie. For "Movie" part, you can select from Modern, Bright, Playful, Neon, Travel, Simple, News, and CNN iReport.
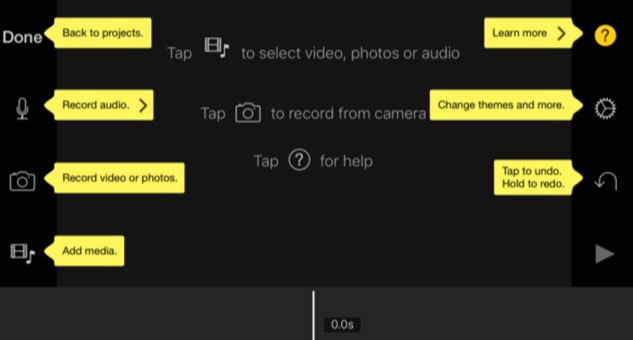
Step 4. Add video to the panel. Once you select "Movie", then you can see the full editing screen. Click "Add Media" near the bottom-left corner to add videos.
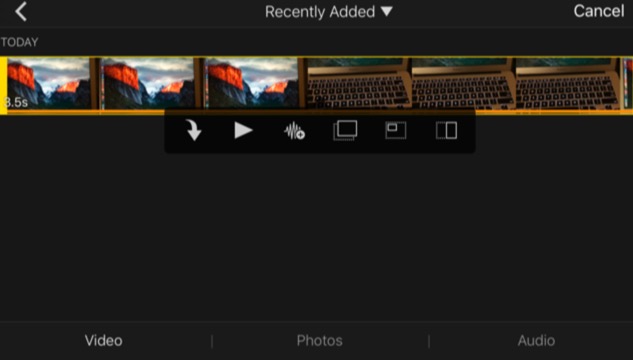
Step 5. Add more videos. After inserting the first video to iMovie, then you can see some buttons on the screen. Click the first button to insert it as a video, click the second on to preview it, tap the third button to insert it as an audio. You can repeat the process until you have inserted all the videos.
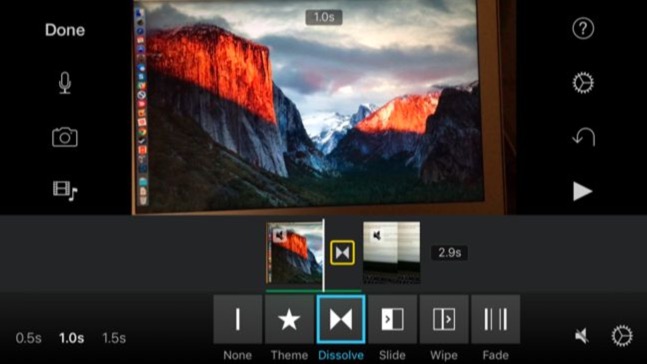
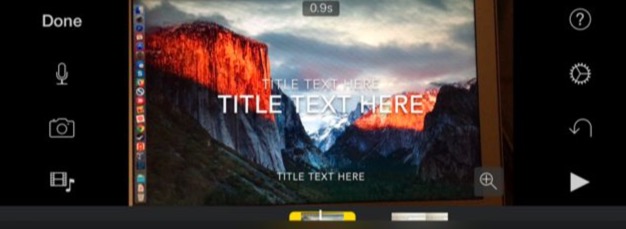
Step 6. More settings. Once you have inserted all the videos, you can modify the videos on the timeline by clicking the videos directly. You can select the themes for a specific video.
Step 7. Save your movie. After setting all the parameters, finally you can click "Done" on the top-left corner to save your movie.
Part 2: How to transfer the movie I make?
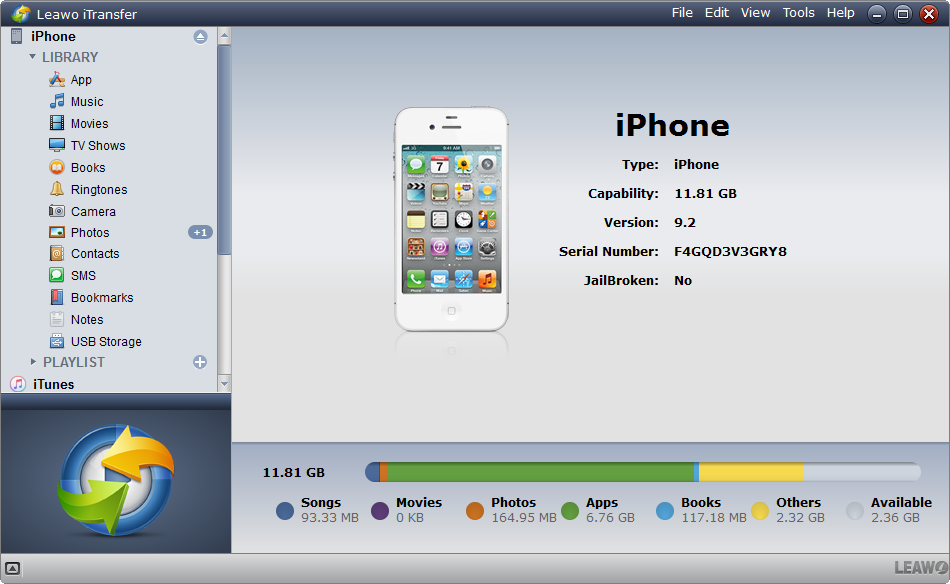
Just as you know, the content on the iOS devices can be transferred from each other freely. In the above case, since you have created a new movie by iMovie and saved it on your iPhone, now you would like to transfer the new movie to your iPad, what would you do? Well, of course, you can make full use of iTunes to transfer the movie from iPhone to iPad. But here in order to transfer the movie efficiently and quickly, you can use another tool to help you. You can take a try on Leawo iTransfer.
As a powerful iPhone, iPad transfer program, Leawo iTransfer will help you to backup and transfer data among various iOS devices. As an outstanding iPhone/iPad/iPod manager, Leawo iTransfer help users take full control of their media files. Playlists, contacts, SMS, notes, and more can be managed effectively. With the advanced scanning and transferring technology, Leawo iTransfer helps users transfer music, videos, photos, SMS, etc. between iPhone/iPad/iPod, iTunes and computers seamlessly.
Part 3: How to burn the movie I make to a DVD?
By following the above steps, making a movie with iMovie seems to be very easy. Furthermore, if you have the need to burn the movie you have made by iMovie, what would you need to do? How to burn the movie to a DVD? Absolutely, you must need the help of a powerful DVD burning program. Here I will strongly push Leawo DVD Creator in the first place. Leawo DVD Creater can burn DVD from more than 180+ formats of videos and photos with 6X faster speed. Additionally, it can allow you to experience all kinds of DVD menu templates for free and you can edit your video according to your own preference. Please refer to the following detailed instructions.
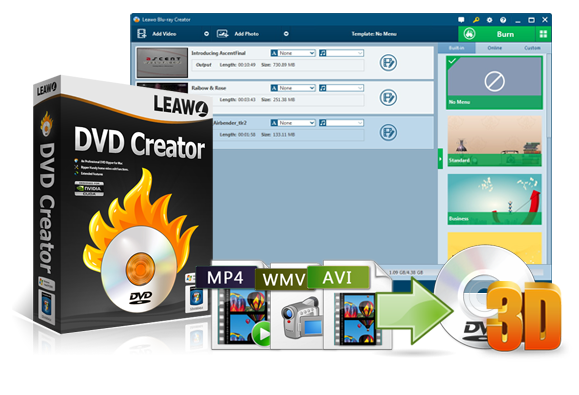
DVD Creator
☉ Convert videos like MP4, AVI, MKV to DVD format fast.
☉ Create DVD-5, DVD-9 disc, folder or ISO image without quality loss.
☉ 1-click operation to create photo slideshows and burn to DVD.
☉ Easily editable effects, 2D to 3D conversion support.
☉ Built-in menu templates and edit disc menu with personal preferences.
Step 1. Download Leawo DVD Creator and install it on your computer.
Step 2. Insert a new DVD disc with enough capacity to store your movie in the disc drive.
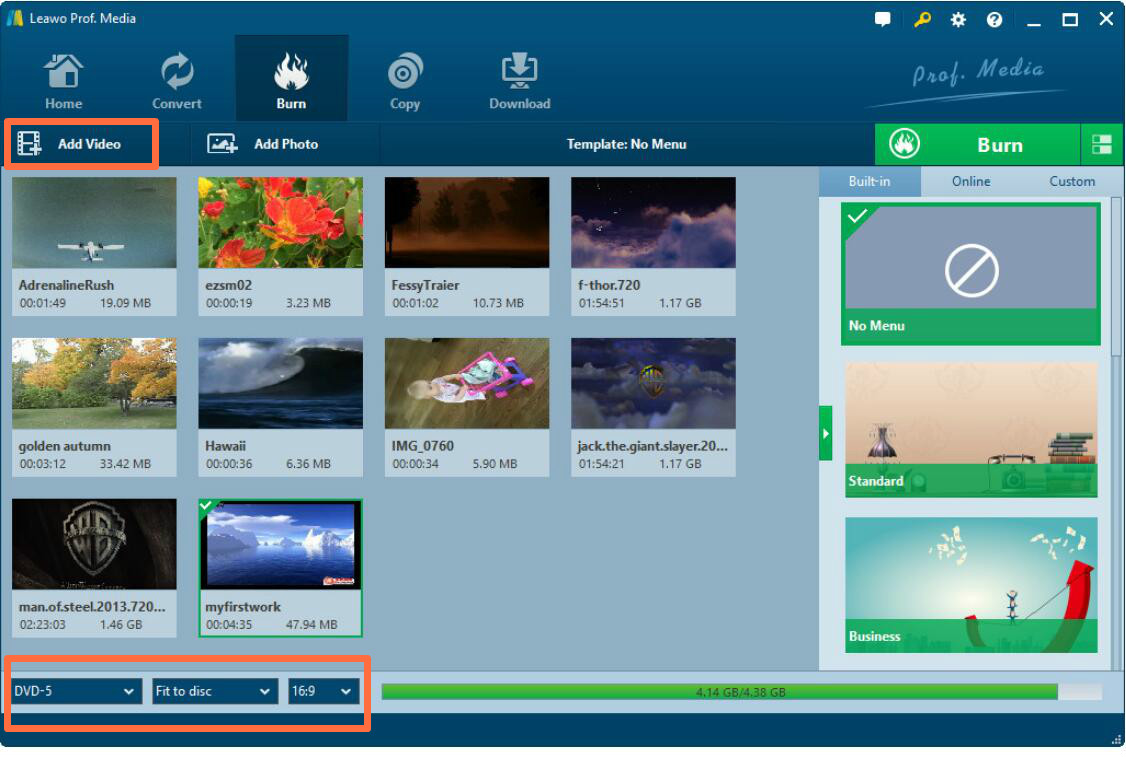
Step 3. Import the movie to the software by clicking "Add Video" on the main menu.
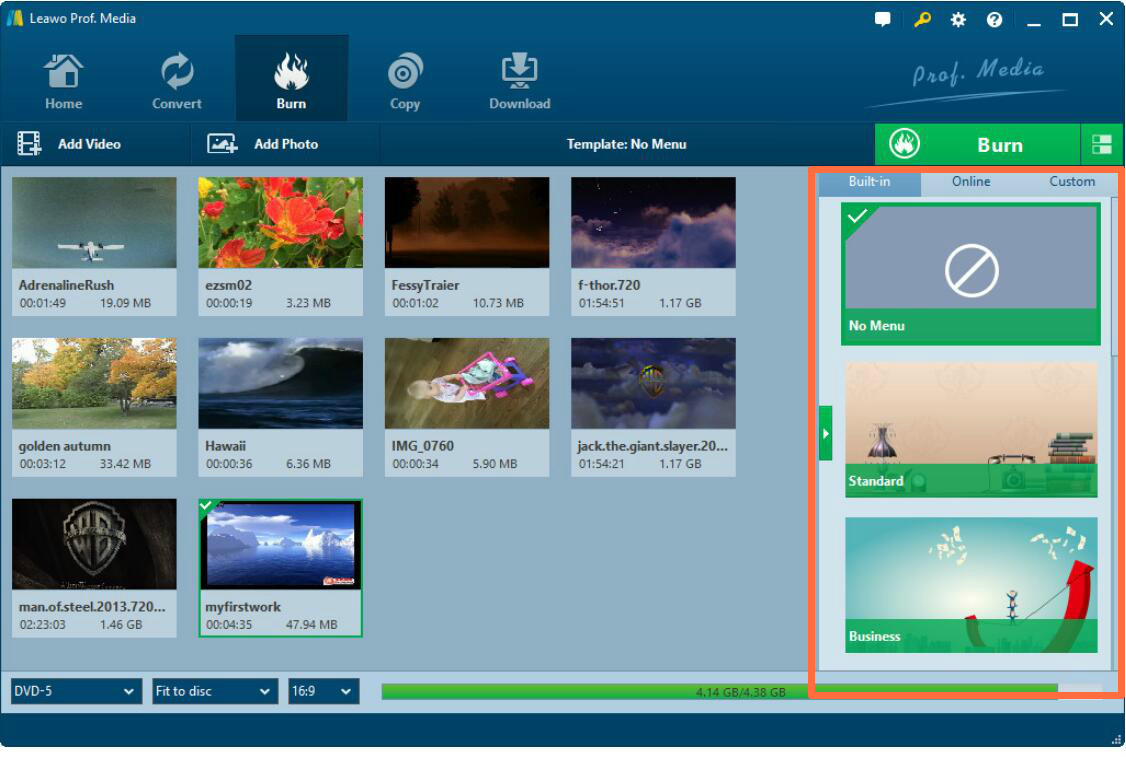
Step 4. Set the disc menu. You can also set the disc menu to obtain a personal DVD disc.
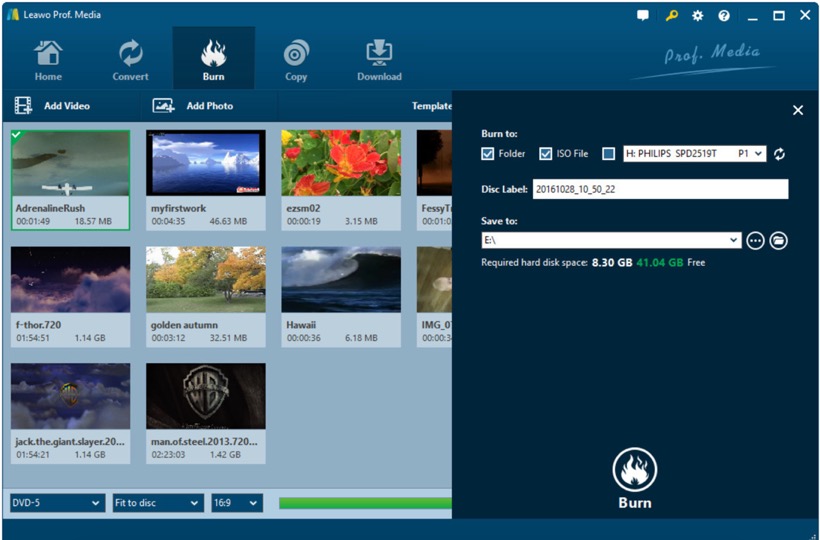
Step 5.Start burning the movie to DVD. After setting the templates, click the green icon "Burn" to start the DVD burning process. Before that, you need to figure out "Burn to", "Disc Label", and "Save to" options. Finally, click the "Burn" icon to start burning.
Conclusion
By referring to the above information, you will not only know the details on how to make a movie with iMovie, but also you can use Leawo DVD Creator to burn the movie to a DVD disc. Just try it and explore the more features and functions.

