Selfies are photos of yourself, usually taken by the front-facing camera on your smartphone. Anyone who has a smartphone can take a selfie, but the younger generations seem to be much more interested in the trend. There are a lot of selfie styles, and some people have jumped to the selfie stick trend to avoid extending their arms to get better shots. And if you are wondering whether there is a selfie emoji or not, it actually exists on the newer iOS versions. In this article, we will introduce a guide to iPhone photography as well as the best selfie sticks you can get right now.
Part 1: What do you need to prepare before taking a picture with your phone
Your iPhone packs powerful cameras, but taking the best shot is not always an easy task. Taking a photo is after all producing photos that you, as well as other people feel content with. With enough preparation, you can take better photos and you will realize that it's actually not hard to take a nice picture. Although we will mostly focus on selfie sticks in this guide, this is a list of iPhone photography tips that can help you to take better shots.
1. Clean the lens
You put it in and out of your pocket, and you sometimes touch it with wet or oily hands. Because the camera lens is getting bigger on modern-day iPhones, it's almost impossible to keep them clean. Thankfully, cleaning the lens is a very easy task. All you need is a soft and damp cloth, and cleaning your lens ahead of time is advisable as you can get better cleaning results.
2. Invest on external iPhone lens
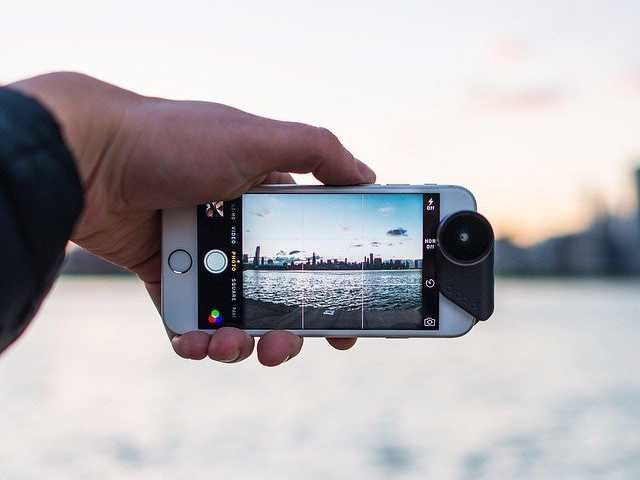
IPhone lenses let you take photos that were not possible to take before. You can add an ultra-wide lens to get more in a single shot, or add a telephoto lens that can let you take things that are farther away. Putting a macro lens allows you to get closer up on smaller objects.
3. Use the grid
Using the grid in the camera app allows you to compose a better shot. It helps you to see if the person or object is too far to one side. It also helps you to use the Rule of Thirds, which basically means the placement of objects in a photo to make it more interesting. By default, this feature is turned off and you can turn it on in the Settings app, under Camera.
4. Use a manual camera app
Although this is optional, you can use a manual camera app if you are an advanced user. A manual camera app can also help you to shoot in RAW if you wish to edit the image later on a computer.
5. Invest in a selfie stick
If you take a lot of selfies, its best to invest in a selfie stick. They allow you to take better group photos that do not exclude any member, you will not need to ask people around you to take photos of you, and you will take nicer photos without tiring yourself. We will recommend 5 selfie sticks to you on the next section of this guide.
Part 2: Top 5 best selfie sticks for iPhone photography enthusiasts
Just like it is worth investing in an iPhone lens kit, investing in a selfie stick is also a wise choice if you want to transform your smartphone photos. Normally it is easy to find a flimsy plastic selfie stick on the streets at low prices, but those are normally wobbly, and might visually damage your iPhone by scratches or even dents. The best selfie sticks can be a bit costly, but they are better investments. You will not only be able to get a secure hold of your iPhone, but you will get extra features like Bluetooth, stabilization or even the ability to convert them into tripods. We will recommend five selfie sticks that may depend on your needs, like the one you can ideally use for vlogging, some for action, and premium selfie sticks that are durable.
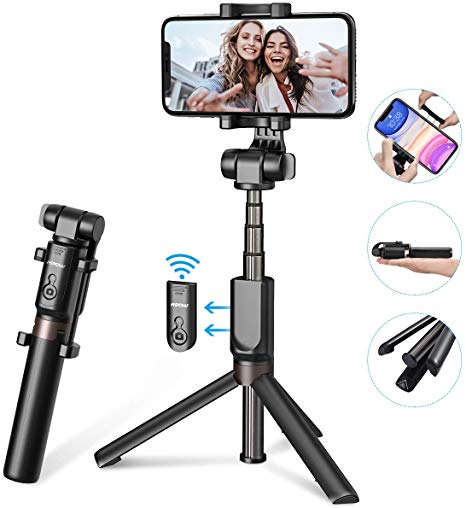
This is a multifunctional selfie stick with Bluetooth and a wireless remote. Its initial length is 20CM, but can be extended up to 82.5CM, and it has a 65mAh rechargeable battery that can take up to 50, 000 selfies from a single charge. As the name suggests, it can quickly convert to a tripod, which supports iPhones as well as DSLR cameras.
It packs a fill-light, as well as a tripod screw mount and a Bluetooth remote. Initially, its length is 16.5CM but it can be extended up to 75CM. The fill light makes it ideal for studio portraits, and vlogs. The light can be controlled on the handle, and the screw mount will take lighter cameras if you have one.
This is one of the cheaper Bluetooth compatible options, and it is around 18CM when not extended. When fully extended, it gets to around 80CM and it comes included with a wrist wrap that adds extra security when extended. Although it is a cheaper selfie stick, the quality is remarkable, although it lacks the tripod functionality.
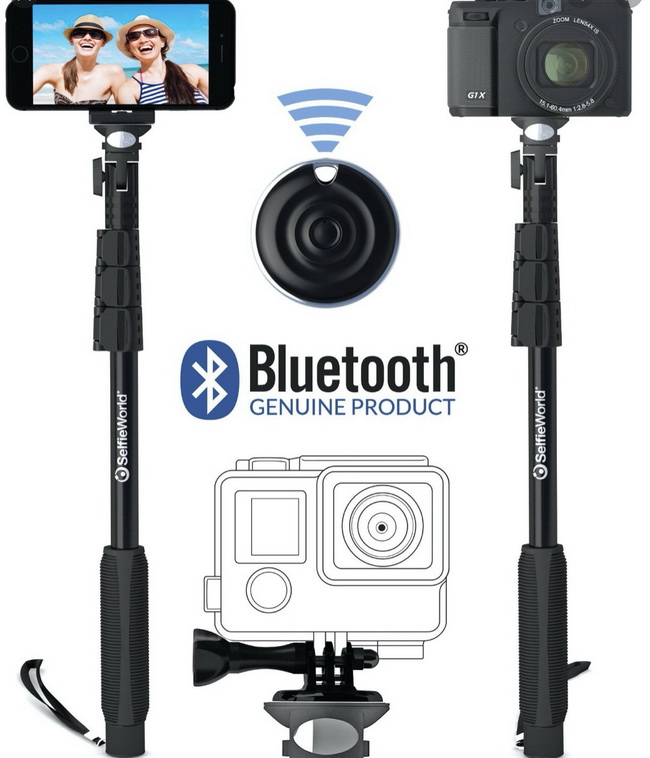
This is one of the very few ultra long selfie sticks, which extends to about 119CM from its 40CM retracted length. It is also weather proof, which makes it a perfect companion for people who like traveling outdoors. The secure hold quick release clips will protect your iPhone from being dropped. It has Bluetooth, a Bluetooth remote and a nylon carrying bag. The downside is its still large when retracted, so you can keep that in mind.
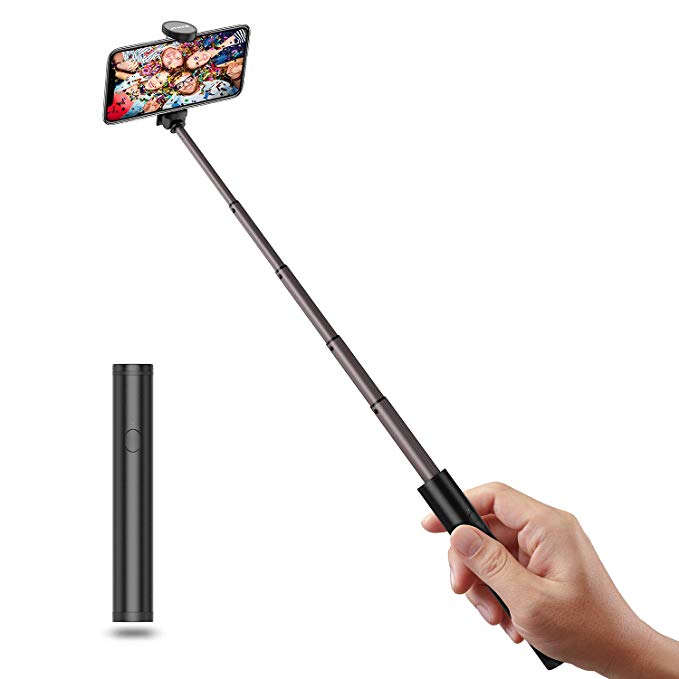
Ultra portable, short and cute, this selfie stick is ideal if you want a selfie stick that you can carry in your pocket or handbag. The retracted length is around 12.5CM while it can fully extend to around 51CM. It is an all metal selfie stick, which makes it of premium quality. Like all the selfie sticks on this list, it has Bluetooth control which can pair easily with your iPhone.
There are many more alternative selfie sticks you can find in stores, but so far these are the best as customers mostly give positive reviews about them.
Part 3: How to transfer photos from iPhone to PC
With advanced cameras packed on modern-day iPhones, as well as Apple’s ambitions to continuously improve them, photography using iPhone is one of the best ways to do it on mobile. More so, you can grab much more advanced camera apps in the AppStore, some of which can help you to shoot in RAW. After shooting the photos using iPhone, you may want to edit them using advanced editing software on your computer, you want to use them for your work, or you may want to have a backup of them. Whatever the case or reason for transfer, we think Leawo iTransfer is the most suitable application for this job. Traditionally, iPhone users employ iTunes, but this powerful software is a much more capable and polished tool for the management of data on your iOS mobile devices right on your PC or Mac computer.
With Leawo iTransfer, you can get the ability to managing data on iPhone without iTunes, and many applications in its category cannot handle this task. Currently, all iPhones (with the exception of the original model), iPads and iPods are supported. Future models will be supported as well, since this application is constantly updated. If you have an iPhone with a lot of unused storage, you could also put anything you want and use it as a USB flash drive. After reading our iPhone photography tips, we will now show you how to transfer your photos from iPhone to PC. Please download and install the software first, then follow the simple instructions below.
Step 1: Launch the software on your Windows or Mac computer
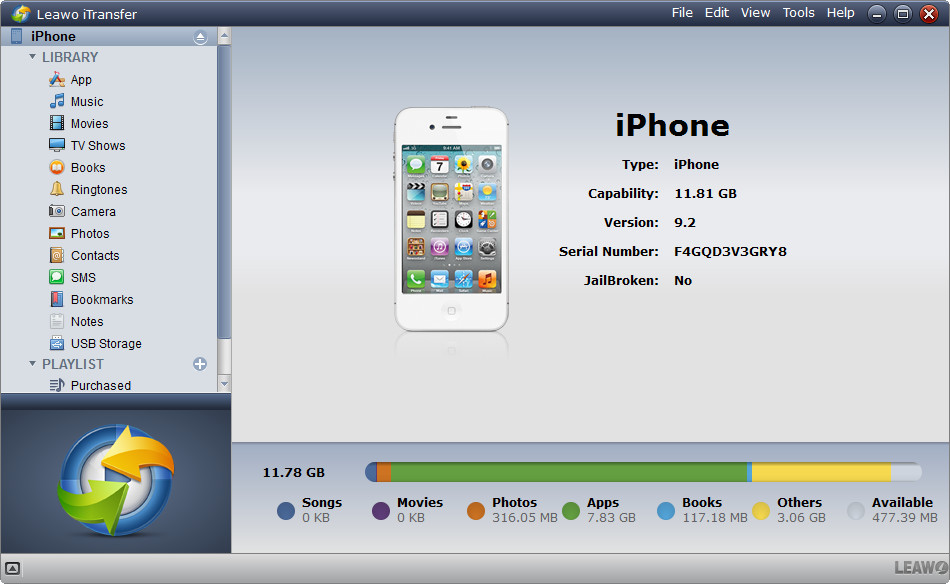
Using your USB cable, connect your iPhone to the computer and the software should detect the connection. On the left, you will see the library menu (which includes photos, 3rd party apps, music, notes, USB storage, messages, podcasts, etc)
Step 2: Set your transfer options
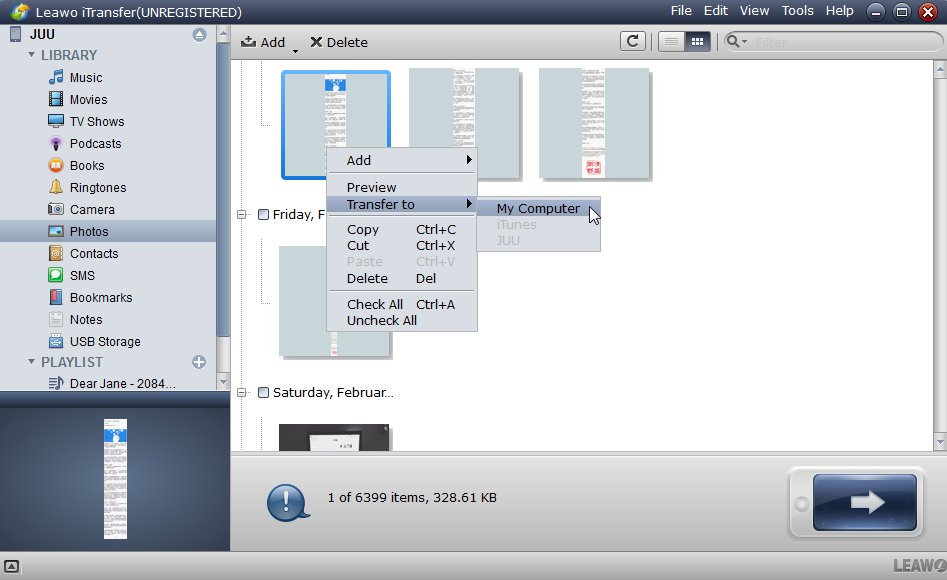
Select Photos from the libraries. Hold the “Ctrl” (for Windows computers) or “Command” (for Mac computers) keys. Find the specific photos you wish to transfer, then right-click and under “Transfer To:” select “My Computer” since you want to transfer from your iPhone to your computer.
Step 3: Set your output folder
As soon as you select “My Computer” from the previous step, a pop-up dialogue will show up. Check “Save to folder:” followed by clicking “Change” to select the output folder. After you have selected your output folder, click “Transfer Now” to begin transferring your photos.
Step 4: Wait for the transfer to finish
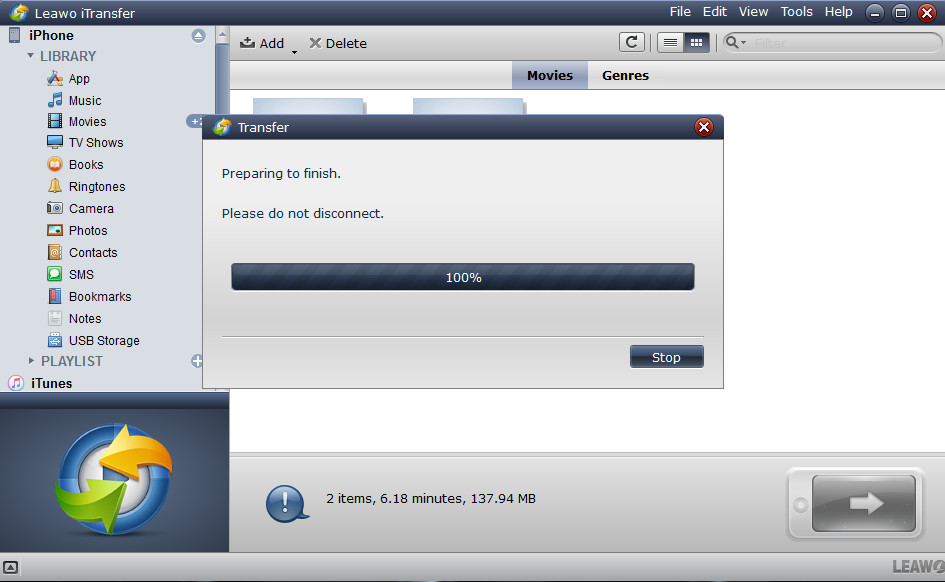
The progress bar will show you the percentage of the progress. Please do not disconnect your iPhone from the computer before completion, because your photos will fail to transfer to the PC. If you wish to cancel, click “Stop”.

