When we want to create a song or record a song clip in a computer, audio editors will come in handy. There are many audio editors available on the Internet, but what about free audio editor? Today I would like to introduce you 5 best free audio editors.
Part 1: 5 Free Audio Editors to Edit Audio
There are many free audio editor software on the Internet. But it is not easy to find a good one. We all know that free audio editor is an open source audio editing and recording program. It is a computer application or we can say software for audio editing, which designed for recording, editing and playing back digital audio. Some extraordinary free audio editor software can perfectly perform. A list of the best five free audio editors is mentioned here for you, which are normally used by the experts.
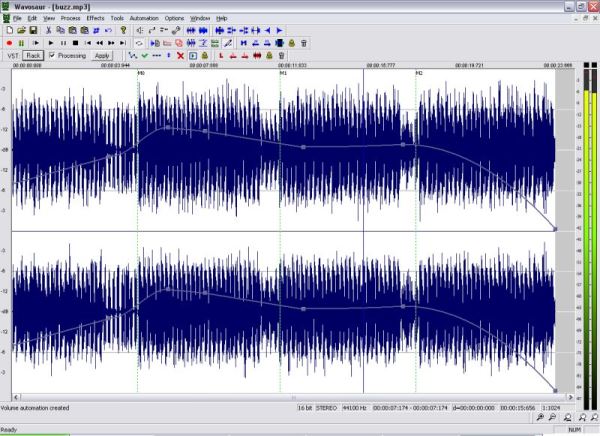
1. Wavosaur
Wavosaur is a cool free audio editor software. It has all the features to edit audio, produce music loops, analyze, record and batch convert.
It can be used as a free mp3 editor and this free audio editor works on only on Windows.
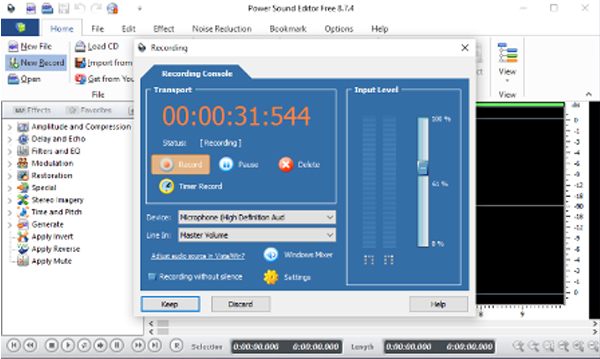
2. Power Sound Editor Free
It is easy to create, record, edit and share audio by using this audio editor free. Power Sound Editor Free has been recognized as the best free audio editor among all free audio editor software.
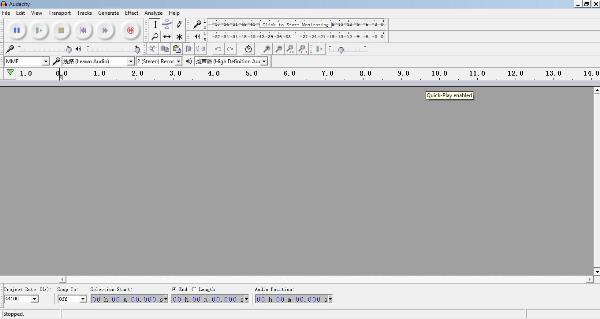
3. Audacity
Audacity is an easy-to-use, multi-track free audio editor for Windows, GNU/Linux and other operating systems. There are many languages you can choose in the interface. Audacity is free audio editor software, developed by a group of volunteers. It is the most reliable free audio editor among the 5 best free audio editors.
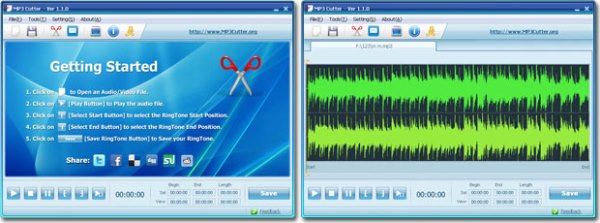
4. MP3 Cutter
MP3 Cutter is an free online audio editor. Easily and quickly, you can record audio and cut an audio track in a few clicks without registering and installing. This free audio editor supports over 300 files formats and it can extract audio from video,too, which is very convenient for you.
5. Wavepad
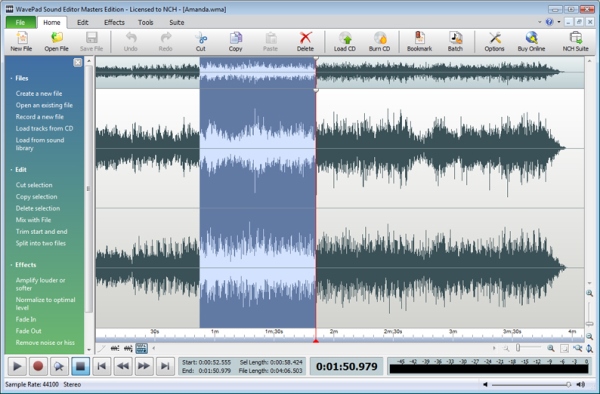
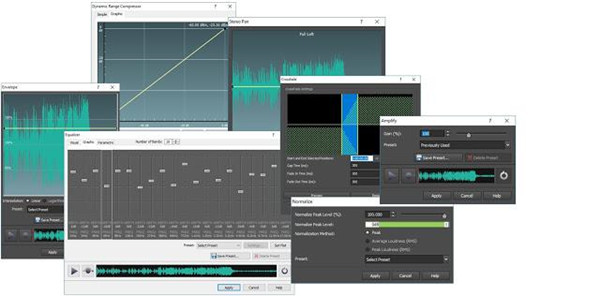
There is no doubt that Wavepad is the most professional audio editor for you. In this audio editor, you can cut, copy, paste any part of recordings and add sound effects including amplify, normalize, equalizer, envelope, etc. It supports almost every popular audio format such as MP3, WAV, VOX, WMA, OGG. In addition, it is easy for you to find your recording by creating bookmarks or regions.
Part 2: How to Edit Audio with Leawo Music Recorder
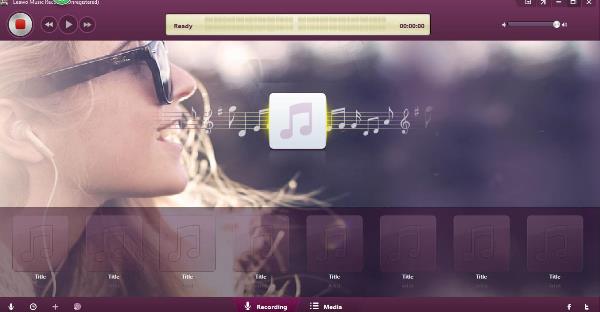
Leawo Music Recorder is one of best audio editors for computers. It provides the easiest and safest way to record music or audio from all sources. Moreover, the best free audio editor can automatically download, adjust audio parameter and add music tags like song name, artist, album, etc. Now let’s learn the steps to record and edit audio with this audio editor.
First, download (https://www.leawo.org/music-recorder/) and install this audio editing software on your computer and then launch it. The below steps would show you how to record and edit audio files on computer. It works on Windows.
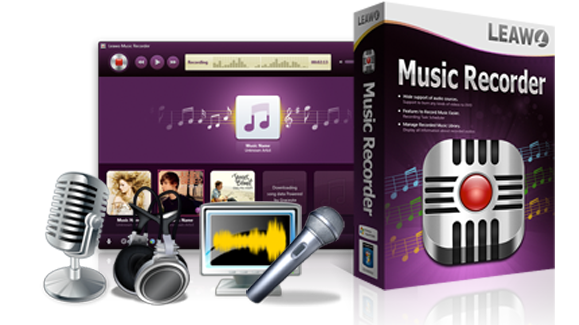
Leawo Music Recorder
☉ Record any sound from computer stream audio and built-in input audio.
☉ Record music from 1000+ music sites like YouTube, Facebook, Veoh, VEVO, etc.
☉ Schedule music recording via the internal recording task scheduler.
☉ Automatically/manually add and complete music tags like artist, album, cover, genre, etc.
☉ Save recorded musicfiles into either WAV or MP3 format for wide uses.
Step 1. Settings
Click the little second clock icon at the bottom left corner,you will see 7 preferences in the new page.
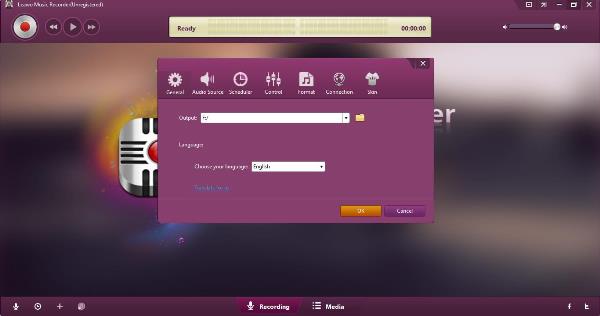
General decides the place of your output and the language. You can store your recordings in your computer or other built-in storage facilities.
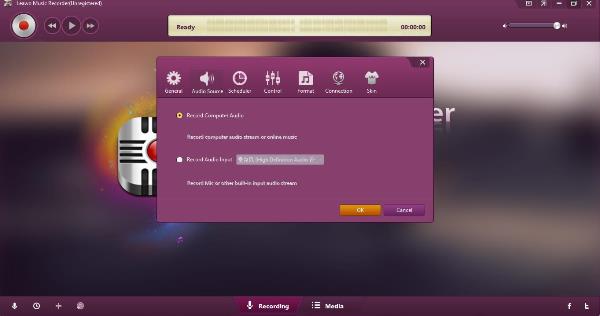
Audio source decides where is your audio from, there are two options: "Record Computer Audio" and “Record Audio Input”. You can choose one based on your actual situation.
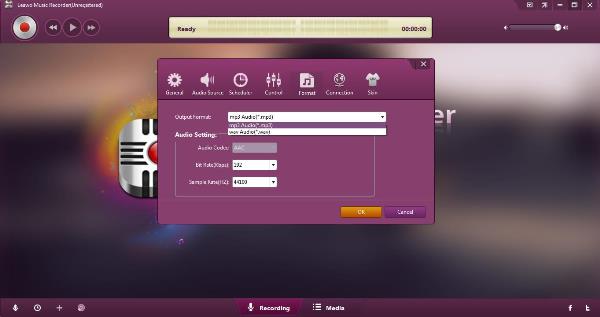
Format can choose the output format: WAV or MP3, change the parameters of audio codec, bit rate and sample rate to enhance the sound quality.
The other references are Scheduler, Control, Connection and Skin. Scheduler decides the time. Control decides the process of recording.You can find the music through Connection and choose the suitable skin as your backgroun
Step 2. Start recording
Go to the main interface to click the red recording button to start recording, then play audio you need to record. When recording finishes, just click the recording button again.
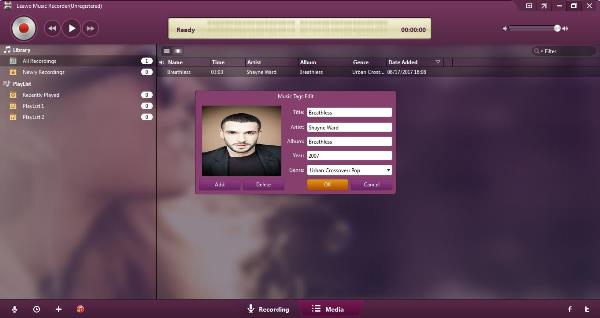
Step 3. Edit audio tags
As I said before, Leawo Music Recorder is typical for automatically downloading and adding music tags. Nevertheless, you can also right click the recording you need to edit to select "Edit" option to edit music tags like song title, artist name, album name and genre on the Media panel.
Part 3: How to Edit Audio via MP3 Cutter
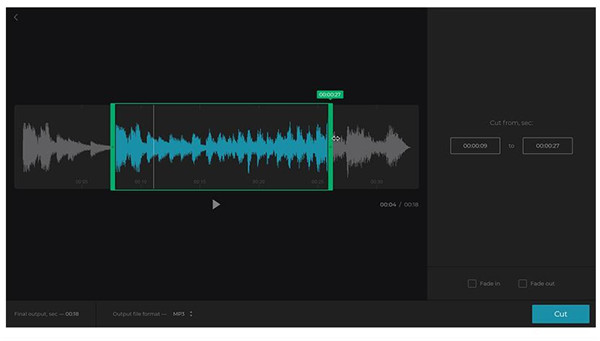
Two methods are offered to trim MP3 files via MP3 cutter, one is to move two markers to choose the length of MP3 files, the other is to insert the time you need in seconds. This is a user-friendly application which offers the intuitive interface to let you edit your music without any trouble. Installation and downloading are not needed because this is an online MP3 cutter, therefore, the whole process of editing would take you less time to complete the task. You are allowed to go in and out of the music track with this tool, and the files can be converted to any format according to your needs. The compatible feature of this application makes all the audio formats including MP3, OGG, WMA, WAV or other kinds of popular formats work with it. Its high security gives you a guarantee that no one is able to access the files that you have uploaded without your authorization. Below is the tutorial to guide you on how to edit audio with MP3 cutter in specific steps.
1. Import audio to the application. You can select a file from your computer or Mac or Android or your iPhone. Also, you can get your file dropped to the web page or enter a link coming from Dropbox or Google Drive.
2. You are allowed to decide the beginning and the end of your audio files. Going in and out of your audio track can be done with this application, so you can make any change on the format of your file instantly. It would be a good idea to select MP3 format for the ringtone you want to make.
3. Once the editing process of your audio file has been completed, you can make it playback to ensure that you have got what you need. Then the audio file can be saved to your computer or smartphone or the cloud storage.
You don’t need to have any special skills of editing audio when using MP3 cutter to make a ringtone or trim MP3 audio files. It is easy-to-use and the high quality of the audio is still maintained once the length of the songs is shortened.
Part 4: How to Edit Audio using Wavepad
Recording and editing your music file would not require any professional skill in producing music. You are allowed to make your music recording at a high level with the simple music editing tool Wavepad. Here we will instruct you how to edit audio with Wavepad step by step as below.
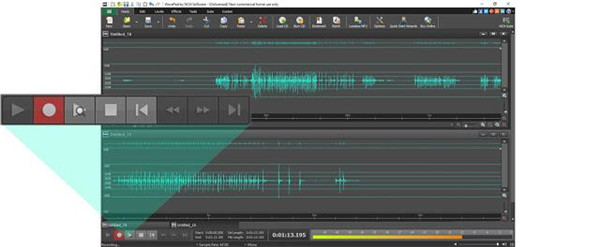
1. Record your audio in a direct way into WavePad with the accessory mic or internal mic from computer or device. You just need to press on the red button to build a new blank track, then the recording will start in an automatic way. You can click on the square button or Esc key or any location of the track to stop your audio recording.
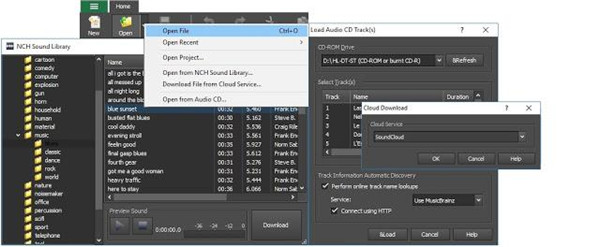
2. You also can import pre-recorded track into the application for editing. The audio file can be opened by pressing on Ctrl + O option on Windows or choosing Command + O option on Mac. Also, you can navigate to the drop-down menu and then choose File to open the target audio track. Furthermore, you also can get the files imported from Cloud storage. Exploring NCH sound library must be made sure to add more sounds or tracks to your audio project.
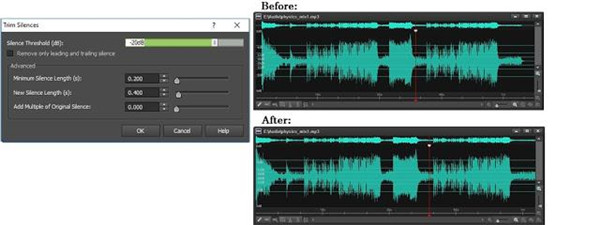
3. Getting rid of the silences from the start and the end of your audio recordings is the first task to begin trimming the audio recording, you just need to choose the track and enter Edit tab, click on Trim, then select the option Auto-trim silence from the option Start and End of the File in the drop-down menu.
4. Splitting your recording and file can be done at any time via WavePad. Only through placing your cursor on the location that you want to split the track, choose the option Split from the tab Edit, then select the option Split at cursor in the drop-down menu. The audio track will be split on the location of cursor, which will result in two individual track.
5. Choose the option Cleanup from the Effect menu to reduce the background noise, where multiple options of noise cleanup can be chosen according to your needs.
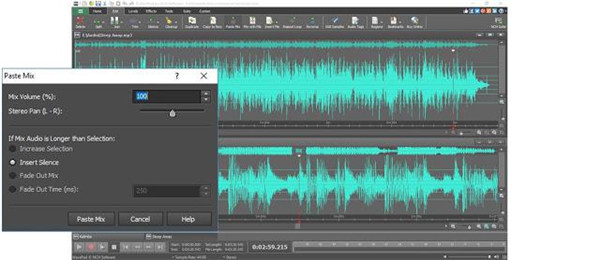
6. Two tracks can be combined into one with WavePad, you can choose one of the audio tracks and then get it copied to clipboard. Then, choose the second track and then click on the icon button Paste Mix from the menu below the tab of Edit. Once it is played back, two segments of audio which have been combined can be heard by you.
7. The volume levels of your audio can be decided by you, choose the option Normalize Audio in the tab of effects so that the audio of the entire track can be amplified.
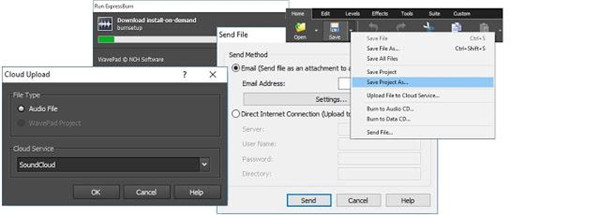
8. The audio can be saved after the editing has been finished. Click on the icon button Save below the tab of Home, then select to get your music burned to CD or audio. Next, the music file can be sent by email and uploaded to iCloud. Furthermore, it also can be saved into different formats as you need. If there is any additional edit made on your project in the later time, your music files can be saved as the project file of WavePad to maintain the original quality.

