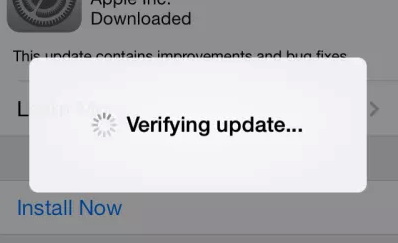
Since the iOS 14 has been released last year, many iPhone users have hoped to update their iPhone to this new operating system. In order to update iPhone to this iOS version, users have to download the newest iOS system file automatically, and then install it to your iPhone. During the installing process, “Verifying Update” message is always showing on the iPhone’s screen, which may make your iPhone stuck on verifying update screen for even more than hours. Users could only wait without any other actions. In a common case, it only takes about 10 seconds to complete the update process. If this stuck screen remains more than minutes or hours, some daunting issues must be solved before the iOS system could be updated successfully. Why does this issue happen and how to avoid iPhone getting stuck on Verifying Update screen. Now, in this post, you would be introduced to the detailed steps to solve the problem.
Quick Navigation
Part 1: Why is My iPhone Stuck on Verifying Update Screen?
As the iPhone continues to update, the iOS system is also constantly upgraded. Users of Apple devices know that more advanced system versions usually contain some new technologies and solve some bugs. And after iOS 10, each update will encrypt the user’s system files seperately. Therefore, the system upgrade will take a little longer. However, some users may have been stuck on verifying update screen during the system upgrade. What are the reasons for this issue?
Part 2: How to Avoid iPhone Getting Stuck on Verifying Update Screen?
Actually, you can avoid the issue of iPhone stuck on verifying update screen with some efforts. You can follow several advices listed below to avoid this problem.
- ▲ Make sure your iPhone has been connected to a good WI-FI network which would provide continuous internet connection during upgrading your iPhone.
- ▲ Keep your iPhone fully charged, or at least make sure the battery is over 50%.
- ▲ Remove the unnecessary files to release more capacity on your iPhone so that your iPhone has enough capacity to store the update files.
- ▲ Create iPhone backup regularly to prevent some important files from being lost due to system crash. If you are unfamiliar with iTunes or don't want to experience the bad backup method of iTunes, Leawo iTransfer could be your firm choice.
Part 3: 7 Ways to Fix iPhone Stuck on Verifying Update Screen
Among all the problems encountered in the iOS update process, getting stuck on verifying update screen is not a complicated issue, so users can use the following simple methods to try to fix this issue without worrying.
△ 1. Lock and Wake Your iPhone
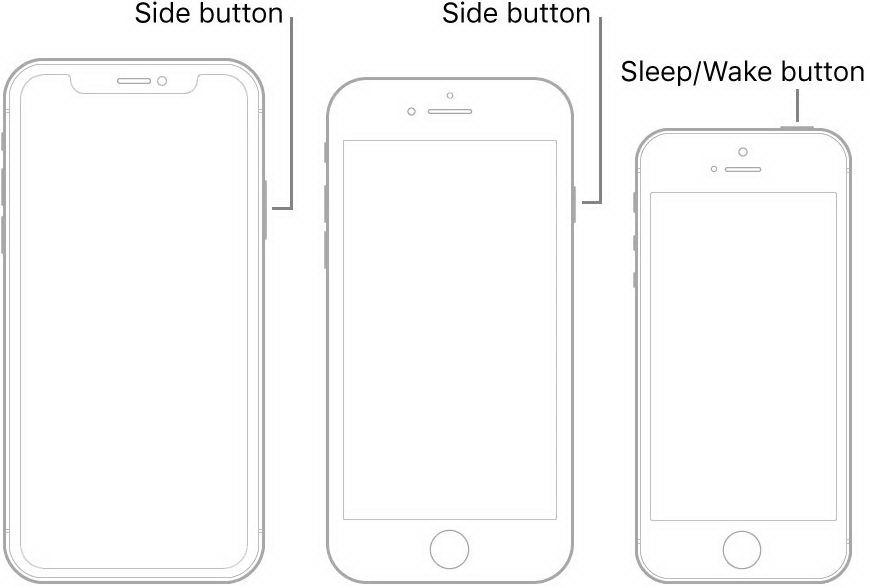
Once your iPhone got stuck on Verifying update screen, the first solution you can turn to is to simply lock your iPhone and then wake your iPhone later. Doing in this way could help users to refresh their iPhone, which is quite easy to carry out. What you need to do is just press the Power button on the side to lock your iPhone. Then wait in seconds and press it again to wake your iPhone. Repeat this for 5 to 10 times.
△ 2. Delete Update and Re-download it
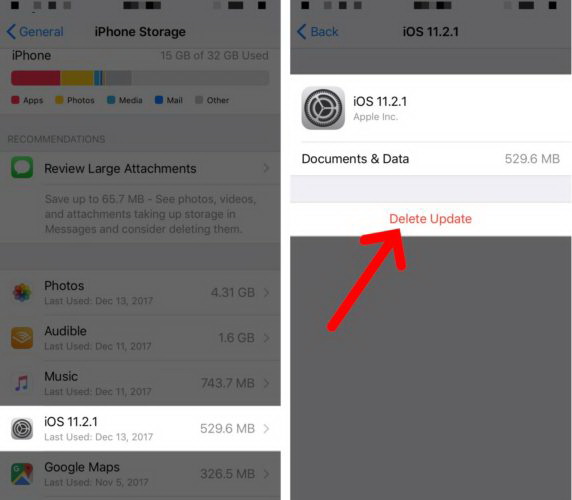
If the first solution doesn’t solve the problem, then you can try to simply delete the iOS update and download it again. The steps are quite easy. Go to Settings and navigate to iPhone Storage under General option where you can see many apps. Then, search for the iOS update you would like to download and click it to get the Delete Update option. Once it has been deleted, you can navigate to Settings > General > Software Update and re-download the iOS system.
△ 3. Hard Reset Your iPhone
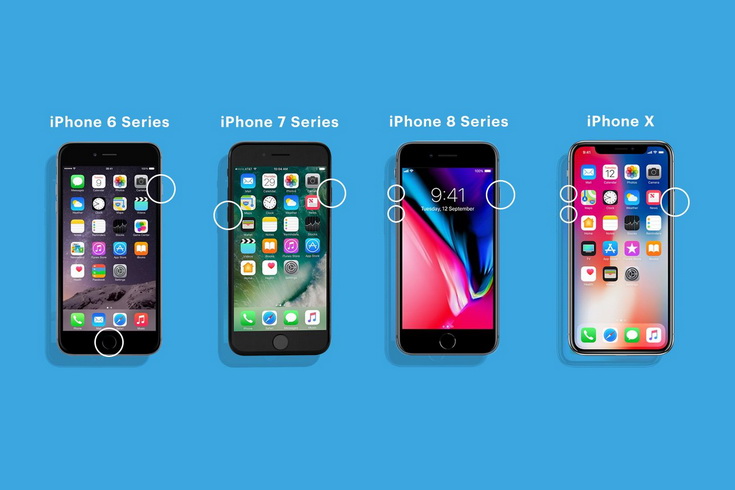
Hard reset is a good method to fix your iPhone due to software crash. You can follow the guide below to hard reset your iPhone:
- For iPhone 6 or older: Press and hold the power button and Home button at the same time. Let go of both buttons as soon as the Apple logo appears on the display.
- For iPhone 7 & iPhone 8: Simultaneously press and hold the power button and the volume down button until the Apple logo appears on your iPhone’s display.
- For iPhone X or later: Press the volume up button, then press the volume down button, then press and hold the Side button until the Apple logo appears on the screen.
After hard resetting your iPhone, enter the Settings to check and confirm whether your phone version has been upgraded. If not, go back to Settings > General > Software Update and try to download and install the software update once again.
△ 4. Restore from Backup
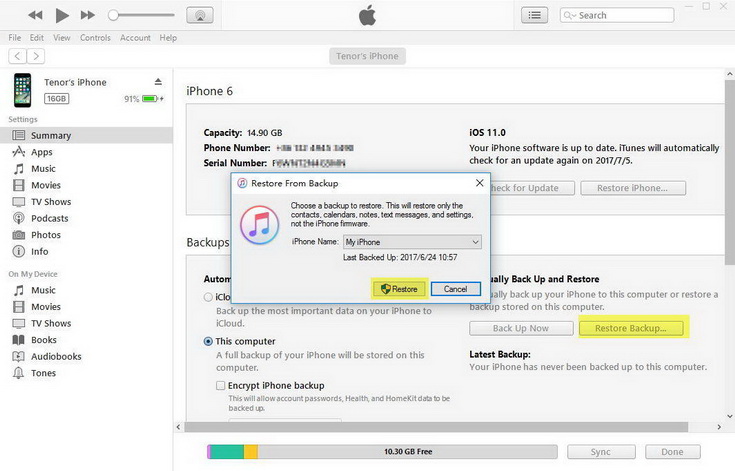
Restoring from backup could be another efficient way to solve the problem if the hard reset doesn't work.
Restore from backup via iTunes
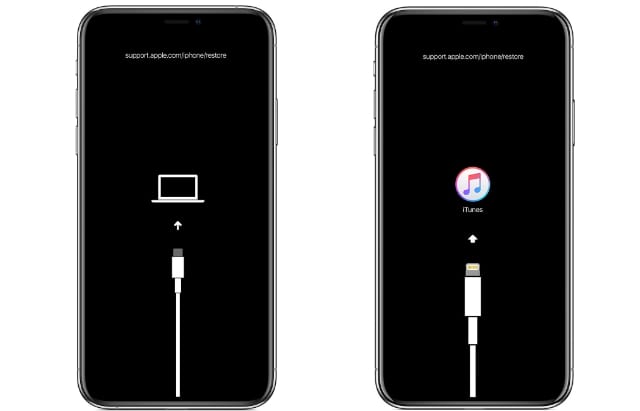
Step 1: Download and install the latest version of iTunes software on your computer, then open iTunes after installation. Connect the iPhone to the computer with a USB cable, and boot your iPhone into Recovery Mode by steps below:
- For iPad, iPhone 6s or earlier models and iPod touch (6th generation) or earlier models equipped with a home button: press and hold the home button and the top (or side) button at the same time. Keep holding these two buttons until you see the recovery mode screen.
- For iPhone 7, iPhone 7 Plus and iPod touch (7th generation): Press and hold the top (or side) button and the volume down button at the same time. Keep holding these two buttons until you see the recovery mode screen.
- For iPhone 8 or later models: press the volume up button and then quickly release it. Press the volume down button and then quickly release it. Finally, press and hold the side button until you see the recovery mode screen.
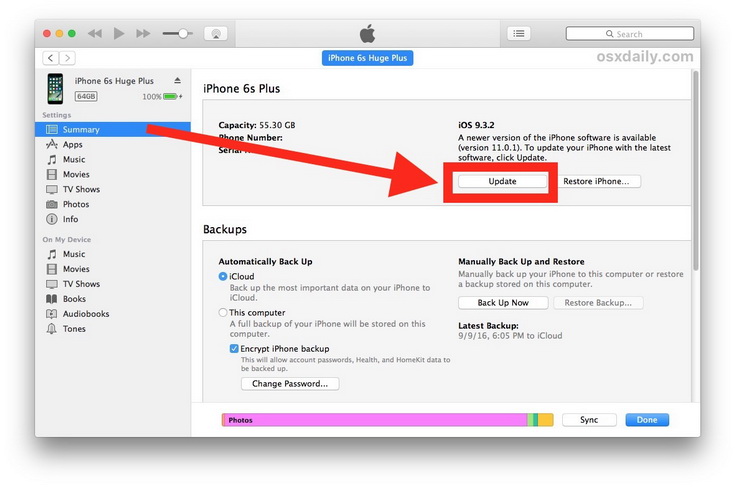
Step 2: When you see the "Restore" or "Update" option, please select "Update" to complete the iOS update.
Restore from backup via Leawo iOS Data Recovery
Asides from restoring from backup via iTunes, you can also seek help from Leawo iOS Data Recovery to restore backup from your iPhone directly.
Step 1: Download Leawo iOS Data Recovery
Select a proper version of Leawo iOS Data Recovery, then download and install it on your computer for preparation.
-
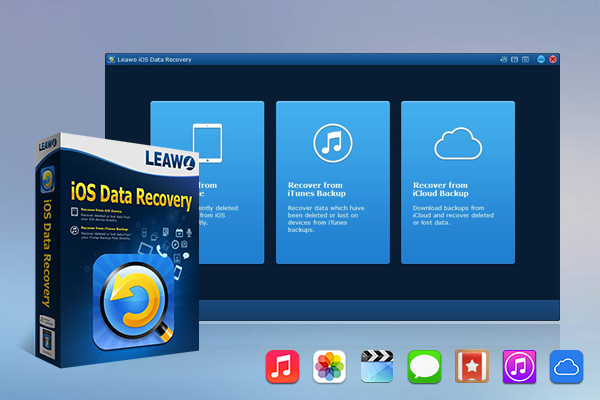
Leawo iOS Data Recovery
- Recover lost or deleted data from iOS devices, iTunes backup and iCloud backup
- Retrieve files from iTunes and iCloud backup even for lost or broken iOS devices
- Restore 12 types of data, including photos, videos, SMS & MMS messages, contacts, call history, notes, calendar, etc.
- Fully support all iPhone, iPad and iPod touch models
- 100% safe, accurate and speedy recovery
- User-friendly interface and simple operations
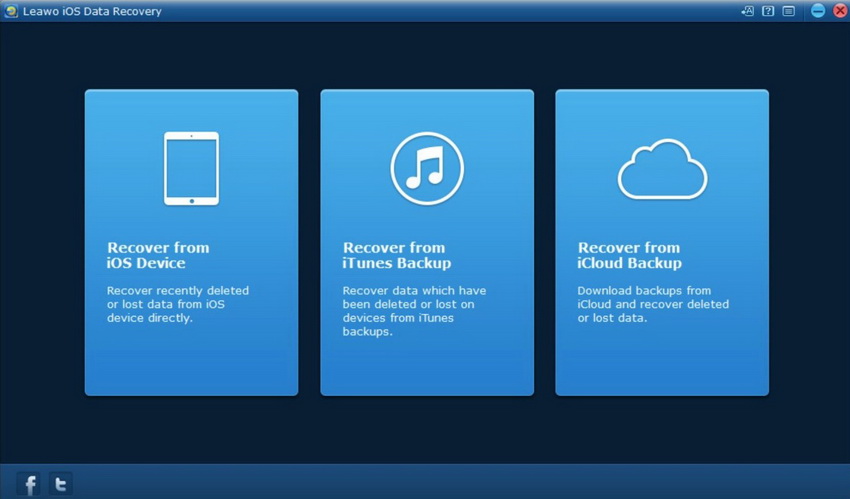
Step 2: Choose Recovery from iOS Device
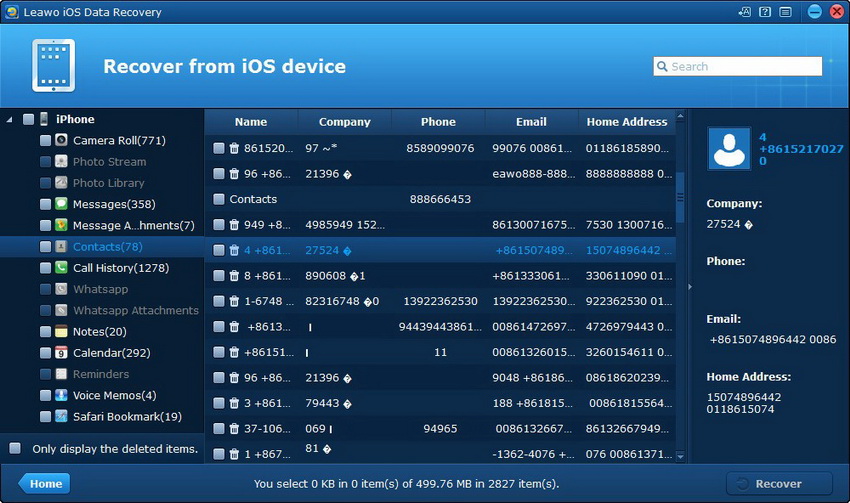
Run Leawo iOS Data Recovery on computer and then use a proper USB cable to connect iPhone with your computer. This software will detect your iOS device automatically. After that, you need to pick up "Recover from iOS Device" to click on.
Step 3: Select data to recovery
When you view all categories of your iPhone in the left sidebar, you need to choose a folder you would like to restore from. Afterwards, you need to click on the "Recover" button at the bottom right corner of the interface.
△ 5. Fix iOS System Without Data Loss
Fortunately, if you forgot to make a backup of you iPhone, you can still find a way out. Here Leawo iOSFix could be an excellent tool to fix iOS system without any data losses. As a powerful iOS system repair tool, Leawo iOSFix could easily and accurately fix more than 50 types of iOS/tvOS errors, including the system crash, black screen of death, white screen of death, stuck in Recovery Mode and so on. You can follow the steps below to fix iOS system without data loss.
Step 1: Download and install Leawo iOSFix
Go to the official website of Leawo iOSFix and then download its installation package to your computer. Install it for Apple Pay error repair.
-
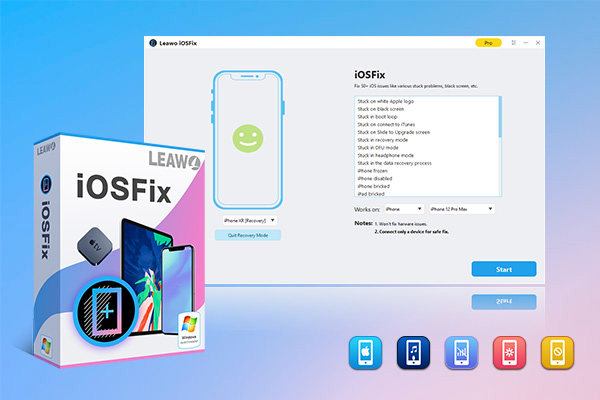
Leawo iOSFix
- Fix 50+ iOS/tvOS issues on iPhone, iPad, iPod or Apple TV
- 2 repair modes for data lossless fixing
- Fix all iOS and tvOS versions in clicks
- Multiple iOS/tvOS system fixing pathse
- One-click to upgrade to the latest iOS/tvOS version
- One-click to enter/exit Recovery Mode
- Troubleshoot iOS/tvOS not recognized issues in detail
Step 2: Connect your iPhone to computer
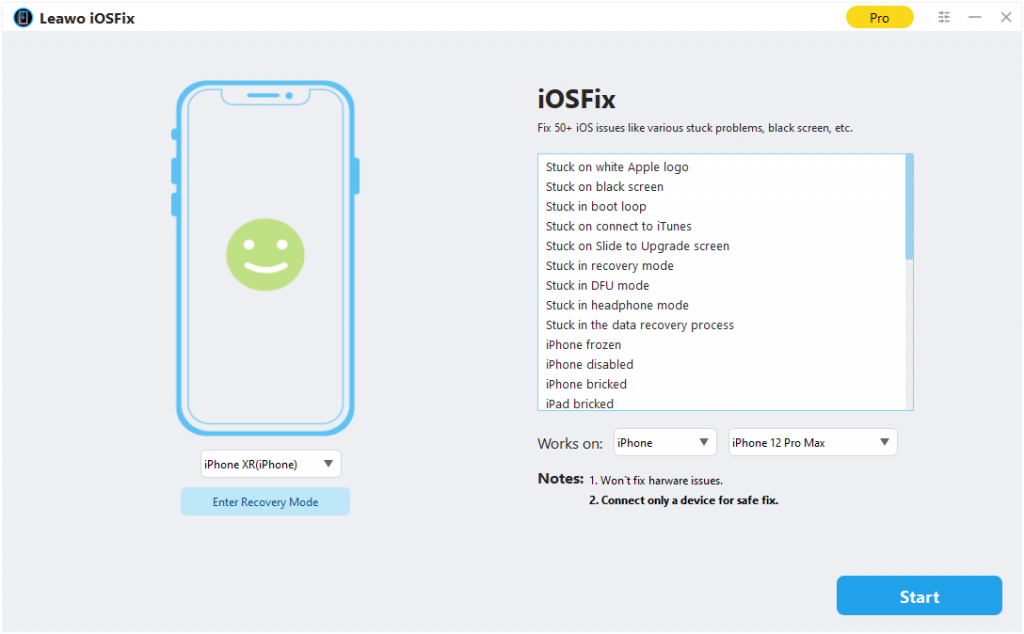
Connect your iOS device to computer with USB cable, and then launch Leawo iOSFix. Your iPhone could be automatically detected.
Step 3: Choose repair mode
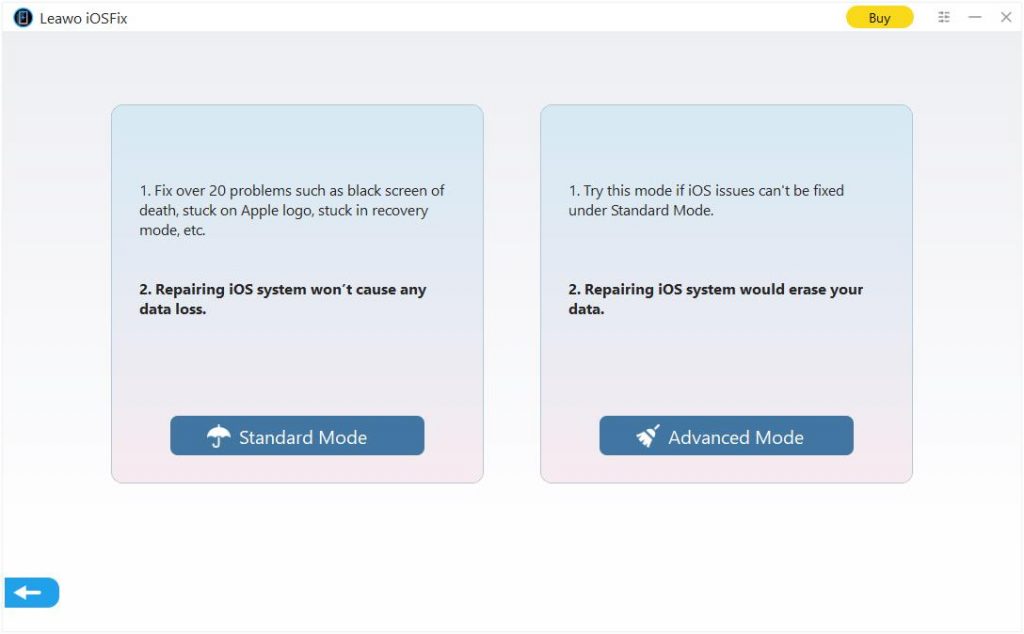
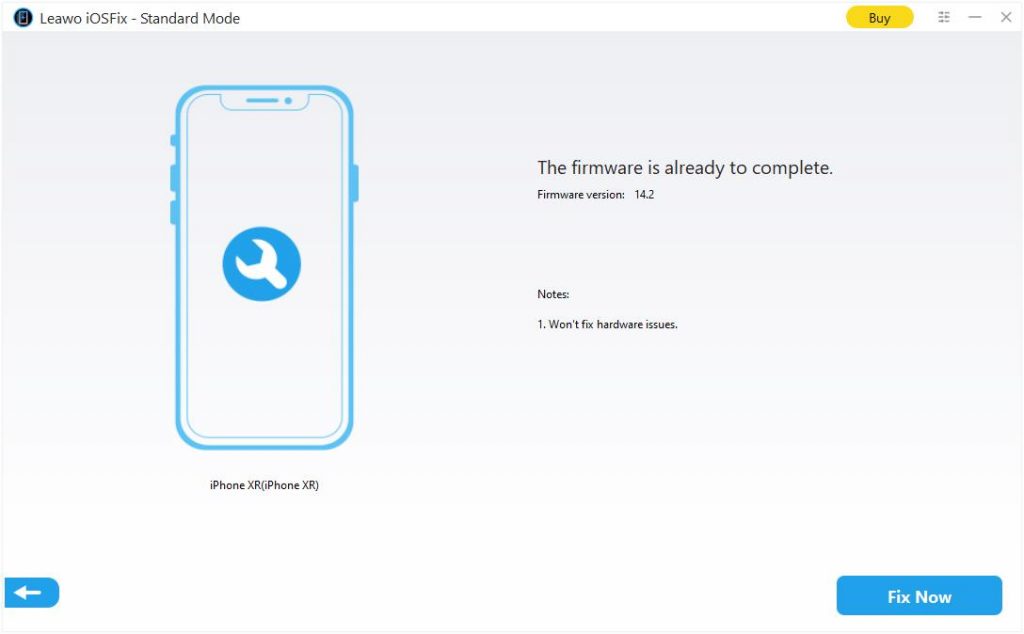
Choose Standard Mode or Advanced Mode. The former one can fix most issues by retaining all data, while the latter mode would fix the serious issue by erasing all data. For fixing iPhone stuck on verifying update screen, you can choose Standard Mode to fix your iPhone without data losses.
Step 4: Download firmware
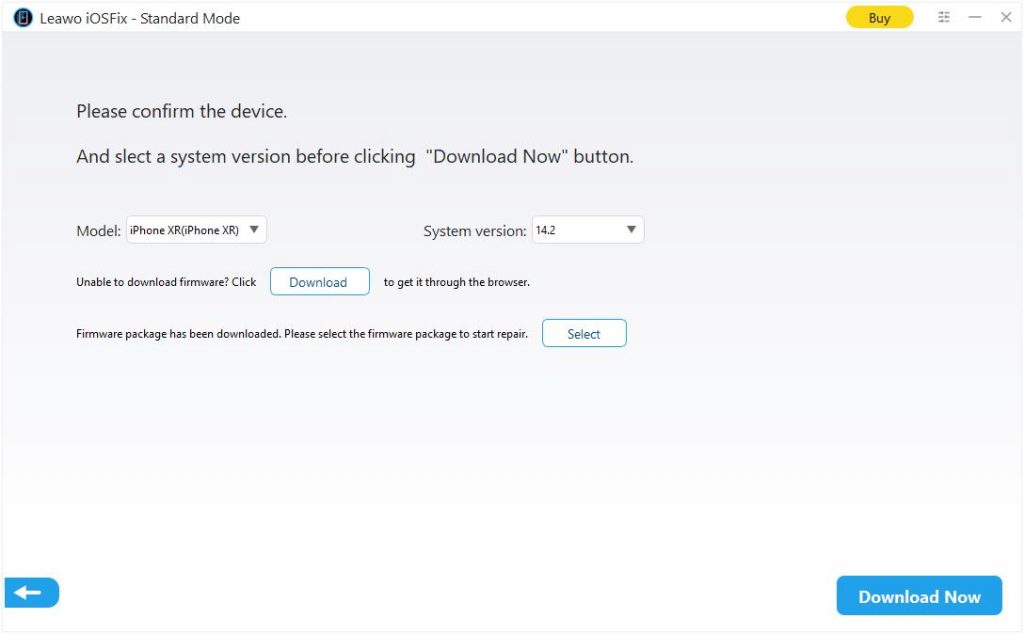
Download the firmware for your iPhone. Confirm your iPhone model and click Download Now button to download the proper firmware for your device. If you already have a downloaded firmware on your computer, then you can click Select option to choose from your computer.
Step 5: Start fixing
Click Fix Now button to start fixing your iOS system. Wait in minutes and your iPhone will get back to normal soon.
△ 6. Update with iTunes
You can also try to update with iTunes to solve the issue. First, install the latest iTunes version on your computer, and then connect your iPhone with your computer. Open iTunes and navigate to your iPhone. Go to Summary > Check for Updates. Finally click Download and Update option. You iPhone would be then updated.
Note
iTunes may easily get in stuck too.
△ 7. Go to Apple Genius Bar
If your iPhone still get stuck on verifying update screen after trying all of the above solutions, last of all, you have to consider that it would be a hardware issue. In detail, your iPhone may have been damaged by getting wet or some other rough treatment. In such a case, you have to go to Apple Genius Bar instead of fixing it by your own. The experts in the Apple Store would check to find out whether some components need to be replaced.

