If you want to buy contents from iTunes or App Store, you have to add funds to iTunes. How to add money to iTunes account, there are some steps as below for your reference. How to add funds to your Apple devices such as iPhone, iPod touch or iPad?
Part 1: How to add money to iTunes account
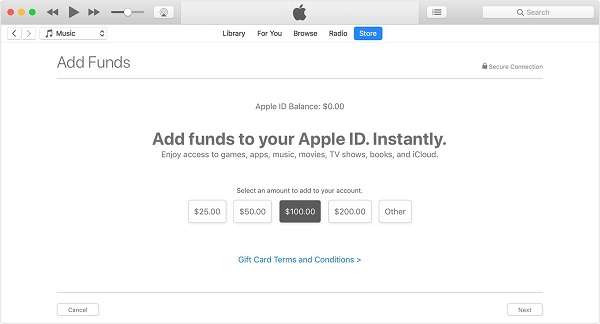
Firstly, enter the Settings and go into iTunes & App Store, you will be required to sign in by using the Apple ID when you tap the button Apple ID, you should set up an Apple ID in the case you haven’t got yet. Then, go into “Add Funds to Apple ID”, you can choose how much money you want to add or can enter the specific amount you would like to add. Finally, confirm what you have chosen, there might be a prompt to require you to check what you have purchased via a message or other ways. When you give an authorization to what you paid, the money will be deducted from Apple ID, you can purchase the contents in iTunes or App Stores or iCloud storage.
If you want to add funds on the Mac, you can follow the steps as below:
1. Run iTunes and sign in with Apple ID, if you don’t have Apple ID, it is necessary to set up one.
2. Select Account and then click “View My Account” on the top of iTunes interface.
3. Choose “View Account” when you use Apple ID to sign in.
4. When you go into the Account part, select “Add Funds to Apple ID”.
5. Choose the amount you would like to add, or you can choose “Other” and type into the specific amount you need.
6. Click the button “Next” at the right bottom to confirm what you have selected, a prompt will pop up to ask you to check what you purchase through a message or other ways.
Part 2: How to update apple credit card
Credit card can be used for each Apple ID in iTunes, App Store or iBooks. The payment information of Apple iTunes can be updated and is able to change credit cards for iTunes and Apple ID. Moreover, the information of credit card can be deleted on iTunes and Apple ID.
How to add credit card to iTunes if you want to change the old credit card. Firstly, you must know how to remove your credit card from iTunes.
1. Enter the Settings and choose iTunes and App stores, tap “Apple ID” on the top of the screen.
2. Choose “View Apple ID” and go into Payment Information.
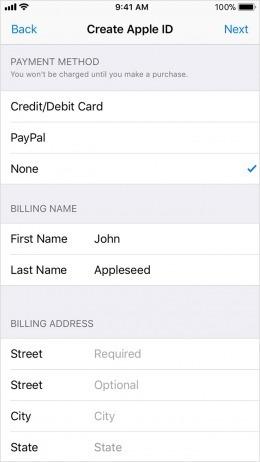
3. Select None below the Payment Method in the case that nothing will stop you to remove the credit card.
4. If there is something stop you to remove the credit card, “None” will not show up. Then you need to consider the list option and figure out what stops you to remove credit card.
If you want to add credit card to iTunes, the steps will guide how to do as below:
1. Enter settings on your Apple devices.
2. Choose iTunes & App Store
3. Tap the Apple ID on top and choose “View Apple ID”
4. A prompt will pop up and requires you to sign in by using password
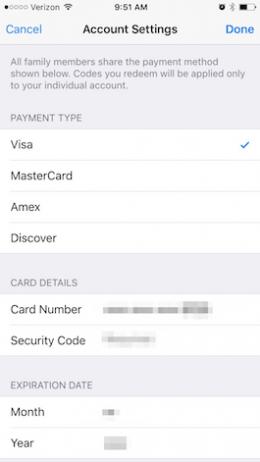
5. Tap the Payment Information and enter the information including the payment address which is relevant to the credit card, tap “Done” on top and exit from the account settings.
Finally, you will complete in adding the credit card to iTunes as you need.
Part 3: How to transfer non-purchased files to iTunes from Mac via iTransfer for Mac
If you are going to transfer the non-purchased files from Mac to iTunes, what should you do to complete this transfer, here we will introduce a simple way of transferring the files between Apple devices, that is Leawo iTransfer for Mac. This is a professional software for transferring files in an effective way. Multi-function and high security are assured to help you to avoid the sync of iTunes in transferring, a variety of files such as apps, music and videos and more are supported to transfer by this software. The transfer is safe and reliable with no data loss during the transfer process. Leawo iTransfer is a great help in managing the various kinds of files in high efficiency. With one click, the files are able to be transferred in a simple way. Below we will show you the detailed steps of how to transfer non-purchased files to iTunes from Mac via iTransfer for Mac.
Leawo iTransfer for Mac
☉ copy up to 14 kinds of data and files without iTunes.
☉ Support the latest iOS devices like iPhone X, iPhone XS, etc.
☉ Play back, view, and delete data and files on iOS devices.
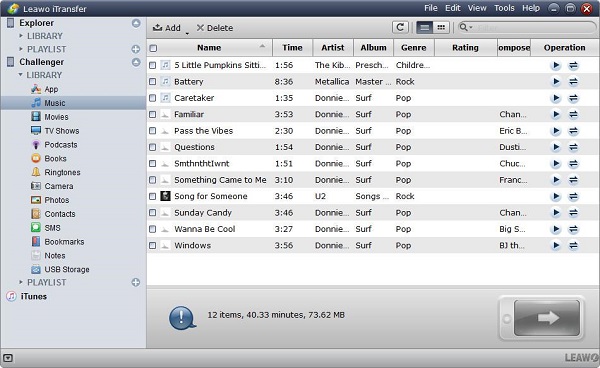
1. Launch Leawo iTransfer for Mac on computer and then connect your apple devices to the computer via USB cable. Your device will be detected automatically by the software and the information of your device will be shown in the left sidebar.
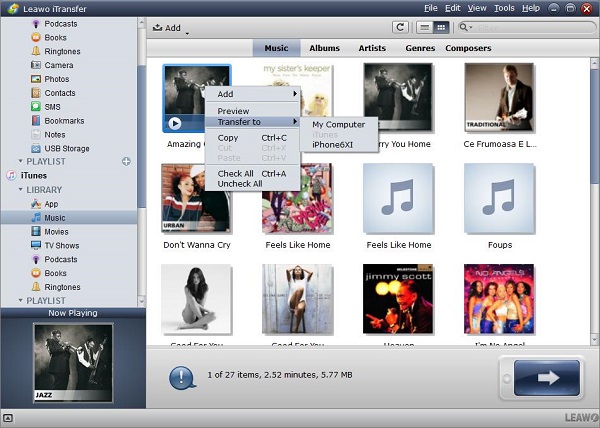
2. Import the files you need to transfer to the software by dragging and dropping it directly; Or you can click "File > Add > Add File/Add Folder" on menu bar which shows on the left upper of the widow; Or you can right click on the files you need to transfer and select "Add > Add File/Add Folder" to import the files to the software.
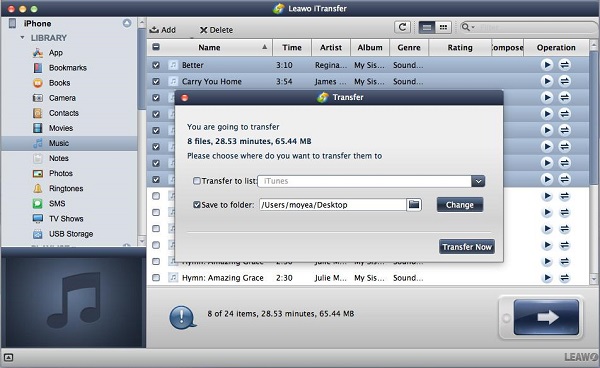
3. A prompt will pop up when you have selected the files, you need to check the option “Transfer to list” and choose "iTunes/iDevice", “Save to folder” is also needed to check and then select the target folder to save files by clicking the button “Change”, finally click “Transfer Now” to make the transfer begin to work.
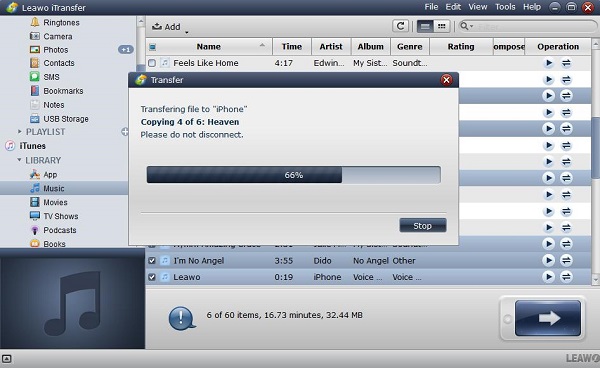
4. A transfer progress will pop up to demonstrate you the transfer process, the files will be found in your Apple devices when the transfer is completed.


