Leawo Music Recorder for Mac records audio on mac and online. This page shows you how to record mac audio with Leawo Music Recorder for Mac.
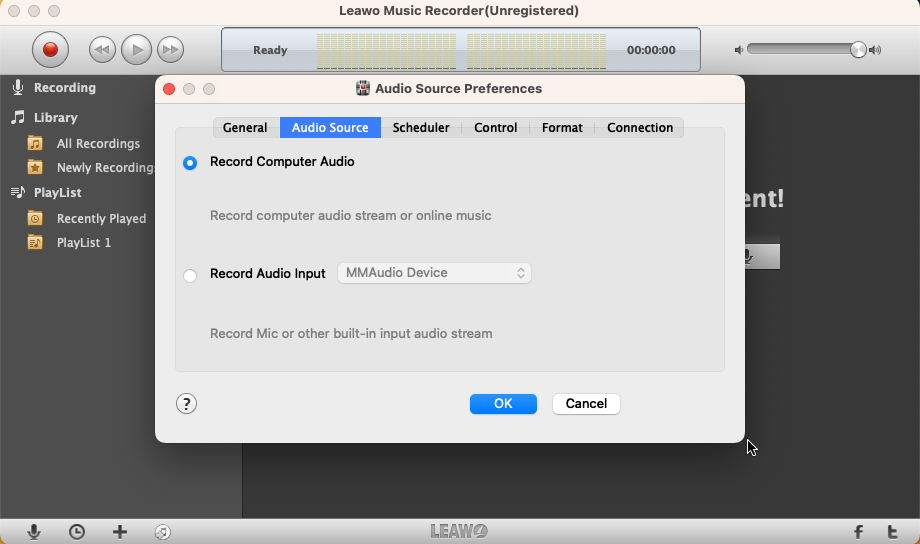
Run Music Recorder for Mac and you need to set the audio source for different scenes. Click the “Audio Source”  button and there will pop up Audio Source Preferences window. Then under Audio Source
  tab, pitch on Record Computer Audio to record computer audio stream or online music. However, to record audio input, you can choose Built-in Microphone, Built-in Input, or System Audio Recorder. Just pitch on Record Audio Input and choose one in the drop-down list
 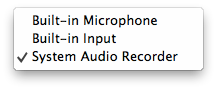 .
.
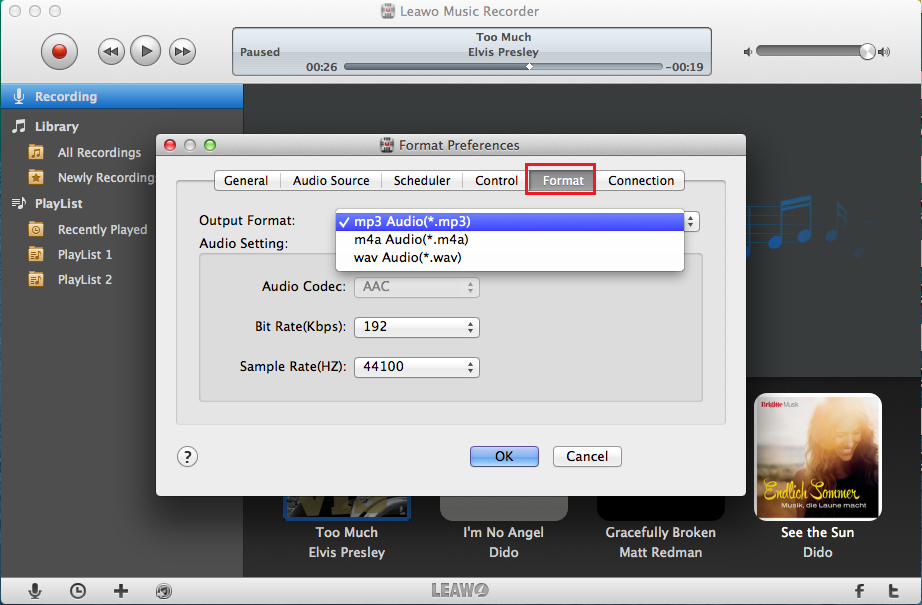
Switch to the “Format” tab, and then you can choose MP3, M4A, or WAV format as output format by clicking the format drop-down box beside “Output Format” label. Moreover, you can customize audio parameters including Audio Codec, Bit Rate, and Sample Rate in the Audio Setting box.
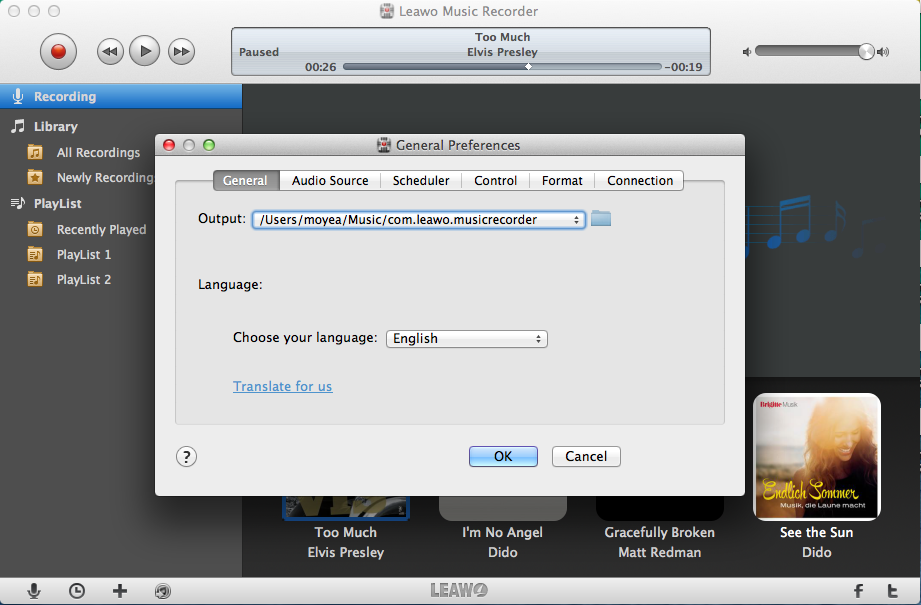
Select the "General"  tab, then click the folder
  button to change the recordings output location. With it done, click OK
  button to save the settings.
Click the red “Start”  button to begin recording. Then, play the audio files you want to record. For recording the audio more completely, you should click the record button first and then play audio files. If you have recorded what you want, just click the same button
  to stop recording.
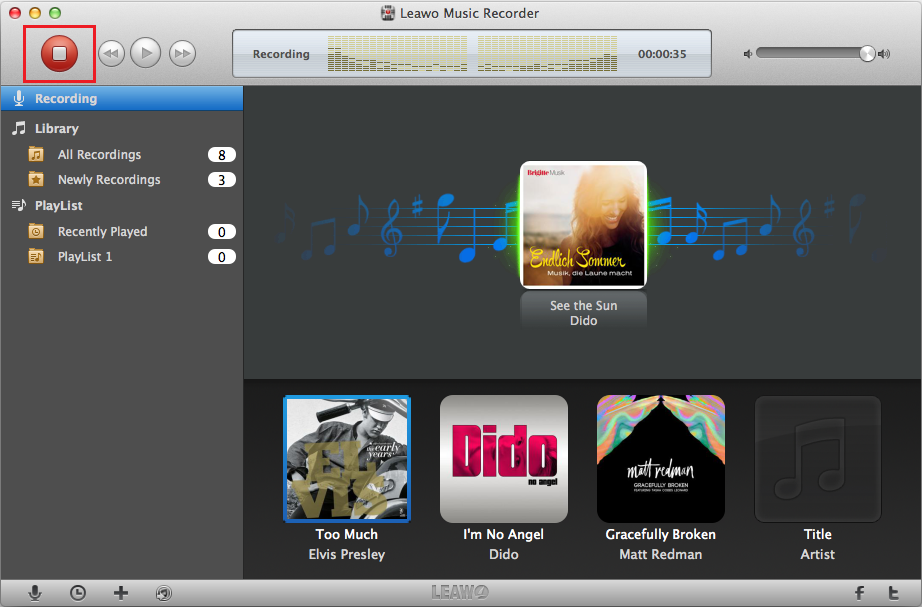
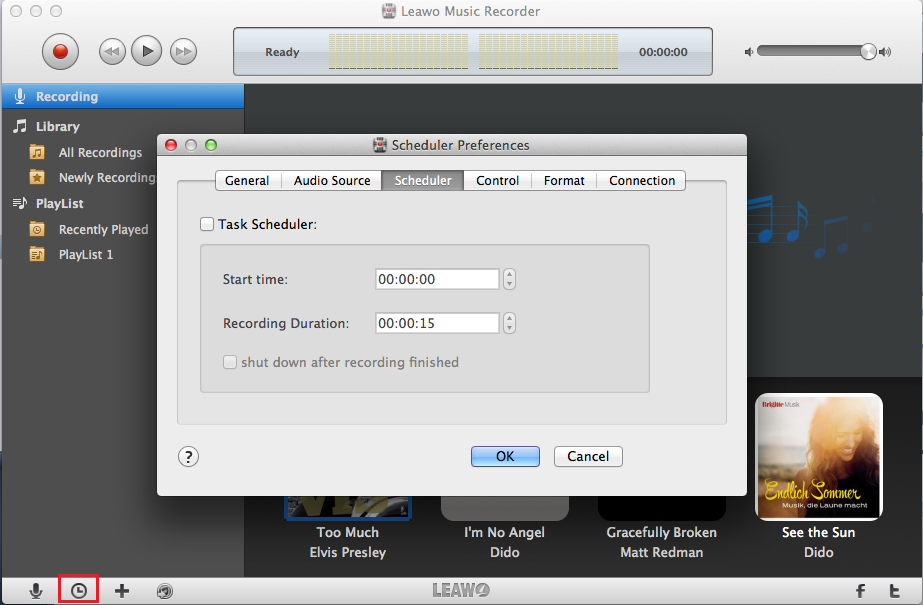
In addition, if you want to record with a schedule, click the clock  button at the left bottom and set the recording start time and duration in the pop-up Scheduler Preferences window.