If you have taken lots of photos on your iPhone and you want to transfer photos to iPod, you can refer to the contents in this guidance in case you have no idea on how to make it. This tutorial will show you 3 solutions to add photos to iPod from iPhone. Also, if you want to know to how to free up the space on your iPhone, you can refer to: How to Delete Videos from iPad to Free up Storage Space
- Part 1: How to Transfer Photos from iPhone to iPod Touch via iCloud on iPhone Directly
- Part 2: How to Add Photos to iPod Touch from iPhone via Facebook APP
- Part 3: How to Copy Photos to iPod Touch from iPhone via Leawo iTransfer
- Part 4: How to transfer photos from iPhone to iPod Touch with e-mail
- Part 5: How to transfer photos from iPhone to iPod Touch with Windows Explorer
- Part 6: How to transfer photos from iPhone to iPod Touch with iTunes
- Part 7: Comparison among iCloud, iTunes, iTransfer
Part 1: How to Transfer Photos from iPhone to iPod Touch via iCloud on iPhone Directly
iCloud is a good choice for you to realize iPhone to iPod transfer. This is a kind of service developed by Apple Company, and it is quite easy to handle as long as there is good Wi-Fi connection and the iCloud feature is turned on both iDevices. Now let's begin to check out how to copy photos to iPod from iPhone via iCloud directly.
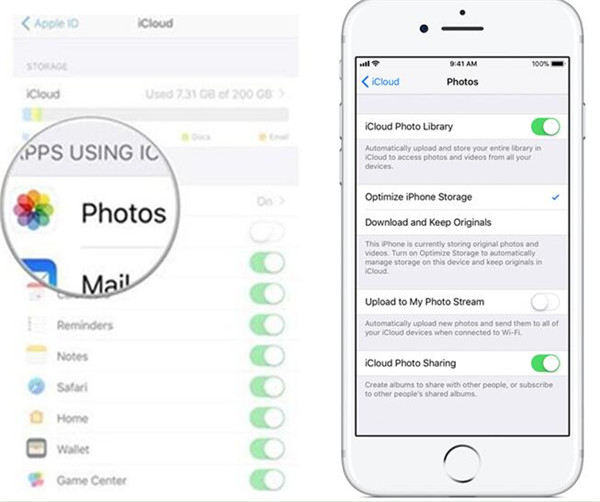
1. On your iPhone, navigate to the menu of "Settings > Name/Apple ID > iCloud" in order. Click on the "Photos" tab to turn it on. Then you need to enable "iCloud Photo Library" to allow the sync of iPhone photos to iCloud. Make sure your iPhone is connected to Wi-Fi network.
2. On your iPod, connect it to Wi-Fi network and then do what you have just done on your iPhone. In the end, you can tap on the button of "Merge" in the dialog that shows up to sync iCloud photos to iPod. Thus, you can solve how to transfer photos from iPhone to iPod touch just with a few clicks.
This solution is quite easy to handle. You can add photos to iPod from iPhone to achieve the goal of iPhone to iPod transfer without any difficulty. If you want to use other methods to make it, you can continue to read this guidance.
Part 2: How to Add Photos to iPod Touch from iPhone via Facebook APP
If you are fond of using Facebook, you can also take advantage of this application to copy photos to iPod from iPhone easily. It is a social communication app, which makes the relation of humans much closer. The detailed steps to help you to add photos to iPod from iPhone via Facebook app are as follows.
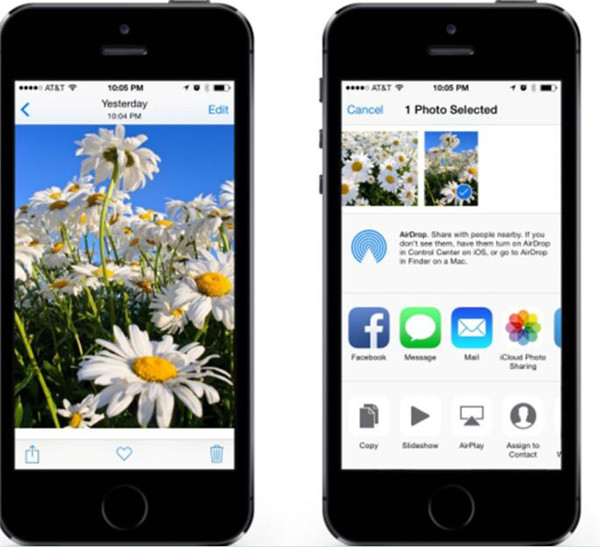
1. Click on the Facebook app and log into it with your own password, and open the Photos app on your iPhone home screen. Choose a picture that you want to send to iPod.
2. Click the share icon at the bottom left of the interface, and choose "Facebook" on the panel as the way to share photos.
3. Choose the iPod account name in the "To" bar. Then you can fill in other information in the interface. In the end, you can click on the "Send" button.
4. In the end, you can pick up your iPod to download the iPhone photo to iPod to finish the process to add photos to iPod from iPhone.
This way to copy photos to iPod from iPhone also requires the Wi-Fi connection. If you want to send lots of pictures from iPhone to iPod, this is not a good solution. You can read the contents in the third part to help you to realize iPhone to iPod transfer more effectively and professionally.
Part 3: How to Copy Photos to iPod Touch from iPhone via Leawo iTransfer
When it comes to the problem of how to transfer photos from iPhone to iPod touch, you can make use of a professional tool to assist you. Here I would like to recommend you use Leawo iTransfer to make it. This is really an effective iPhone to iPod transfer program, and it has the features of transferring 12 kinds of files among iTunes, computers and Apple devices. The speed is high and the performance is good. The detailed instructions for you to refer to are shown below.
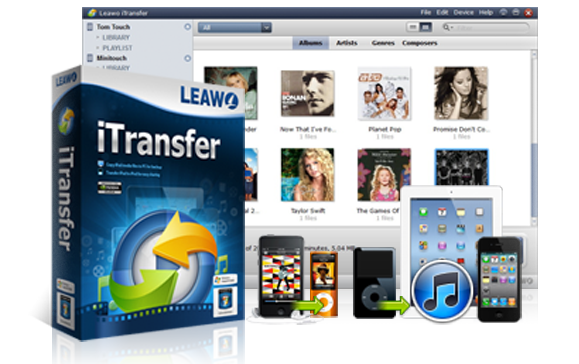
Leawo iTransfer
☉ Transfer files among iOS devices, iTunes and PCs with ease.
☉ Transfer up to 14 kinds of data and files without iTunes.
☉ Support the latest iOS devices and iOS versions.
☉ Play back, view, and delete data and files on iOS devices.
3.1: Export Photos from iPhone to Computer
In order to transfer photos to iPod from iPhone, first you need to export iPhone pictures to computer for later use.
Step 1. Connect iPhone to Computer
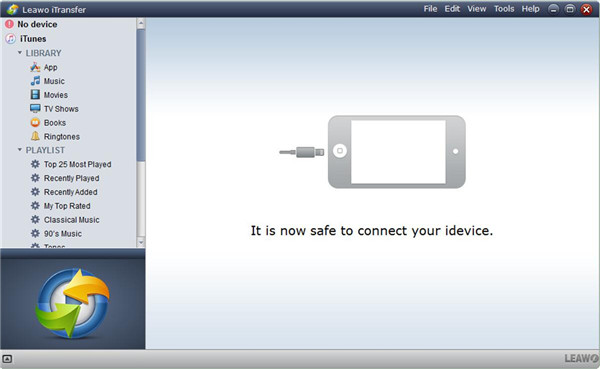
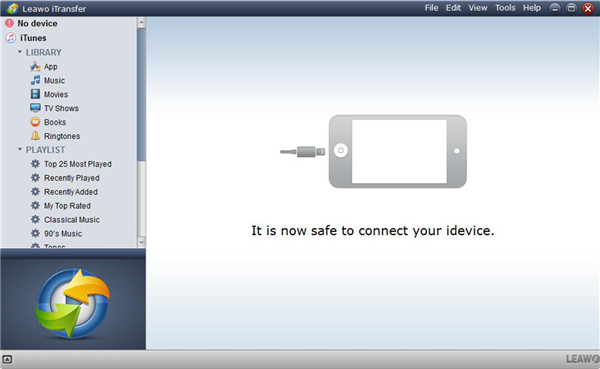
Run Leawo iTransfer on your computer and connect iPhone with computer via USB cable.
Step 2. Choose Photos to Export to Computer
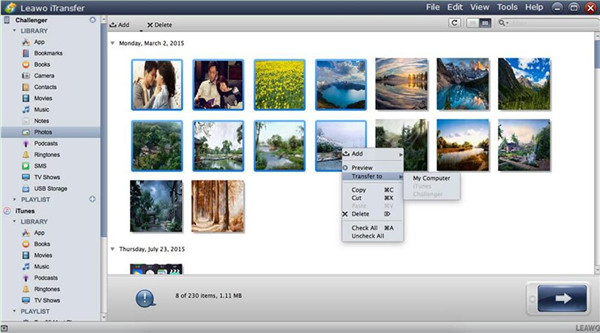
Click on the iPhone icon and then head to "LIBRARY > Photos" to check all iPhone pictures. Select the pictures you want to export to computer and then right click on one of them to choose "Transfer to > My Computer". In the next panel, choose an output location on your computer to save the transferred photos by clicking the "Change" button. In the end, you can tap "Transfer Now" to output the iPhone photos to computer.
When this process is finished, the iPhone photos will be available on your computer folder.
3.2: Import Photos from PC to New iPad
To continue to solve how to transfer photos from iPhone to iPod touch, you need to import iPhone photos from computer to iPod.
Step 1. Connect iPod to Computer
Unplug iPhone from computer and then connect iPod with computer by using proper USB cable.
Step 2. Add Photos to iPod
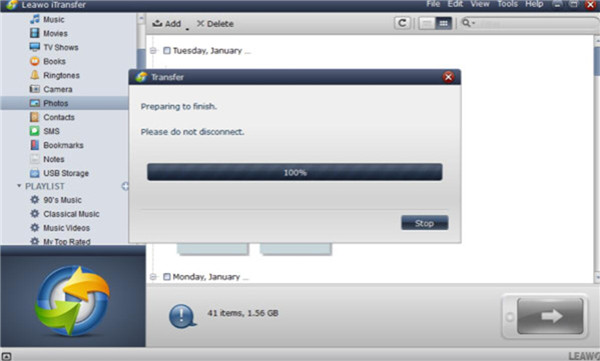
Click on the iPod icon and then move to "LIBRARY > Photos". Tap the "Add" button to choose "Add File" or "Add Folder" in the dropdown menu according to your needs. Locate the exported iPhone photos on your computer and then tap the button of "Open" to begin to transfer them to iPod. Wait until the completion of the process.
In a few seconds, the iPhone photos will be viewable on your iPod. Thus you can solve how to realize iPhone to iPod transfer perfectly. Now you can download and install this powerful tool on your computer to have a try and you will know how professional it is.
Part 4: How to transfer photos from iPhone to iPod Touch with e-mail
You can transfer the photos via e-mail if the photos are not transferred in a batch. Photos can be selected as you need for transferring. You will find it is easy to transfer photos from iPhone to iPod Touch by using this mailing method.
Firstly, you need to enter the camera app on your iPhone and find out "edit" mode, then tap on it and select the photos you need to transfer to your iPod.
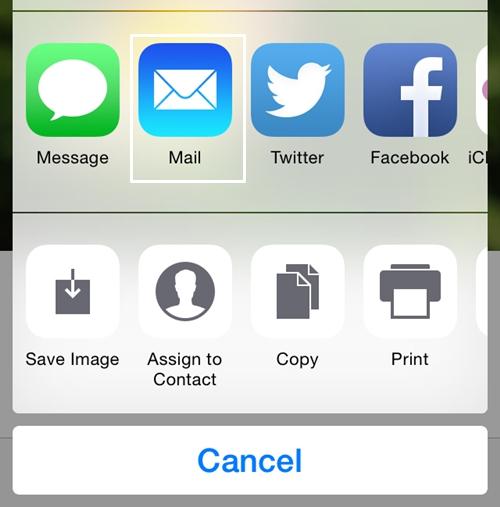
Secondly, choose the action in added bar when you have selected the photos to transfer. You will see a "Mail" icon here and tap on it. The mail app on your iPhone will be opened from this action. You just need to offer your email ID then you can send to photos to iPod.
Thirdly, enter the same email from your iPod. You can download the transferred photos from here.
This method can help you sync your photos from iPhone to iPod without using the third-party tool for transferring the photos.
Part 5: How to transfer photos from iPhone to iPod Touch with Windows Explorer
It won't take a long time to transfer photos from iPhone to iPod with Windows Explorer. But you need to install iTunes before following the instructions as below:
1. Connect your iPhone to PC via USB cable.
2. Open Windows Explorer on desktop and enter the menu.
3. The menu is shown on the left sidebar of the window, you will find an arrow beside "This PC" from the menu. Click on the arrow.
4. From the sub-menu, click your iPhone in "This PC".
5. Click on the "Internal Storage" and enter the folder "DCIM".
6. You will see a list of folders like 100APPLE, 101APPLE, 102APPLE..., where all the photos of your iPhone are contained in these folders.
7. You can select the photos you need to transfer by holding "Ctrl Key" when you click on the selected photos. Or you can choose all photos to transfer by using the shortcut Ctrl+A.
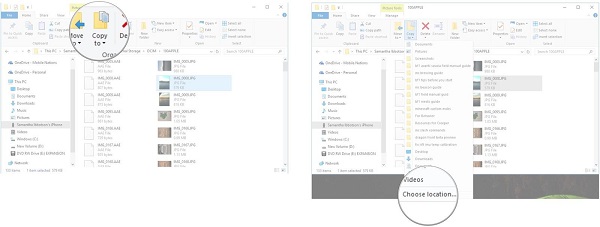
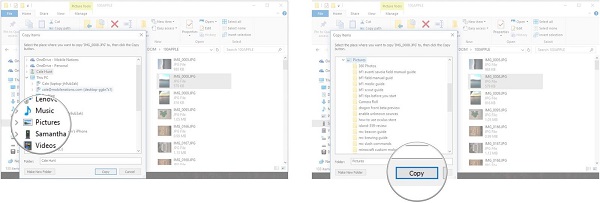
8. Click the button "Copy to" on the upper menu of the window.
9. You will find "Choose location" for your transferred photos or you can choose any other option which is displayed in drop-down menu.
10. Choose a target folder for saving your transferred photos by clicking "Destination".
11. Click on the button "Copy", then the photos will be transferred to your PC.
12. Connect your iPod to your PC and copy the transferred photos from the destination folder to iPod.
Part 6: How to transfer photos from iPhone to iPod Touch with iTunes
If you have copied the photos from iPhone to your computer like the method mentioned in Part 5. The photos on your computer can be synced to your iPod when iTunes has been set up on your computer.
1. Run iTunes on computer and be sure to install the latest version of iTunes.
2. Connect your iPod to computer via USB cable.
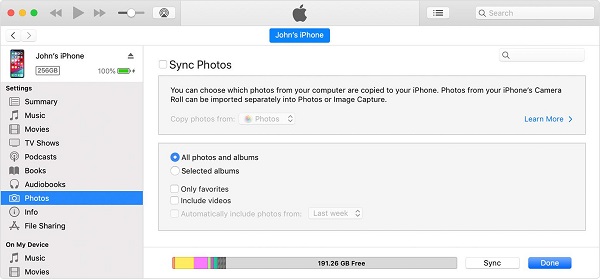
3. Click the icon of device when you enter iTunes.
4. Click "Photos" in the left sidebar of the window.
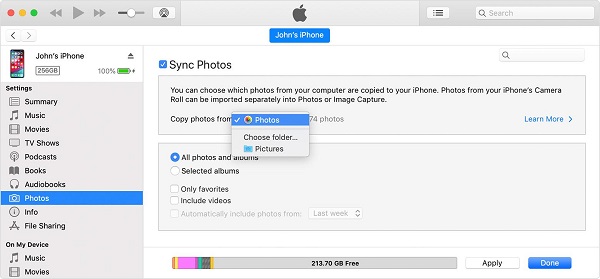
5. Enable the checkbox which locates beside "Sync Photos".
6. Choose the folder you need to sync to your iPod.
7. Enable the button "All photos and albums. You also can select the option "Include videos" to make the videos on the folder sync to your iPod.
8. Click the button "Apply" to begin to sync all photos from the destination folder to your iPod.
Part 7: Comparison among iCloud, iTunes, iTransfer
|
Comparison |
iCloud |
iTunes |
iTransfer |
|
Pros |
1.Easy to use |
1.Well-managed in photos |
1.Simple operation |
|
Cons |
It is time-consuming to transfer |
Need to install iTunes on computer |
One month for free trial |

