"I took some interesting photos during the Halloween party and saved them on my computer. I'm planning to make Halloween party photo slideshow for sendint to my brother who is now in China. And if possible, I also want to create a DVD photo slideshow with these Halloween party photos. What should I do?"
For every holiday, a lot of photos have been taken to memorize the beautiful moments. Many people have taken Halloween party photos and collected other holiday photos saving on their computer for future review or sharing. Some people may plan to create Halloween party photo slideshow or even burn Halloween DVD with photos taken during Halloween parties. Windows PowerPoint is widely used for creating PPT with pictures and audios, however, it's quite complicated. This tutorial offers 4 different useful solutions to create photo slideshow with Halloween photos.
Part 1: Create Halloween Party Photo Slideshow with Windows Movie Maker
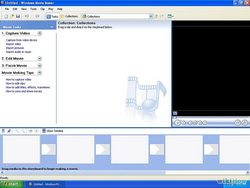
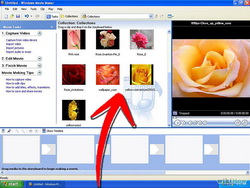
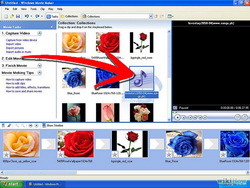
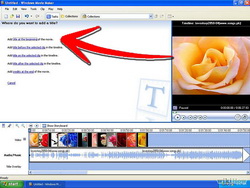
Windows Movie Maker might be the first choice to help Windows users create Halloween photo slideshow with Halloween party photos. However, it should be noted that Windows Movie Maker is only available for Windows XP and older systems. If you're running Windows 7 or later, you need to download the newer program Windows Live Movie Maker 2011, part of the Windows Live Essentials pack. Install Windows Movie Maker and then follow the below steps to learn how to create Halloween party photo slideshow with Windows Movie Maker.
Note:
- After loading audio as background music, you could click to play and preview.
- Titles and credits can be a good way to use up music time if you don't have enough pictures to use the whole song.
Part 2: Create Halloween Party Photo Slideshow with iMovie
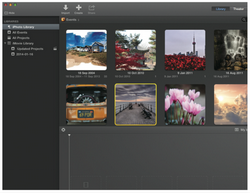
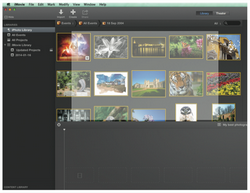
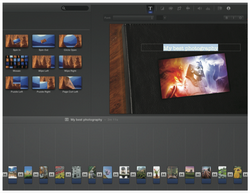
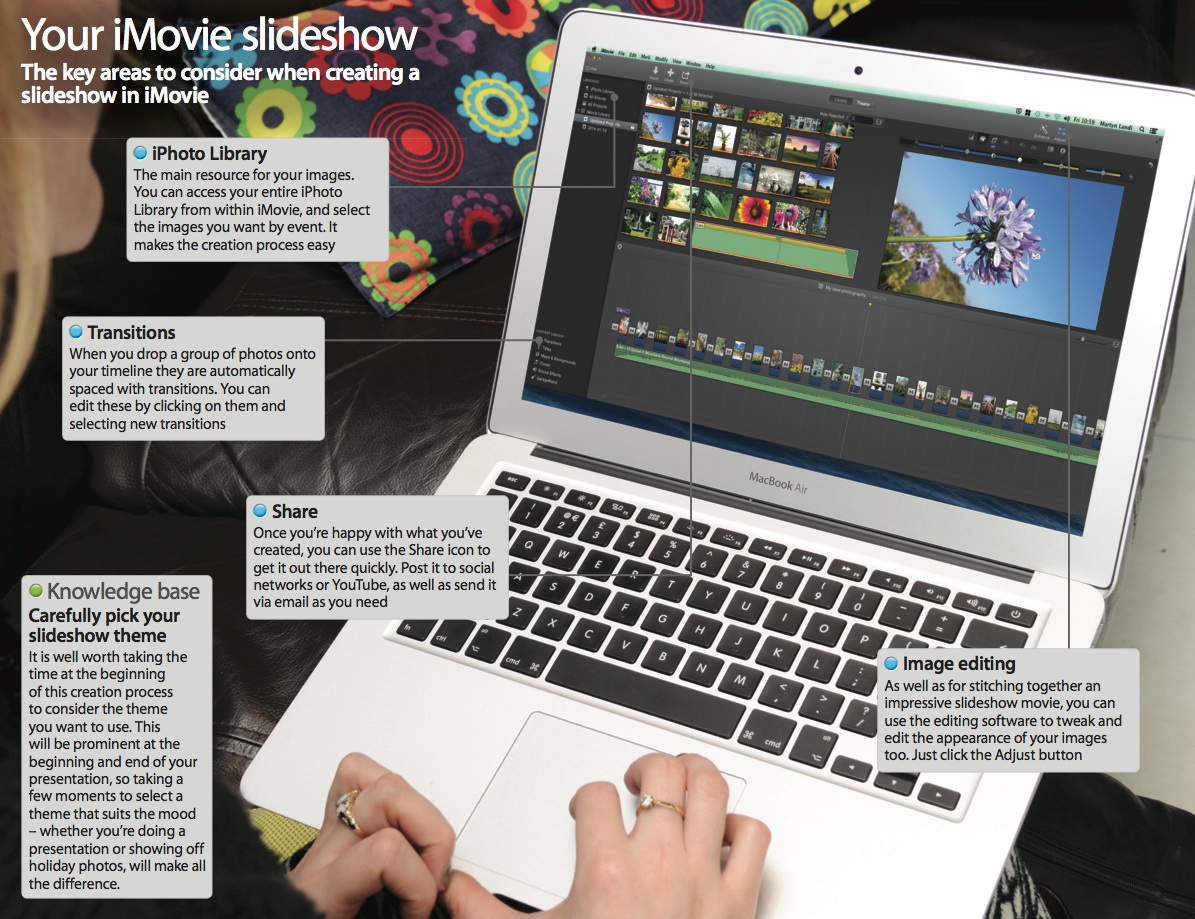
While Windows users would choose Windows Movie Maker as the first choice to create Halloween photo slideshows, Mac users' first choice is without doubt iMovie. As a video editing software application developed by Apple Inc., iMovie can edit the photos and video clips and add titles, themes, music, and effects, including basic color correction and video enhancement tools and transitions such as fades and slides.
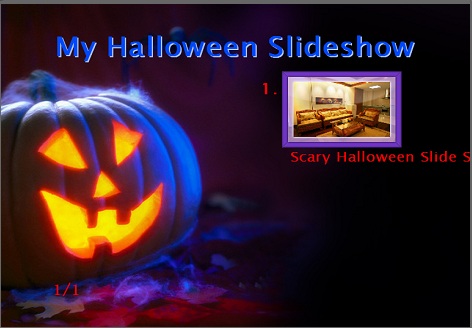
Part 3: An Easier Way to Make Halloween Party Photo Slideshow
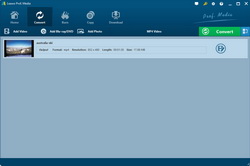
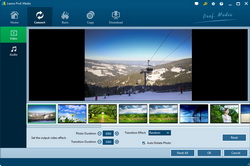
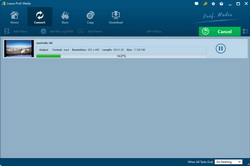
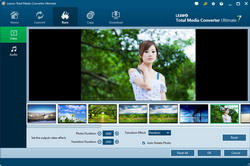
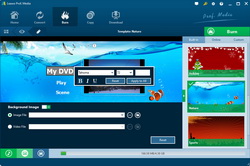
Windows Movie Maker and iMovie include lots of themes for you to create professional slideshow movies, as well as other elements like transition effects, text, etc. This helps create wonderful Halloween party photo slideshow, but makes it a little difficult to fully understand. If you're a photo slideshow addict, you could try Leawo Photo Slideshow Maker (officially known as Leawo Total Media Converter Ultimate) to easily create Halloween photo slideshow with Halloween party photos.
Note:
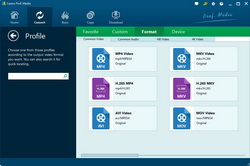
- In Step 3, after setting output profile, you could re-open the drop-down box and then select "Edit" option to enter the Profile Settings panel, where you could adjust video codec, bit rate, aspect ratio, frame rate, audio codec, channel, sample rate, etc.
- You could play back generated photo slideshow to get instant preview.
Part 4: Burn Halloween Party Photo Slideshow to DVD with DVD Slideshow Burner
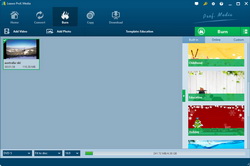
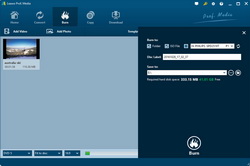
Leawo Total Media Converter Ultimate comes with not only a photo slideshow maker, but also a photo slideshow to DVD burner. Besides creating photo slideshow from photos, it could also directly burn photos to DVD slideshow. The below guide would show you how to burn Halloween party photo slideshow to DVD with this DVD slideshow burner.
Note:
- In Step 1, after loading source photos, at the bottom of the main interface, set the output disc type (according to the disc you plan to burn/insert to the recorder), bit rate and aspect ratio.
- To burn Halloween party photos to DVD disc, insert a blank writable DVD disc into the DVD recorder drive, and then select DVD recorder as target under the "Burn to" option in Step 3.
- The "Burn to" option in Step 3 allows multiple choices.
- You could click the wheel icon on the top-right corner of this program and then open the "Copy&Burn" option to set DVD video mode from NTSC and PAL according to the region you're in.


 Oct. 20, 2015 by