This page introduces you how to make photo slideshow and burn photos into DVD slideshow in detail.
Step 1: Add source photos
Click "Convert" module and then click the "Add Photo" button to select and add photos that you want to turn into slideshow. Selected photos would be automatically generated into a photo slideshow upon loading. You could click the thumbnail icon to play back generated photo slideshow.
Step 2: Choose output format
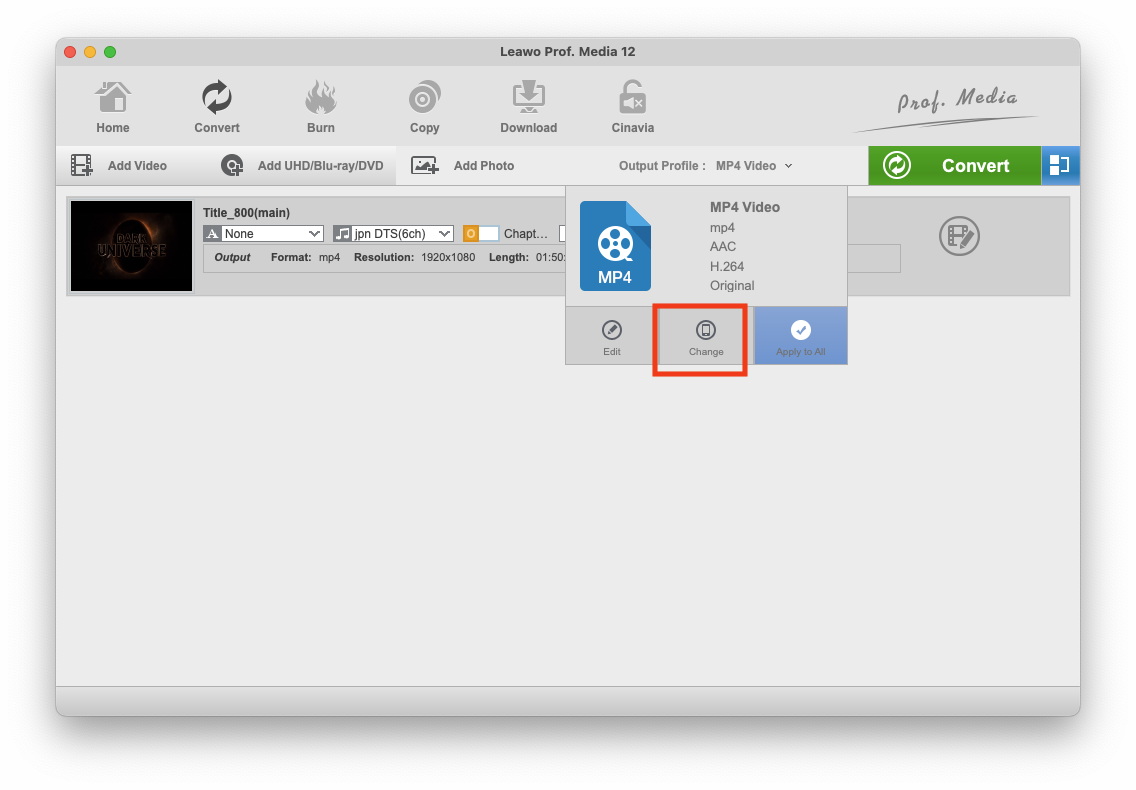
Click “MP3 Audio” button right before the big green "Convert" button to open the drop-down box and then click the "Change" button to enter the "Profile" panel.
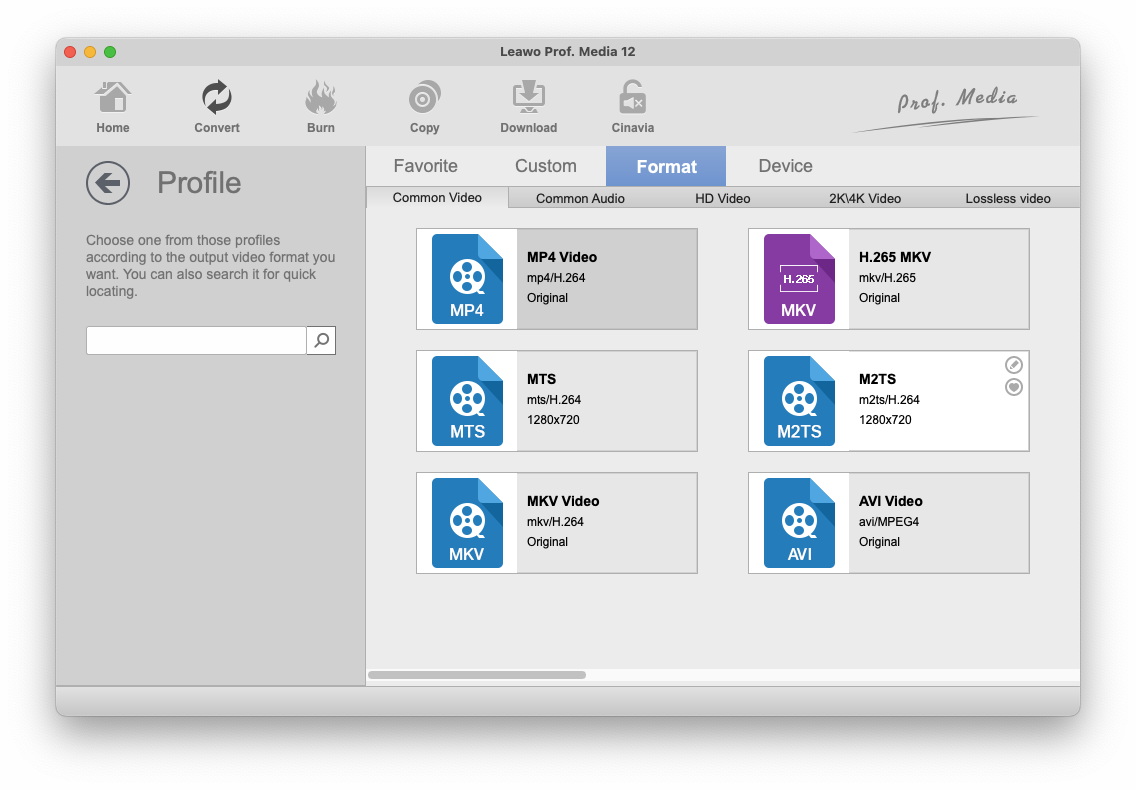
After you have entered the "Profile Settings" module, you could select a proper profile as output format. You could select from "Format" and "Device" groups, or make use of the profile search bar to search desired profile quickly.
Step 3: Set video and audio parameters
Click “MP3 Audio” button right before the big green "Convert" button to open the drop-down box and then click the "Edit" button to enter the "Profile" panel.
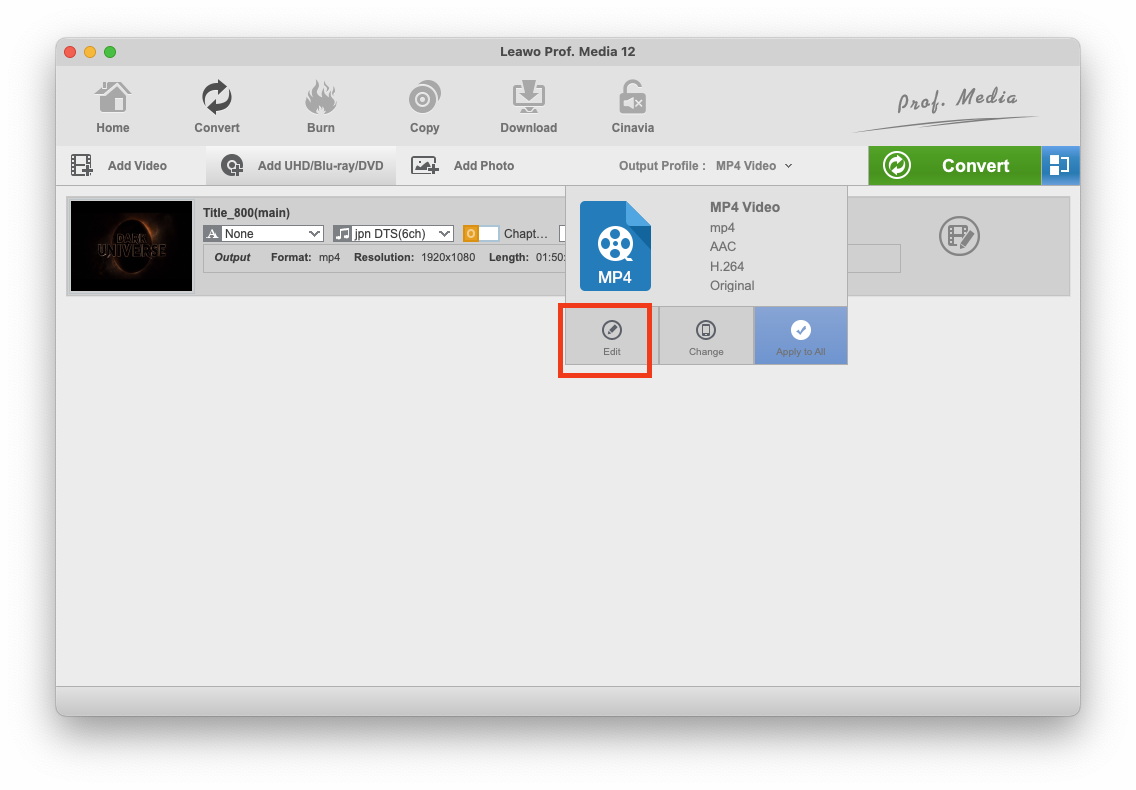
After you have entered the "Profile Settings" module, you could adjust video and audio parameters of selected output profile, including: Video Codec, Quality, Video Size, Bit Rate, Frame Rate, Aspect Ratio as well as Audio Codec, Quality, Bit Rate, Sample Rate, Channels, etc.

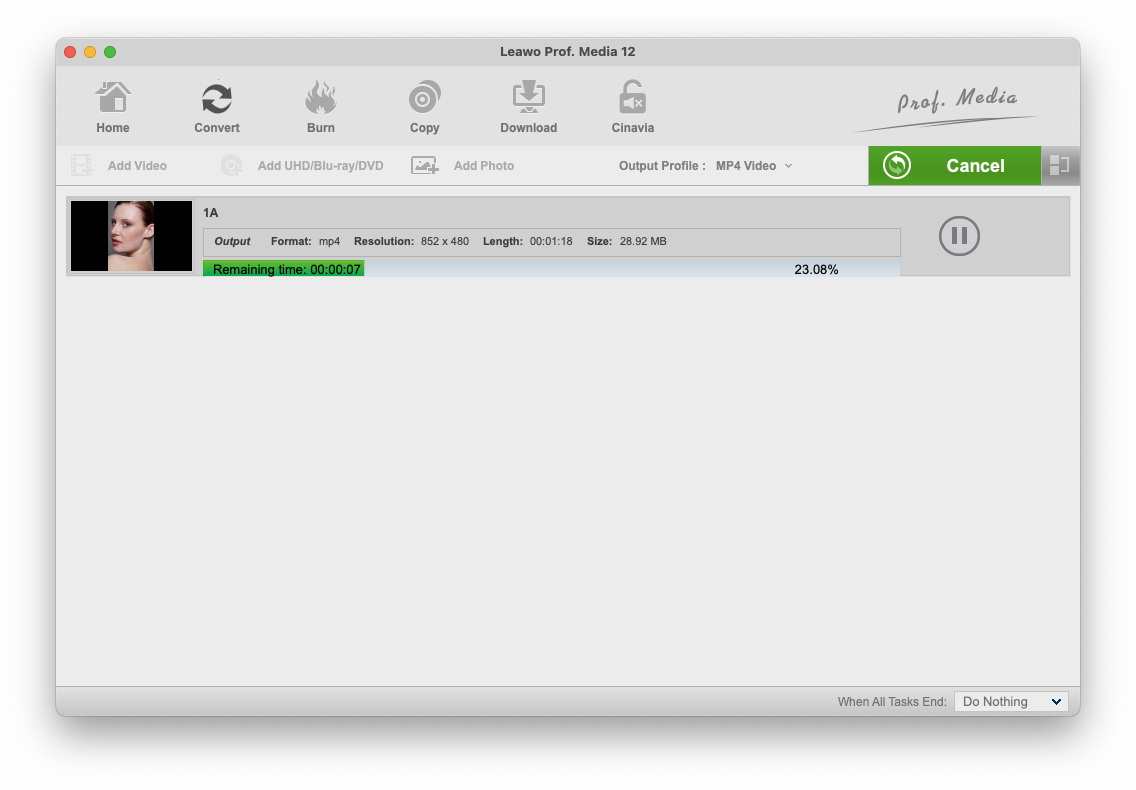
Step 4: Output photo slideshow
Click on the big green "Convert" button on main interface to pop up a sidebar. On the popup sidebar, set a directory to save the output photo slideshow files in the "Save to" box.
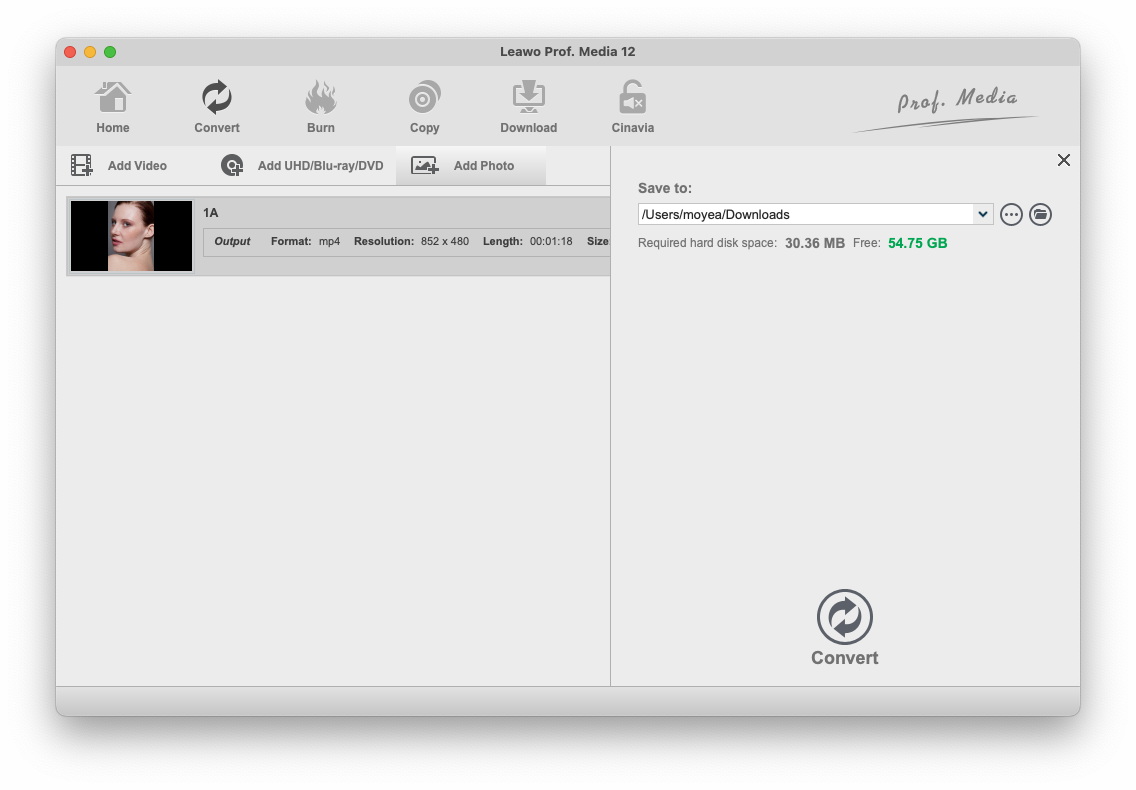
Then click the bottom "Convert" button on the sidebar to start to convert generated photo slideshow to desired format.
Step 1: Import source photos
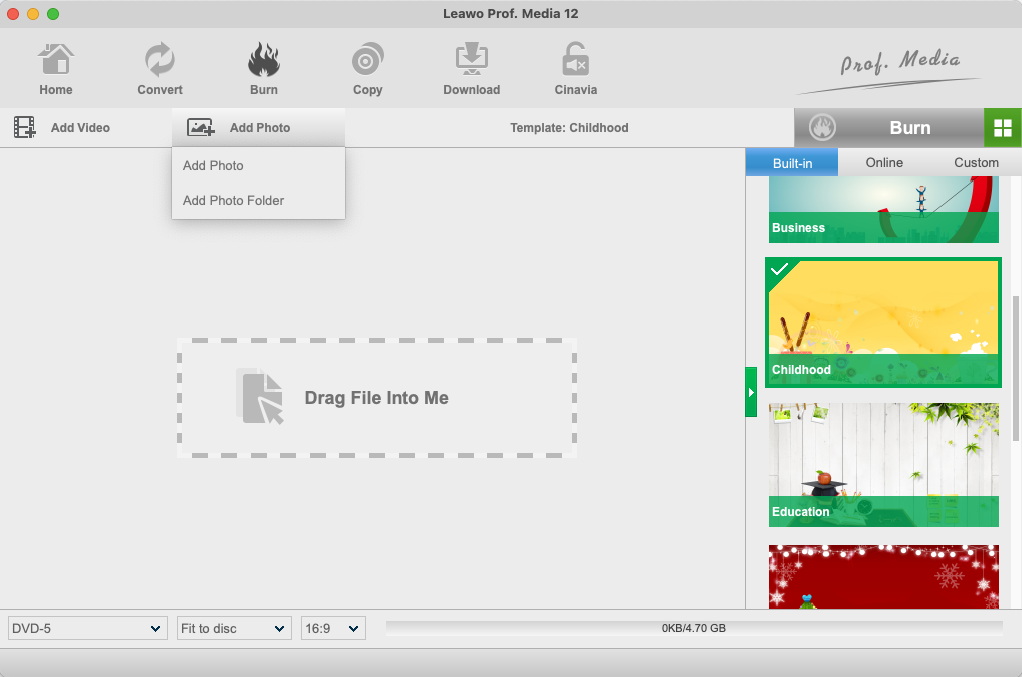
Open the "Burn" module and then click the "Add Photo" button to browse and add photos you want to turn into slideshow and burn to DVD. Selected photos would be automatically generated into a photo slideshow upon loading. Click the thumbnail icon to play back generated photo slideshow. You could set output disc type, quality and aspect ratio at the bottom of the program.

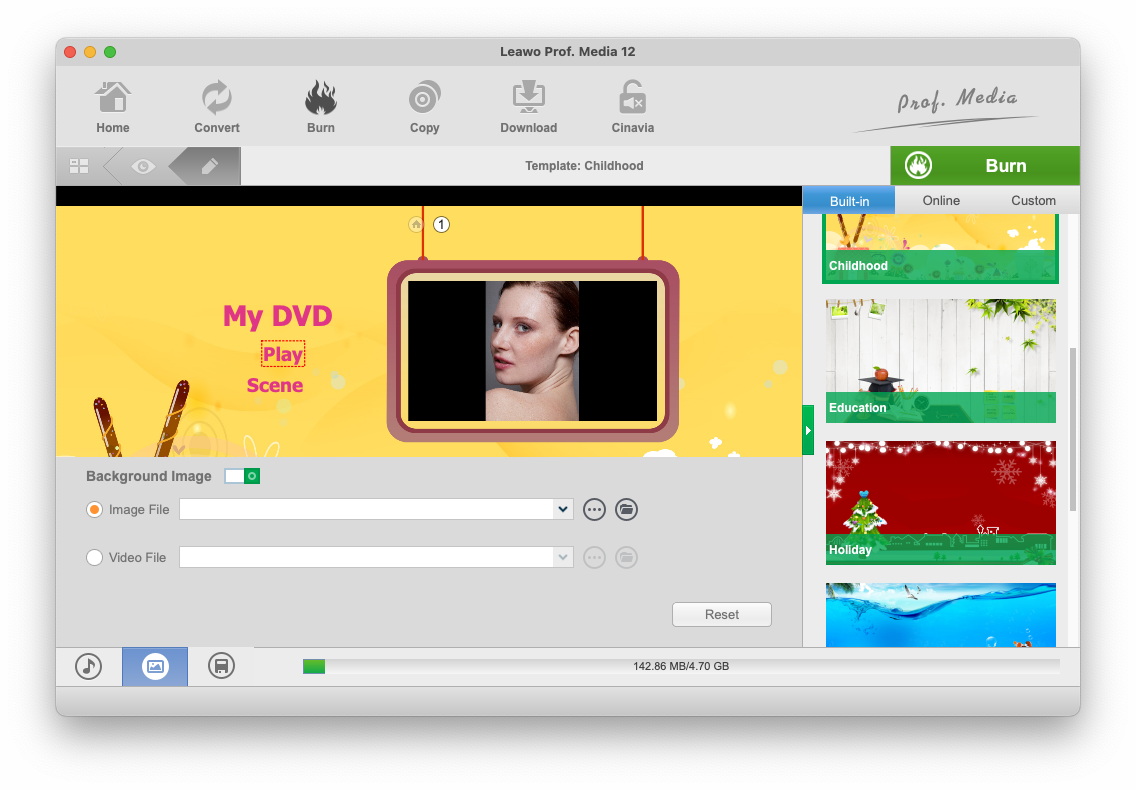
Step 2: Set Disc Menu
You can also design disc menu with this program. Select a disc menu template from the right sidebar and preview it by clicking the middle of selected disc menu.
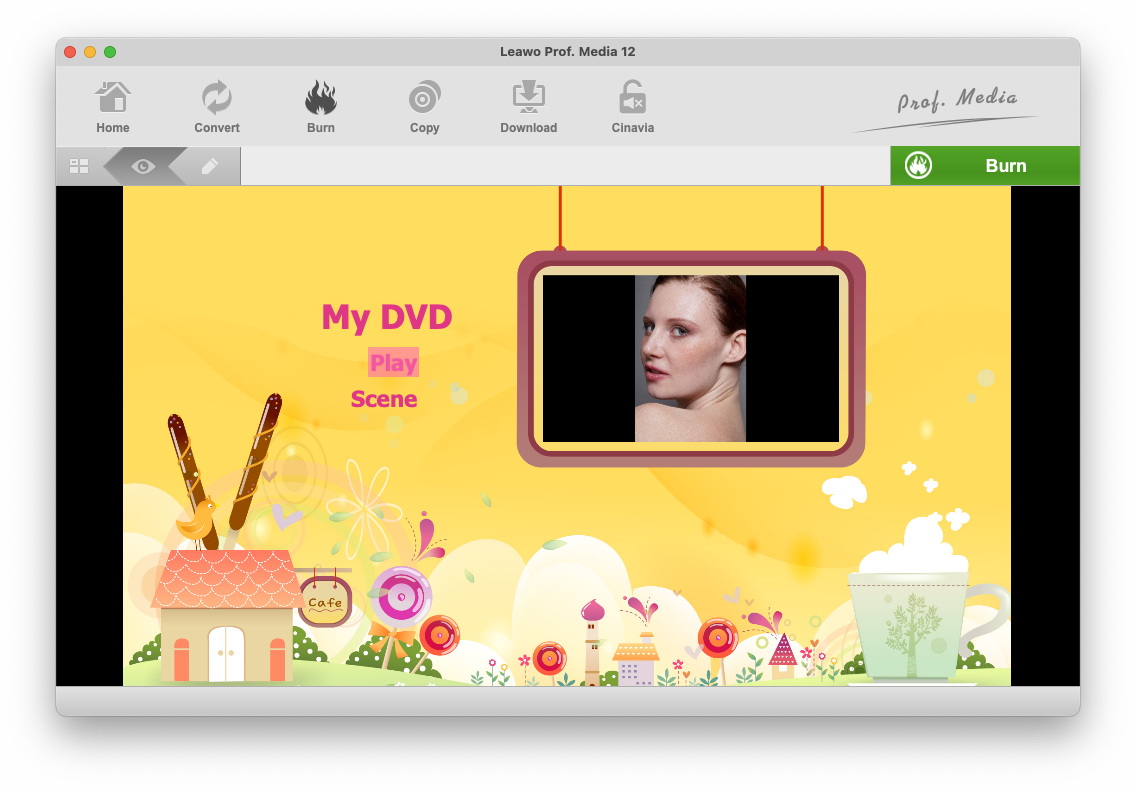
You could customize the disc menu by clicking the pencil icon on the preview panel. You could add personal image, video and music as background, reposition titles, change title content, adjust text color, size, font, etc. After designing, click the "Save" button to save designed menu into Custom group.
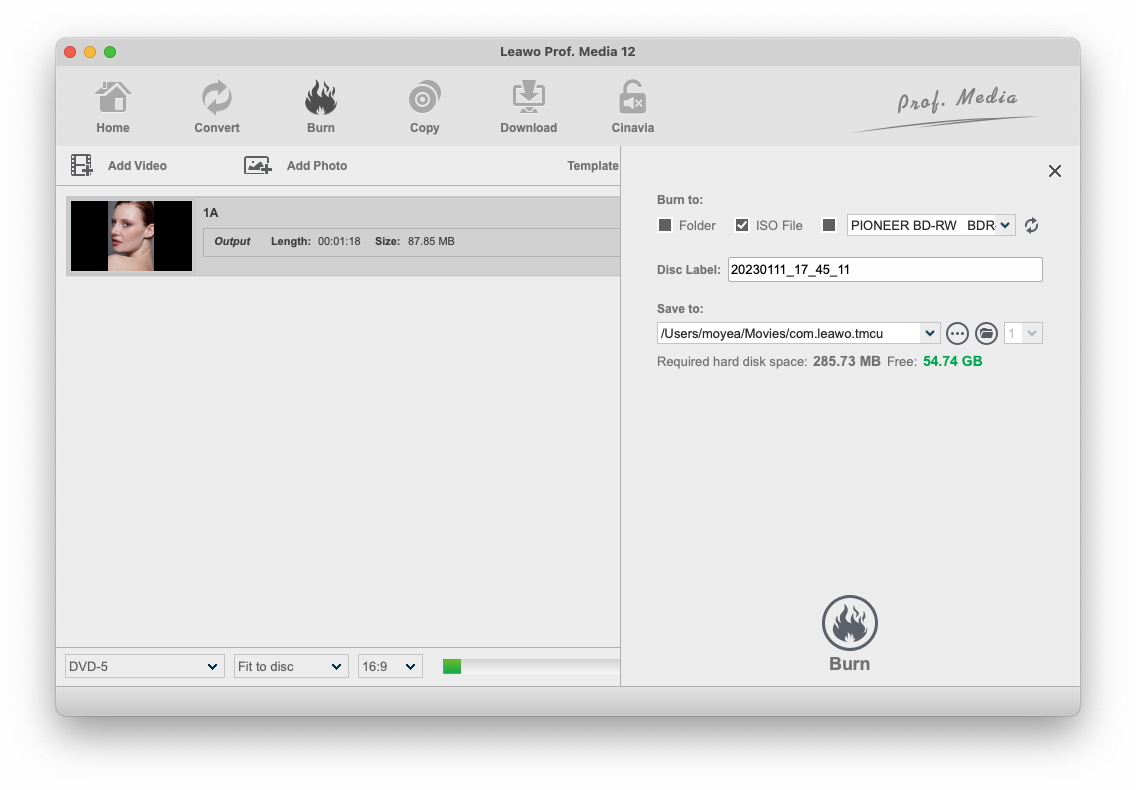
Step 3: Start burning photo slideshow to DVD
Click the green "Burn" button to pop up a sidebar. On the popup sidebar, set "Burn to", "Disc Label" and "Save to" options. After doing these, click the bottom "Burn" button to start burning generated photo slideshows to DVD.
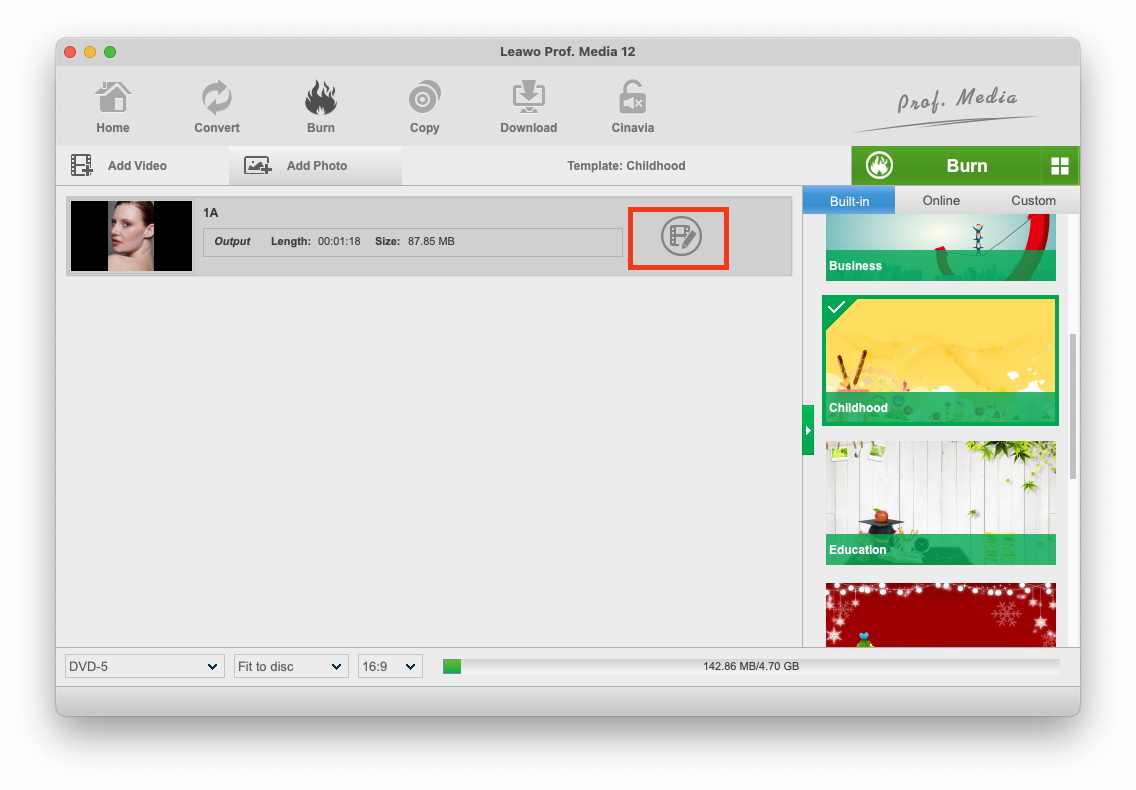
You could edit generated photo slideshows no matter you want to convert them to other formats or burn to DVD. Click the "Edit" icon in generated slideshow title, or right click generated slideshow and then select "Edit" option to enter the photo slideshow editing panel for video and audio editing.
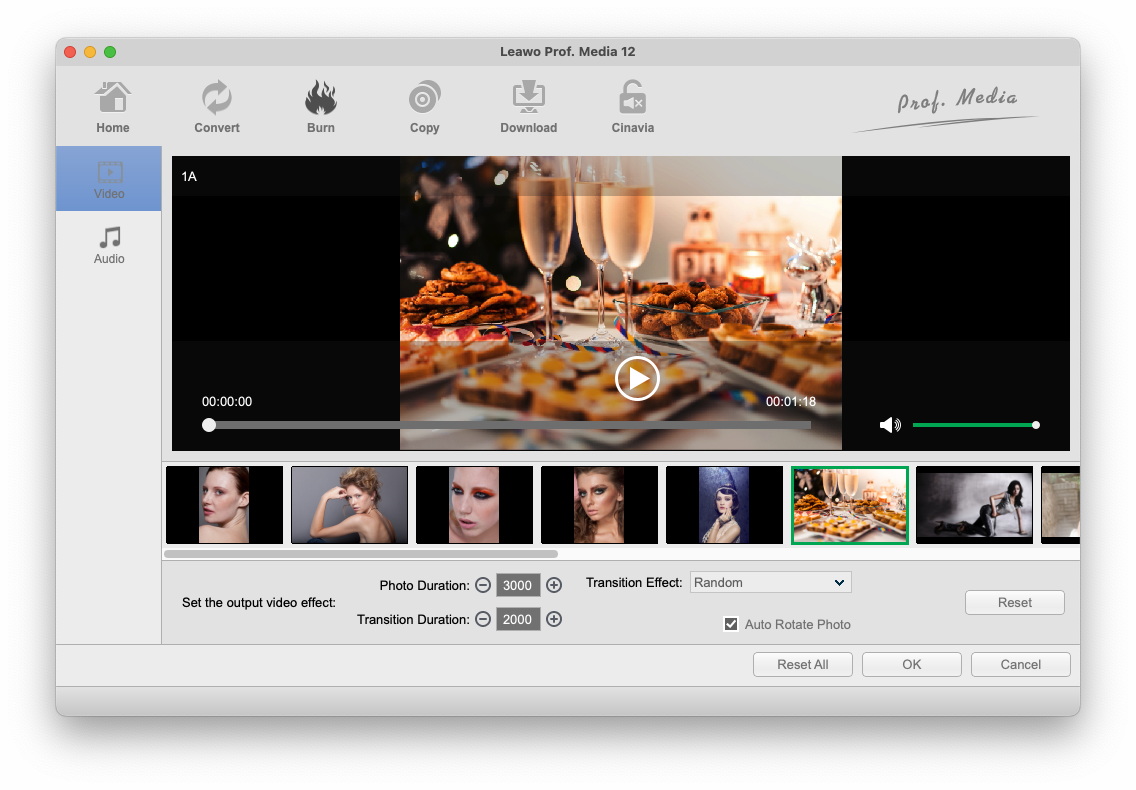
Step 1: Edit photo slideshow video
Open the "Video" panel on the editing panel. You could adjust photo position via drag-and-drop, add extra photos into slideshow, set photo duration, transition duration and transition effect, etc. You can get instant preview via the built-in player.
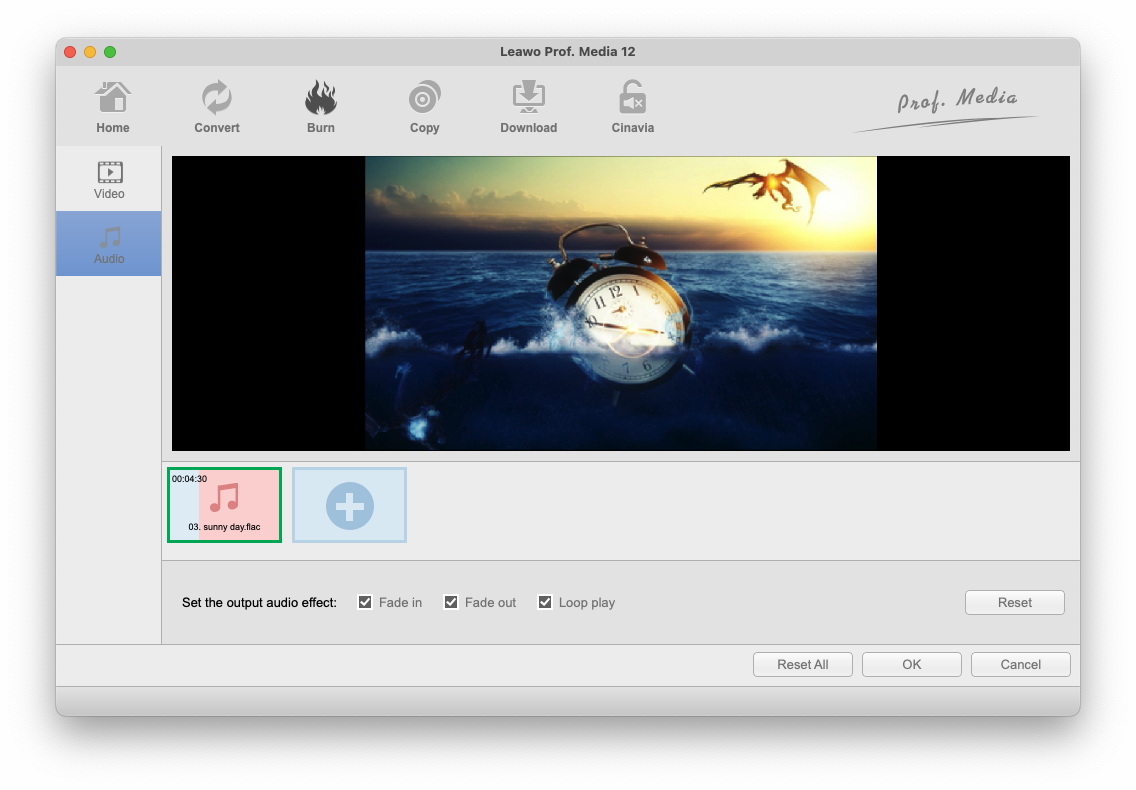
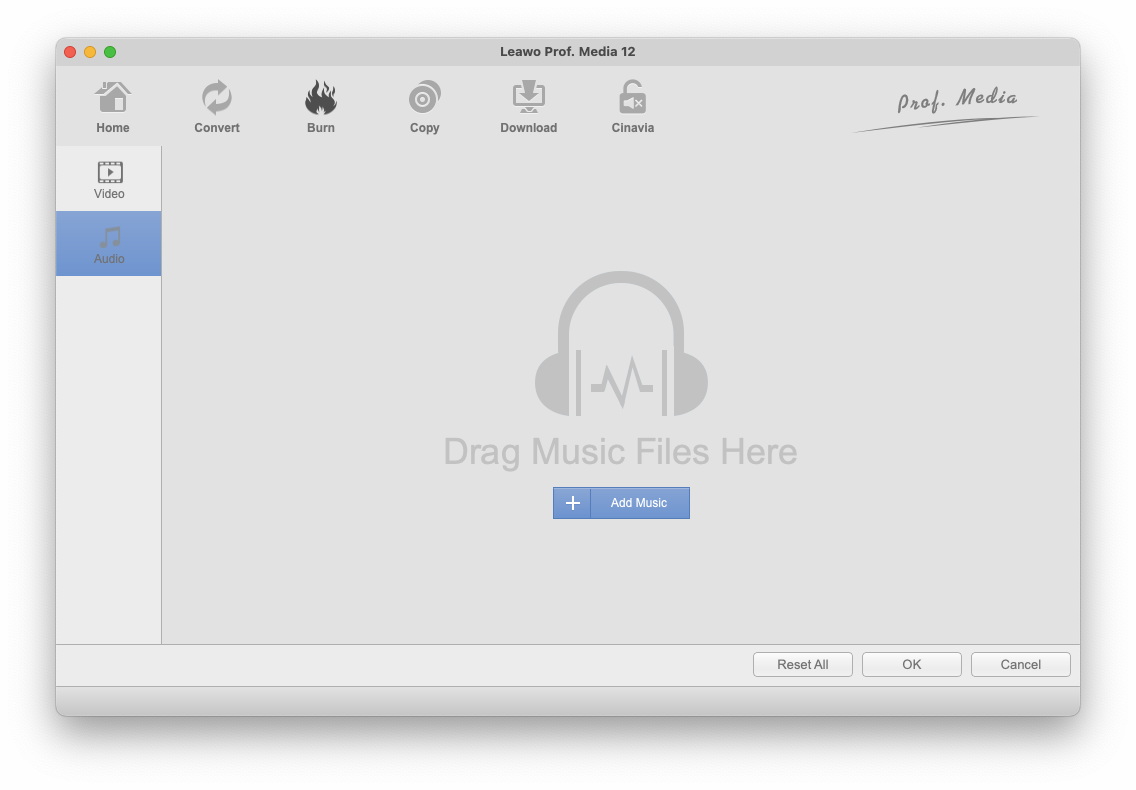
Step 2: Edit photo slideshow audio
Open the "Audio" panel on the editing panel. You could click the "Add Music" button or directly drag music from your computer into generated photo slideshow.
You could drag one or several songs as background music, change music position and adjust output audio effect.