Detailed description of how to convert video/audio files to different formats with the help of Leawo Video Converter for Mac.
This post will show detailed description of how to convert video/audio files to different formats with the help of Leawo Video Converter for Mac. All the icons and buttons will be introduced in this guide to help users better using this program.
1.1 Step 1: Import the Video/Audio file into Video Converter for Mac
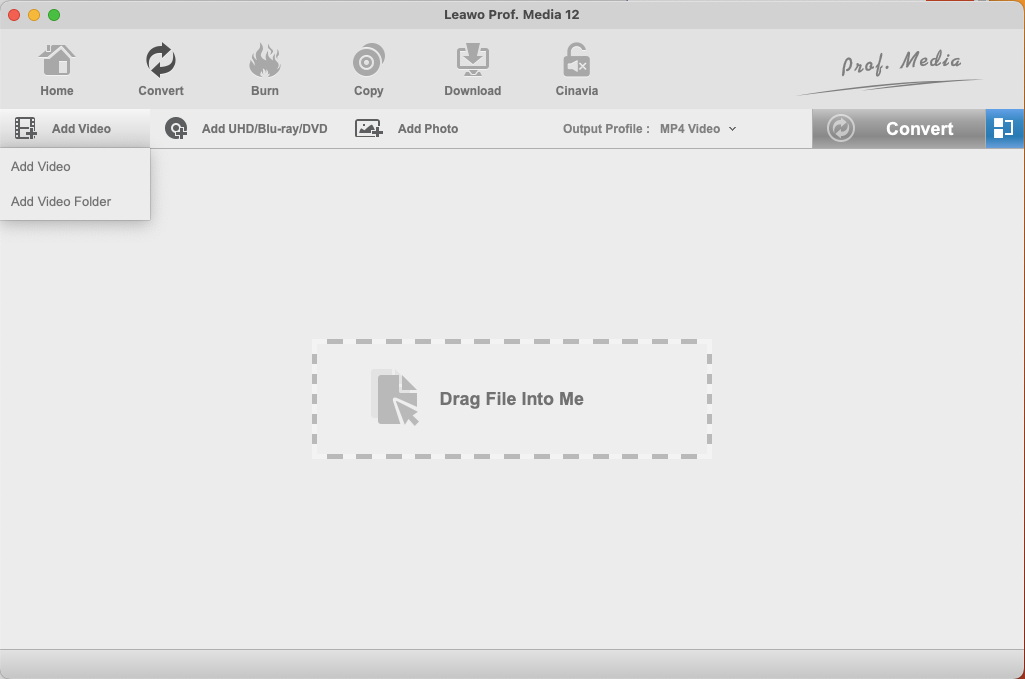
Move your mouse to the first button “Add Video” on the right below of “Home” button to pop out a drop-down box 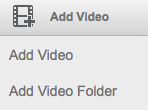 to add files (including video, video, audio and audio folder) into the program. Besides, directly dragging and dropping video and/or audio files to the middle of the interface for adding file is also available.
Note: If you want to merge the added files into one, the blue button  on the rightmost of the window is designed to help you combine all the cherish videos together. You can also combine the videos after you edit them to make a unique one.
You can also add external subtitle by clicking 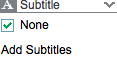 button. In addition, more video editing options also provides for you, you just need to tap the pencil-like
  icon on the loaded video to trim your video size, add watermark, crop video length, adjust video effect and turn 2D video to 3D.
1.2 Step 2: Select Output Format
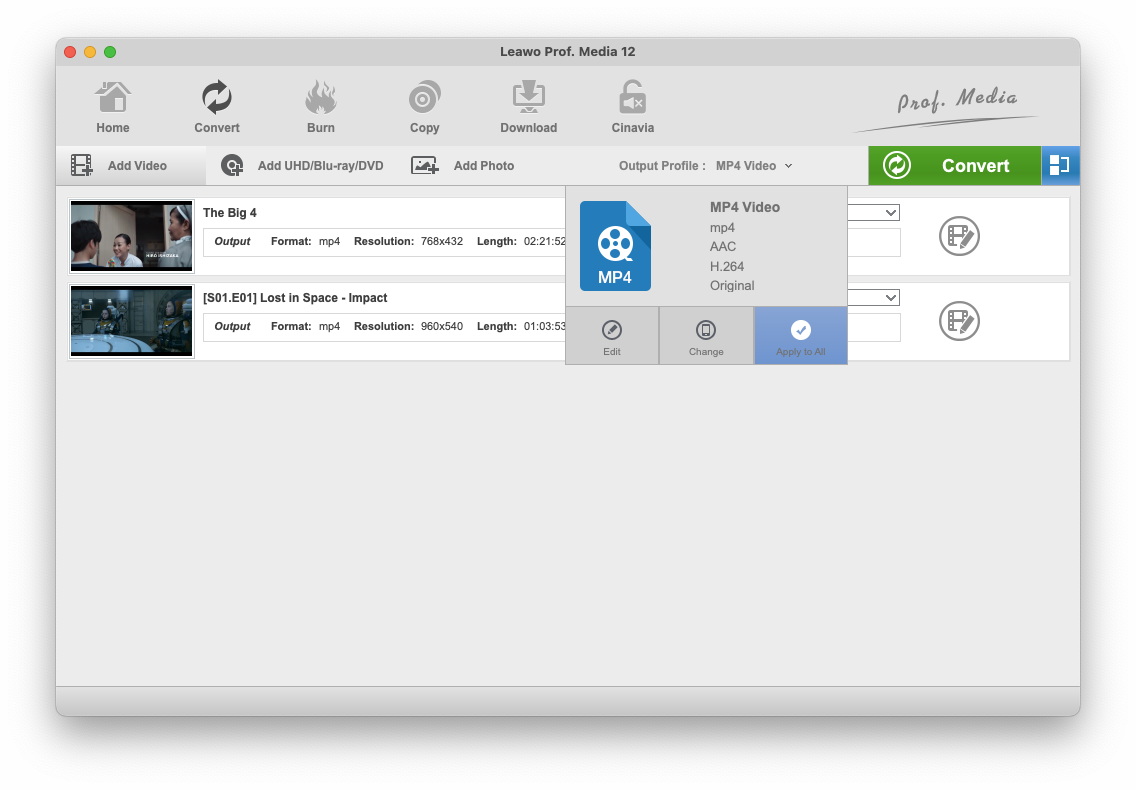
Once you import source files successfully, the button named “MP4 Video” will be shown on the interface and you can click it to open the drop-down box 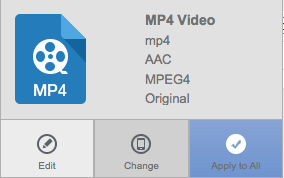 by default. Next, click “Change” button to enter the "Profile" panel, where you could select a proper profile as output format.
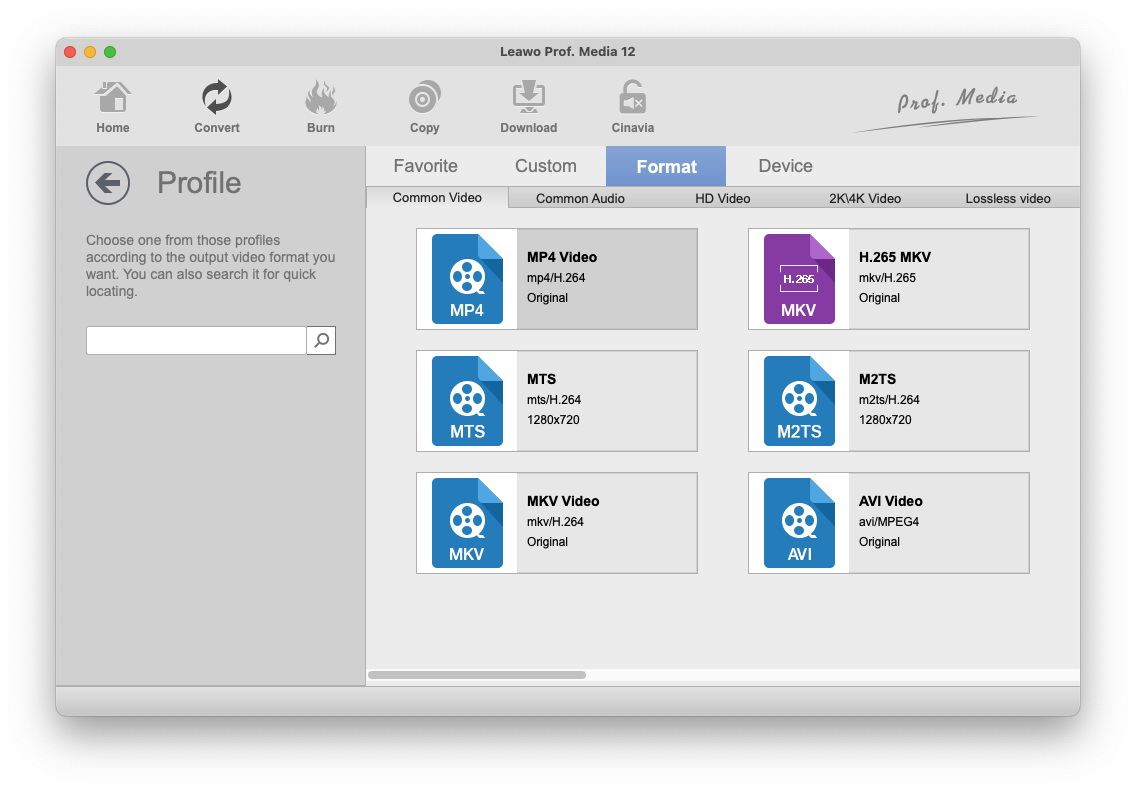
Here are 4 main buttons named “Favorite” “Custom” “Format” “Devices”. As the name suggests, you can click “Format” and “Devices” button to freely select the output video format and output devices. Besides, you can also select your preferred format to “Favorite” group or design a custom-made format by clicking “Custom” button.
1.3 Step 3: Set Video and Audio Parameters
For more detailed profile settings, you need return back to the previous page. And click the drop “Edit” button on the same drop-down box . After that, the "Profile Settings" interface will enable you to adjust video and audio parameters of selected output profile, including: Video Codec, Quality, Video Size, Bit Rate, Frame Rate, Aspect Ratio as well as Audio Codec, Quality, Bit Rate, Sample Rate, Channels, etc. You can click “OK” to save the settings for the selected file or apply it to all files. Besides, you can also save the settings as “Custom” on the left window.
1.4 Step 4: Set Output Directory
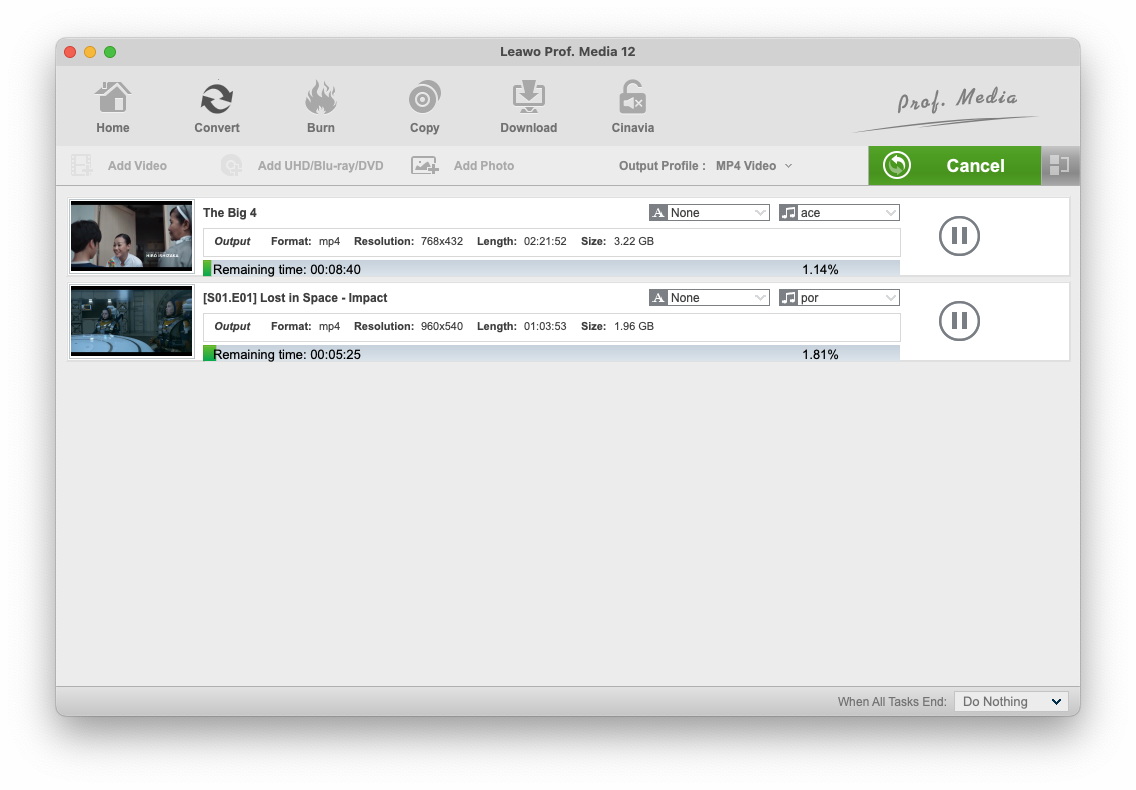
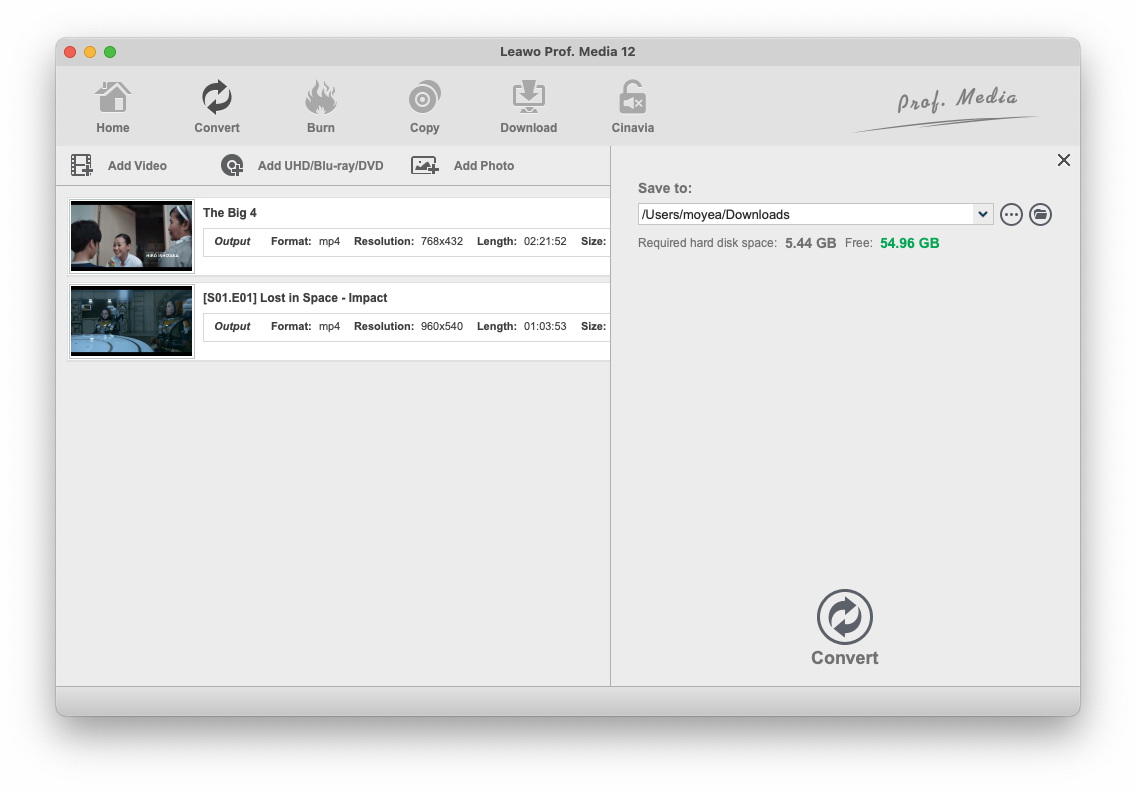
After finishing all the parameters, you can click the big green "Convert" button  to set output path. A pop-up sidebar will ask you to select an output directory under the "Save to" box.
1.5 Step 5: Start to Convert Video and Audio Files
Finally, tap green “Convert” button on the same pop-up box in the step 4 on the bottom of the interface to start converting your imported files to the selected format. Meanwhile, you can check for the converting progress.