The word codec is the meaning of two words: coder and decoder. So what does that mean for videos? Quite simply, video files can be very large, and they need a way to make them smaller. Therefore the codec exists for that purpose, because it encodes and compresses the data for storage or sending, then decompresses for playback or editing. Moreover, codecs are computer codes that perform their function whenever the video files are requested or called by a piece of software. Codecs can also be used in a physical piece of hardware, like your camera, turning incoming video and audio into a digital format. There are various types of codecs available for use. There are lossless video codecs, which always reproduce videos exactly as they were without any loss in quality. There are lossy codecs, which lose a small amount of information, although they compress material into a much smaller formats which is ideal for internet sharing.
There are also transformative codecs which cut the video material into smaller chunks before they have been compressed. Changes to these codecs are always happening as technology advances. Newer ones are being released and they are grouped together under a variety of umbrellas. In this guide, we will look at Windows Media Player codecs, and how you can update them if you have outdated ones. If you cannot find the specific codecs you are looking for, we will also introduce an alternative and universal video player that has support for more video codecs and formats.
What is Windows Media Player Codecs
If you are a Windows user, Windows Media Player should not be something new. For decades, Windows Media Player has been the primary media player on the Windows platform. It has all the basics that a standard media playing software has, and it can play videos in common formats that can be opened effortlessly. However, the simple and basic experience that is appreciated by many users turns upside down, due to the fact that some formats are not supported by Windows Media Player. It can be annoying to say the least, and this situation users have to either find and install additional codecs for the formats that they are trying to view, or just use an alternative media player. Updating Windows Media Player codecs is simple and straightforward, and there are a lot of ways to do so. The first solution is updating the codecs manually. The second solution is to use the Windows Media Player auto-update function.
Solution 1: Update Windows Media Player Codec manually
The first solution to update Windows Media Player codec is to update it manually. This process is natural when you encounter a video file that Windows Media Player cannot play. All you need to do is follow the instruction from Windows Media Player, and it will guide you to update the codec you are missing in a couple of minutes. Here are the detailed steps on how you can update Windows Media Player codec manually.
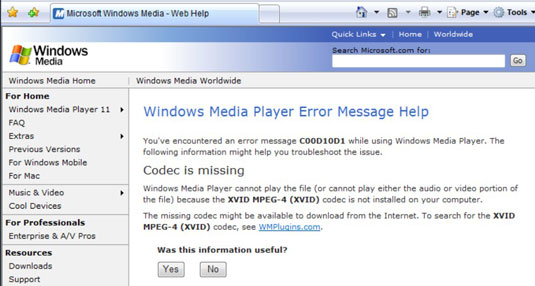
Step 1: When you try to play a media file that WMP doesn't understand, WMP helps you find the codec. For example, WMP can't find the codec necessary to play The video for a video in AVI format, it shows an error message. In the message window, click the Web Help button, and then Windows Media Player fires up Internet Explorer (or your default Internet browser) and connects to a Web site that specifically identifies the missing codec.
Step 2: Click the WMPlugins link. The WMPlugins Web site, which is owned by Microsoft, gives you a link to the Xvid codec. Click the link to the codec download site to find the missing codec. Microsoft shows a disclaimer that Microsoft is helping you leave a Microsoft site and that the site you're going to — the one with the codec — isn't associated with Microsoft.
Step 3: WMPlugins transports you to the download site. Click the link to download the codec.
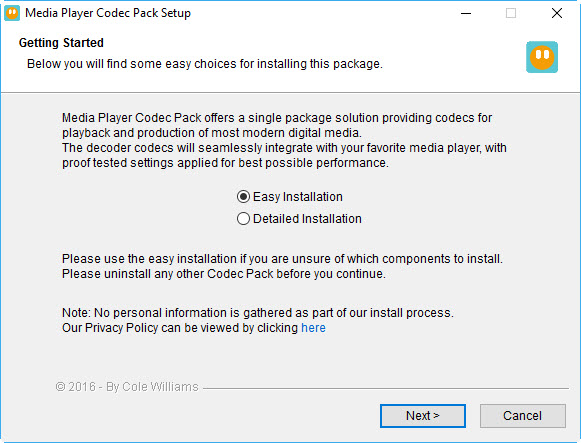
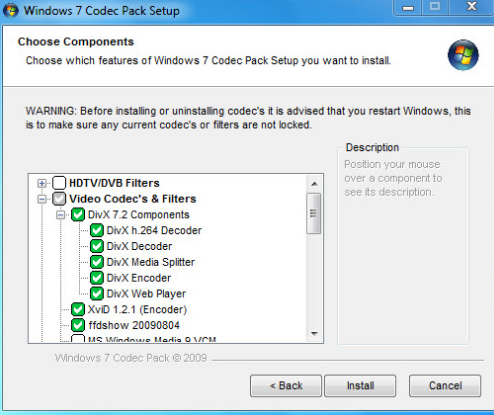
Internet Explorer goes through the usual file download routine. When the download is done, click the Run button. You may have to click through some scary-looking dialog boxes saying that the publisher couldn't be verified and allowing the installer to run. Eventually, you get to the codec's setup wizard or something similar. Follow the installer's instructions. If it tells you to close all other applications, click the red X to exit the umpteen Internet Explorer windows.
Step 3: Go back to Windows Media Player and click the Close button on the original codec notice, and then click the red X to exit Windows Media Player. Ultimately, the codec is installed. If you closed Windows Media Player, double-click the video or audio file again. This time, the video you couldn't play last time will play like a champ.
Solution 2: Use Windows Media Player Auto-update Function
Besides updating the codec manually every time you encounter a video that you can't play. Another choice is to get your Windows Media Player well prepared. This includes getting the latest version of Windows Media Player, and turning the auto update on. Getting the latest version of Windows Media Player can ensure you having the full function and support of the player, while turning the auto update on can save all the trouble of having to update or download a new codec manually every time you fail to play a video. The Windows Media Player can auto update the codec library when you turn the function on. Now let's take a look at how to keep your Windows Media Player the latest, and turn on the auto update.
Download the Latest Version of Windows Media Player
Step 1:Launch your web browser by double-clicking its icon on your desktop. Go to the Windows Media Player page of Microsoft's website (see Resources). Locate your operating system in the left-hand column and then click on the link in the right-hand column ("Recommended Player version").
Step 2:Download Windows Media Player. Click the "Download Now" button if you are downloading WMP version 10 or earlier. Click "Continue" if you are running Windows Vista and downloading WMP 11. Then enter your 25-digit Microsoft Product Key (located on the green sticker on the base of your laptop or on your desktop tower). Click "Download Now" after validation.
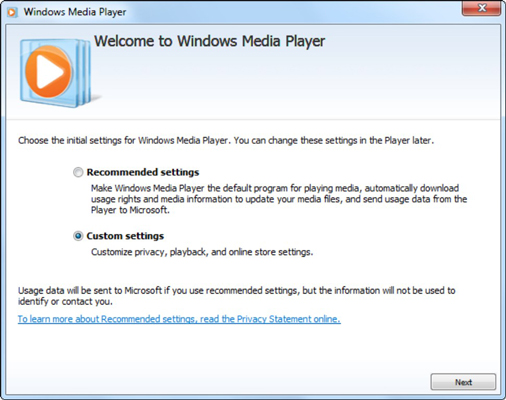
Step 3:Install Windows Media Player by clicking "Run" or "Install." Click "OK" to begin the installation wizard, then click "Next" or "OK" to progress through each stage of the installation. Click "Finish" to complete the installation. Then restart your computer. Now open Windows Media Player and try to play the video or audio file that prompted the error. If you still receive a "fix codec error," proceed to next section which shows you how to turn on the Windows Media Player auto update function.
Turn On the Auto-update Function
Step 1: Launch Windows Media Player by double-clicking its icon on your desktop. Click on "Tools" in the top menu bar and then highlight and click "Options." If you do not see "Tools" or a top menu bar, click on the "Layout Options" button (it looks like a square) and then highlight and click "Show Classic Menus."
Step 2:Click the "Player" tap in the "Options" application window. Check the box next to "Download codecs automatically" and then check the box next to "Once a day" to set the frequency of downloading codecs.
Step 3: Try to play the video or audio file that prompted the error. Wait 24 hours for WMP to download all the codecs available then try and play the file again. Final tip, if you are trying to play video or audio files recorded on a device that you own and Windows Media Player cannot play the file and does not offer a codec, contact the device manufacturer. Ask if the manufacturer has made a Windows Media Player codec available for download from the company's website.
Solution 3: Use a third-party universal video player
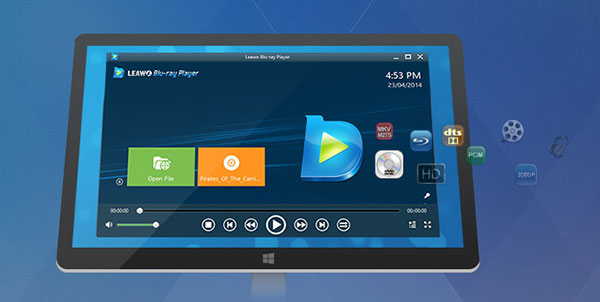
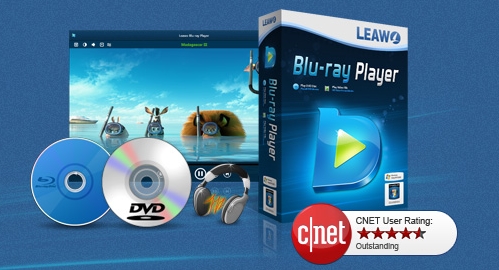
When you encounter the problem of being not able to play a video in Windows Media Player, updating or downloading and installing the codec is the first choice suggested by the Microsoft official solution. However, this solution is very flawed. The process of updating or downloading an additional codec for Windows Media Player takes almost as long as installing a brand new player program. Not to mention you have to repeat the updating process every time you play a video in a new format. This is extremely troubling. So is there another choice for us to save all the troubles and fix the problem once and for all? Of course there is. The solution is to use a universal media player that can play all kinds of video formats without installing any additional codec, a player like Leawo Blu-ray Player.
-
Leawo Blu-ray Player
Region-free Blu-ray player software to play Blu-ray disc and DVD disc for free, regardless of disc protection and region restriction.
Play 4K FLV videos, 4K MKV videos, 4K MP4 videos, etc. without quality loss.
Play 1080P videos, 720P videos with lossless quality.
As a 100% free and 6-in-1 media player software, Leawo Blu-ray Player for Mac contains all media playback solutions you need for your leisure entertainment, including Blu-ray, DVD, CD, HD (4K), ISO files with AVI, MPEG, WMV, ASF, FLV, MKV/MKA and other popular formats supported. Besides, Leawo Blu-ray Player's practical bonus features including useful power manager, custom skin/language/background, snap screenshots, especially virtual remote controller make it a better choice for all playback choice.
With advanced image and audio processing technology, Leawo Blu-ray Player for Mac could provide you quality-lossless image for even 4K video, stereo audio enjoyment, all regions free DVD decryption and user-oriented playback control so that you can play any high-quality movie and play Blu-ray or DVD across region. Furthermore, within Leawo Blu-ray Player, you could obtain the personalized settings according to your preference and all the settings could be done automatically. The instructions for playing are quite easy.

