"How can I edit video in iTunes? I have some Youtube movies in iTunes that I would like to shorten a little but when I try to open the export in iMovie I cannot. What format do I need to be able to do this?"asked by Richard on Apple Communities.
Many people actually have the same question. They want to edit video in iTunes but find not solution. Actually, we should know that iTunes doesn't enable you to edit a video since it has no editing feature. When you say you want to edit a video in iTunes, you mean to edit a video from iTunes in other video editing software tools such as iMovie. Well, in this guide, we would like to introduce you detailed solutions on how to edit a video in iTunes with different tools. And you will also learn why you can't edit a video in iTunes.
- Part 1: Brief Introduction to iTunes and Why Can't We Edit a Video in iTunes
- Part 2: How to Remove DRM from iTunes Videos with Prof. DRM
- Part 3: How to Edit iTunes Movie with Leawo Video Converter
- Part 4: The Best iTunes Video Editor on iOS Device - iMovie
- Part 5: iMovie vs. Leawo Video Converter in Editing iTunes Video
Part 1: Brief Introduction to iTunes and Why Can't We Edit a Video in iTunes
Many people have suggested using QuickTime Pro to firstly convert iTunes video to other formats like MOV or MP4 before editing iTunes movies in iMovie. However, this has failed a lot of customers since they have no idea the key reason why they can’t edit a video in iTunes.
We all know that iTunes is a comprehensive management tool that is used to perform as movie player, media library, Internet radio broadcaster, and mobile device data manager. People could purchase and download videos from iTunes library, and then sync media to their iOS devices. Then, why can’t we edit a video in iTunes, or in other words, why can’t we edit iTunes video in professional video editor software?
That’s because of DRM, aka Digital Right Management, access control technologies for restricting the use of proprietary hardware and copyrighted works. To make it simple, DRM is a protection solution that prevents DRM protected media files from being edited or played on unauthorized devices.
Nowadays, most digital contents have adopted DRM protection to protect copyright. In iTunes, most movies, videos, TV shows, audiobooks, games, etc. have been DRM protected. Also, there are other DRM protected media files other than media files from iTunes, like eBooks from Kindle, Kobo, Adobe Digital Editions, Audible audiobooks, documents, music, etc. If you want to enjoy these media files on devices other than their native ones, you have to remove the DRM protection first. As to iTunes video editing, Leawo Prof. DRM would be a wonderful choice.
Part 2: How to Remove DRM from iTunes Videos with Prof. DRM
To edit iTunes videos, you need to firstly remove the DRM protection and then put the DRM-free iTunes videos in video editor tools to fulfill video editing. As mentioned above, Leawo Prof. DRM would be your best choice in removing iTunes DRM protection from iTunes video. As a professional DRM removal and iTunes video converter, Leawo Prof. DRM could help you remove DRM protection from iTunes video and then convert iTunes video to DRM-free MP4 video, therefore you could easily edit iTunes video in any video editor.
Download and install Leawo Prof. DRM on your computer. Then, follow the below steps to learn how to remove DRM protection from iTunes video before you can edit iTunes video in video editor tools.
Note: You need to authorize the computer by signing in with your Apple ID that you used to purchase or rent the video file (movie and TV show). During the iTunes DRM removal process, you are not allowed to operate iTunes.
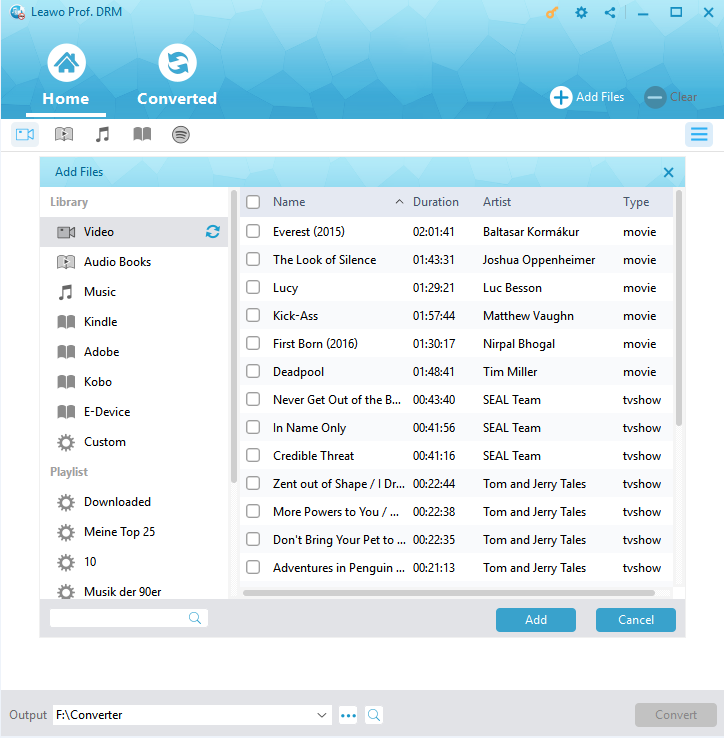
Step 1: Add iTunes videos
Launch Leawo Prof. DRM and then on the main interface click the "Add Files" button. Then, choose the iTunes videos you want to edit. This requires you to have downloaded iTunes videos to your local drive.
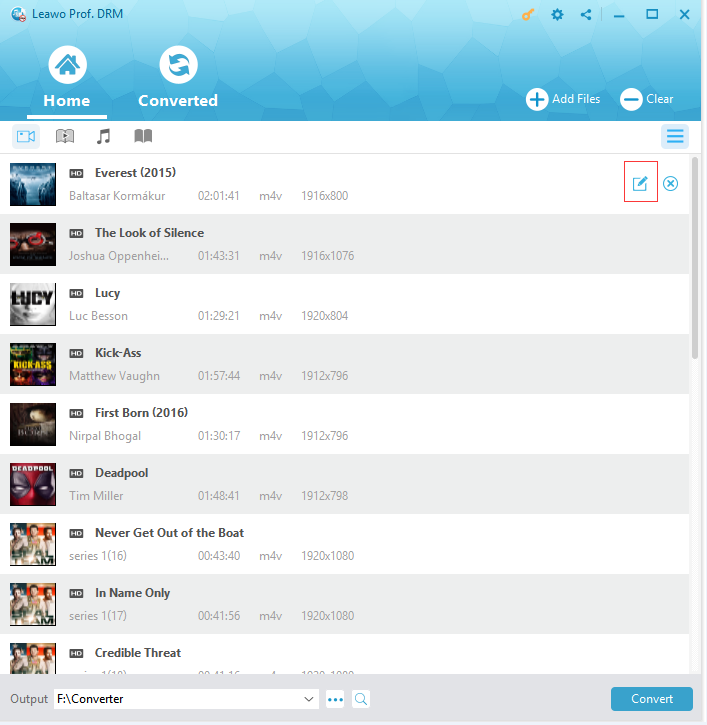
Step 2: Choose audio tracks and subtitles
If you need, you could choose audio tracks and subtitles from loaded iTunes videos. Click the pencil icon on each loaded iTunes video and then choose desired subtitles and audio tracks. You could choose all of them for output.
Step 3: Set output directory
Now, after setting audio track and subtitle, move mouse to the bottom and you will see an "Output" box. Click the Output box to set output directory to save the final converted iTunes video files.
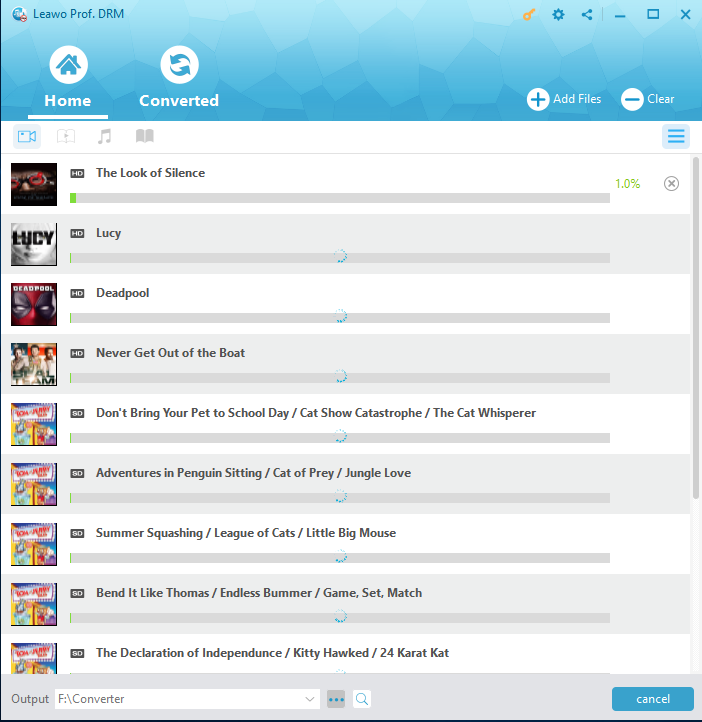
Step 4: Convert iTunes videos
Finally, hit the bottom right blue "Convert" button to start to convert iTunes videos with Leawo Prof. DRM. You could then see the converting progress on the converting panel.
Note:
1. The DRM removal works in the background. It requires no operation. Once the conversion finishes, the output files would be DRM-free files.
2. By default, Leawo Prof. DRM will remove DRM protection from iTunes videos and convert iTunes M4V videos to DRM-free MP4 videos. Therefore, you will get final results in MP4 format, which is accepted by most video editors.
After converting iTunes videos to DRM-free MP4 video files, you could now put the converted iTunes video files into any video editor for editing. Below we would introduce you how to edit iTunes video on computer and iOS devices respectively.
Part 3: How to Edit iTunes Movie with Leawo Video Converter
Why do we recommend you Leawo Video Converter in editing iTunes video? Leawo Video Converter is a combo of video converter and video editor, which could help you edit videos in different ways and then convert video to 180+ formats for diverse devices. It has a quite practical and powerful video editor that enables you to trim video length, add image or text watermark, crop video size to remove black margin, rotate video for a special angle of view, adjust video effect, apply 3D effect, remove noise, etc.
Download and install Leawo Video Converter on your computer according to your computer OS. Then, follow the below steps to learn how to edit iTunes video with Leawo Video Converter
Step 1: Add iTunes video file(s)
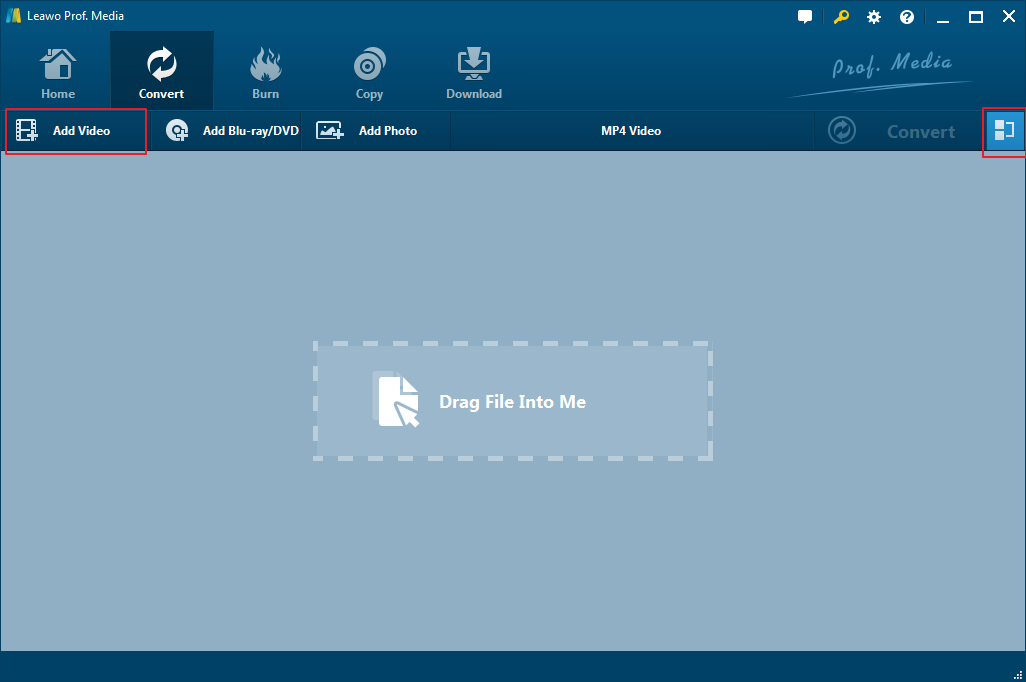
Launch Leawo Video Converter and then click the "Convert" module. Then, under the "Convert" module, click "Add Video" button to browse and add DRM-free iTunes video files you have got as mentioned above.
Step 2: Edit iTunes video
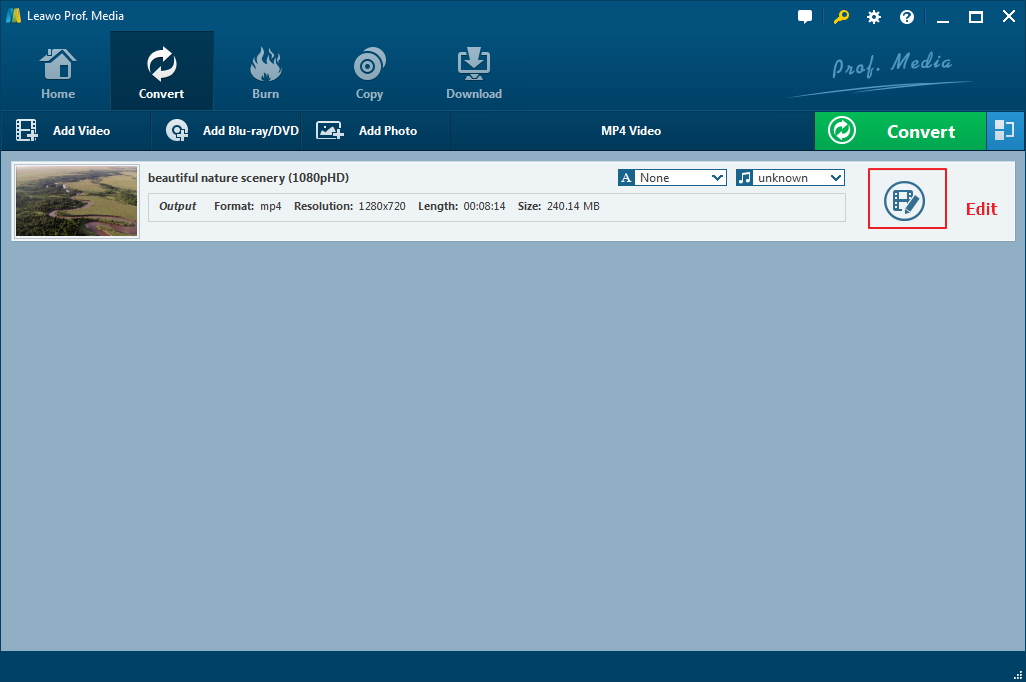
After loading iTunes video file(s), click the edit button in each loaded video title to enter the editing panel.
Trim iTunes video length
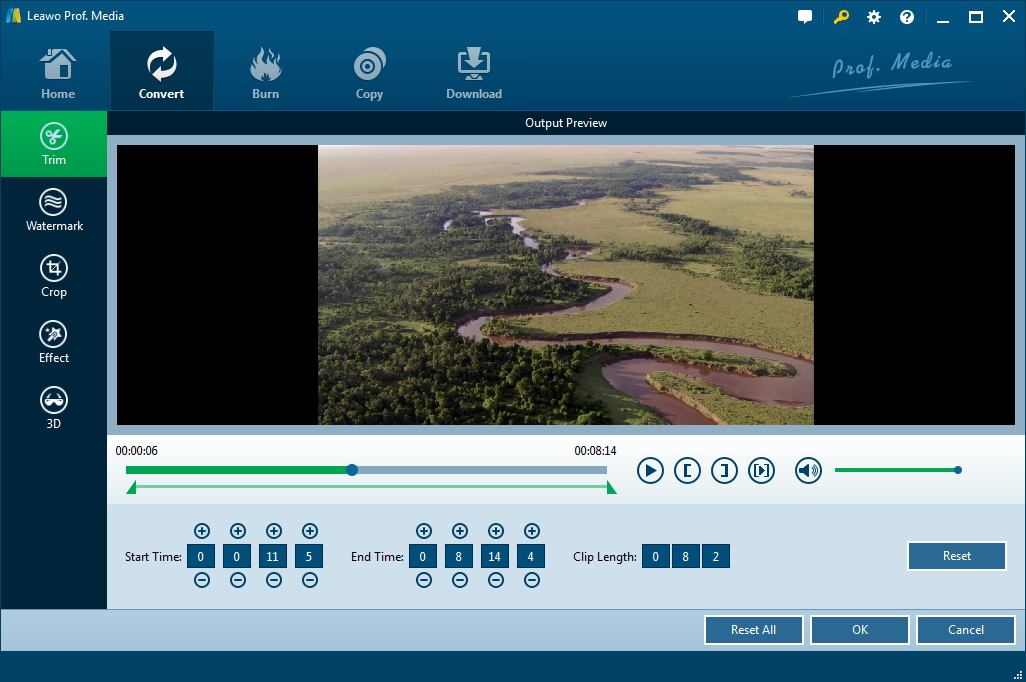
On the editing panel, firstly, open the "Trim" tab, you could trim video length here. You could either directly drag and drop the limiter bar on the playbar, or set "Start Time" and "End Time" values to trim video length.
Add image or text watermark to iTunes video
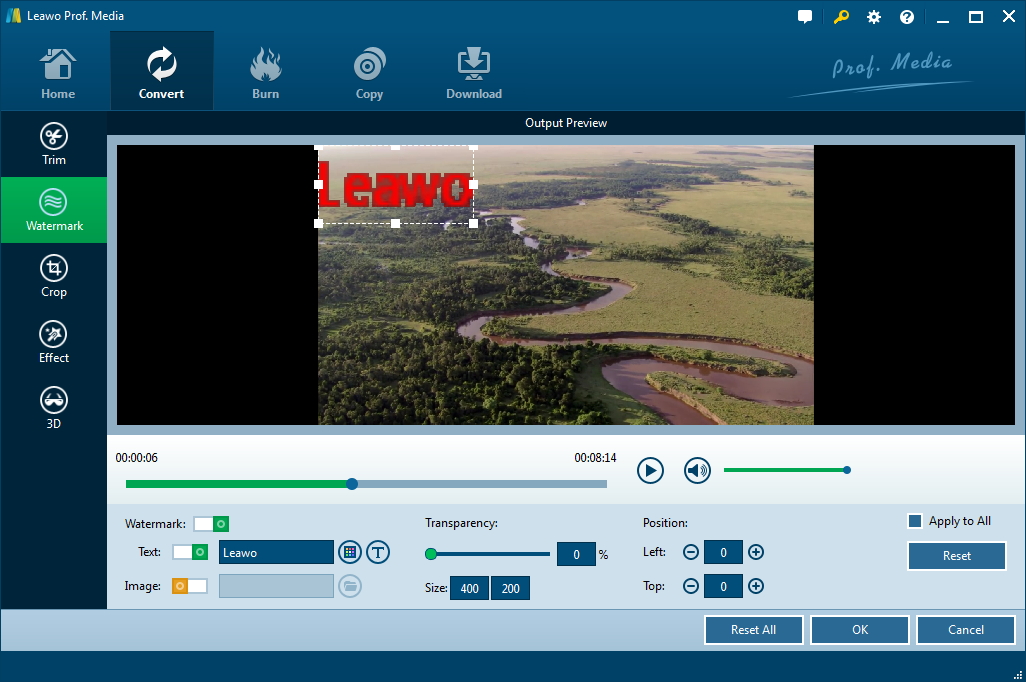
Open the "Watermark" tab and then switch the "Watermark" option to green. You could then choose to add either image or text watermark as you like by switching one to green. Adjust watermark position by direct drag-and-drop on the preview window, adjust transparency between 0 to 100%, change text font, text color, size, etc.
Crop video size
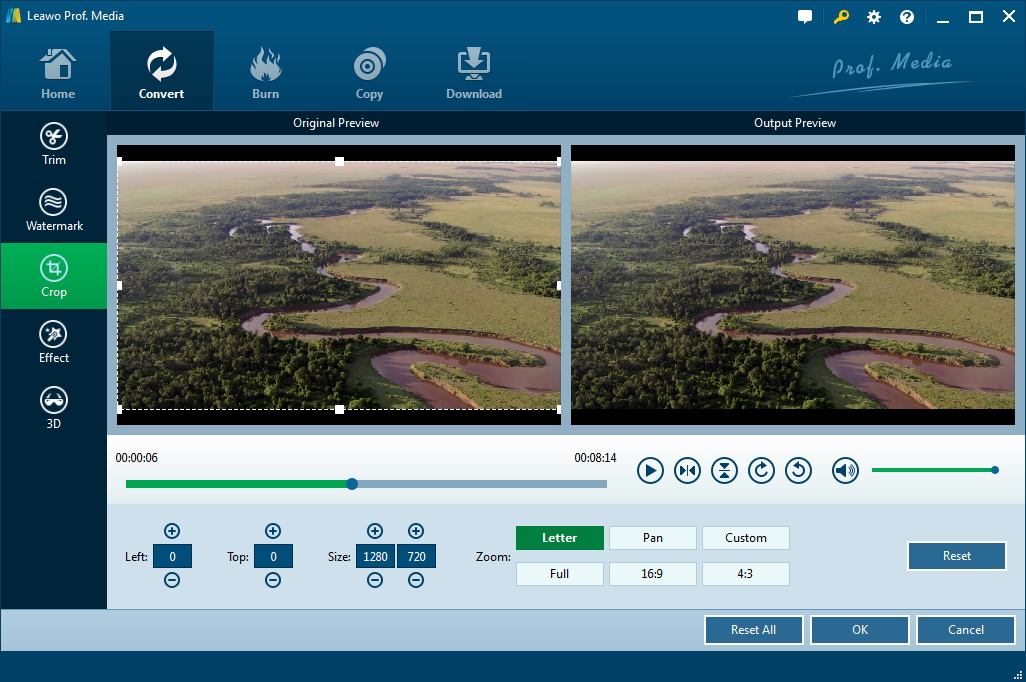
Open the "Crop" tab and then you could drag the dot frame to crop video on the preview window to remove unwanted video picture and retain only what you need. You could also rotate video here in different degrees by clicking buttons before the volume adjuster.
Change iTunes video effect
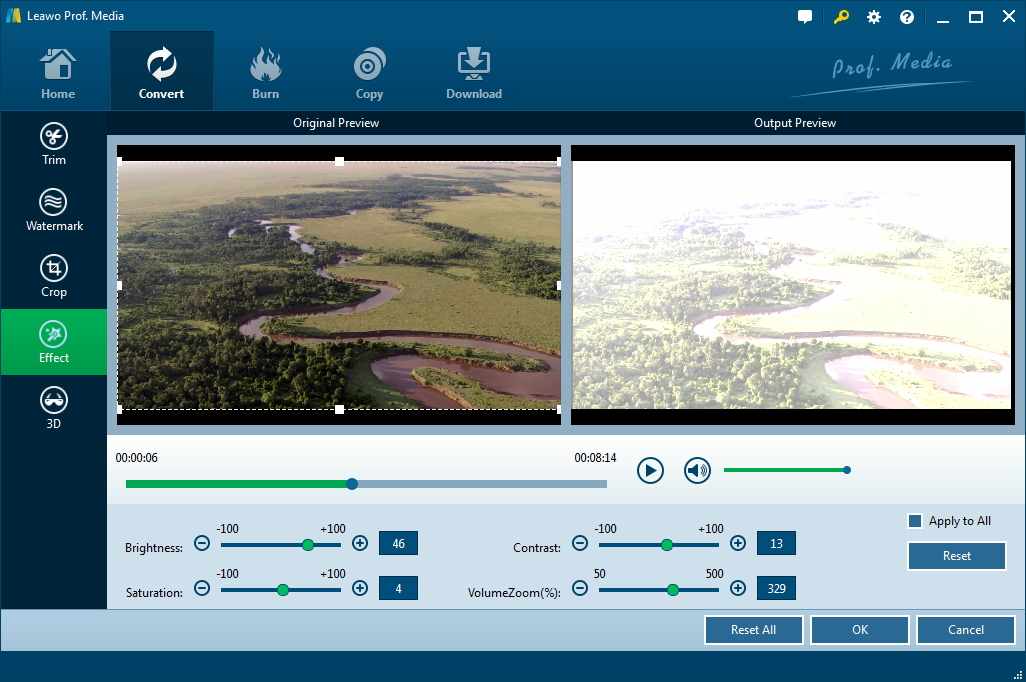
Under the "Effect" section, directly change the values of "Brightness", "Contrast", "Saturation", and "VolumeZoom(%)" to change iTunes video effect as you like.
Apply 3D effect to iTunes video
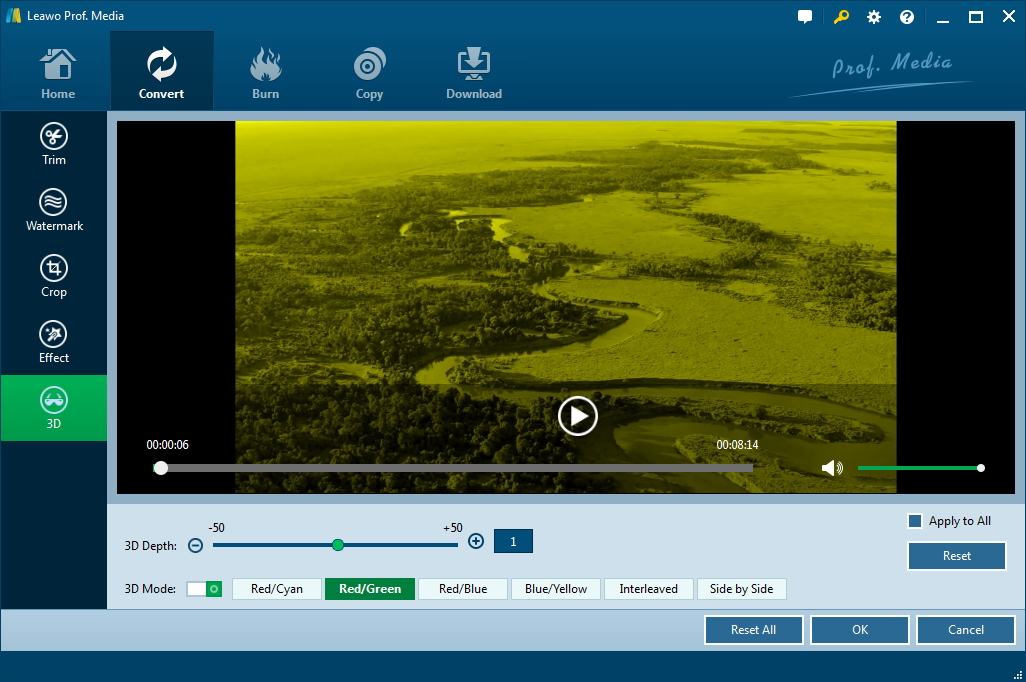
The 3D movie maker might be an excellent point Leawo Video Converter than any other video editor has. Open the "3D" tab and then slide the "3D Mode" to green. Then you could choose a 3D effect from 6 kinds of effects available. For more vivid 3D effect, you could adjust the 3D depth.
Remove noise from iTunes video
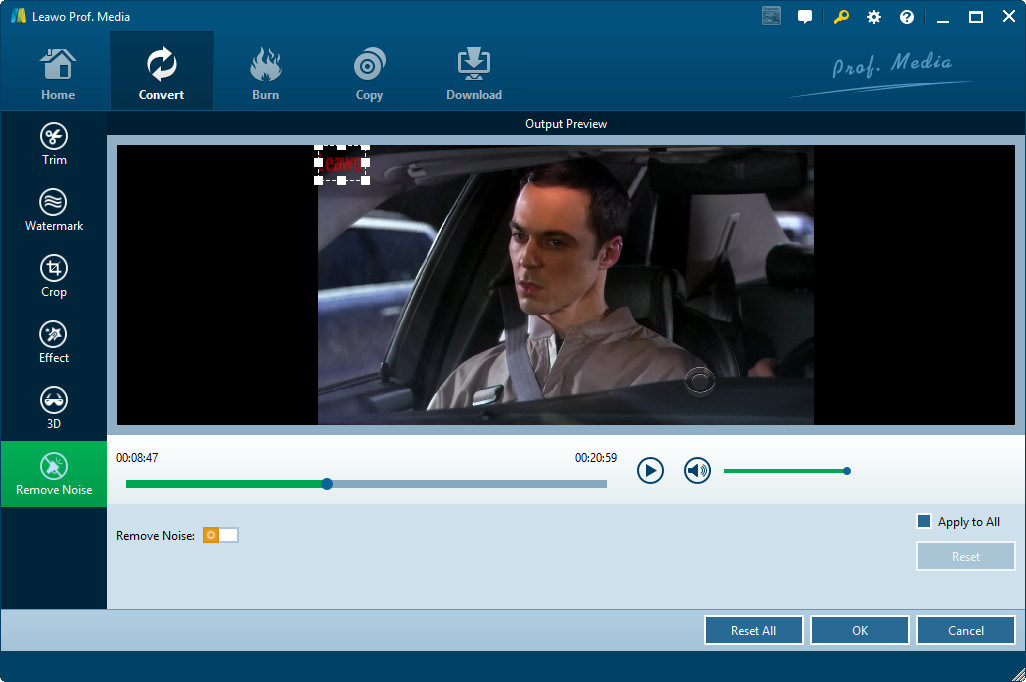
If you need, you could open the "Remove Noise" tab on the editing panel to remove noise from iTunes video. Just slide the "Remove Noise" to green on the "Remove Noise" tab, and this video editor would automatically remove noise for you. After all these editing, click the "OK" button to return to the main interface.
Step 3: Set output format
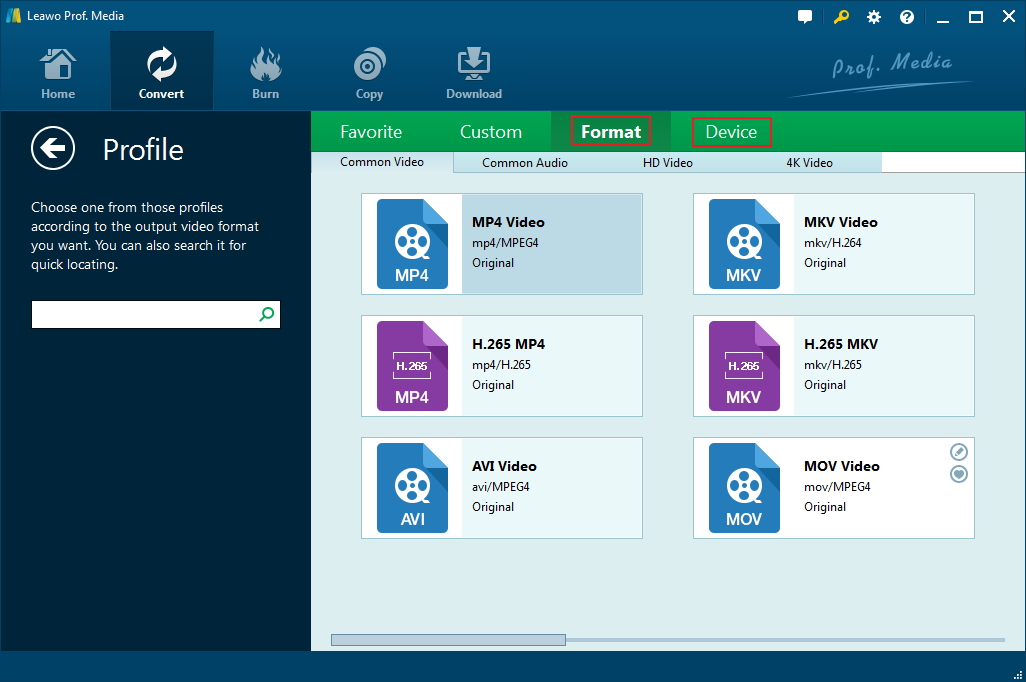
Now, click the drop-down box before the big green "Convert" button and then choose "Change" option to choose output format from either "Format" or "Device" group on the new popup "Profile" panel.
You could adjust the parameters of selected profile, including video codec, bit rate, aspect ratio, frame rate, audio codec, channel, sample rate, etc. To change these, click the "Edit" option on the drop-down panel after setting output format.
Step 4: Set output directory
After setting output format, click the big green "Convert" button to set output directory in the "Save to" box on the popup sidebar.
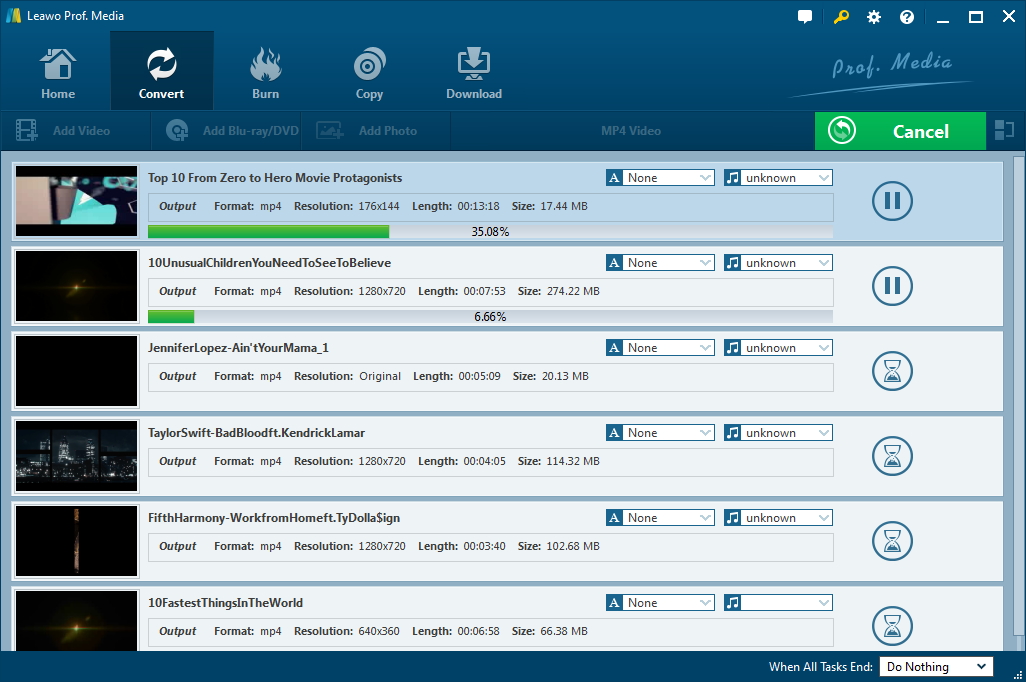
Step 5: Convert iTunes videos
Finally, click the bottom "Convert" button to start converting iTunes videos with all editings you've done.
Part 4: The Best iTunes Video Editor on iOS Device – iMovie
How about editing iTunes video on iOS devices like iPhone? What kind of iTunes video editor you could use to edit iTunes video on iPhone? We would like to recommend you iMovie, the native video editor software for iOS devices. iMovie could help you trim video, add a filter, add a title, add background music, etc. To edit iTunes video in iMovie, you need to firstly sync iTunes video to your iOS device with iTunes or iOS data transfer tool.
The below steps would show you how to edit iTunes videos in iMovie on iOS devices.
1. Make sure you have iMovie installed on your iPhone or iPad.
2. Trim a video clip: In Photos, select a video clip and show the iMovie editing tools. Click the trim button to trim a video clip.
3. Add a filter: Tap on the filter button and then select a filter to preview it in the viewer. If you don't want any filter, just select none.
4. Add a title: Click the title button and then choose a title type. On the viewer, tap the same title to enter title you want.
5. Add background music: Tap the music button and then tap Theme Music or any of the listed categories. You could preview the music before adding it to your video by clicking the music you want to add. To add target music to your iTunes video, click the music and then tape Use option. You could even adjust the music position by changing the starting and ending points.
6. Tape Done button to export your editing
iMovie allows you to undo all editings. You could simply click the video you've edited in Photo app and then choose "Edit > Revert" button.
Part 5: iMovie vs. Leawo Video Converter in Editing iTunes Video
It's hard to say which one is better, Leawo Video Converter or iMovie. However, you could determine this by yourself according to your own read needs. The below comparison table might help you.
|
|
Leawo Video Converter |
iMovie |
|
Trim video length |
Yes |
Yes |
|
Crop video size |
Yes |
Yes |
|
Adjust video effect |
Yes |
Yes |
|
Rotate video |
Yes |
No |
|
Add 3D effect |
Yes |
No |
|
Add background music |
No |
Yes |
|
Remove noise |
Yes |
No |
|
Revert editings |
No |
Yes |
|
Add image or text watermark |
Yes |
No |
|
Add a title |
No |
Yes |
|
Convert video and audio |
Yes |
No |
|
Convert photo to slideshow video |
Yes |
Yes |
|
Play back videos |
Yes |
Yes |
|
iOS version |
No |
Yes |
|
Platform |
Windows & Mac |
Mac |
|
Add subtitles |
Yes |
No |
|
Merge files |
Yes |
No |

