Leawo DVD Creator for Mac is the best tool for converting and burning videos to DVD. This page shows you how to use Leawo DVD Creator for Mac to convert video to DVD content.
As one of the most powerful DVD burning programs on the Mac OS platform, Leawo DVD Creator can create a DVD disc or ISO file or folder in several simple steps. In his section you will learn the whole process of burning a DVD with Leawo DVD Creator for Mac. From importing files, previewing video, setting disc format to performance settings and output burning settings.
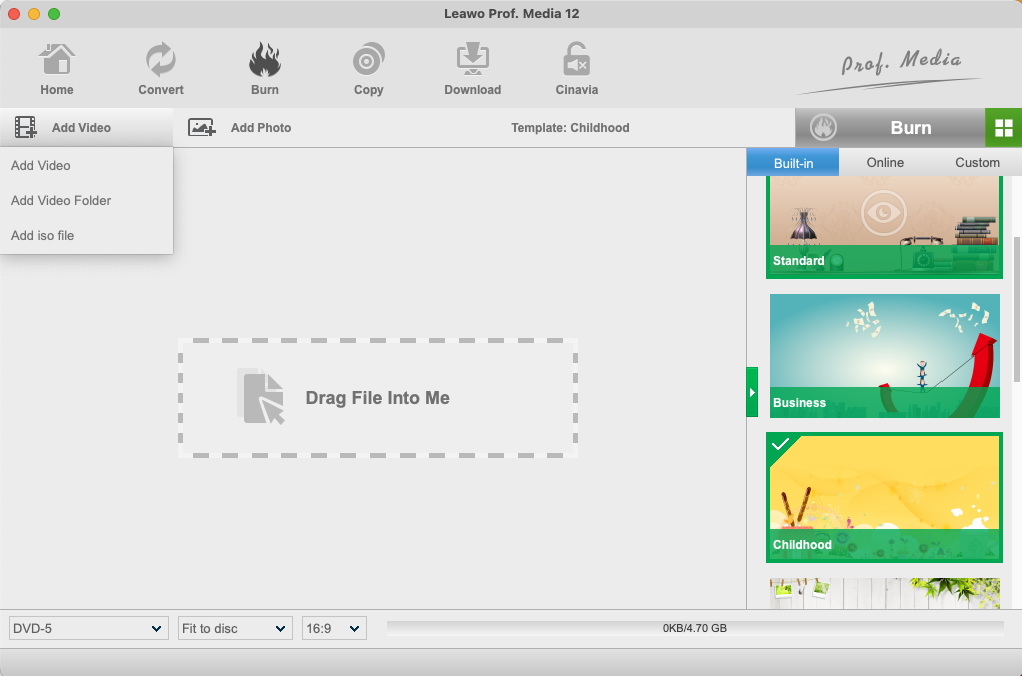
To burn your video to DVD, you need to import your file to the program first. You can either click the “Add Video” button then click “Add video File” or “Add Video folder”, or by directly drag your video files and drop them to the program.
Leawo DVD Creator features a powerful built-in DVD player module so that you can get a quick preview after importing your videos. Click the play button on the thumbnail of the video you have just imported, and you can get an instant preview of your video in high quality.
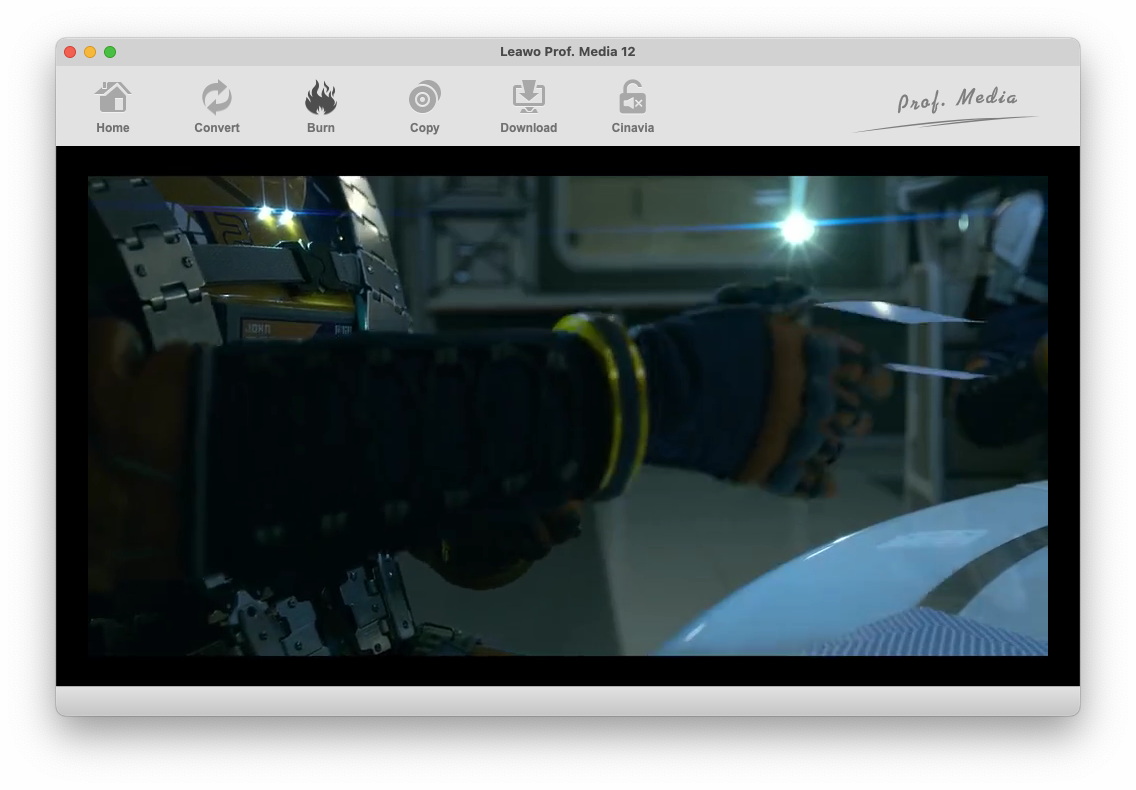
There are three shortcut in the preview window.
The snapshot shortcut  allows you to take a snapshot at the current screen;
The edit shortcut  brings you to the edit panel (See Part 6. How to edit video with Leawo DVD Creator foe Mac for more details) so that you can immediately edit the video.
The open shortcut  enables you to import another video.
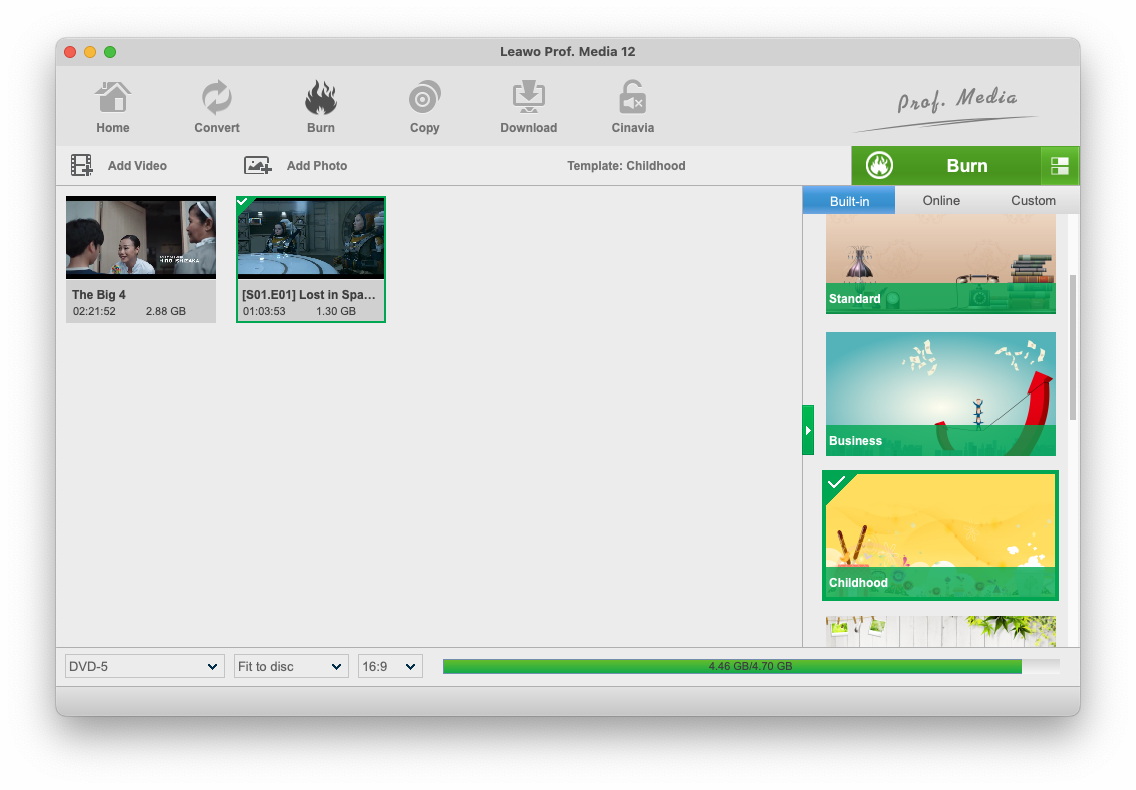
After importing your source video, at the bottom you can choose DVD format from DVD-9, DVD-5, (BD-50, BD-25 are available for Leawo Blu-ray Creator) choose aspect ratio between 4:3 and 16:9 (you can only go with 16:9 when burning to DVD) or set quality to “Fit to disc” which best fits the video. The bar next to the Aspect Ratio shows how big the final file is going to be.
Before you get to the next step, you can choose the subtitles and sound tracks you like from file. Click  to choose the subtitles you want, you can even import one from your computer. Click
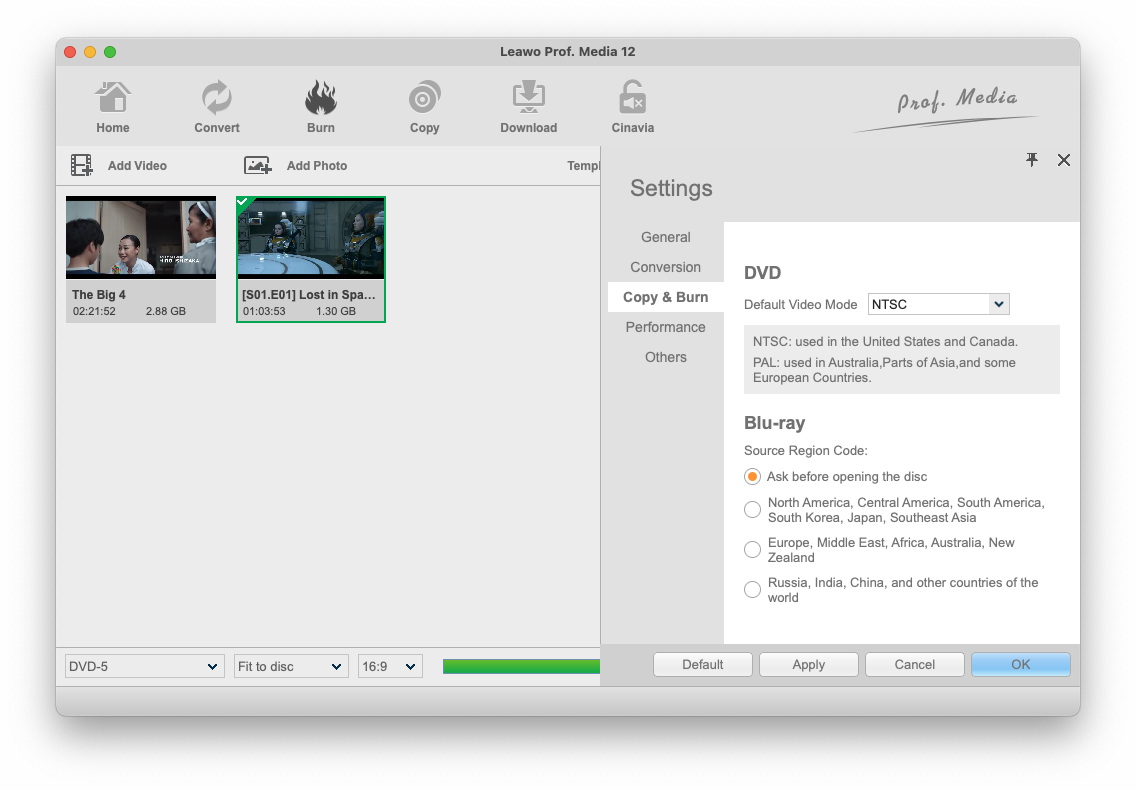
  to choose a sound track in the file. And you can go to the Preferences to choose Default video mode and DVD region code. Click “Preferences” on the menu
 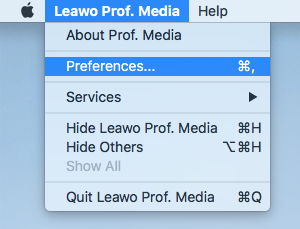 , and then click Copy & Burn, where you can choose the format of the burned DVD.
Before moving on, you can also edit the video and the disc menu, to see more details please check Part 6 video editing and Part 5 Disc Menu Customization.
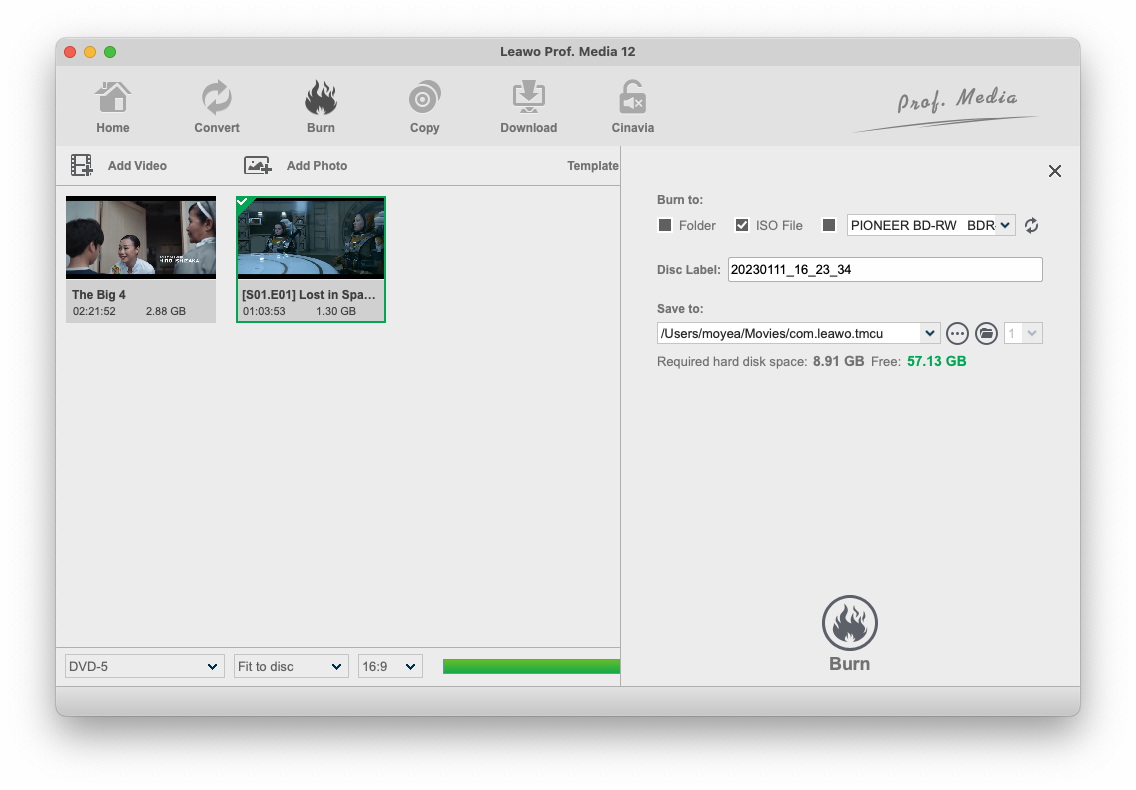
When you have done all the editing works and menu creation works and ready to burn the video, click the green Burn button  at the top right corner to call out the burning settings panel, where you can set several parameters for the burning that is about to happen.
Disc Label: You can rename the label of the output file on the Disc Label box.
Folder: Check the Folder option  if you want to convert the video into a DVD folder.
ISO File: check ISO File option  if you want to create an ISO file from your source file. You are allowed to check both Folder and ISO File to create a DVD folder and an ISO file at the same time.
Drive title: To burn video to a disc inserted in your CD-ROM, the drive title must be checked and the right CD-ROM must be selected in the drive title box  .
.
Save to: If you want to create an ISO file or folder, you have to Set the directory for the output file under Save to option by clicking Browse button  .
.
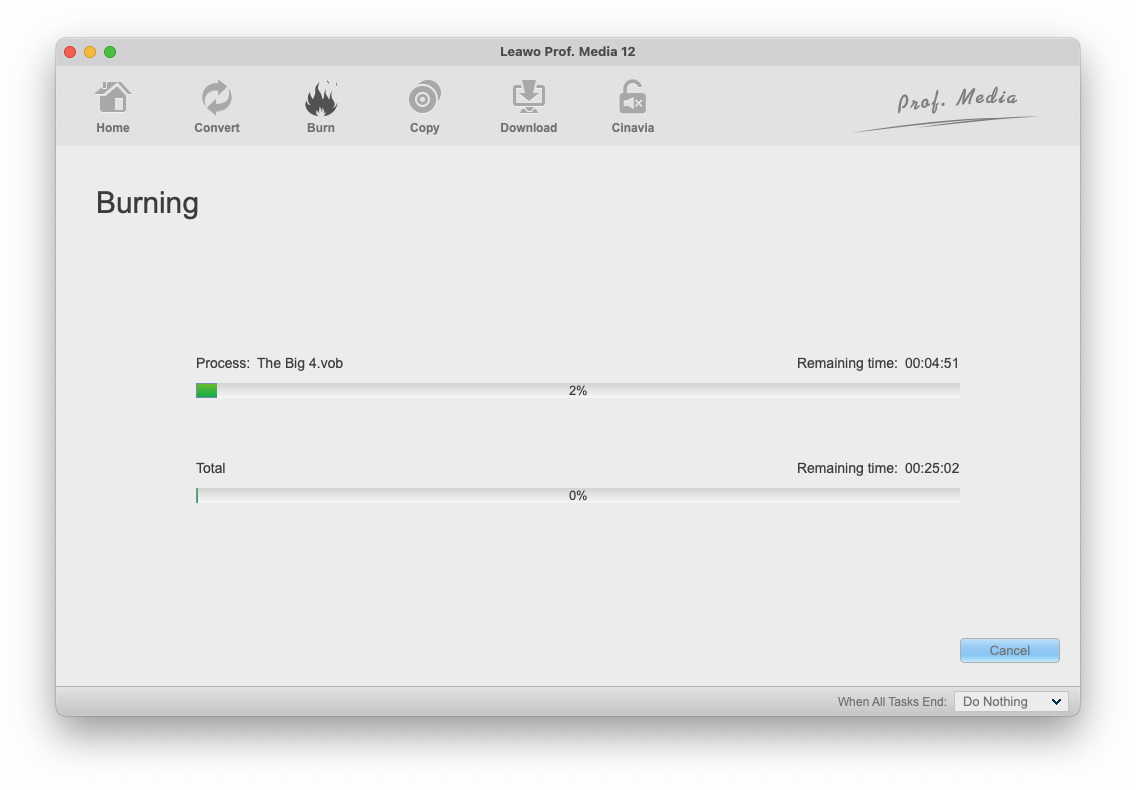
After you have set all the parameters you need, click the Burn icon at the bottom of the sidebar to start burning video to the blank disc or ISO image file or folder.
The burning process will immediately start once you click the Burn icon. However, you can cancel the burning process anytime by clicking the Cancel button at the bottom right corner. You can monitor the whole process from the two green bars, one of which shows the progress of the current file, the other shows the process of the entire project. Burning will complete once the bar named “Total” is completed. Under the Cancel button is where you can choose what you want the program to do when the burning process is finished, to Do Nothing, Exit Program or Shut Down.