How to Use Leawo Photo BG Remover to Remove and Change Photo Background
Detailed tutorial on how to use Leawo Photo BG Remover to remove image background automatically and manually, edit photo foreground, and change photo background to transparent, solid color, or any desired images.
- Home
- /
- Leawo PhotoIns
- /
- User Guide
How to Use Leawo Photo BG Remover
Leawo Photo BG Remover is quite simple and handy to use. You can remove photo background in several simple clicks. This photo background remover will do all things for you quickly and intelligently. Before removing background from image, let’s get familiar with the workbench of Leawo Photo BG Remover. Leawo Photo BG Remover provides 2 main sections for you to erase and change photo background easily:
A: Top Menu Bar
B: Parameter Editor Panel
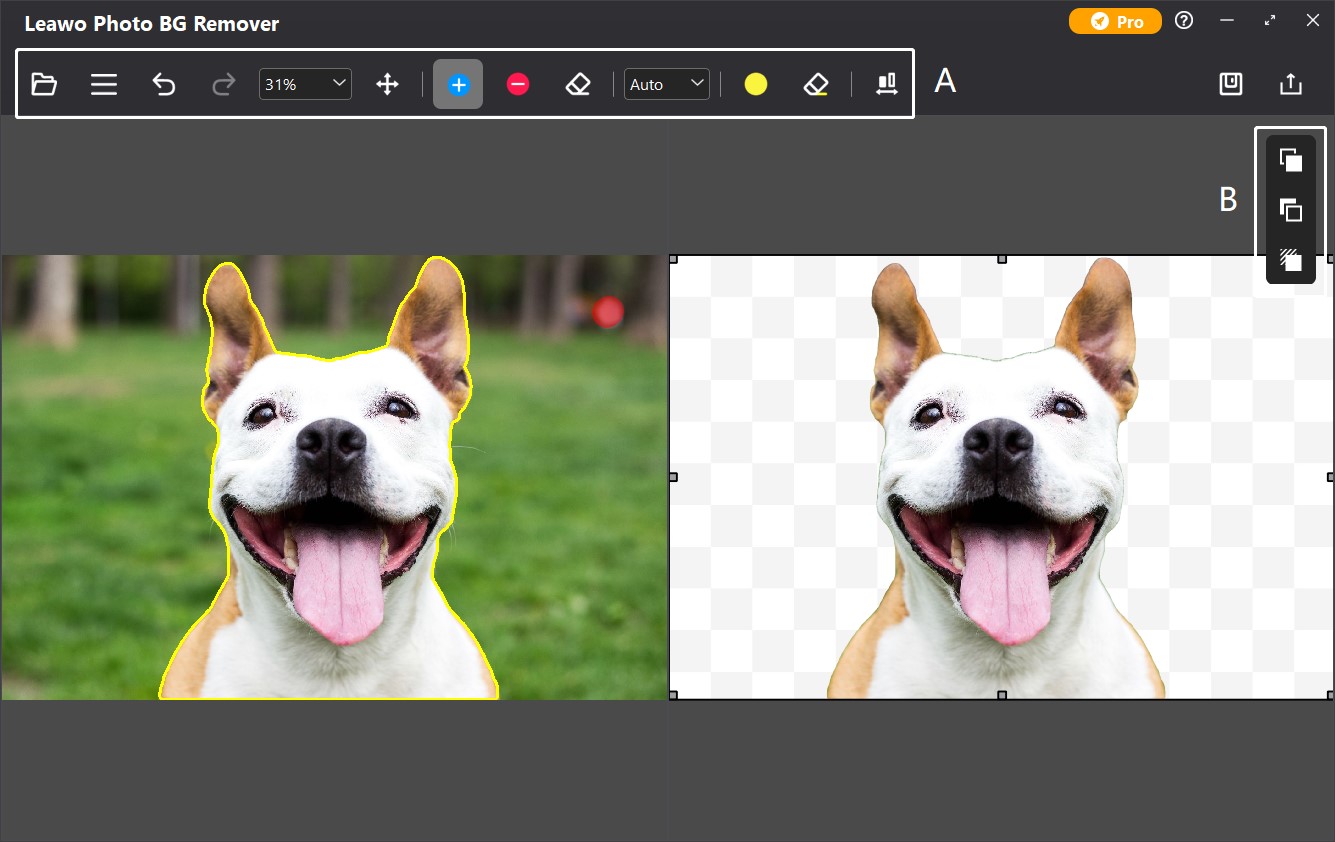
A: Top Menu Bar

| Tool icon | Description |
 |
Load image or saved project |
 |
Program related settings |
 |
Undo the last operation |
 |
Redo the last operation |
 |
Zoom in and out image. Click to adjust scale |
 |
Move image. Drag and scroll image in any direction. |
 |
Reverse area mark – Use this tool to increase the area of marked object |
 |
Delete area mark – Use this tool to delete the area of marked object |
 |
Erase mark – Use this tool to erase the increased/deleted area |
 |
Select between Auto and Manual mode to remove photo background |
 |
Transparent matting area mark – Use this tool to add transparent area |
 |
Erase mark – Use this tool to erase added transparent area |
 |
Adjust mark size – Click and drag to the right end for largest mark |
 |
Save image or project |
B: Parameter Editor Panel

| Tool icon | Description |
 |
ForeGround Editor – Use this editor to edit foreground on your photo |
 |
BackGround Editor – Use this editor to change and edit photo background |
 |
Shadow Editor – Use this editor to add and edit shadaw on object(s) |
After learning the function of each section and each button, you can follow the steps below to use Leawo Photo BG Remover to remove and change photo background in automatic and manual modes respectively.
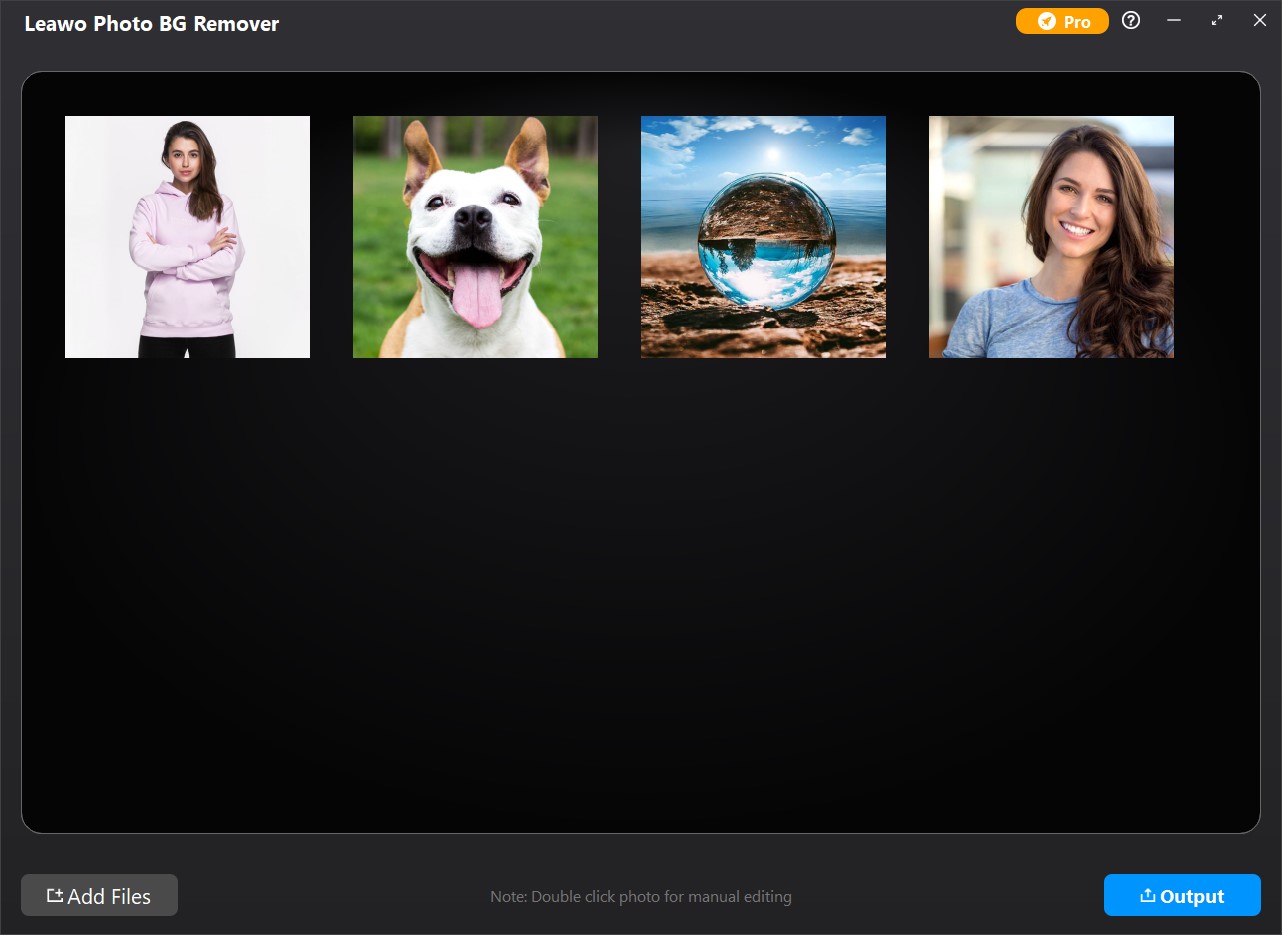
Step 1: Add Photos
To remove background from image with this photo background remover, you need to firstly add source photos into Leawo Photo BG Remover. Kick off Leawo PhotoIns and then enter Leawo Photo BG Remover module. Then, follow any way listed below you to add photos for removing background from image:
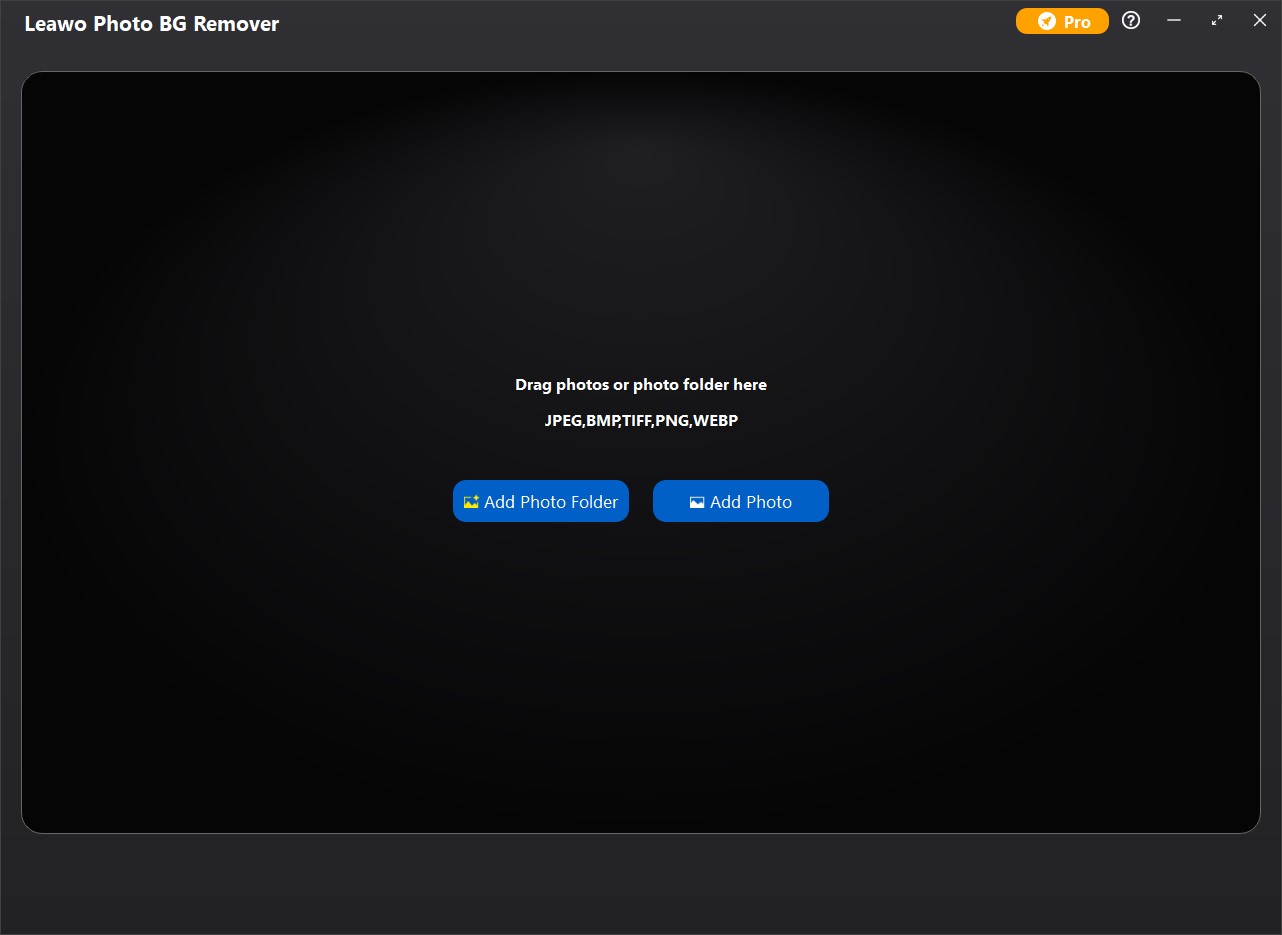
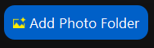
- Click Add Photo Folder button
![]() or Add Photo button
or Add Photo button ![]() to browse and load source photos or source photo folder to the main interface of Photo BG Remover.
to browse and load source photos or source photo folder to the main interface of Photo BG Remover. - Directly drag and drop your source photos into the main interface of Leawo Photo BG Remover.
- You can also load recently used files or project after entering the workbench of Photo BG Remover. Then, click the folder icon on the top menu bar, and choose “Recently Used Files"" or “Load Project"" in the drop-down menu.
 or Add Photo button
  to browse and load source photos or source photo folder to the main interface of Photo BG Remover.
Once you have loaded source photos, you can right-click on the loaded photo, and then choose to delete or export the selected photo. To delete or export all loaded photos, right-click on the spare area. Plus, if you want to add more photos, click the Add Files button in the bottom-left corner to browse and load photos from the local drive.
Step 2: Remove Background from Image
To remove background from image one by one, double-click on the loaded photo. Then, you could do the below operations to erase background from image automatically and manually.
1. Remove Photo Background in Batch
Leawo Photo BG Remover enables you to remove background from image in batch after you load source photos. By default, Leawo Photo BG Remover will automatically erase photo background after you load the source photos. You can click the Output button  in the bottom-right corner to enter Output settings panel, and then save the results with photo backgrounds removed.
2. Remove Photo Background One by One
Leawo Photo BG Remover also enables you to remove photo background one by one. You can double-click on the loaded photo to enter the workbench of Photo BG Remover for manual editing. Then, do the below operations to erase background from image automatically and manually.
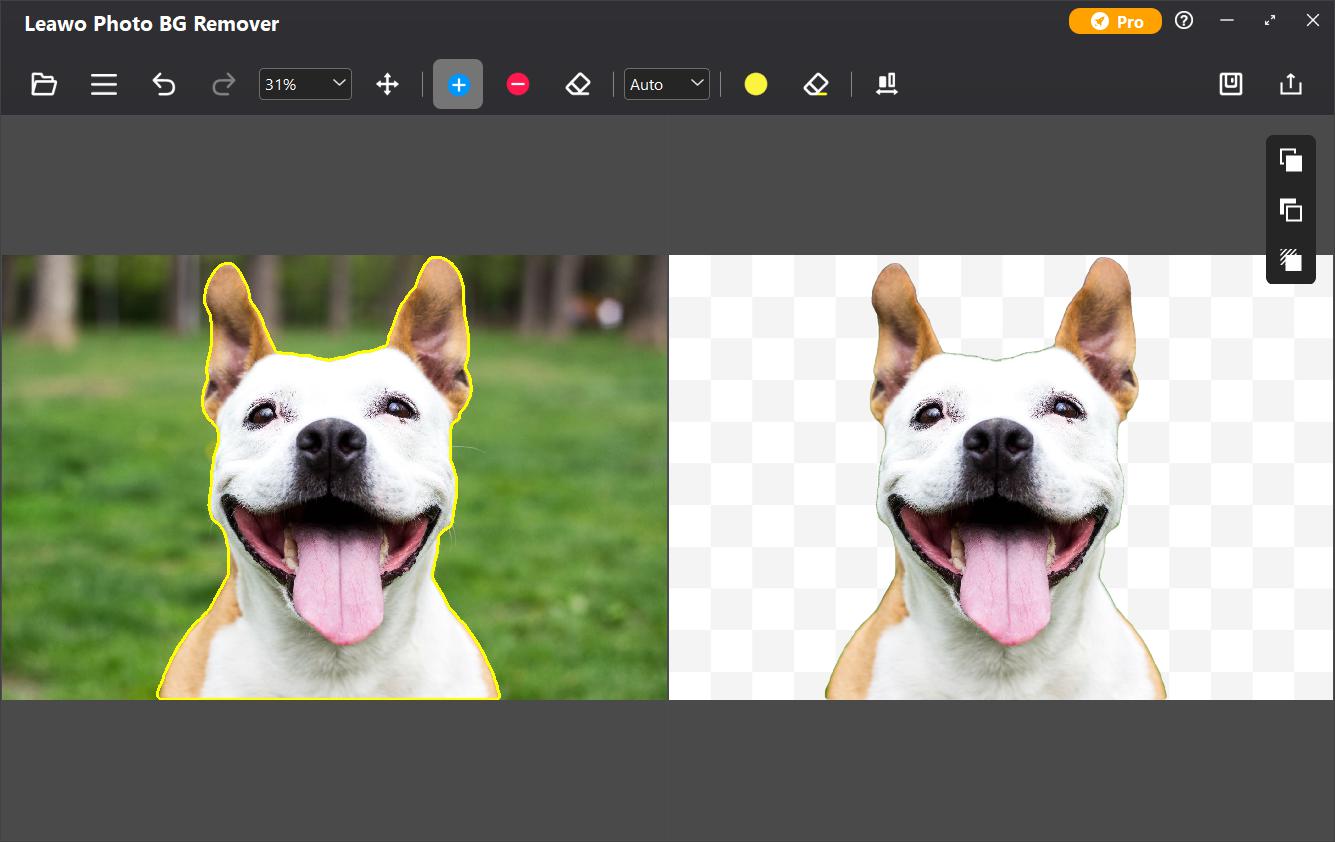
2.1 Remove Photo Background Automatically
By default, the background of the image will be automatically removed after loading photos. To disable this feature, you can click three-bar icon on the top menu bar, and choose “Preferences” option in the drop-down panel to uncheck the automatic calculation function after loading image. If you are not satisfied with the first result, you can click the Settings button, and choose “Calculate” option to recalculate and re-enclose the object(s).

2.2 Remove Photo Background Manually
Generally, automatic background removing can meet normal needs. However, for more precise adjustment, Photo BG Remover provides you two modes to remove background from image: Auto mode and Manual mode.
2.2.1 Auto mode
After choosing Auto mode, the object(s) on your photo will be enclosed with green lines. In this mode, you can roughly smear out the area you want to keep (or remove), this software will then recalculate and re-enclose the object(s) after smearing based on powerful algorithm.
2.2.2 Manual Mode
After choosing Manual mode, the object(s) on your photo will be covered with green layers. In this mode, your operations will not be intervened by algorithm.
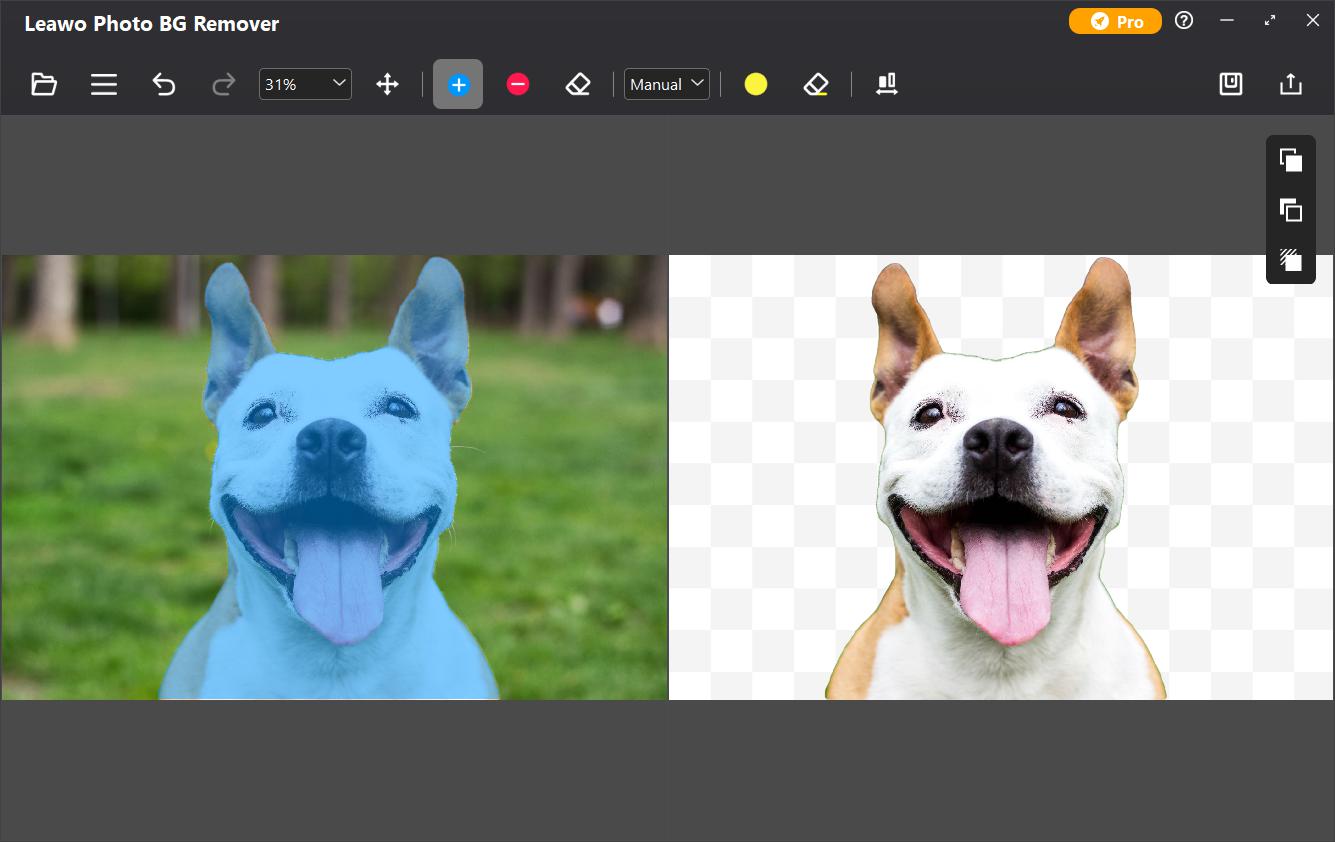
Select Reverse area mark to smear the area you don’t want to remove, and the smeared area will be green. Select Delete area mark to smear the area you want to remove, and the smeared area will be red. You can use Transparent matting area mark to add transparent area on the object(s). For more precise adjustment, you can scroll the mouse wheel to zoom in and out the image, or click Zoom button to adjust scale of the image. When image is zoomed in, you can use Move image button to drag and scroll image to any direction. If the matting mark is too large (or too small), click the mark size button and drag the slider 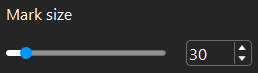 to adjust the mark size. By dragging the slider to the right end, you can get maximize matting mark size. If you are not satisfied with the smeared area, you can click Undo button in the top menu bar to undo the last operation, or use erase mark to erase the smeared area.
Step 3: Edit Photo Foreground and Background
Leawo Photo BG Remover provides powerful Parameter Editor to edit image after removing photo background. You can choose editors on the right of the program to edit foreground, change and edit background, as well as apply and edit shadow to your photo.
1. ForeGround Editor
ForeGround Editor provides 4 options for you to apply on your photo foreground:
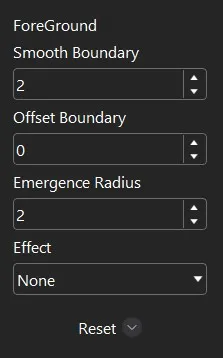
Smooth Boundary (0-50): This option can smooth uneven edges. The larger the smooth boundary value, the smoother the edges.
Offset Boundary (-100-100): This option can enlarge or narrow the enclosed edges of object(s). The larger the offset boundary value, the wider the enclosed range.
Emergence Radius (0-50): This option is to make the edges of the selected area dim. The larger the emergence radius value, the wider the dim range.
Effect: This option is to apply an effect on foreground.
2. BackGround Editor
BackGround Editor provides 4 options to change photo background and 3 options to edit photo background:
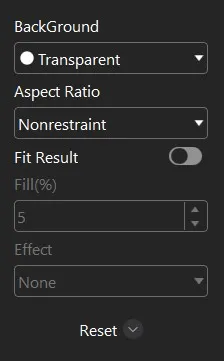
BackGround: This function enables you to change photo background among Transparent, Solid Color, Image or Origin (Keep object in original background).
Aspect Ratio: This option enables you to change aspect ratio of background among Nonrestraint, 1:1, 3:1, 3:2, 4:3, 5:3, 5:4, or 6:5. The front number stands for width, while the back number represents the height.
Fit Result: This option is to fit background to the result.
Fill(%): This box will only be available when Fit Result is checked. The larger the fill value, the larger the background.
Effect: This option is to apply an effect on the background. (Only available when using original background).
3. Effect Editor
Effect Editor is available in ForeGround Editor and BackGround Editor. It provides 6 effects for you to edit photo foreground and background:
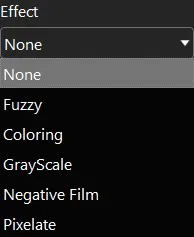
None: Apply nothing on foreground.
Fuzzy (0-100): This effect is to blur the foreground. The larger the fuzzy value, the more blurred the foreground.
Coloring (0-100): This effect is to color the foreground. The larger the intensity value, the deeper the color. You can also change color by clicking the Change button  .
.
GrayScale: This effect is to make your foreground black and white.
Negative Film: This effect is to put your foreground in reversal film.
Pixelate (0-100): This effect is to pixelate your foreground. The larger the pixelate value, the larger the single pixel.
4. Shadow Editor
Shadow Editor provides 3 options for you to apply and edit shadow on object(s):
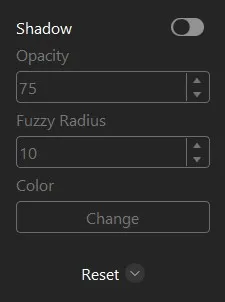
Enable: Tick to apply shadow on object(s). By default, shadow is black.
Opacity (0-100): This option is to change the opacity of the shadow. The larger the opacity value, the more opaque the color.
Fuzzy Radius (0-100): This option is to blur the shadow. The larger the fuzzy radius, the more blurred the shadow.
Color: Click Change button to enter Select Color Panel.
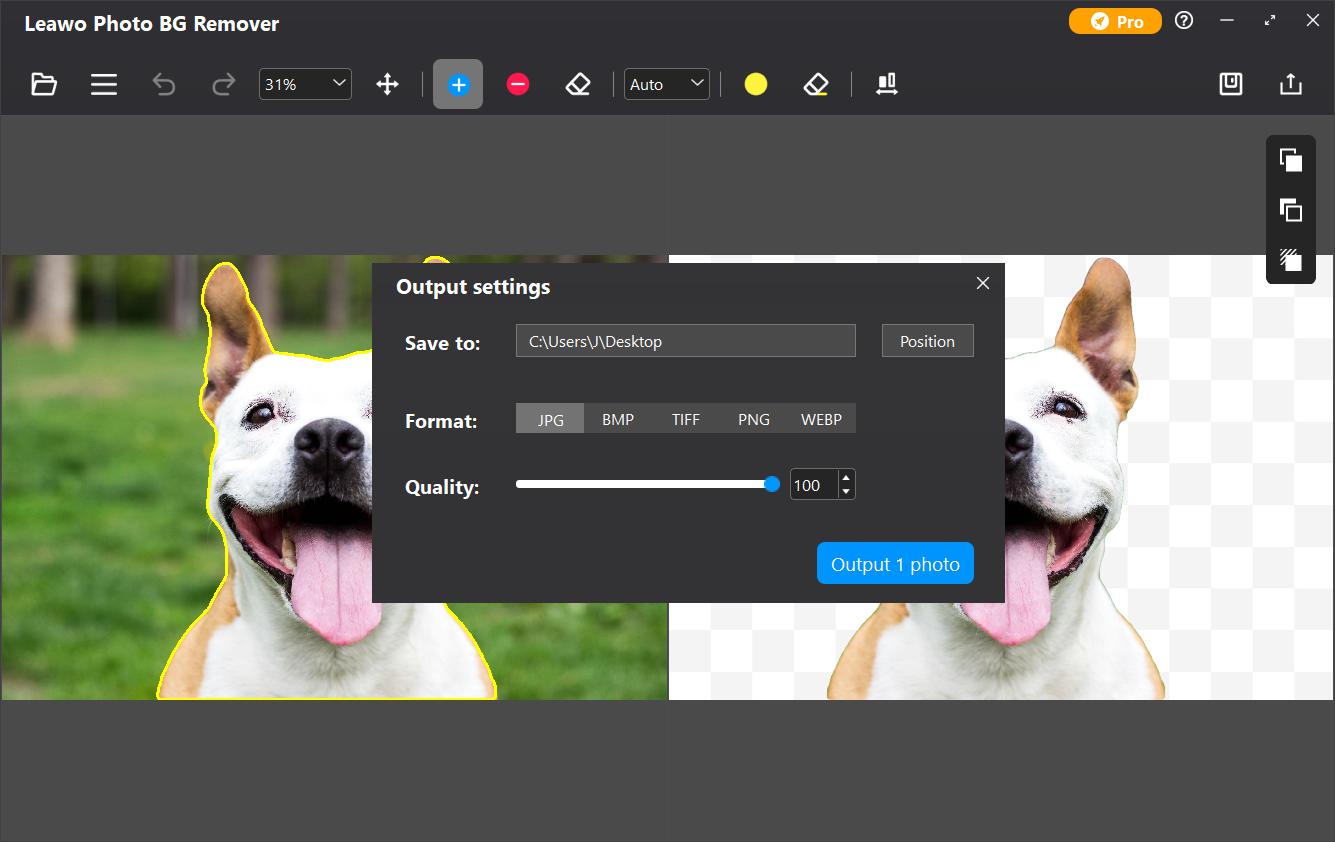
Step 4: Output Edited Photo
After editing photo foreground and background, click the Save button  in the top-right corner to save all changes, and you can continue editing the next photo.
Leawo Photo BG Remover supports outputting edited photos one by one or in batch:
- To output the currently edited picture, directly click the Output button
 in the top-right corner of Photo BG Remover workbench.
 - To output all photos in batch, click the Output button in the bottom-right corner of Photo BG Remover main interface.
 in the top-right corner of Photo BG Remover workbench.
 in the bottom-right corner of Photo BG Remover main interface.
On the pop-up Output settings window, you can set output directory by clicking the Position button  at the end of Save to option, and set output format by clicking on the corresponding format button. If you choose JPG as the output format, then you can set the output quality by dragging the slider below.