Here is a user guide that shows you how to properly use Leawo Blu-ray Ripper. The guide presented here is thorough enough for users of any level to grasp the usage of Leawo Blu-ray Ripper to rip and convert Blu-ray/DVD movies.
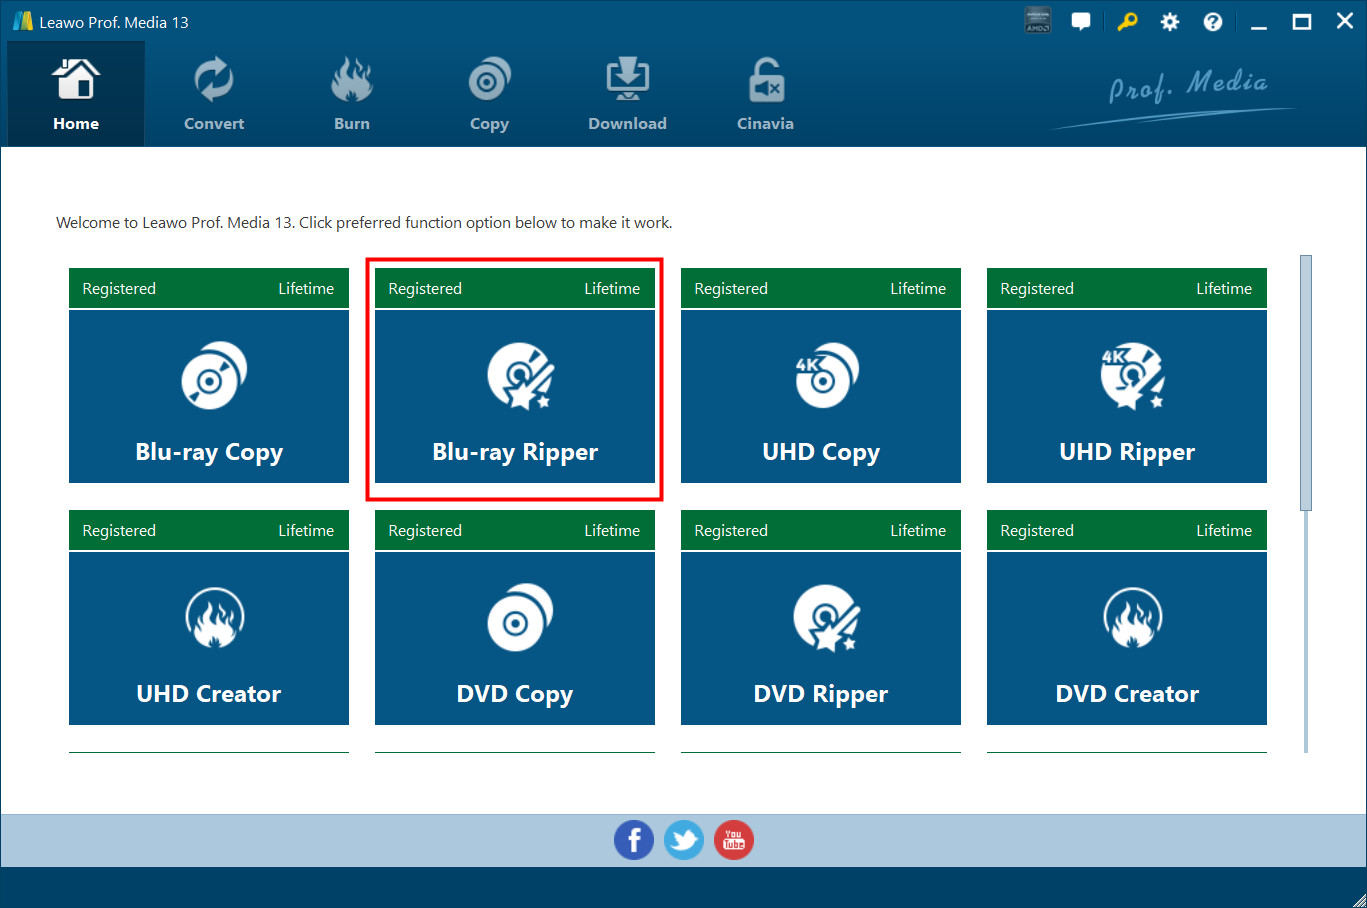
Leawo Blu-ray Ripper is designed for you to rip and convert Blu-ray to various video formats, and extract audio content from source Blu-ray content and save as various audio formats. Far more than a Blu-ray to video/audio converter, Leawo Blu-ray Ripper can be treated as a Blu-ray player, a Blu-ray editor and a 3D movie creator. Instant media previewing is available with the help of the internal Blu-ray player. The built-in Blu-ray editor allows you to trim video length, add video watermark, crop video size, and adjust video effect. 3D movie creation from source 2D Blu-ray content is also feasible. Furthermore, Leawo Blu-ray Ripper downward supports DVD files as well. Download and install Leawo Blu-ray Ripper on your computer, and then kick off the program to enter the home page as shown below.
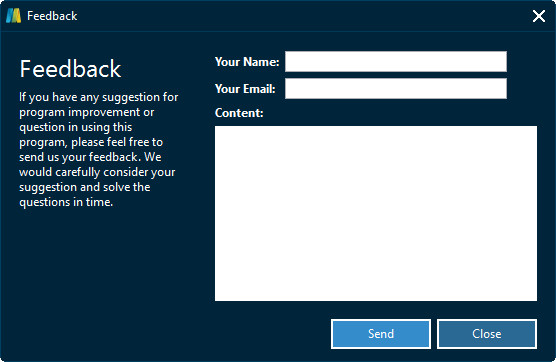
Click ![]() button at the top menu bar to send your precious feedback to Leawo Software for improving the program.
button at the top menu bar to send your precious feedback to Leawo Software for improving the program.
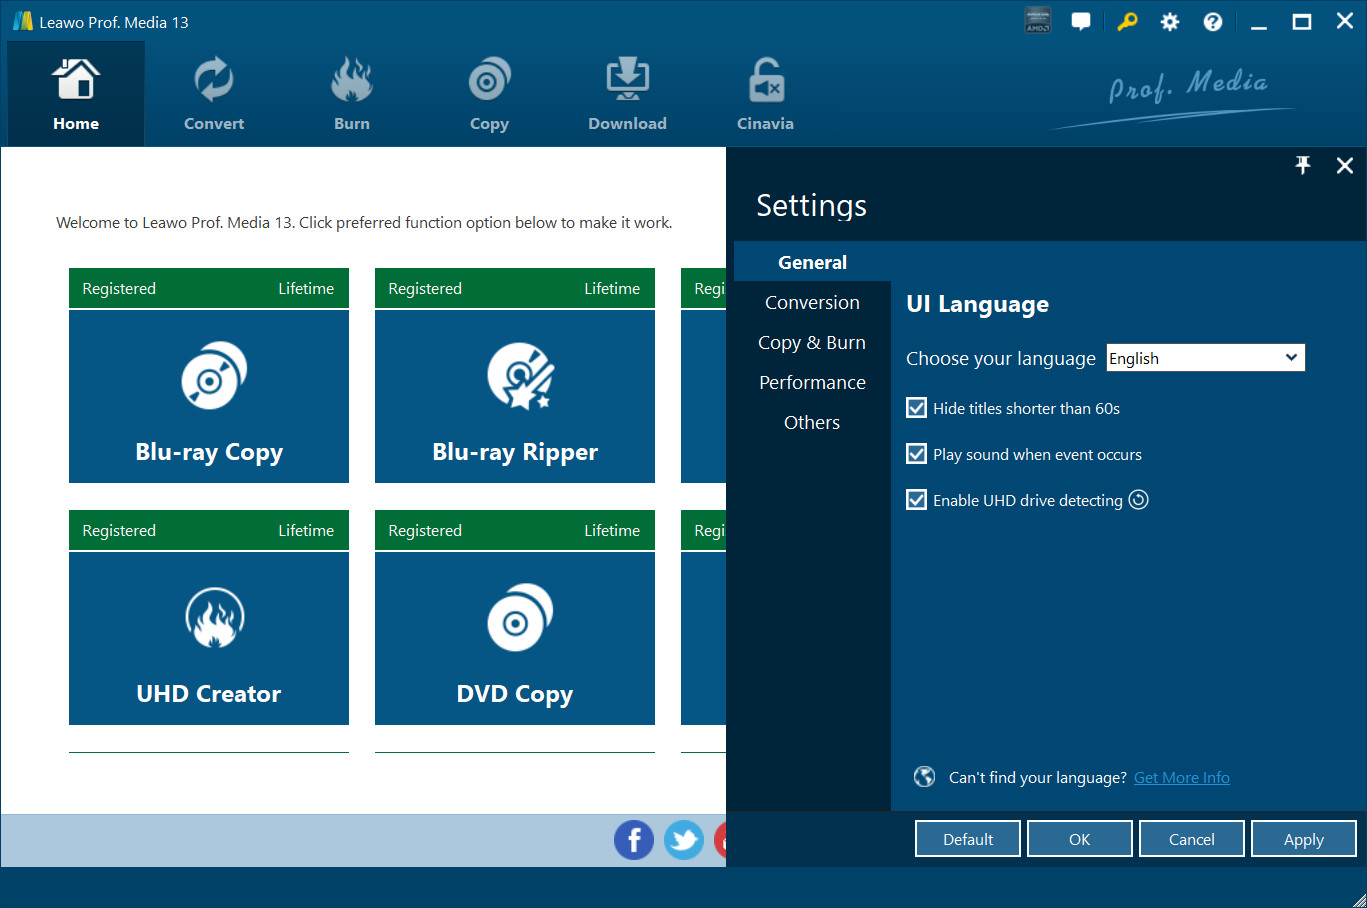
Click the gear icon  to pop up detailed settings panel.
2.1 General Settings
Under “General” button, you can freely choose a language for the UI from 11 preset languages: English, German, Japanese, Simplified Chinese, Russian, Hungarian, Armenian, Spanish, French, Portuguese and Dutch.
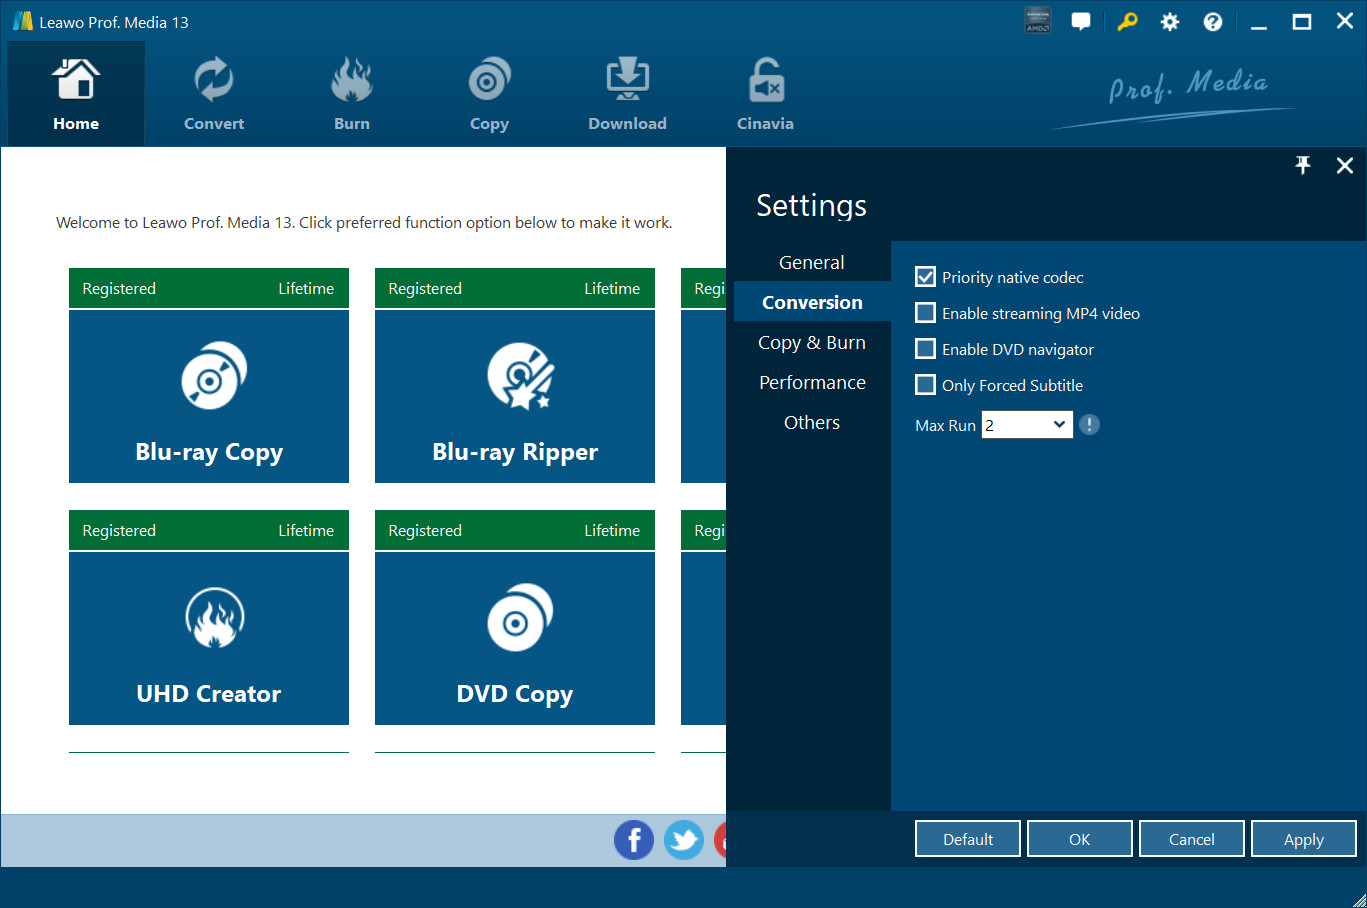
2.2 Conversion Settings
Under “Conversion” button, you can choose whether or not to prioritize native codec, to enable streaming MP4 video, and to enable DVD navigator, and at the same time, you can set the maximum tasks for running.
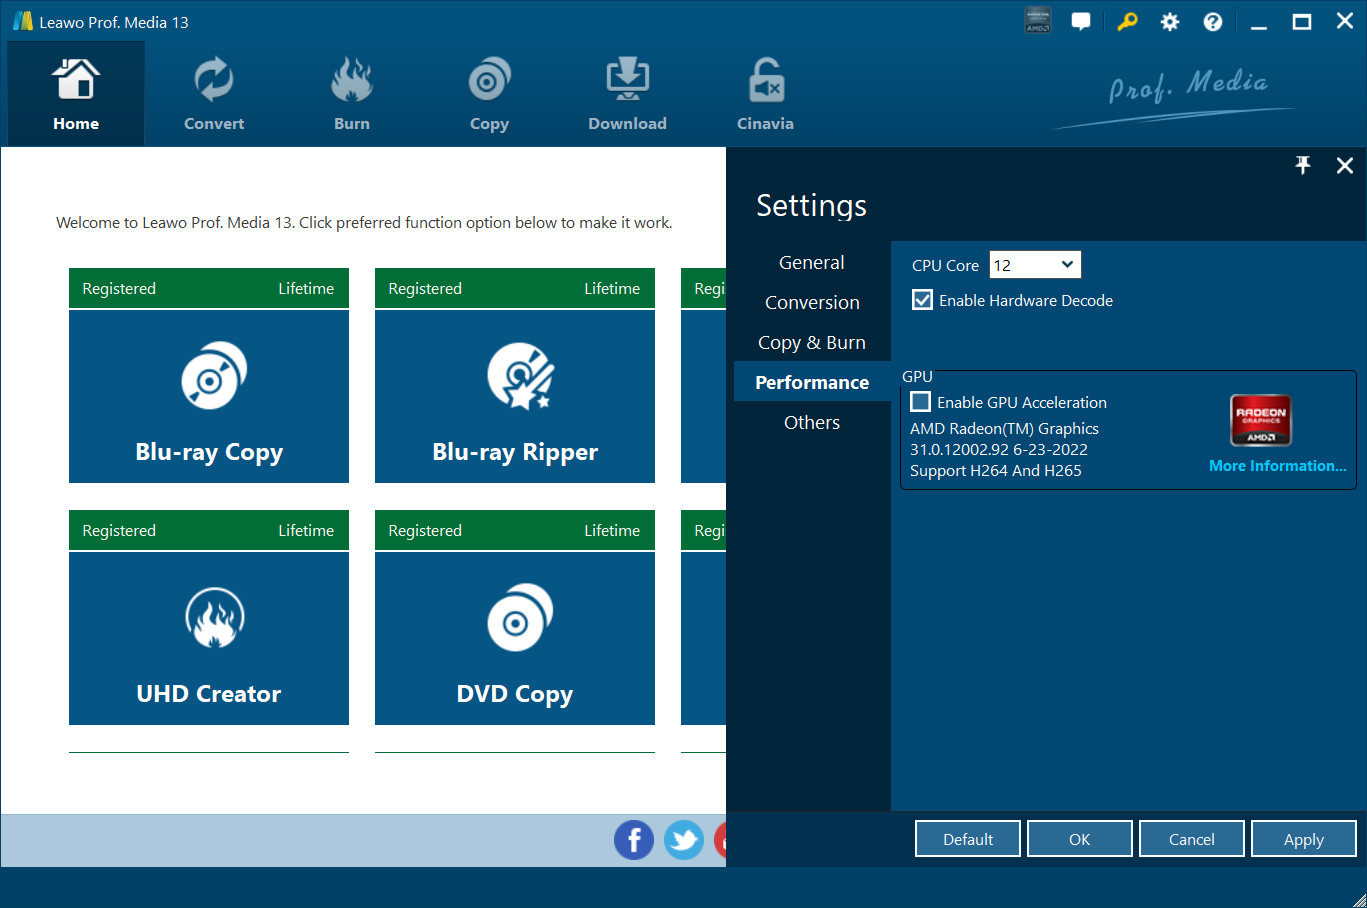
2.3 Performance Settings
Under “Performance” button, you can freely set CPU core.
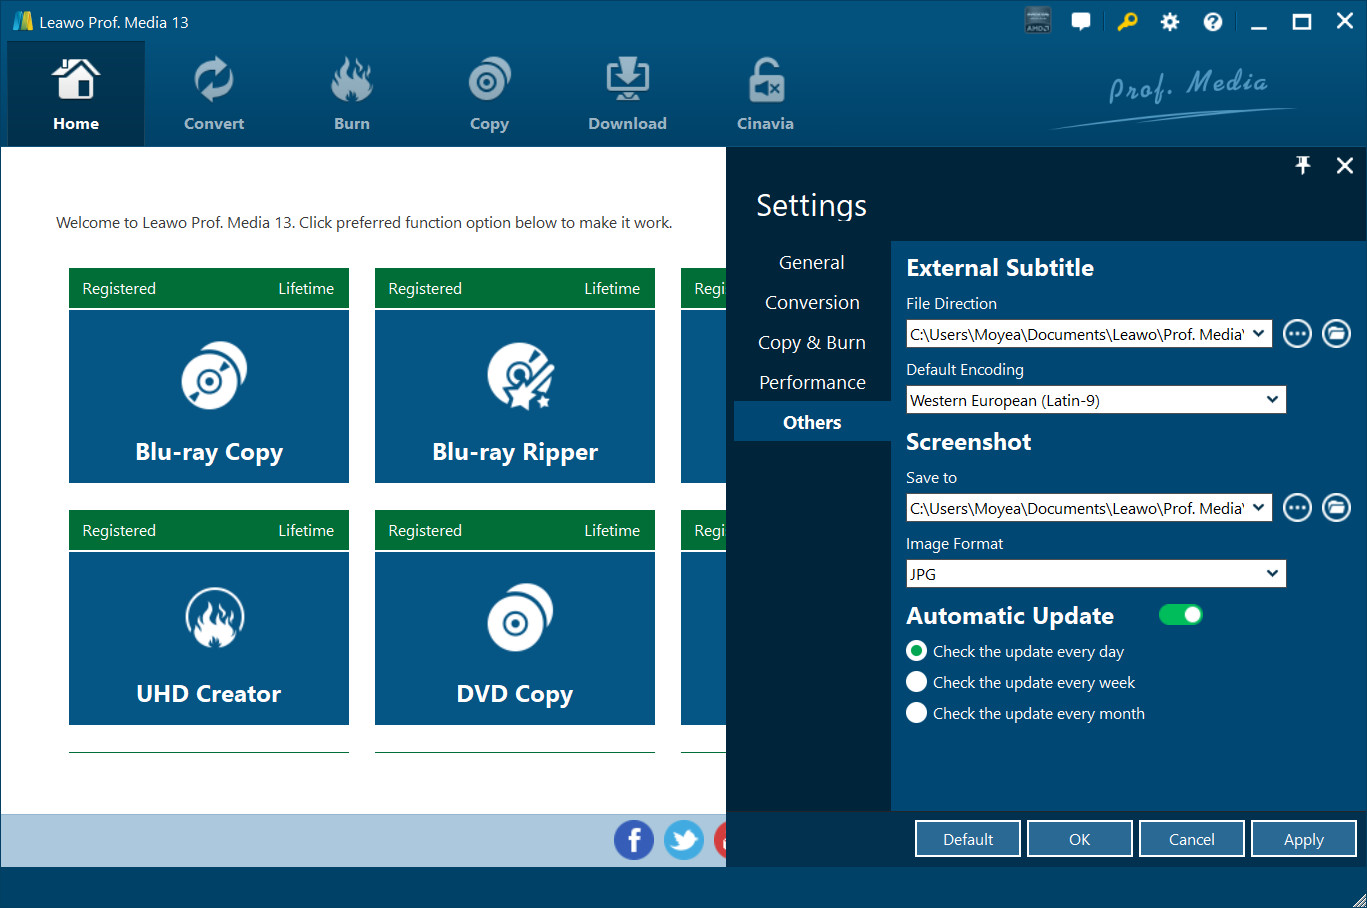
2.4 Others Settings
Under “Others” button, you can set the location of external subtitle, default encoding, screenshot image format, and the output directory for saving screenshot images.
Click the question mark ![]() to enter the Help Center, on which you can visit the product page of Leawo Prof. Media by clicking “Home”
to enter the Help Center, on which you can visit the product page of Leawo Prof. Media by clicking “Home”  , learn how to properly use Leawo Prof. Media by clicking “Tutorial”
  , report problems you encountered during the usage of Leawo Prof. Media by clicking “Bug Report”
  , click
  to check program update, click
  and
and  to purchase and register the program, click
  to write user review of the program, click
  to get support from Leawo Software team, and click
  to check the version number of Leawo Prof. Media and other information.

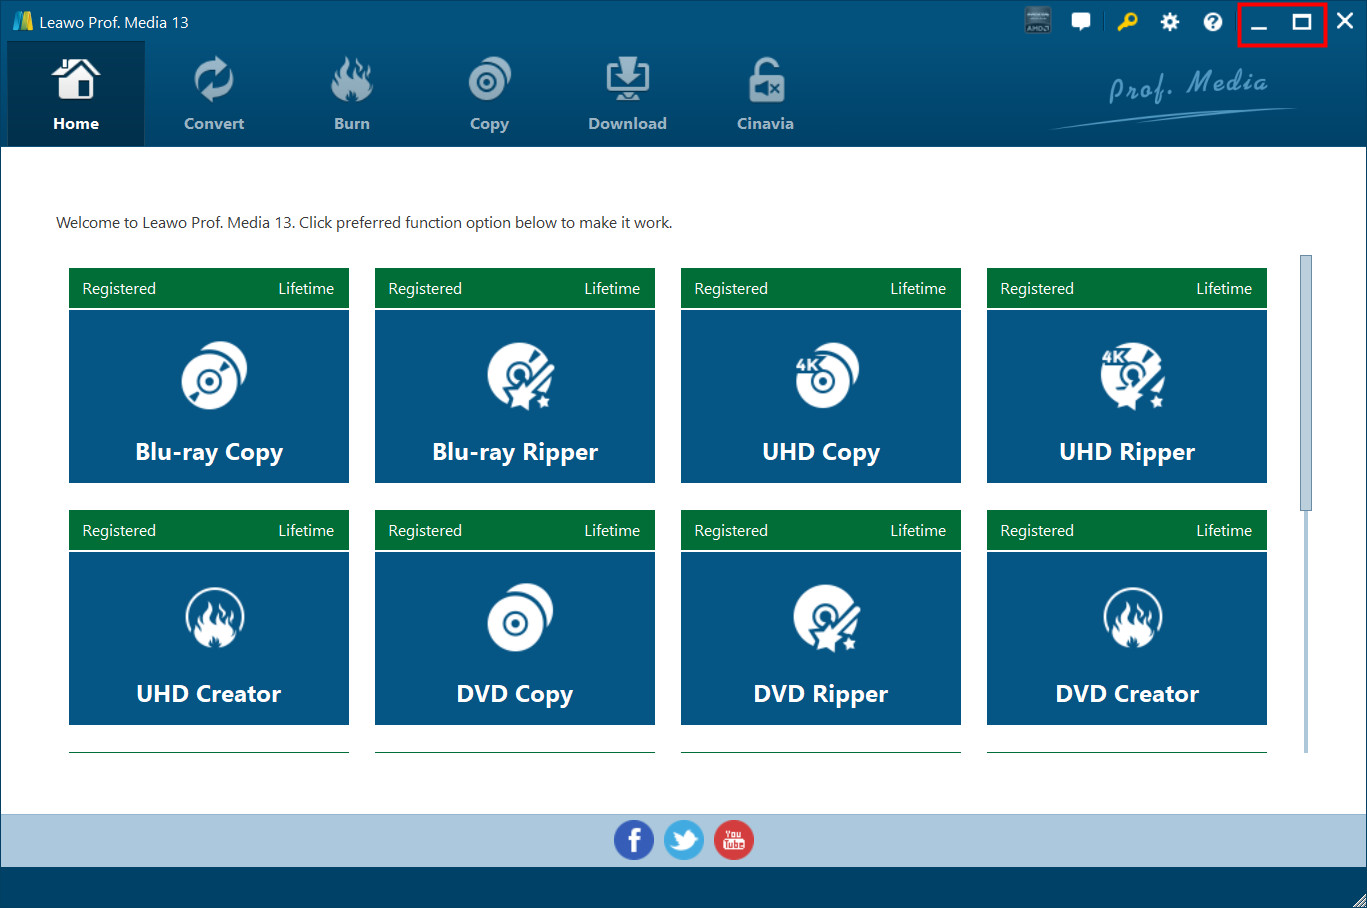
Click ![]() to minimize the program window; click
to minimize the program window; click ![]() to maximum the size of the program window; click
to maximum the size of the program window; click ![]() to close the program window.
to close the program window.
 [12/29/23] MAX Downloader V15.0.0 NEW[12/27/23] Disney+ Downloader V15.0.0 NEW[12/01/23] All-in-one Downloader V15.0.0 NEW[11/28/23] Hulu Downloader V15.0.0 NEW[11/18/23] Amazon Downloader V15.0.0 NEW
 10,000,000 people are using Leawo!
 All Transactions are protected!
 30-Day Money Back Guarantee!
Any 3rd-party product names, trademarks, logos and images occasionally mentioned on this site belong to their owners. These might include but not be limited to YouTube, Apple, Amazon, Adobe, Netflix, etc. Leawo Software is independent of all of these property owners.


 Prof. Media 13
 Blu-ray Ripper
 Blu-ray Copy
 Prof. DRM