Last updated on 2021-11-29, by
4 Methods to Remove Background from Image
In modern society, it is quite common for us to design some kinds of images by ourselves. However, you may become upset when you find that the image you desire to edit has an unwanted background, which is a bit hard for you to remove. And the object in the image is just what you desire to make use of. In this case, you may want to make it transparent by removing the photo background. Only in this way can you apply it to other background without any disharmony. Read on this tutorial and you will seize the chance to learn 4 excellent methods to remove background from image simply.
MenuCLOSE
Part 1: How to Remove Background from Image in Photo BG Remover?
Leawo Photo BG Remover is one of the best free background removal software. And it is the first tool that we would like to recommend you to remove background from image. It is fairly professional, which is equipped with smart algorithm. This one-stop photo background remover enables you to remove background from image automatically and manually. It is not hard to handle at all, which is able to intelligently analyze the clipping edges, precisely enclose the region to cut out elements, and magically remove photo background. You can remove image background more precisely via manual adjustment. The following step-by-step instruction below will show you how to make it with little efforts.
Step 1: Download Leawo Photo BG Remover
Go to the official website of Leawo Photo BG Remover to download its installation package. Install the tool on your computer for preparation.
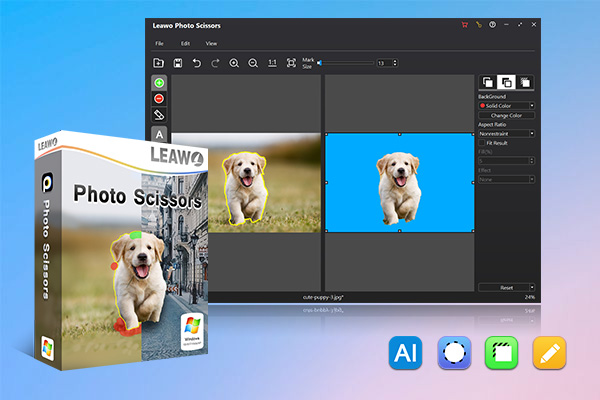
-
Leawo Photo BG Remover
- Automatically remove background from image with smart algorithm.
- Manually remove photo background for precise adjustment.
- Isolate object to transparent background.
- Change photo background to any solid color or photo.
- Remove background around hair, fur, feather, and more.
- Erase background from transparent objects.
Step 2: Load Images
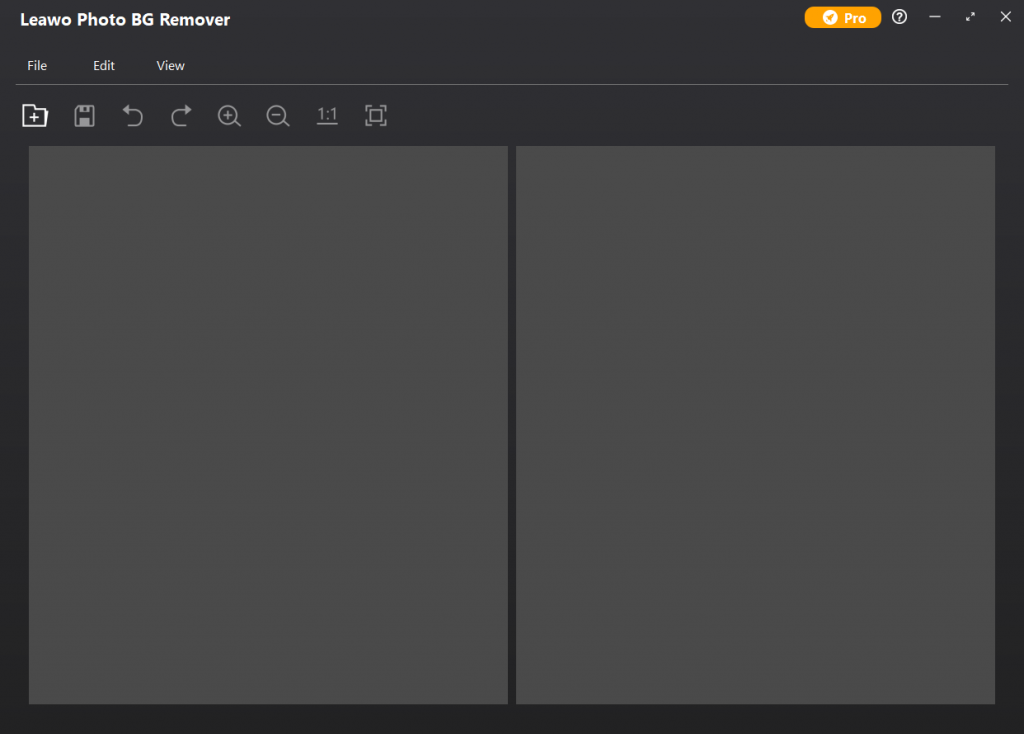
Fire up Leawo PhotoIns, for Leawo Photo BG Remover is one of its module. Enter the main interface of Leawo Photo BG Remover, and there are several ways you can choose to add photos to the program.
- You can go to “File > Open Image” button to make it. The folder icon under the “File” button can also help you to get the work done easily.
- Alternatively, you can directly drag and drop the photo you desire to remove background to the program from your computer for loading and editing.
- For adding recently used images, you can go to “File > Recently Used File” to finish the task.
- It also allows you to browse and load previously saved project by navigating to “File > Load Project”.
Step 3: Remove Background from Image
Since Leawo Photo BG Remover allows users to remove background from image automatically and manually, here will show the two operations below for your reference.
Remove Image Background Automatically
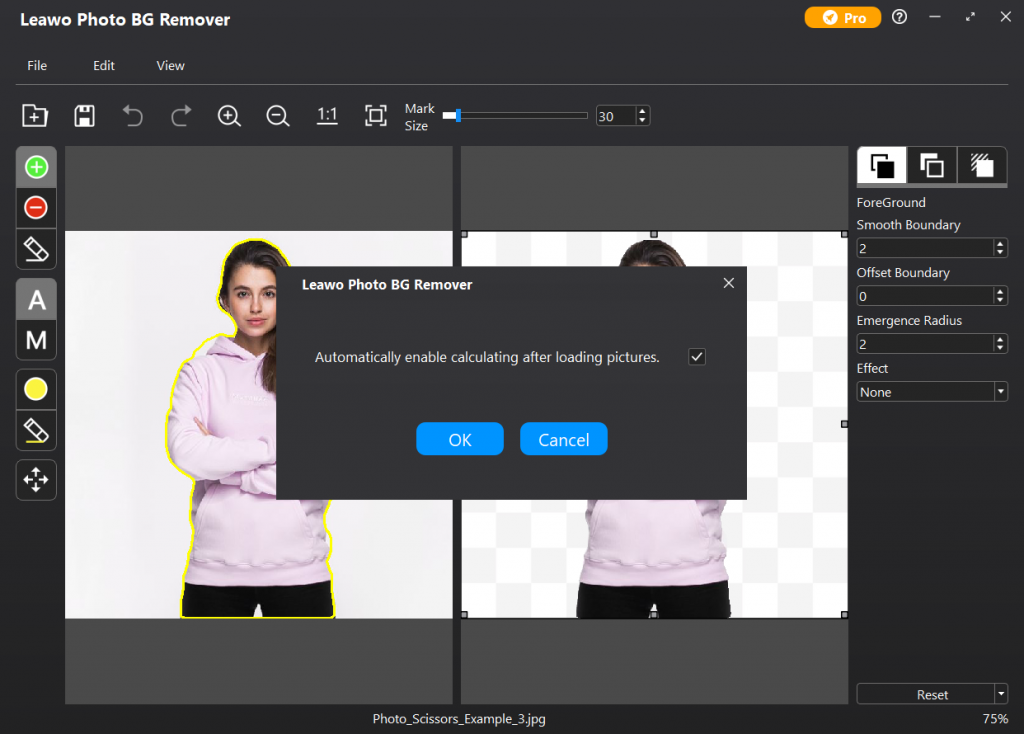
After you add source pictures to the tool, it will automatically erase photo background by default. Here you can hit on the “Edit > Preferences” to uncheck the automatic calculation function after you add the source picture to the software.
Remove Image Background Manually
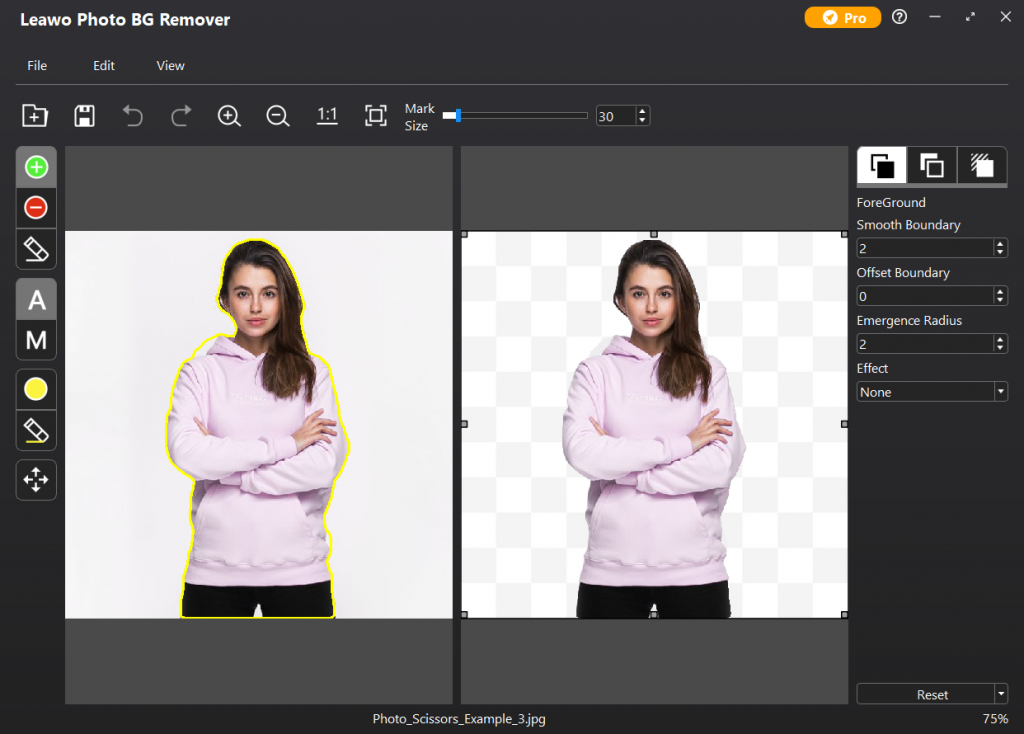
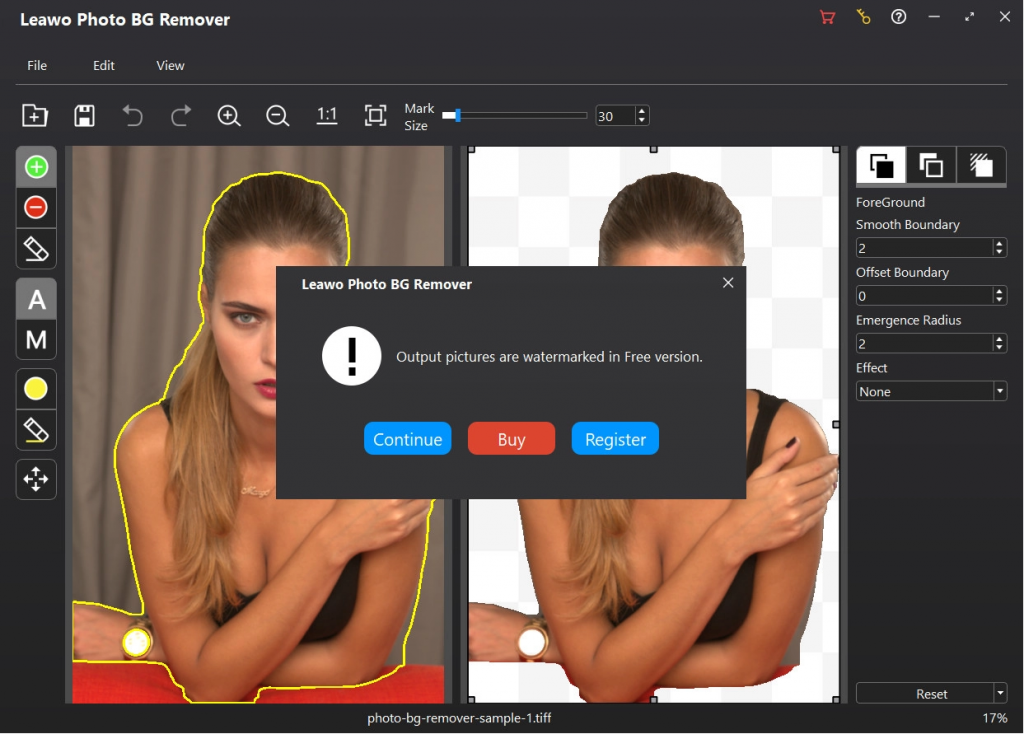
If you desire to remove image background according to your own demands, you can use two modes to help you, which include the Auto mode and Manual mode.
- In Auto mode
- In Manual Mode
- - You can use the “+” button to smear the area you desire to keep. The “-” button can be used to smear the area you desire to remove.
- - The yellow mark button can be applied to add transparent area on the object(s).
Hit on the Auto mode button with an “A” letter, your photo object(s) will be enclosed with green lines. Here you can smear out the area you desire to keep or remove roughly. Then the program will recalculate and re-enclose the object(s) on the basis of advanced algorithm.
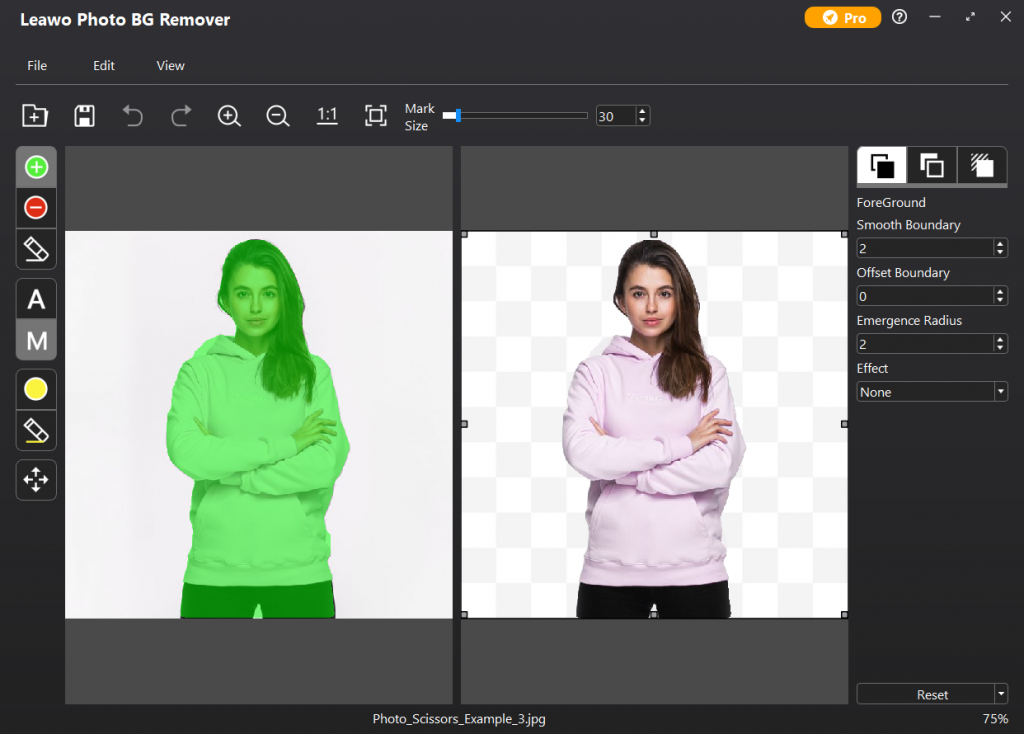
If you choose to use the Manual mode, click on the “M” button at the left side of the panel. After you do that, the object(s) on your image will be covered with green layers. The algorithm of the software will not work in this mode. You can enlarge or narrow the image with corresponding buttons. The mark size can also be set based on your demands by dragging the bar from left to the right or from the right to the left.
Step 4: Output Image without Background
In the end, you can hit on “File> Save Project” to output the edited image to the default folder. Since you are a new user of this tool, you can hit on the “Trial” button to use the trial version for free and output the edited image with watermark. If you want to use its full features, you can hit on the “Buy” button to make it.
Step 5: Set Output Directory
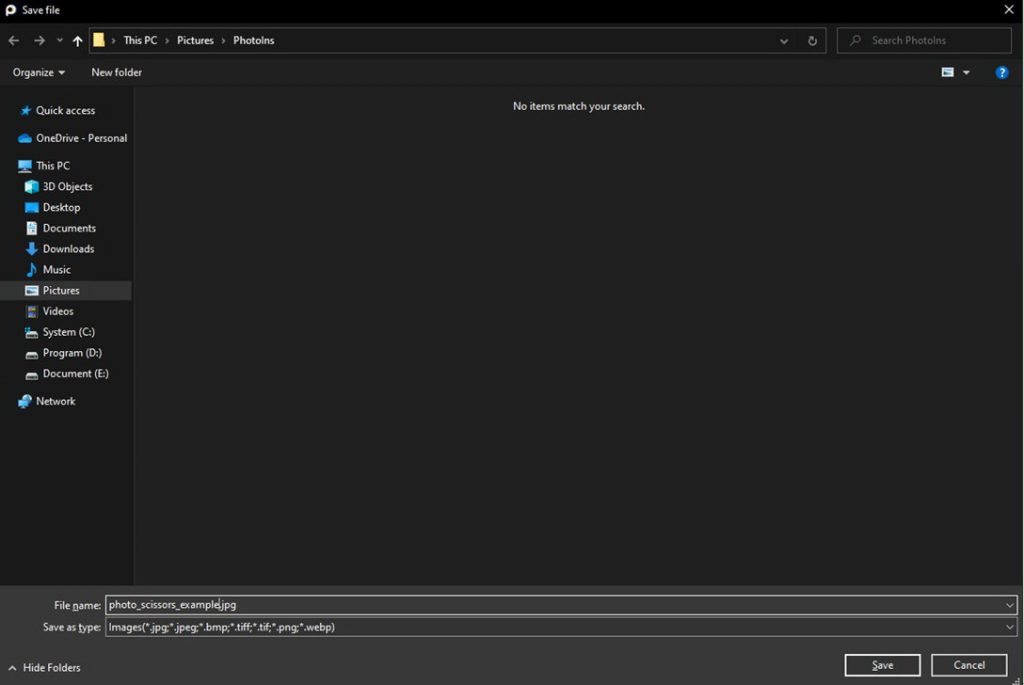
After you register Leawo Photo BG Remover, or hit on the “Trial” button, you will be able to set the output directory, rename file, and set output format (supported output formats: jpg, jpeg, bmp, tiff, tif, png, webp) based on your demands. Hit on the “Save” button and a panel will pop up for you to set the photo quality. You can drag the slider from left to the right to your favorable quality. Finally, you can click on the “OK” button to output the edited image to the place you have just specified.
As you can see, the process to remove background from image with the help of Leawo Photo BG Remover is not hard at all. If you desire to make your photo clear or fix white balance, you can turn to Leawo PhotoIns for assistance.
Part 2: How to Remove Background from Image in Photoshop?
Absolutely, Photoshop is another great tool for you to use to remove background from image. It has many advances, which can deal with this issue quickly and easily. Here, we will take Photoshop Quick Action for instance to show you how to settle with the issue of how to remove background from image Photoshop clearly.
Step 1: Run Photoshop on your computer and then drag your source image to the program main interface.
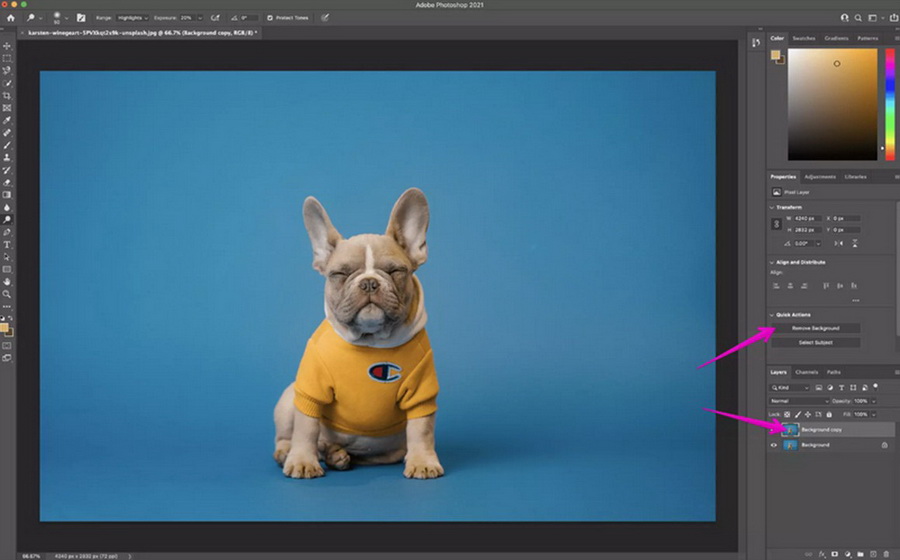
Step 2: After the source image is loaded to the software, right click the Background layer and hit on “Duplicate Layer” option. A panel will show up and you can name the layer as you like. Hit on “OK” button. Hit on the eye icon to the left of the original layer to turn off the duplicated layer.
Step 3: Go to “Window > Properties” to check whether this option is checked. If not, click to check it.
Step 4: Navigate to the Layers panel and hit on the new layer. Click on “Remove Background” button under “Quick Action” from the Properties panel.
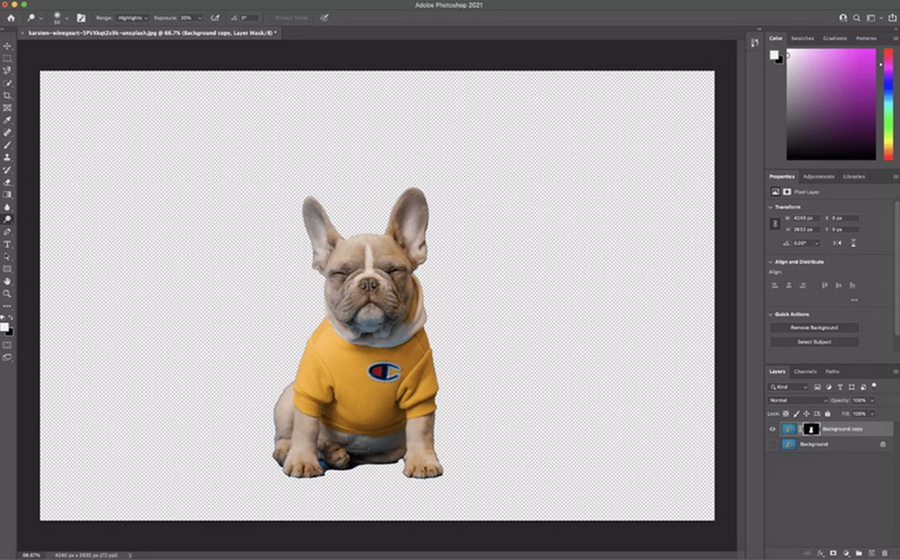
Step 5: Finally, you can gain the image with removed background. Then you can hit on the save button at the top bar of the window to output the edited image.
Part 3: How to Remove Background from Image in GIMP?
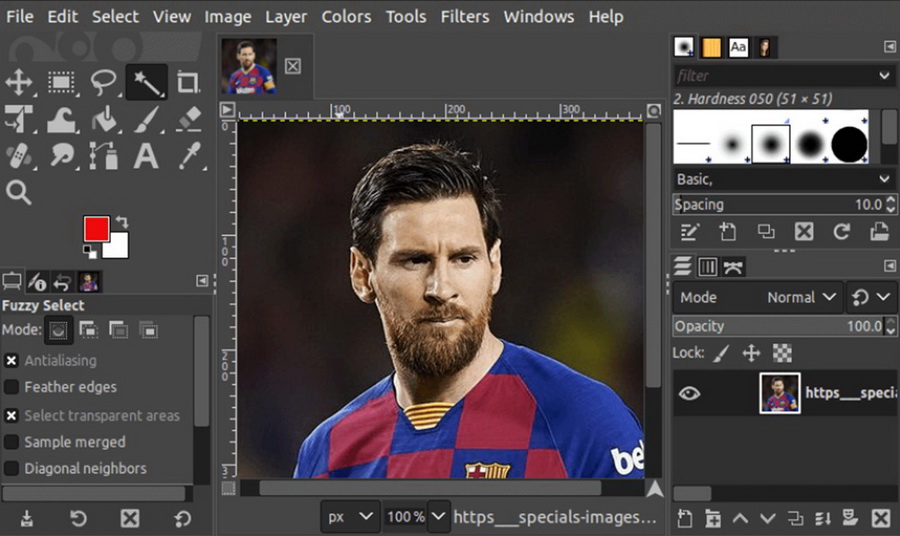
As one of the best Photoshop alternatives, it is also clever for you to resort to GIMP for assistance, when you consider removing background from image. This tool offers you some powerful image editing tools to help you to perform image retouching, image fixing, image sharpening, etc. The task of how to remove background from image GIMP is not difficult for you after you learn the brief guidance below. The Fuzzy Selection Tool will be taken for example in this part.
Step 1: Launch GIMP on your computer and then hit on the “File> Open” option to load your source image to the program. It also allows you to drag and drop the source photo to the software window from your computer.
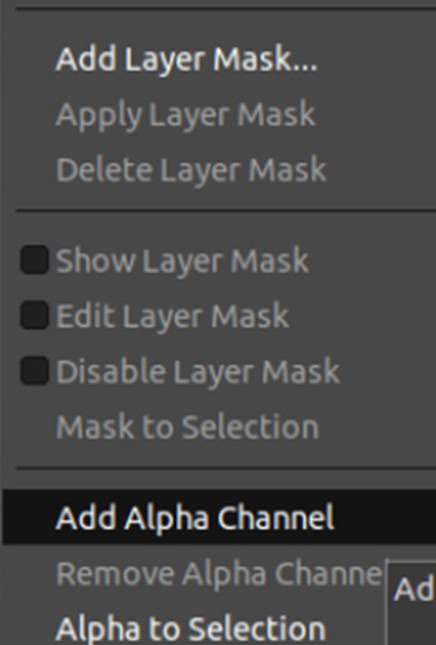
Step 2: Hit on the current layer of your photo and then choose the option of “Add Alpha Channel” from the drop-down menu.
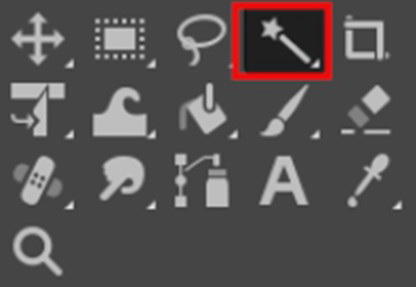
Step 3: After that, you need to navigate to the menu of “Tools> Selection Tools” to choose the Fuzzy Select tool. You can also choose to click on the icon below which has a star at the upper left part.
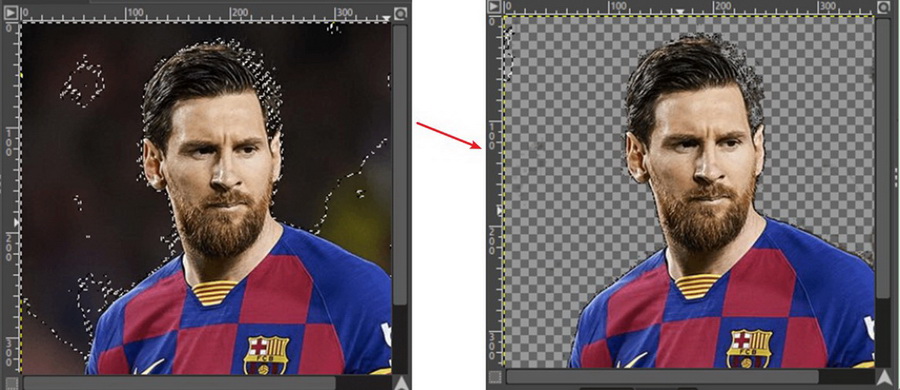
Step 4: Then you can use the tool to choose the suitable background. Make sure to select the proper starting point. Hit on the Delete key and the selected background will be removed. Keep choosing and deleting till the whole background is removed.
Step 5: Finally, you can hit on “File> Export As” option to save the edited image to a format that suits you to a folder on your computer.
Part 4: How to Remove Background from Image in PowerPoint?
When it comes to coping with the issue of how to remove background from image, PowerPoint is another choice for you to have a try to process photos with white/solid backgrounds or those that have high contrast with the foreground. It is not the most satisfactory one, but it can help you to get the work done as well.
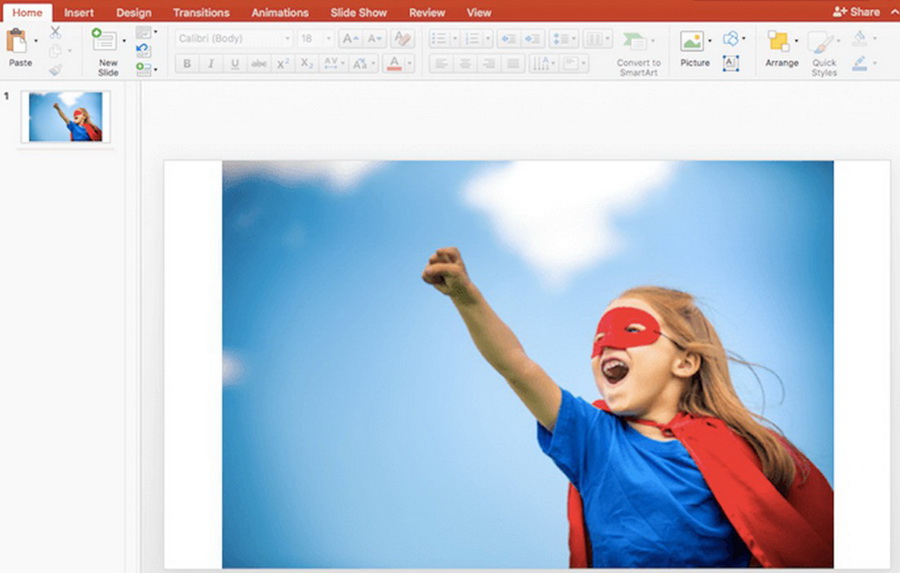
Step 1: Run PowerPoint on your computer and drag & drop your source photo into the page.
Step 2: Hit on the photo and then choose the option of “Remove Background” from the menu of “File” on a PC or “Picture Format” on a Mac.
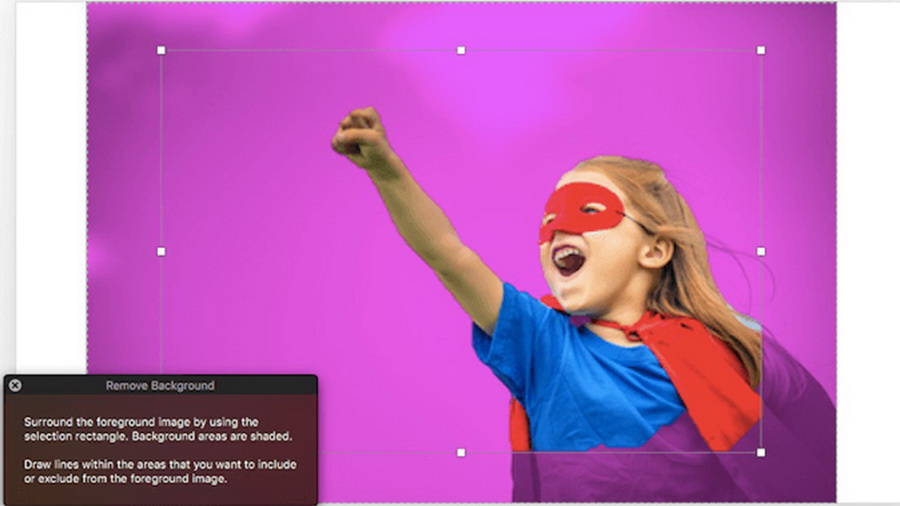
Step 3: The tool will try to delete the photo background automatically. However, it may fail to get the right result.
Step 4: Make use of the options in the toolbar and hit to mark areas you desire to keep or delete from the image. Highlight the areas in purple and the part will be removed finally. You can also zoom in on your photo to take a closer look at the areas you desire to choose.
Step 5: After you finish choosing all parts that you desire to remove, you can hit somewhere outside the photo to get the final result. Finally, you can save the image as a PNG file to keep its transparent background to meet your image designing demands.
After you read through the operations of these tools, you may find that Photoshop and GIMP are more suitable for professional image designers. As for PowerPoint, it can not remove image background as precise as Leawo Photo BG Remover. Via brief comparison, it is not hard for you to figure out that Leawo Photo BG Remover is your best choice, which fits both professionals and beginners to a great degree.


 Try for Free
 Try for Free


