Whether you prefer to watch movies on your MacBook Pro while travelling, or prefer to back up your physical DVD collections to MacBook Pro in case of loss and damage, you can copy DVD to MacBook Pro for backup. As we all know, MacBook Pro has stopped supporting an internal drive since 2012. Then, how can you copy DVD to MacBook Pro? This tutorial will introduce what you need to copy DVD to MacBook Pro and how to copy DVD to MacBook Pro.
Part 1: When Did Stop Supporting Internal Optical Drive on MacBook Pro?
Apple has stopped updating a MacBook Pro equipped with an internal optical drive after the mid-2012 model came out, which means that the mid-2012 model is the last MacBook Pro with a built-in optical drive. For those who like to play discs on their MacBook Pro, this is undoubtedly a blow. To solve this dilemma, Apple provides customers with the option of an external optical drive on its official website. However, Apple quickly and quietly killed it in October 2016, which leaves customers with no choice. Ever since Toshiba announced that it would stop producing HD DVD players, Apple decided to stop featuring optical drives in its products. Because an internal optical drive will unnecessarily make a laptop thicker and heavier. To successfully copy DVD to MacBook Pro, you can read the following part to learn what you need.
Part 2: What Are Needed to Copy DVD to MacBook Pro?
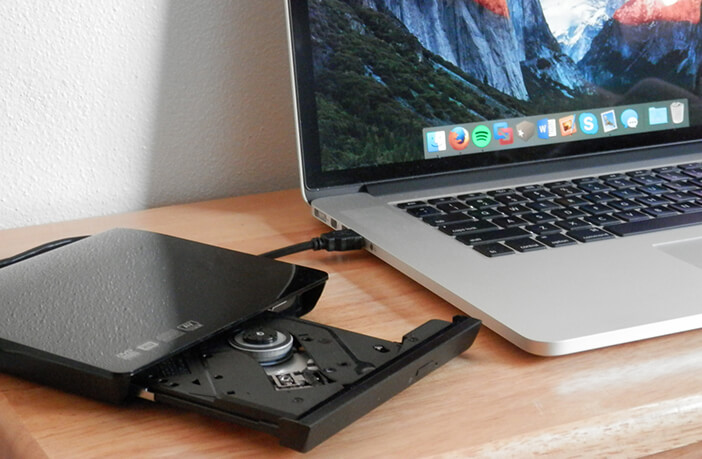
Since the internal optical drive has been cancelled from MacBook Pro series, you will definitely need an external optical drive for your DVDs. But to successfully copy DVD to MacBook Pro, you need more than an external optical drive:
- Enough disk space on your MacBook Pro to store copies.
- A DVD copier. Note that commercial DVDs are usually protected, so a DVD copier capable of decrypting copy protection is needed. You can find some recommendations in this post: Best DVD Copy Software for Mac
Part 3: How to Copy DVD to MacBook Pro?
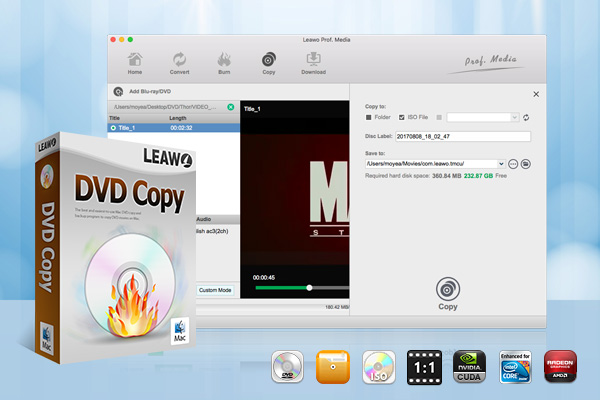
Although there are many options out there, we chose Leawo DVD Copy for Mac based on the comparison post. Because Leawo DVD Copy for Mac can perform 1:1 quality lossless DVD copying and back up DVDs to folder, ISO image files or another blank disc on your MacBook Pro with ease. Beyond that, with advanced decrypting technology, it can remove copy protection and region code upon your DVD collections. With 3 copy modes, you can freely choose contents on your DVD to copy, back up or compress. Below are detailed steps to copy DVD to MacBook Pro.
Step 1: Download Leawo DVD Copy for Mac
Go to the official website of Leawo DVD Copy for Mac, or click the below Download button to download Leawo DVD Copy for Mac on your MacBook Pro.

-
Leawo DVD Copy for Mac
– 1:1 DVD Backup with 3 different copy modes
– Burn ISO image to DVD disc with ease
– Retain subtitles and audio tracks at will
– Remove disc protection such as AACS, BD+, MKB, CSS and region restriction
– Support Backup of DVD-9 and DVD-5
– Easy to use interface for both novices and veteran
Step 2: Import source DVD content to Leawo DVD Copy for Mac
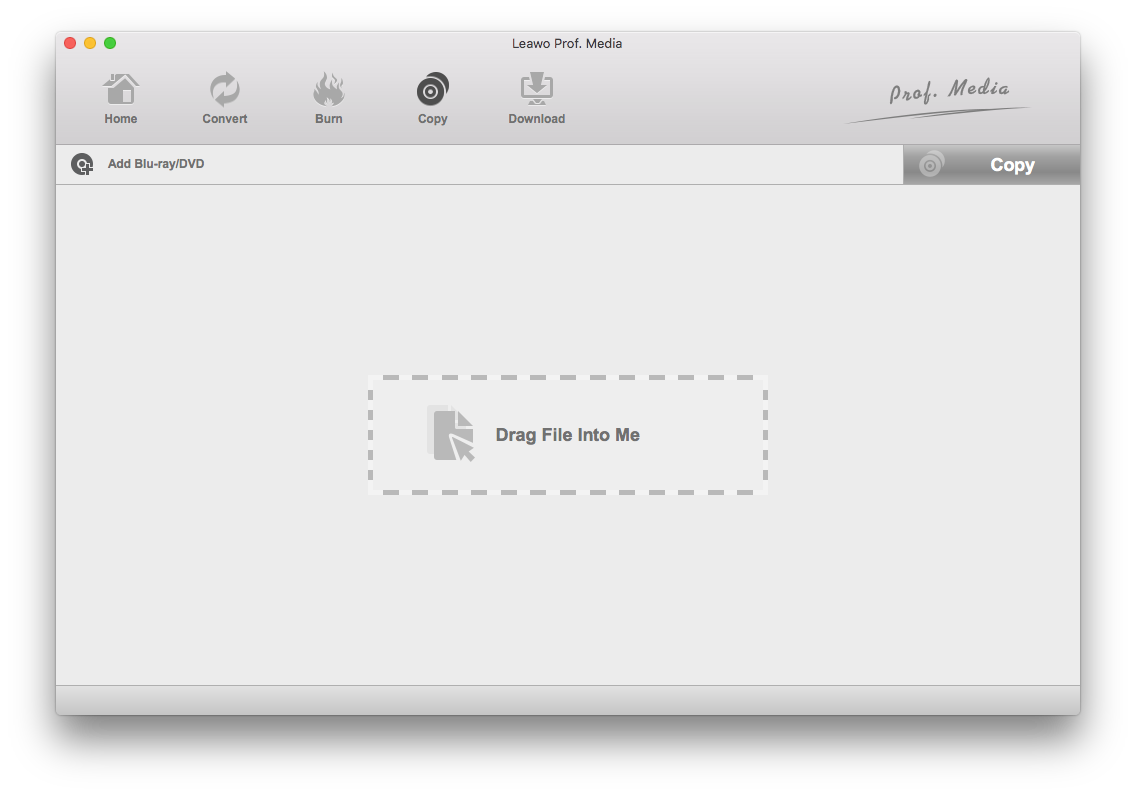
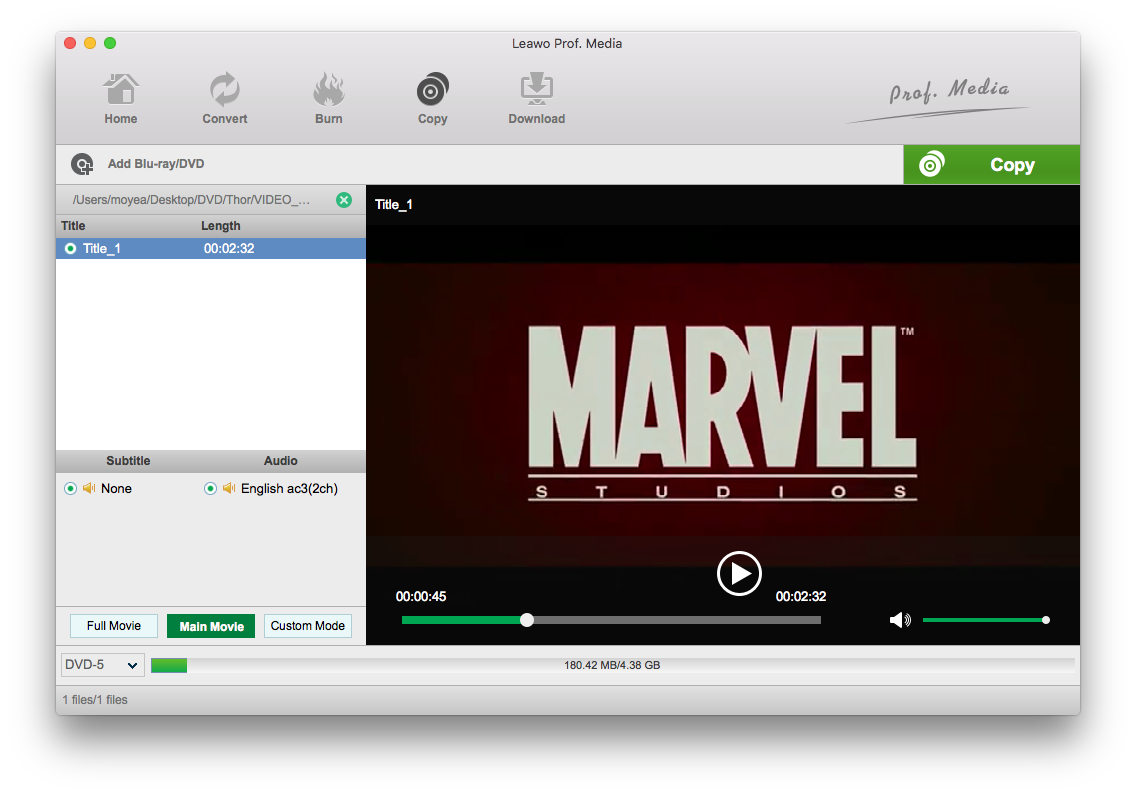
After installation, launch the software. Leawo DVD Copy for Mac is a module of Leawo Prof. Media, and you need to enter DVD Copy module after startup. Then, click the Add Blu-ray/DVD button on upper left corner, and choose to add DVD content from CD-ROM, folder or ISO file from the drop-down menu.
Step 3: Choose copy content and disc type
On the copy interface, Leawo DVD Copy for Mac provides you with 3 copy modes - Full Movie, Main Movie and Custom Mode. Full Movie mode will copy all content on your DVD. Main Movie mode will intelligently filter the beginning and the end of your DVD, copying the main movie only. Custom Mode empowers you to select title, audio tracks and subtitles from the list. Then, you can set disc type from DVD-9 to DVD-9, DVD-9 to DVD-5 or DVD-5 to DVD-5. After setting, you can preview the copy content on the right built-in previewer.
Step 4: Start to copy DVD to MacBook Pro
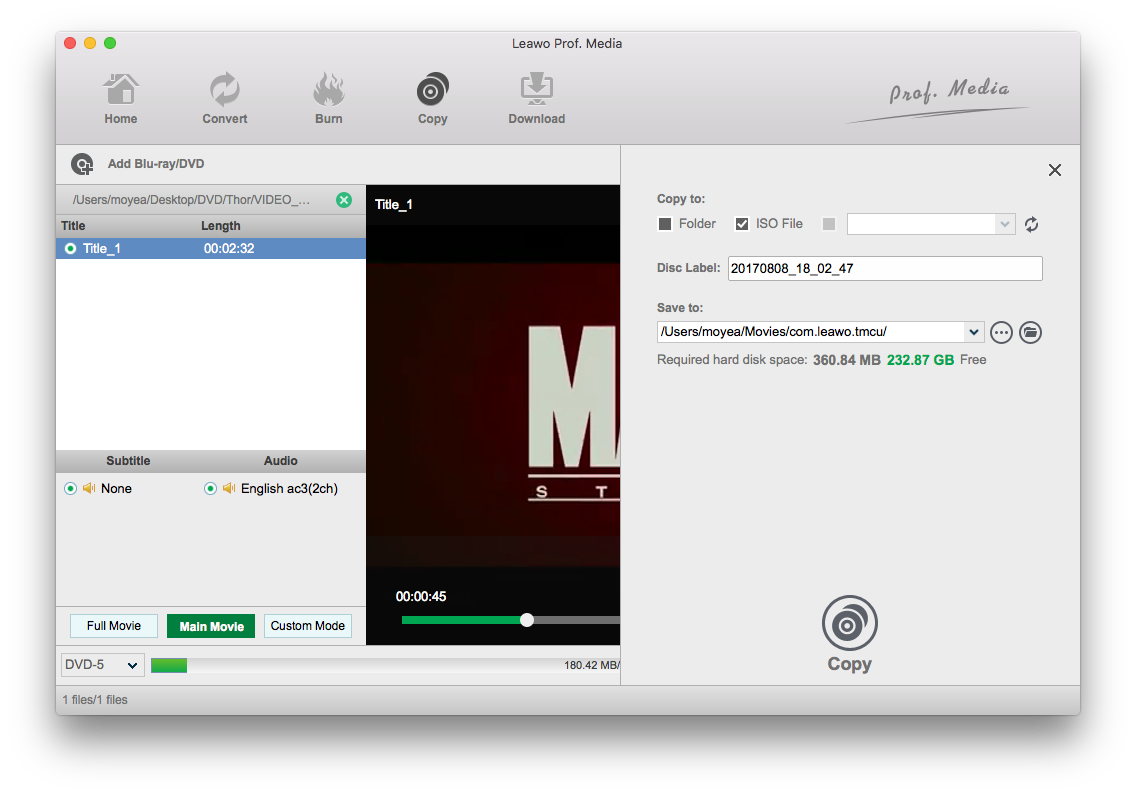
Click the Copy button on the upper right corner to call out the setting panel, from where you can set output to folder, ISO file or blank disc on Copy to, copy name on Disc Label, and output directory on Save to. Finally, click the Copy button to start copying DVD to MacBook Pro.
If you also have a PC and want to copy DVD to your PC laptop, you can read on this tutorial: How to Copy DVD to Laptop Quickly and Easily


 Try for Free
 Try for Free

