Last updated on 2023-01-31, by
How to Record Audio from Headphone Jack
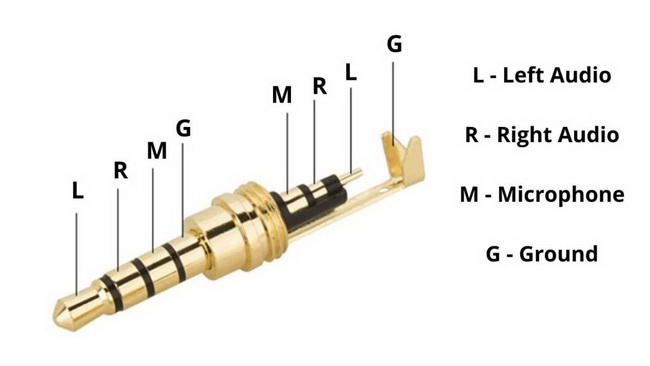
A headphone jack can be provided to record audio. The working principle for headphone jack is that it offers an audio source inline-level. The recording audio cannot be amplified, you have to boost the recording volume once the recording is finished via the mixing tool. A standard headphone jack goes through a tip, a ring and a sleeve connection to offer stereo signal. Not all the recording devices can receive this stereo output. The same tip, a ring and a sleeve connection that is associated with a microphone line usually receive one audio channel. If you want to record audio from headphone jack, this tutorial introduces 5 methods for your further reference.
Related readings:
12 Best Music Recording Software for Windows
How to Free Download Tubidy MP3 Music?
How to Record Internal Audio on Windows?
- Part 1: How to Set Up Headphone Jack for Recording?
- Part 2: How to Record Audio from Headphone Jack on Windows and Mac?
- Part 3: How to Record Audio from Headphone Jack with Windows Sound Recorder?
- Part 4: How to Record Audio from Headphone Jack on Mac?
- Part 5: How to Record Audio from Headphone Jack with Leawo Screen Recorder?
- Part 6: How to Record Audio from Headphone Jack Through Free Sound Recorder?
Part 1: How to Set Up Headphone Jack for Recording?
To set up headphone jack for recording, you firstly need an audio cable with 3.5mm in male-to-male, which can be used to associate their devices with a speaker. One audio jack at the end of the audio cable must be inserted to headphone, while the other end must be inserted to the microphone slot on your computer. Once this operation is done, that means the output audio will be redirected as the input audio. Then any audio can be recorded as you need from the microphone. Now you can play audio that you would like to record and then run the recording software on your computer and press on the button “Record” to begin the recording work. If no waves can be seen on the recording software, you should check and ensure the settings are running rightly.
Because the audio is redirected via the cable, this method can also be used in recording audio from Android or Mac or any device with the audio jack in 3.5mm. You just need to get the audio jack removed from the headphone slots and then insert it to the headphone slot on other devices. Then it will work normally even you change the audio source.
Part 2: How to Record Audio from Headphone Jack on Windows and Mac?
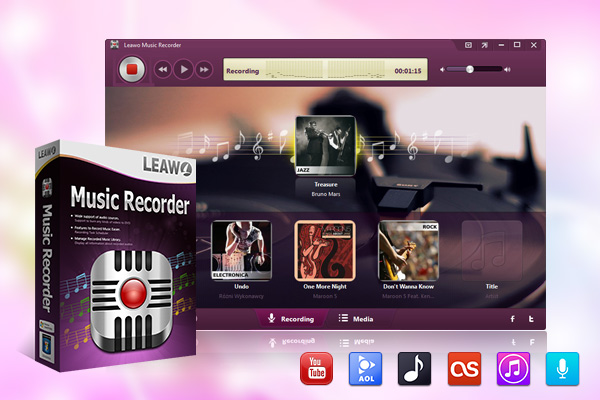
If you want to record audio from headphone jack on both your Windows PC and Mac, a third-party audio recording software will do a good favour to you. It is a useful audio recording software that can help you record audio from multiple sources like the online music, built-in input audio, and computer audio, including the audio from headphone jack. And the recorded audio can be saved as MP3 or WAV output format without any data loss. Due to advanced database, music tags of recorded audio can be added automatically. Also, those tags can be edited manually by using the built-in music tag editor. Thanks to various practical settings like Task Scheduler and audio parameter editor, all audio can be recorded easily and efficiently. The following will show you how to record audio from headphone jack on Windows and Mac with Leawo Music Recorder.
Step 1: Download Leawo Music Recorder
-
Leawo Music Recorder
- Record any sound from computer stream audio and built-in input audio.
- Record music from 1000+ music sites like YouTube, Facebook, Veoh, VEVO, etc.
- Schedule music recording via the internal recording task scheduler.
- Automatically/manually add and complete music tags like artist, album, cover, genre, etc.
- Save recorded musicfiles into either WAV or MP3 format for wide uses.
Step 2: Set headphone jack as recording audio source
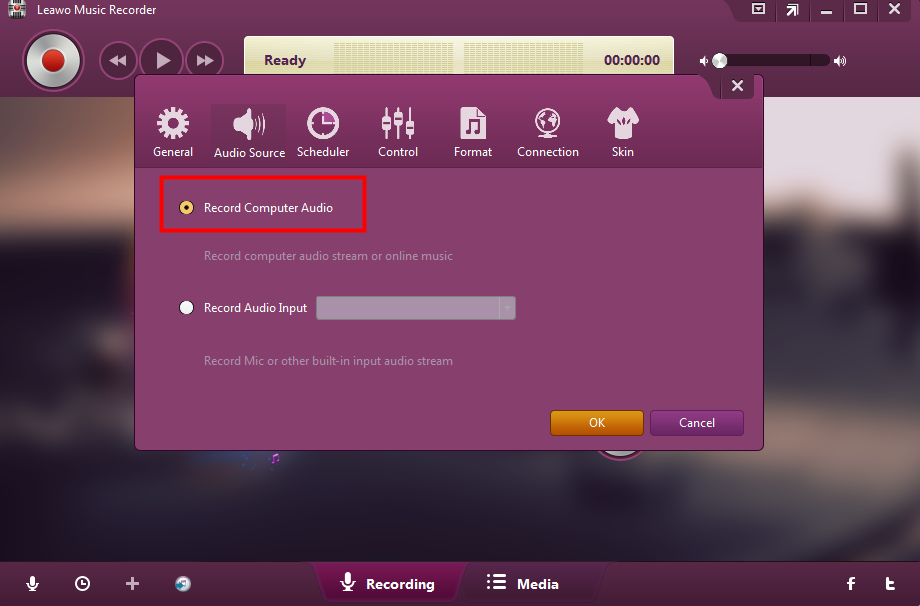
Launch the software after installation. Then, on the main interface, click the microphone icon in the bottom-left corner. In the pop-up Settings panel, click the Record Audio Input option, and select recording device that comes from your headphone jack in the drop-down menu.
After audio source setting, you can also set output format and output directory under Format tab and General tab respectively.
Step 3: Start to record audio from headphone jack with Leawo Music Recorder
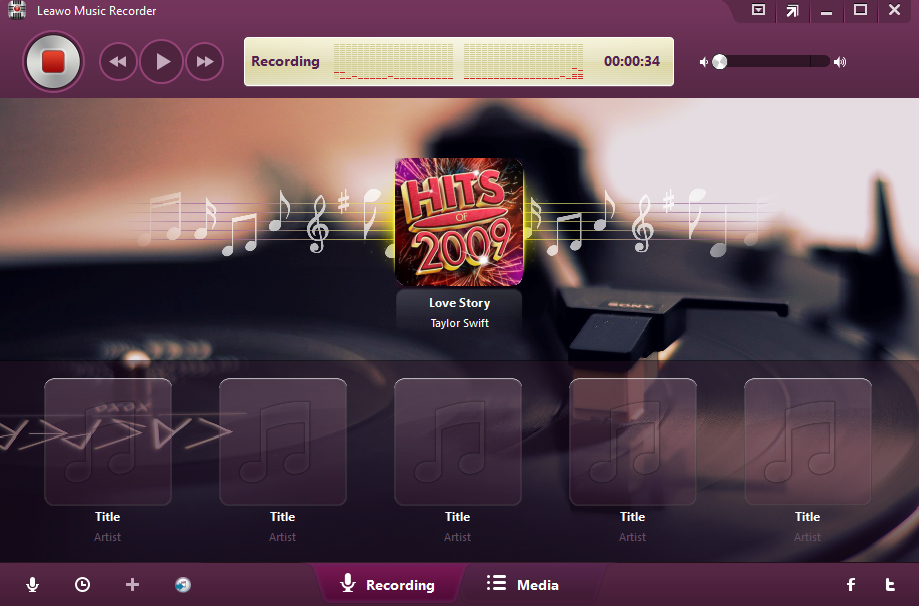
Click on the red button “Start” to enable Leawo Music recorder to work. At the same time, make sound in the microphone connected to the headphone jack. Once the audio complete, click the same button again to stop recording. The recorded file will be added tags automatically, and you can also edit them under Media tab.
Part 3: How to Record Audio from Headphone Jack with Windows Sound Recorder?
To record audio from headphone jack on Windows, a free utility program is built in the computer named Sound Recorder, which allows you to set up audio recording to suit your needs. When you want to record a voice memo in a short and simple way or send to someone an email with audio attachment, Sound Recorder will be a great help for you in the case that you have no microphone to connect to the input jack of computer, using headphone jack to connect to it for your record would be a good substitute. Before recording audio from headphone jack via Windows Sounder, the configuration of headphones need to be set as the following steps.
- Step 1: Find the headphone which comes with minimum amount of filler around the earpieces to suit your computer.
- Step 2: Connect your headphone to the computer by inserting it into the mic jack on your computer. The jack for the sound card can be found on the computer’s back. If there is no mic jack for the sound card, you can insert the headphone to “Line in” jack. You can refer to the users manual of computer or go to the internet support site to find these mentioned jacks if you feel hard to find them.
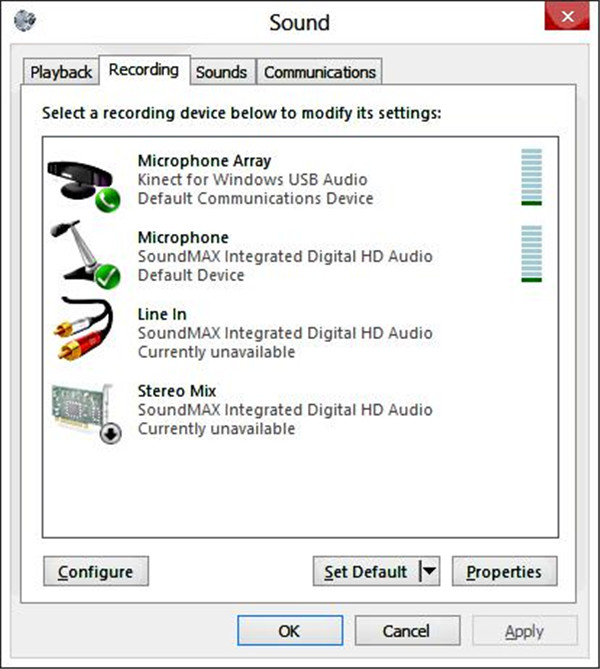
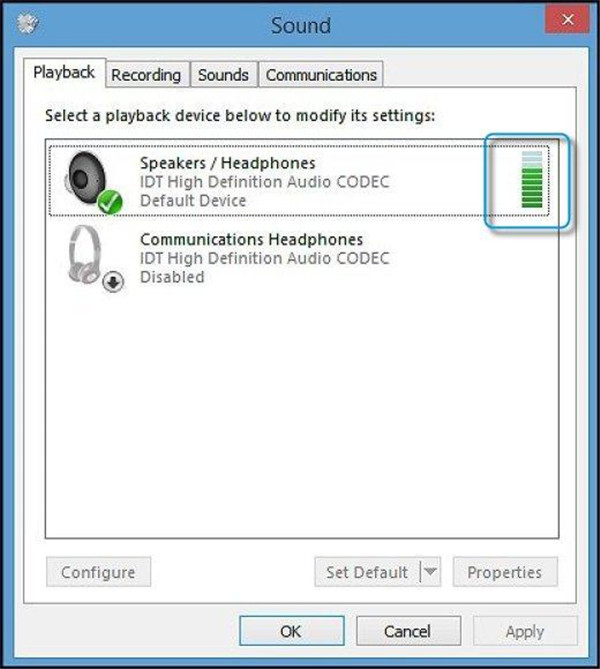
- Step 3: Right-click on the microphone icon located in the system tray which is near the system clock. Then a drop-down menu will be called out. Click on “Recording Devices” to turn on the “Sound” window.
- Step 4: Click on the icon “Microphone”, then the window “Microphone Properties” will be shown up by clicking “Properties”.
- Step 5: You can find the volume slider to control microphone’s volume by clicking the tab “Levels”.
- Step 6: Click on “Slider” and then slide it to the right until it reaches the maximum volume. Then click on “OK”.
After you finish the above configuration, you can begin to record audio by referring to the steps as below:
Steps:
- Click on the button “Start” to call out “Start” menu.
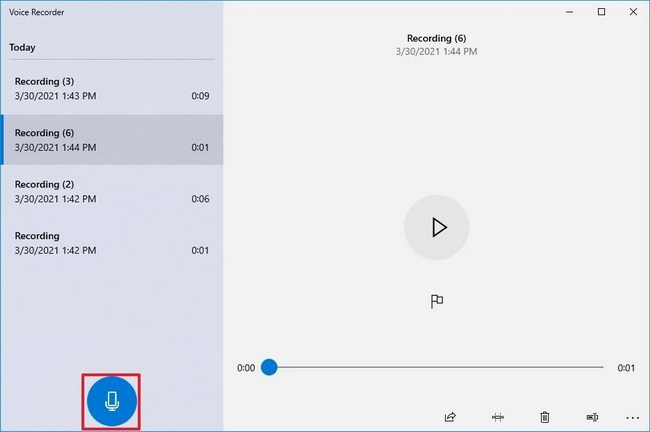
- Enter “Sound Recorder” to run Windows Sound Recorder.
- Get one earpiece of your headphone closed to your audio source, and then click on the button “Start Recording” on the Sound Recorder to enable this recording program to begin the recording work.
- Make the audio source play in a clear and maximum volume. Once the recording is completed, click on “Stop Recording”. Then a “Save As” pane will pop up and require you to choose an output directory for the recorded audio. Give a name of your recorded audio in the textbox of “File Name” and then click on “Save” button. Your recorded audio files will be saved in the WMA output format via Sound Recorder.
Part 4: How to Record Audio from Headphone Jack on Mac?
All Mac are equipped with a headphone jack and a built-in microphone. Therefore, you may confuse when everytime you record an audio - is the audio from headphone jack or built-in microphone? For audio geeks, they may invest in a decent microphone or sound card for better recording quality, so there is not just one input source. Furthermore, similar to Windows PC, there is also a built-in app on Mac to record audio - Voice Memos. With this app, you can use your Mac as a recording device. To switch to record audio from headphone jack, follow the detailed steps below.
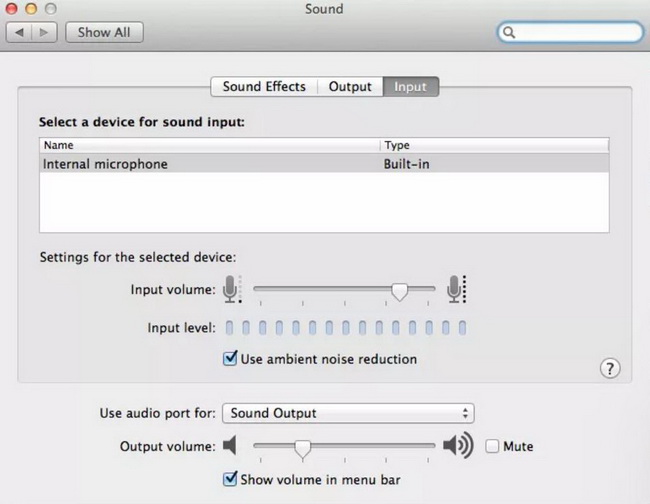
- Step 1: Go to System Preferences > Sound Control. At the button of the window, click the Use audio port for option to switch input audio source in the drop-down menu.
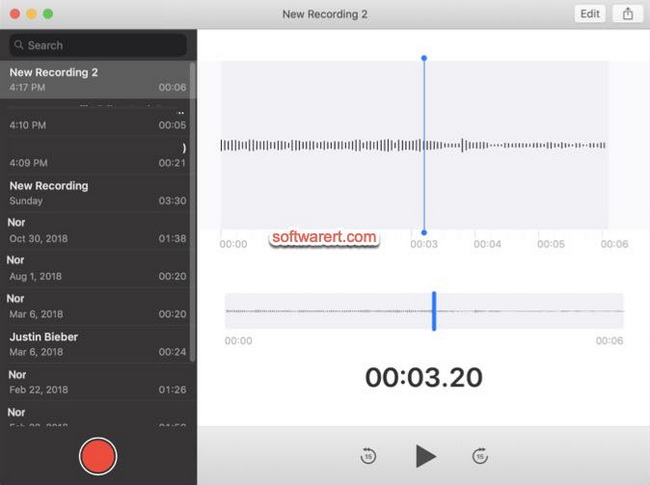
- Step 2: Launch the Voice Memos app on your Mac
- Step 3: Click the red Record button. At the same time, make sound to your microphone. Whn you finish, click Done button in the lower-right corner, and the recording will be saved on your local drive automatically.
Part 5: How to Record Audio from Headphone Jack with Leawo Screen Recorder?
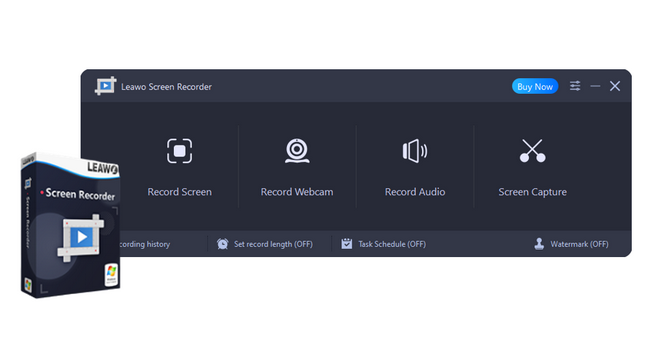
If you want to record audio from headphone jack and system sound together, then Leawo Screen Recorder is the only option you can choose here. Actually, there are four modules in Leawo Screen Recorder - Screen Recorder, Audio Recorder, Webcam Recorder and Screen Capture. To record audio from headphone jack, you can adopt Audio Recorder module here. With multiple formats selectable, you can easily record audio from headphone jack to MP3, AAC, M4A, OGG, DTS, OPUS, AC3, MKA, or FLAC in order to meet any of your devices. Below are detailed steps to record audio from headphone jack with Leawo Screen Recorder.
△ Step 1: Download Leawo Screen Recorder
Click the button below to download Leawo Screen Recorder. Then, follow the onscreen instruction to install and launch this software.
-
Leawo Screen Recorder
- Record all activities on your computer screen as HD screencast.
- Record video from your webcam.
- Record any audio from your computer an/or microphone.
- Capture anything on your computer screen as screenshot.
- Add drawing, annotations, watermark, mouse animation, and BGM to recordings.
- Output in high quality with multiple formats selectable.
△ Step 2: Set recording preferences
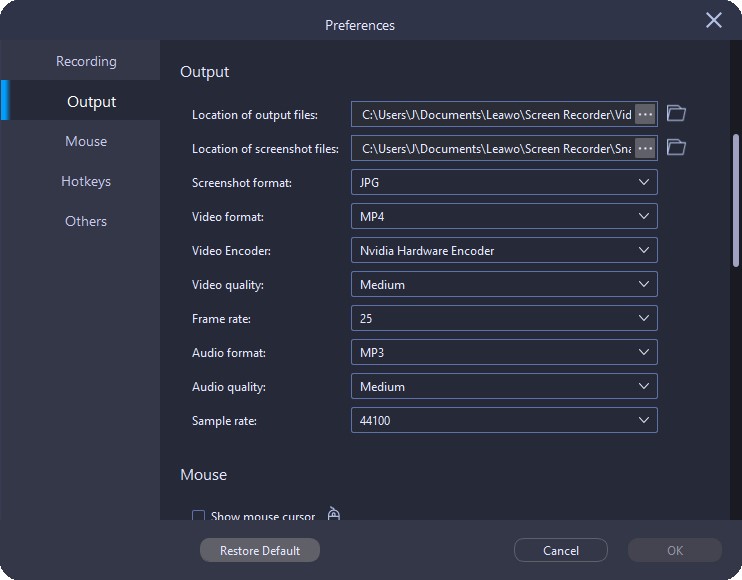
Before recording audio from headphone jack, you can first set the output directory, audio format, audio quality, and audio sample rate. Click the three-bar icon in the top-right corner and choose Settings to bring the Preferences panel up. Then, click Output tab in the left column to set output preferences, and click OK button to save changes and go back to the main interface.
△ Step 3: Start to record audio from headphone jack
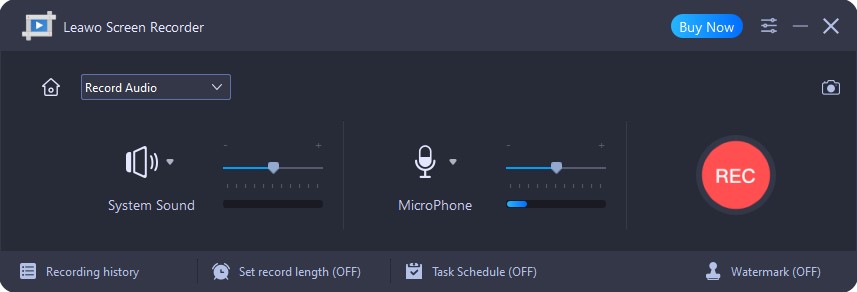
On the main interface of Leawo Screen Recorder, click Record Audio button to enter audio recorder module. Then, in the secondary interface of audio recorder, you can choose to record system sound and/or microphone sound. To record audio from headphone jack, you can click the triangle button next to the Microphone button. In the drop-down menu, you can then choose the recording device plugged in headphone jack. After audio source setting, click the REC button to start recording audio from headphone jack.
Part 6: How to Record Audio from Headphone Jack Through Free Sound Recorder?
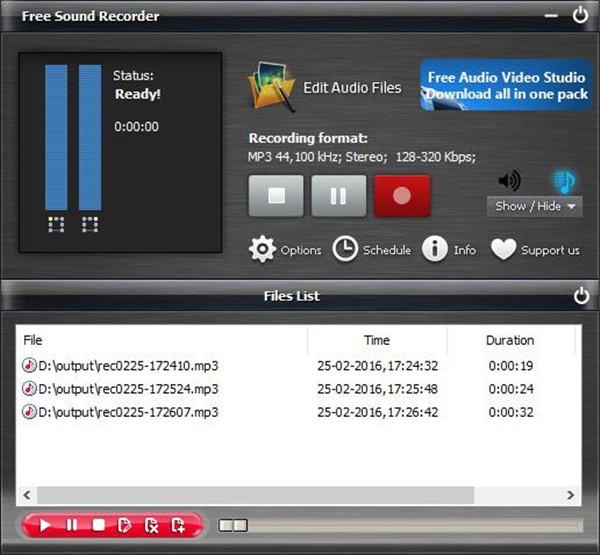
Free sound recorder is designed to record any audio from multiple kinds of sources. The recorded audio is kept in original quality with this effective sound recording tool. Any voice and sound can be simply recorded from the different channels like external LP and microphone, DVD player the radio, etc. The recording quality is able to reach what you expected. Owning powerful and all-round audio editing and recording of this software is primary to record high-level sound and digitalized music instruments. But, some of the audio recording software can be ranged from the professional products to the simple application with the essential function. Free sound recorder is the recording software coming with multiple functions, which would your best selection among all the audio recording software. How to record audio from headphone with free sound recorder, the specific steps are listed below for your reference.
- Step 1: Launch Free Sound Recorder on your computer after the output audio has been set to the input audio via headphone jack.
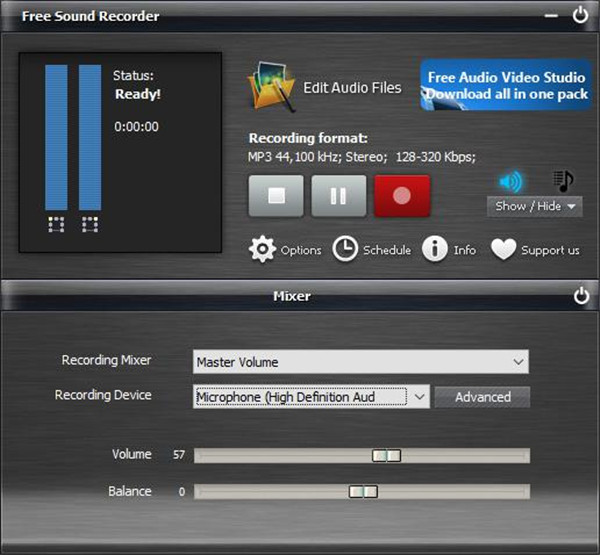
- Step 2: Sound card and sound source must be selected. Click on the window button “Show Mixer” in the drop-down list, where the Mic Volume can be found. Next, choose the correct recording device via the drop-down menu “Recording Device”. Then, the balance and the volume must be adjusted to your needs.
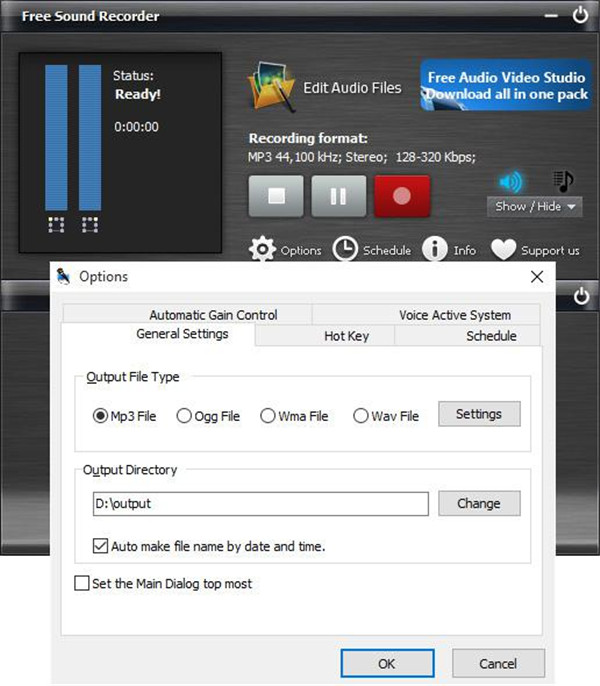
- Step 3: Click on the “Option” to bring out the option pane. The output format must be set according to the selections of WMA, MP3, OGG and WAV. The recording quality can be adjusted by click on the option “Settings” to set the parameters and specify the presets. To choose the output directory for the recorded audio, you can click on the option “Change”. Additionally, the recorded audio file can be named automatically according to the time and the date.
- Step 4: You can click on the button “Recording” to begin the audio recording, if you want to end the recording, click on the button “Stop” can stop your audio recording. The recorded audio will be saved to the output directory and will be shown to you with the essential information including location and the file name, the duration and the time.


 Try for Free
 Try for Free

