Summary:
How to set up and turn off split screen mode on iPhone? Don't worry. You can find the most comprehensive guide on how to do that in this post.
Whenever people start a job, they want to do it at the fastest time possible. For this reason, multitasking has been in existence for quite a while now. Quite simply, multitasking enables users to run multiple applications and perform tasks at the same time. It appeared first on desktop operating systems and slowly made its way to mobile operating systems like Symbian, Android and iOS. In June 2010, the iPhone 4 alongside the original iPad and iOS 4 were unveiled to the public. With the release of iOS 4, it became clear that the iPhone had become a productivity tool, most crucially because of multitasking. Users could now run certain apps in the background while using others (for example listening to music while using the Mail, Notes, Photos and much more apps). Switching between different open apps became easier, and much faster. Task completion, which lets apps continue certain tasks after the app has been suspended for 10 minutes was also released with iOS 4 to spice up the multitasking capabilities.
Over the years, Apple improved multitasking on their iOS mobile operating system, and with the release of iOS 9, split-screen which could enable users to run 2 apps simultaneously made its way to the iPad. Although that feature was a game-changer with many people wanting to use it, it unfortunately did not make its way to the iPhone. Using it on iPhone is still not very clear in the present day, but in this guide, we will show you how to use iPhone split-screen multitasking.
Part 1: How to set up split screen mode on iPhone
iPhones have become very powerful devices, and you might also want to have several windows open at the same time in order to multitask. Split-screen is a big deal if you want to multi-task, but the big question is can the iPhone do multi-window. Especially with bigger iPhones like the XR and XS, how to use split-screen on iPhone XR or XS? The good news is Apple built a feature right into iOS 12 and above for the bigger iPhones which can do the trick and we will show you how to do it, as well as introducing third-party apps that can do the job. The first thing you need to do is to enable this feature in the Settings of your iPhone. However, it is important to note that at the moment, only a few apps (Mail, Notes, Safari) are compatible with this feature. It is important to note that when you enable this option, you cannot have multiple apps open, but you are using the screen display to show more information.
If you are using an older iPhone, it might also not be possible to use this feature, but you can easily install some third-party apps that can enable you to use it. Split screen is an iOS app which does what its name suggests, by letting you use two apps simultaneously. It will set you back about $4.99, and it works well in both landscape and portrait mode, and you can also enlarge or shrink the apps you want to see. There are also free alternative apps you can use on the older iPhones, but Split screen is by far the best we tested because it has a lot more options and is relatively much more stable. To enable this feature on supported iPhone models, follow the steps below.
Step 1: Open your "Settings" application from the main home screen, and scroll down to "Display & Brightness"
Step 2: After that, scroll down to "DISPLAY ZOOM" and tap "View". Set it to "Zoomed" and confirm the change.
Step 3: Allow your iPhone to restart after you make the change. When done, you will be able to use the split-screen feature on your iPhone XR, XS, 11 and 11 Pro.
Part 2: How to turn off split screen on iPhone
While it is a very nice feature to have, split-screen multitasking is not yet very mature and reliable on the iPhone as it is on the iPad. The latter can easily support split-screen multitasking for all installed apps natively, and without the need for third-party tools. You might also discover that its better to run single-tasks and switch between apps, after all iOS will keep running your tasks in the background for longer. Split-screen multitasking can make your iPhone display to look cluttered, and it might also strain your eyes because of the nature of smartphone screen sizes, which are generally smaller in comparison to iPads. So you might ask yourself "How do I get rid of a split screen?" Generally, the process of doing this is the reverse of what we discussed earlier in this article. If you have a third-party app to enable this feature (like Split screen mentioned above) installed on your iPhone, the first thing to do is to disable the settings within the app itself, then deleting the app if that is necessary. To disable the settings within the iPhone's Settings app for the supported models, please follow the steps below.
Step 1: Open the "Settings" app on the main home screen, and scroll down to "Display & Brightness"
Step 2: After that, scroll down to "DISPLAY ZOOM" and tap "View". If split-screen mode is on, the selected setting should be "Zoomed". Change it to "Standard" to turn off the feature.
Step 3: After you have made the change, your iPhone will restart, and split-screen multitasking will be turned off on your device.
Part 3: How to fix iPhone stuck on split screen
For some reason your iPhone might get stuck on split-screen when you have tried to enable it. This might be because of bugs, from the iOS mobile operating system or from apps. It is quite possible for third-party apps to cause system-wide problems, for example, WhatsApp once had a bug which made it consume all the system storage, and the only possible fix to this was complete erasure of the devices. Your iPhone contains very important information, and when it is stuck on split-screen you might not have any choice except to reset and erase it. This is where advanced data recovery tools like Leawo iOS Data Recovery come into play.
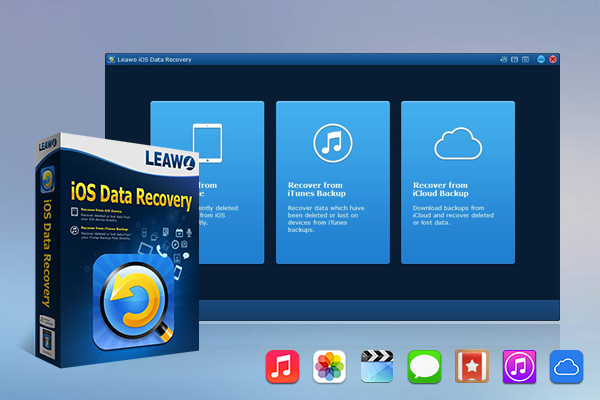
This professional software supports iPhone, iPod and iPad devices, and it can be used to easily recover up to 14 types of data and help WhatsApp lovers to restore WhatsApp messages from iPhone to PC. It has 3 data recovery modes, which are iOS device data recovery, iTunes data recovery and iCloud data recovery as a guarantee that your data will be recovered once lost. If you lost your data because your device was erased, installing an iOS update, jailbreaking, system crash, the device was stolen and many more reasons, this professional software will also easily do the job for you. In comparison to its competitors, this software is the fastest and most accurate of them all, and it can even allow you to preview the data before you recover it. All iTunes and iOS versions are supported, and this software is constantly updated to meet the requirements of newer technologies. To start recovering your data from your iPhone, download and install this software on your Mac or Windows computer.
Step 1: First connect your iPhone to your computer via USB, and the software will automatically detect the device. This software comes equipped with 3 modes which are "Recover from iTunes Backup" , "Recover from iOS Device", or "Recover from iCloud Backup". In this case, click "Recover from iOS Device" since the aim is to recover lost data which had been contained on the iPhone.

-
Leawo iOS Data Recovery
- Recover lost or deleted data from iOS devices, iTunes backup and iCloud backup
- Retrieve files from iTunes and iCloud backup even for lost or broken iOS devices
- Restore 12 types of data, including photos, videos, SMS & MMS messages, contacts, call history, notes, calendar, etc.
- Fully support all iPhone, iPad and iPod touch models
- 100% safe, accurate and speedy recovery
- User-friendly interface and simple operations
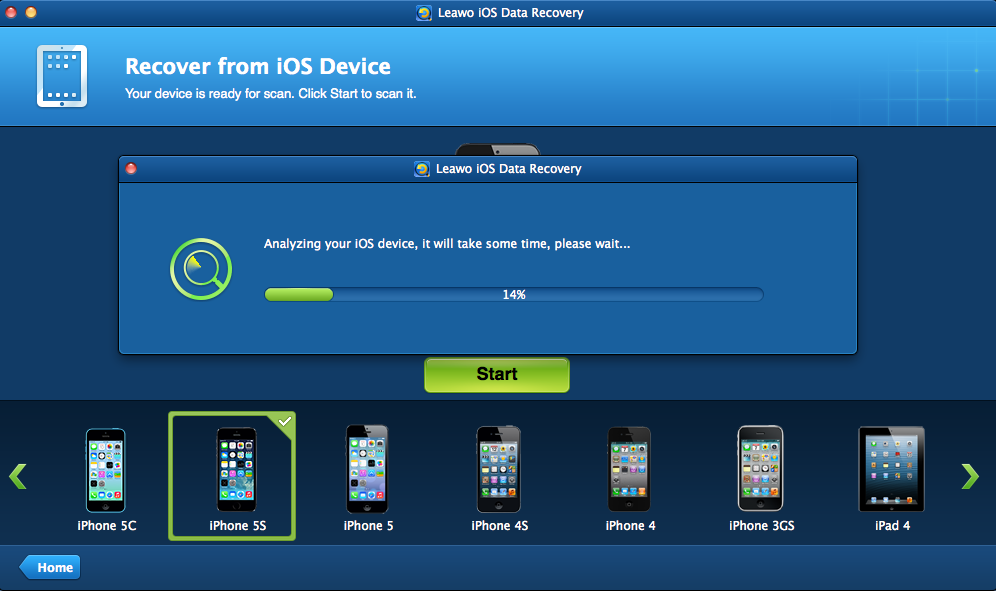
Step 2: Let the software run an analysis on your iPhone. When you choose "Recover from iOS Device", the software will show you some brief information about the iPhone. Click the "Start" button to run the analysis so that it can check for the data that was lost when the device was reset. In case the iPhone already has some data contained on it, an analysis will also be done for that.
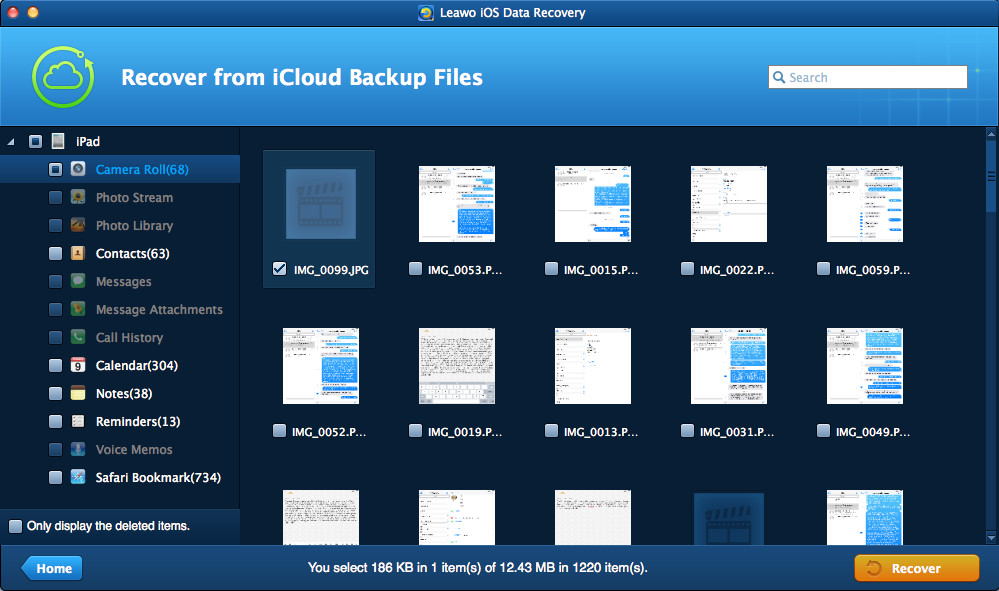
Step 3: Select the type of data you wish to recover. On the left toolbar, you will see the categories of the type of data you can recover, like messages, notes, photos, phone, videos and more. Select the type of data you wish to recover from the categories shown. To start exporting, click the orange "Recover" button.
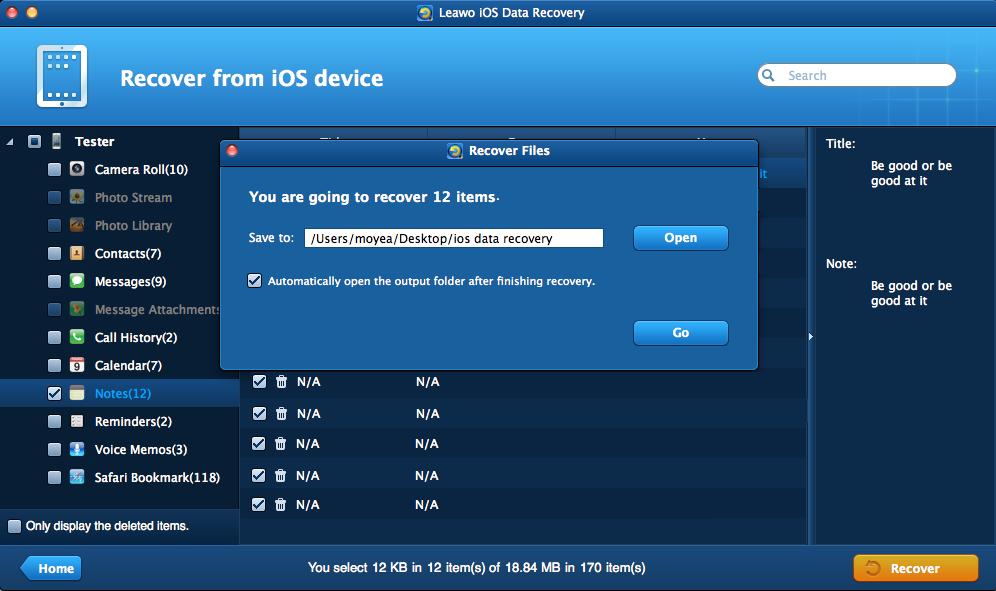
Step 4: Exporting and recovering your data. After clicking "Recover" in the previous step, select your output folder by clicking the "Open" button next to the "Save to:" text field. After you have finished with all that, click "Go" and the program will export the recovered data that you had lost when you reset your iPhone.


 Try for Free
 Try for Free


