"I made a slideshow in iPhoto 11 and I want to burn in onto a DVD to play on TV. Everything I found on line mentions iDVD but the newer macs don't have that program. How can I do it?"
Since the number of Mac users has been always increasing because of the distinguished functions and stunning nice thin body, some of them may get in trouble when they want to make iPhoto slideshow to DVD so as to play it on TV or DVD player, like the problem above asked by a freshman on Mac. Actually, there are indeed some simple solutions that can solve this problem and export iPhoto slideshow to DVD. So today let's talk about how to convert iPhoto slideshow to DVD.
Part 1: About iPhoto
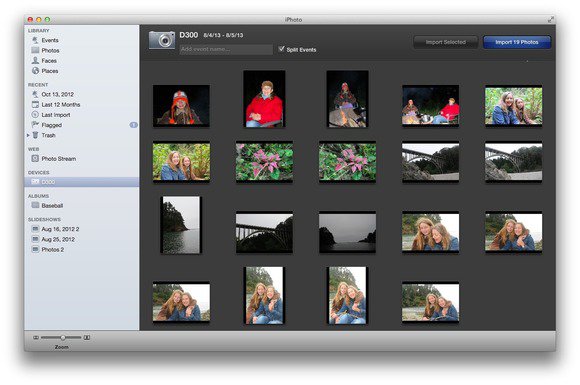
In case you are a newbie to Mac OS system, before offering the solutions to convert iPhoto slideshow to DVD, let's know something about the software iPhoto first. iPhoto is a fantastic photo editing app developed by Apple Inc. The software is a digital photograph manipulation software application that can help you easily manage and enjoy all your digital photos in interesting ways and share your precious memories with family and friends. With iPhoto, you can make gorgeous photo slideshows with animated themes and music. In a word, iPhoto is a photo editing program to make beautiful photo slideshows on Mac.
However, after making a nice photo slideshow, a lot of us would want to burn it to a DVD to preserve it in a better way. iPhoto itself doesn't provide a function to burn slideshows to DVD. To burn iPhoto slideshows to DVD, normally you need a program called iDVD, which is also developed by Apple. Or you can also export the slideshow first and then use another professional DVD authoring program to burn it to DVD. Next, I will introduce both ways to burn iPhoto slideshows to DVD.
Part 2: How to convert iPhoto slideshow to DVD with iDVD
The most common way to burn iPhoto slideshows to DVD is using iDVD. iDVD allows Mac users to burn QuickTime movies, MP3 music, and digital photo slideshows to a DVD that can then played on a TV or DVD player. Because they are both developed by Apple, to burn slideshow to DVD mac from iPhoto, iDVD would be the simplest way. Here is how you can burn iPhoto slideshows to DVD using iDVD.
Step 1: export iPhoto slideshow to iDVD
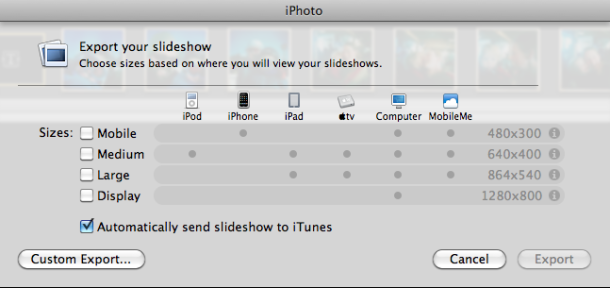
After you have finished your work in iPhoto, you need to export your project so that you can burn the slideshow to DVD using iDVD. Click "File" –> "Export" –> "Slideshow" and then there will be a window popping up till you hit "Export" button, where you can set the location of the output slideshow. Lastly, you go to "Places" on the left side and select "iDVD".
STEP 2: To Burn iPhoto slideshow to DVD with iDVD
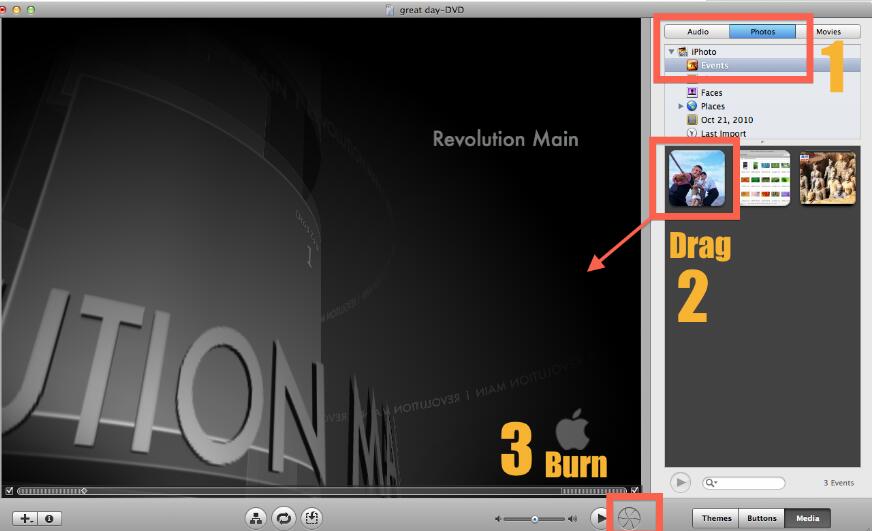
iDVD as a DVD burning program developed by Apple. Since you have exported your iPhoto project to the software, then it should be easy to burn the DVD from here. Start iDVD and open the iPhoto slideshow firstly, then secondly, insert a blank DVD disc to your computer. And next hit "Open Finder" option and immediately, the blank disk will be seen on the desktop. At last, click "Burn" button after you have opened the blank DVD and dragged the slideshow to it.
Part 3: How to convert iPhoto slideshow to DVD without iDVD
Though iDVD is an applicable program for Mac users to export iPhoto slideshow to DVD, and it seems to be the best solution to burn iPhoto slideshows to DVD using iDVD, the bad news is, iDVD doesn't work on Lion and Mountain Lion any more. Since iDVD was no longer preinstalled on Macs shipping with Mac OS X 10.7 Lion and was not available on the Mac App Store with all of the other life apps either, it's not that easy to find and install the program, not to mention burning a DVD with it. However, you can still burn iPhoto slideshow to DVD with a third-party DVD/Blu-ray burning program, and the one that I am going to introduce today is Leawo Blu-ray Creator.
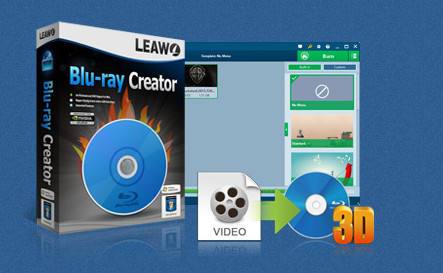
Blu-ray Creator
☉ Burn videos to Blu-ray/DVD disc, folder, ISO image file.
☉ Create photo slideshows and burn to DVD/Blu-ray disc.
☉ One clickto burn ISO image to Blu-ray/DVD disc.
☉ Add watermark, trim video size, adjust effect, etc.
☉ Create 3D Blu-ray/DVD movies with 6 different 3D effects.
☉ Design and add disc menu to Blu-ray/DVD disc.
As a one of the most popular Blu-ray/DVD burning program, Leawo Blu-ray Creator is an easy-to-use and powerful DVD burning program for you to create Blu-rays or DVDs from all kinds of videos. With the support for Intel Quick Sync acceleration technology, Leawo Blu-ray Creator is also one of the fastest DVD burning software for users to create a DVD from iPhoto slideshow without quality loss. To convert iPhoto slideshows to DVD with Leawo Blu-ray Creator, you need to firstly export the iPhoto project as a video file, and then burn it to a DVD or Blu-ray. It sounds complicated, but it's actually not. Here is the full instruction on how to burn iPhoto slideshows to DVD using Leawo Blu-ray Creator.
STEP 1: Export the slideshow from iPhoto
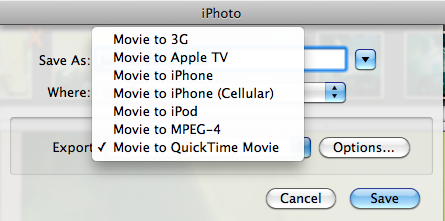
Once the slideshow is finished in iPhoto, click File > Export > Slideshow > Export and then choose QuickTime Movie as the output video format. Next, you can click the Save button to export the slideshow as a MOV movie.
STEP 2: Add videos to Leawo Blu-ray creator
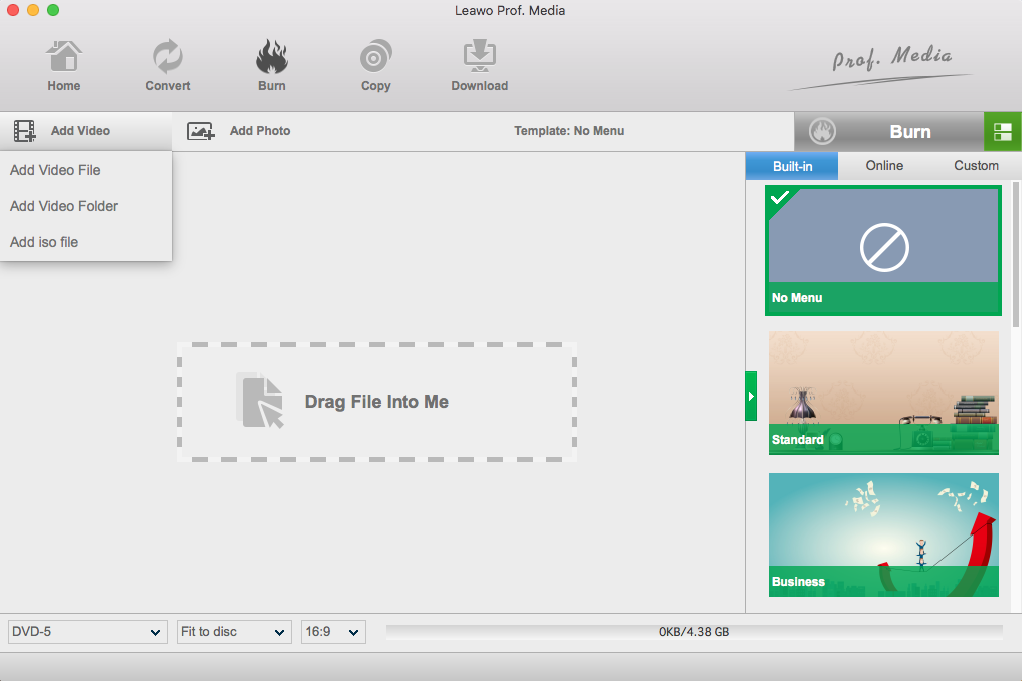
Download and install Leawo Blu-ray Creator. After entering the program, click the "Add Video" button to load the iPhoto Slideshow exported on the first step, or you can directly drag and drop the iPhoto Slideshow file to the main interface of the program.
STEP 3: Set Disc Menu (Optional)
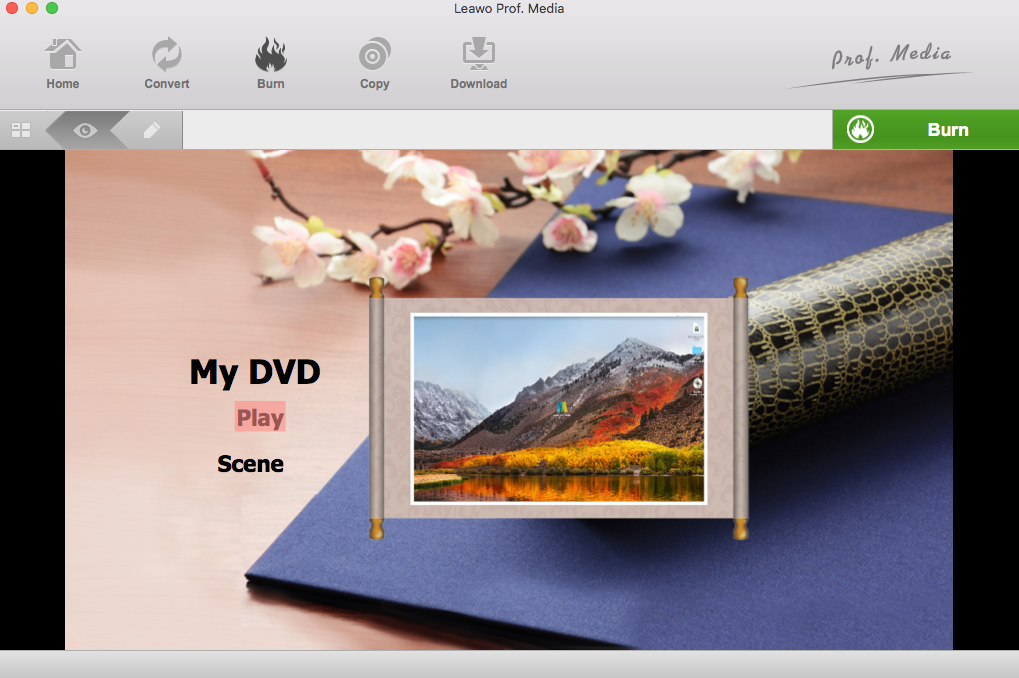
On the right side of the interface, Leawo Blu-ray Creator offers you multiple preset disc menu templates in different themes like Standard, Business, Education, Childhood, Holiday, etc. Moreover, it even allows you to DIY disc menu with your own images and audios. If you'd like to create a disc menu for the output Slideshow, you can choose a template you like and edit it according to your own preference. If you would like your DVD having no menu, just choose the default "No menu" in the template zone.
STEP 4: Settings before DVD burning
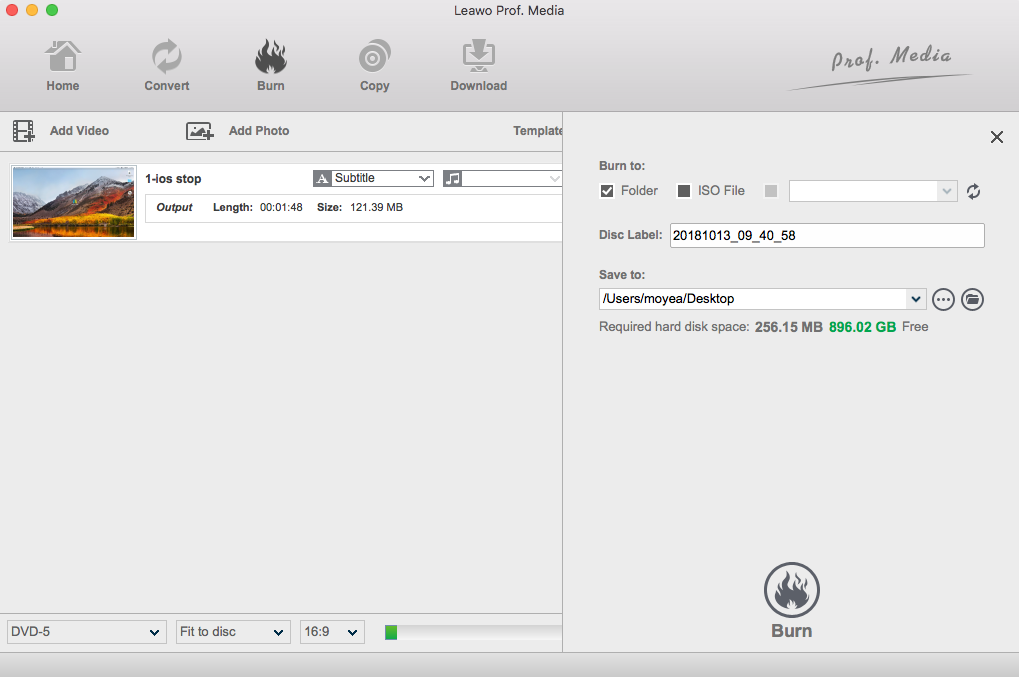
After finishing setting disc menu, click the green "Burn" button on the top right and a burning settings panel will pop up, where you need to set some necessary parameters for the burning like Burn to, Disc Label, and Save to options.
STEP 5: Time to Burn iPhoto Slideshow to DVD
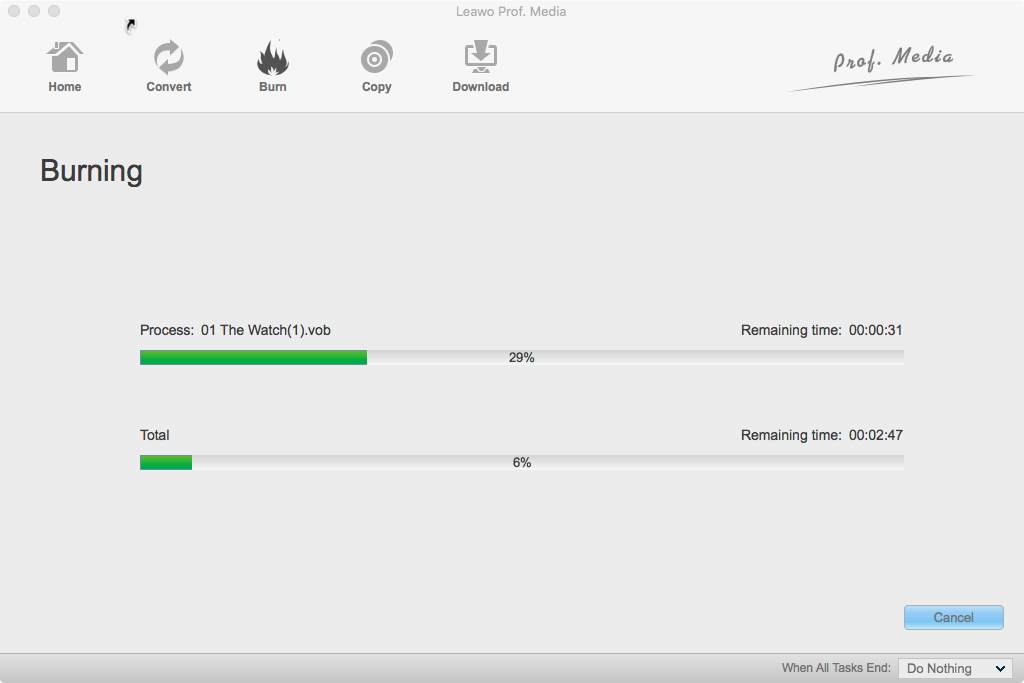
After you have finished the burning settings, click the "Burn" icon at the bottom of burning settings panel to start to burn iPhoto Slideshow to DVD. The DVD Creator will immediately start the burning process and since the photo slideshow won't be too big in size, the burning process will be finished in a short while. Now your photo slideshow should be able to be played on a real DVD player or your TV set.
Part 4: How to directly burn photos to DVD
If your purpose is to make a DVD photo slideshow, then comparing to make a photo slideshow in iPhoto, then export the slideshow as a video file, and then burn the video file to a DVD, there is actually a much easier option for you to do the job. This option can greatly reduce your work load and shorten your work time. This other option that I am talking about is to directly burn photos to a DVD as a photo slideshow in Leawo Blu-ray Creator.
That's right. Leawo Blu-ray Creator burn not only all kinds of video files to a Blu-ray or DVD disc, but also your photos as a photo slideshows to a DVD disc. You can add background music and transition effects to the slideshow to make a beautiful photo slideshow and then directly burn it to a DVD. It is also easy to operate
Firstly, instead of importing videos to the program, directly import the photos that you want to make to a slideshow to the program by clicking the "Add photos" button. Click the edit button on your photos and you can preview your photo slideshow, add s background music and set the transition effects. You can also set a menu page like when you are burning a DVD, and the process is entirely the same.
After you have made your photo slideshow in the program, click the burn button like you would do when you are burning a video file. Set an output directory as mentioned above and then click the burn icon to start burning. This process will make you rightly burn photo slideshow to a DVD. Since it's the photos that you are burning, the burning won't take too long.

