The new Notes app in iPhone is a very helpful utility for users to remember the things they have done, or jot down everything they’re thinking of. iPhone users will regard notes as very important information, and they can sync the notes to their Mac computers so that they can have a look when the iPhone is not at hand. Many people may wonder how they can sync notes from iPhone to Mac, in fact, they have several ways to do that. This post will show you 3 easy ways to sync notes from iPhone to Mac.
Part 1. Using iCloud
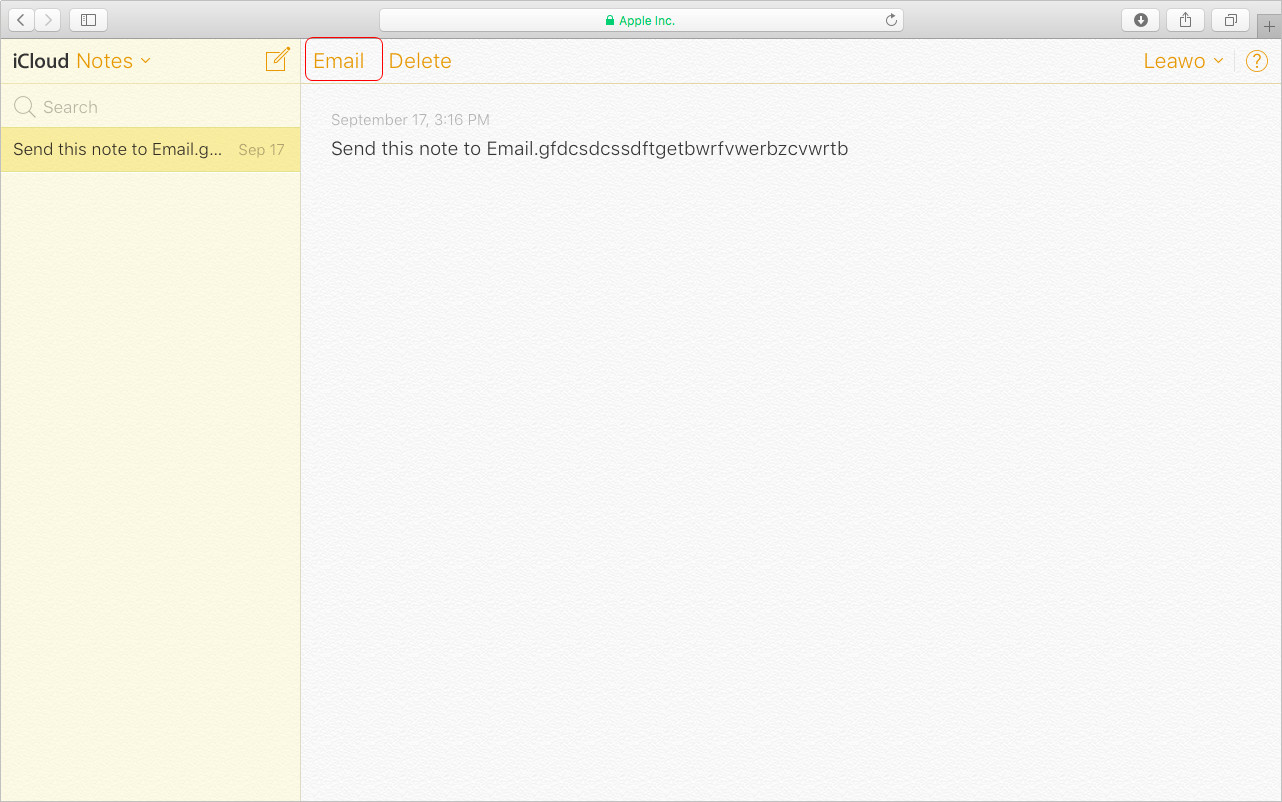
The first method is using iCloud. iCloud automatically uploads the most important data from iPhone to the cloud, and save the data in the cloud. With iCloud, iPhone users are able to upload their notes to iCloud and then get them on their Mac computers. People need to enable iCloud on their iPhone, and turn on Notes so that iCloud will upload the notes to the cloud. Then users can go to iCloud.com to view the iPhone notes. If they like, they can email the notes to themselves and download the notes to their Mac computers.
Part 2. Using Gmail
The second method is using Gmail. If people use Gmail on their Mac computers, they can use Gmail to transfer notes from iPhone to Mac. Users need to go to Settings on their iPhone, and add Gmail account, then they can turn on Notes so that they can sync iPhone notes with Gmail. After that, when people want to view the iPhone notes on their Mac computers, they can start Gmail with Safari and view the contacts on their Mac computer. Moreover, they can email the notes if they want to share the notes.
Part 3. Using Leawo iTransfer
The third method is using the third-party iPhone transfer software. Speaking of syncing notes from iPhone to Mac, people may have another purpose, which is backing up the notes in case that they lose the notes on their iPhone. If the iPhone users want to sync notes from iPhone to Mac on this purpose, they can take advantage of the third-party iPhone transfer software to finish the task. Leawo iTransfer will provide much help on this issue, as this software enables users to transfer various kinds of files without iTunes. The following guidance will show you how to sync notes from iPhone to Mac, and you can free download the software to have a try.
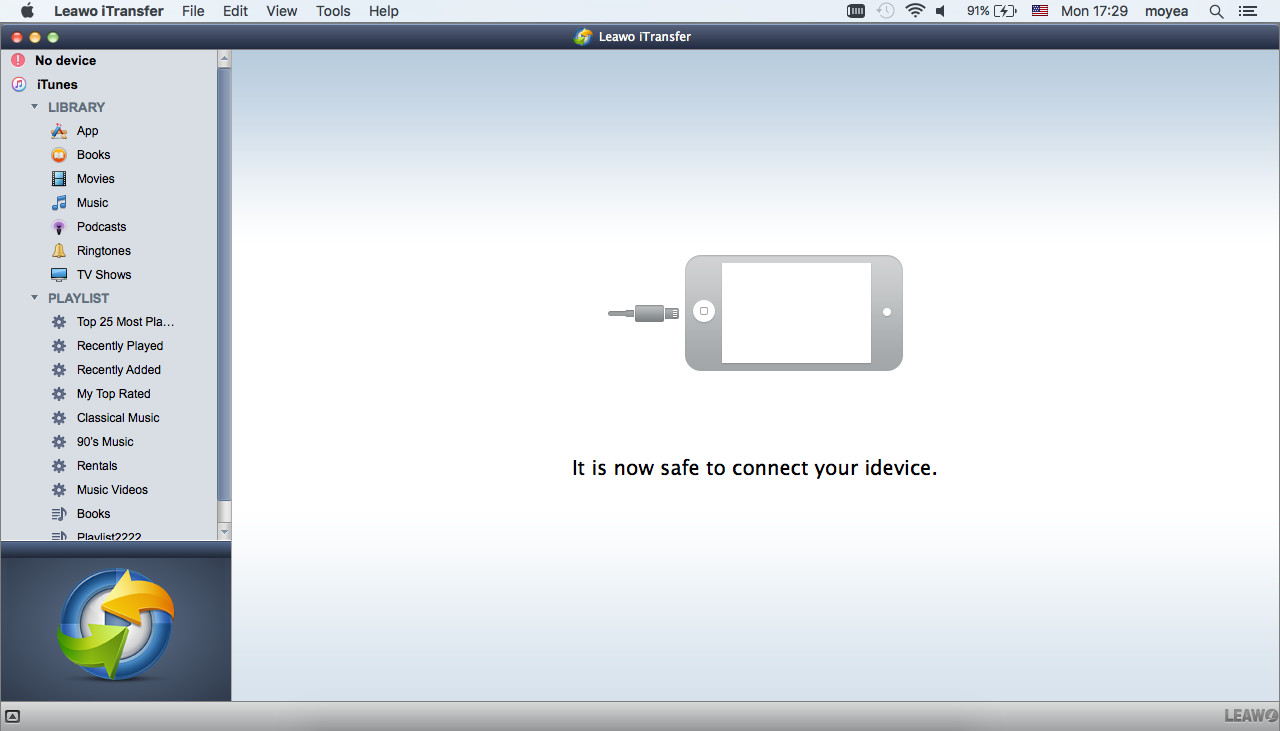
Step 1. Run Leawo iTransfer and connect iPhone to computer with the USB cable. The software will recognize your iPhone.
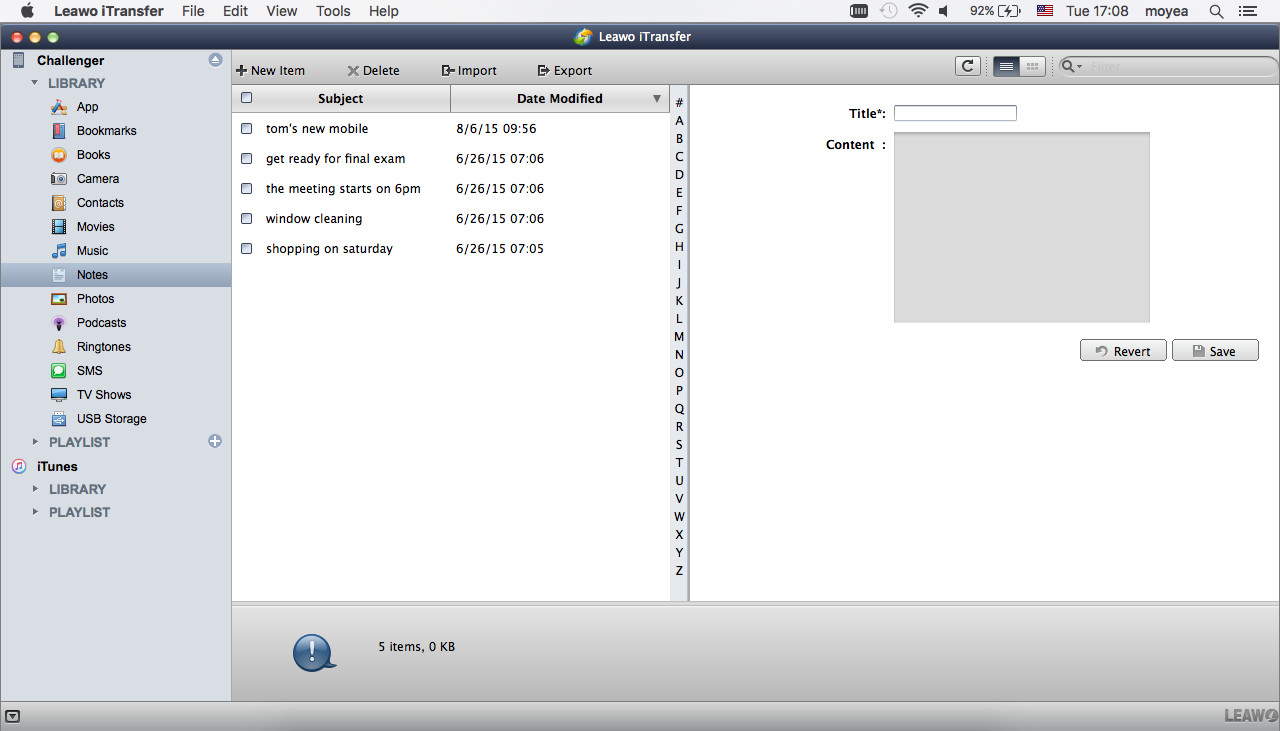
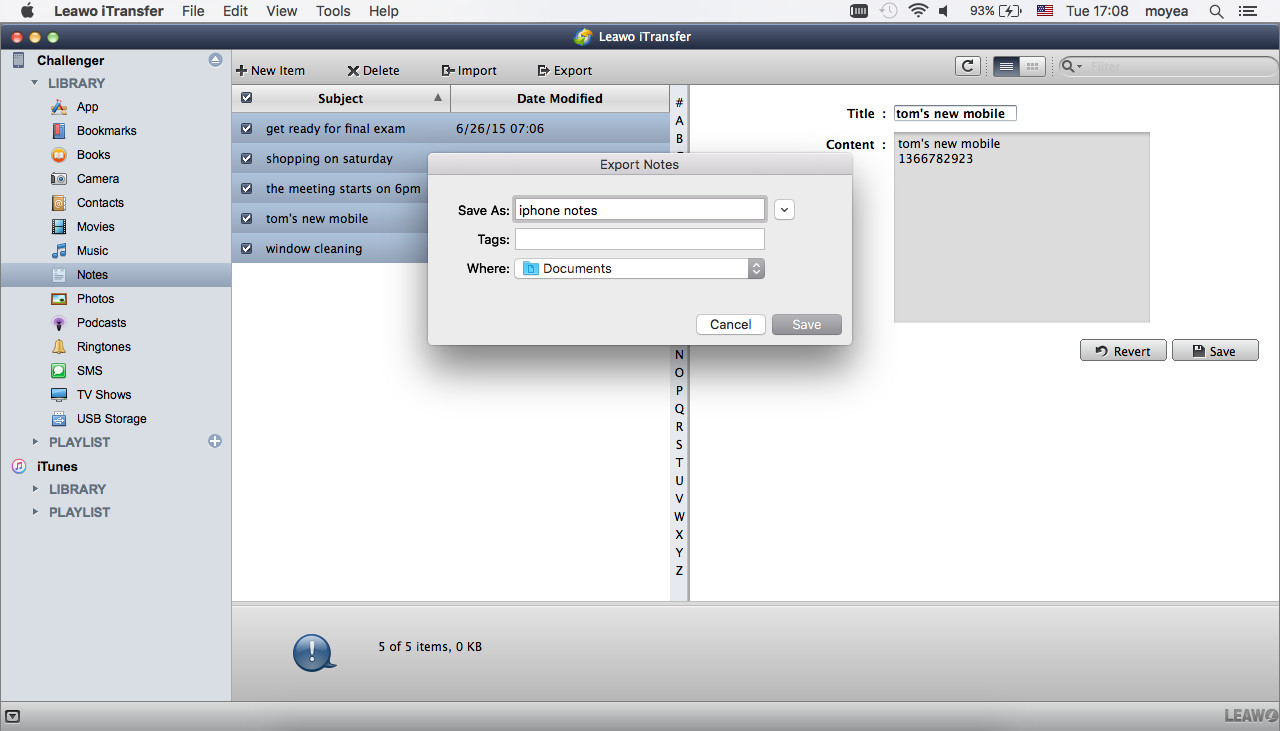
Step 2. Click the name of iPhone and choose Notes in the left sidebar. The iPhone notes will display in the right part of the window.
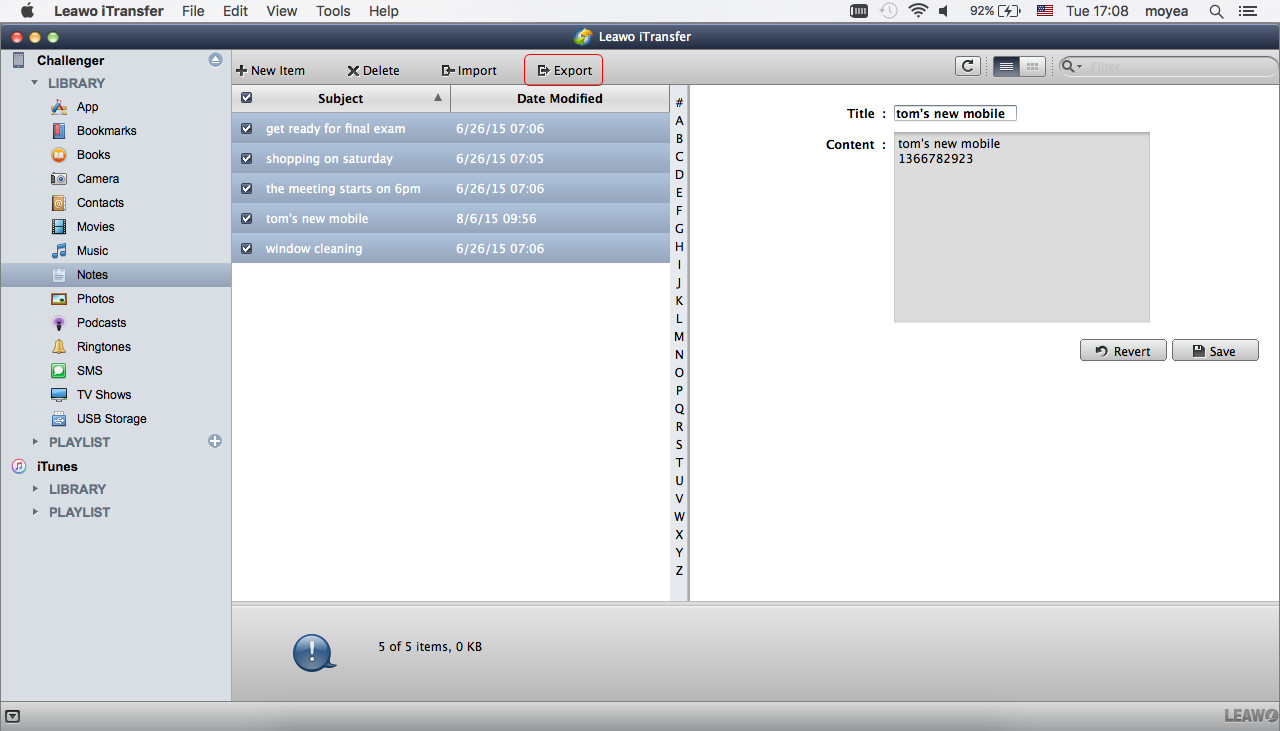
Step 3. Check the notes you want to sync and click the Export button at the top middle. You are also allowed to edit the note before you transfer notes from iPhone to Mac.
Step 4. You’ll see a pop-up dialog after clicking the Export button. Choose a target folder on your computer to save the notes, then click Save to begin to sync notes from iPhone to Mac.
When the transfer finishes, you’ll get the notes on your computer saved as .note file. This file cannot be viewed on your Mac computer, but it can be synced to another iOS device to have a look. Therefore, when you want to sync notes from iPhone to Mac for transferring them to another iOS devices, you can rely on Leawo iTransfer. This software is also helpful for other data transfers, for example, you can transfer music from iPhone to computer with it. If you are interested in this software, just check it out.
Part 4. Related Tips about Notes
The above guidance have shown you the steps about how to sync notes from iPhone to Mac. If you are a fresh man for using iPhone/iPad, you may not know too much about how to use your Notes on iPhone or iPad. And your may feel confused about the multiple functions of Notes. As a built-in app for your iPhone/iPad, you can still type out whatever you like and now you can add hand-drawn sketches as well. You can format with common styles, use bulleted or numbered lists, and even create checklists to keep track of items right inside your note. In addition to photos, you can now embed video, audio, locations, web links, and documents so you can collect everything you want to keep together all in one place. Notes also syncs with the Mac and with iCloud, so you can access your information from all your Apple devices and from the web. Therefore, if you don't know how to use your Notes app, or you constantly use your Notes app on your iPhone, here are some tips and tricks that can help make better full use of Notes.

